FLaunT ruFFLe STOCKInG CaPcopyright 2013 - Lise Stoessel
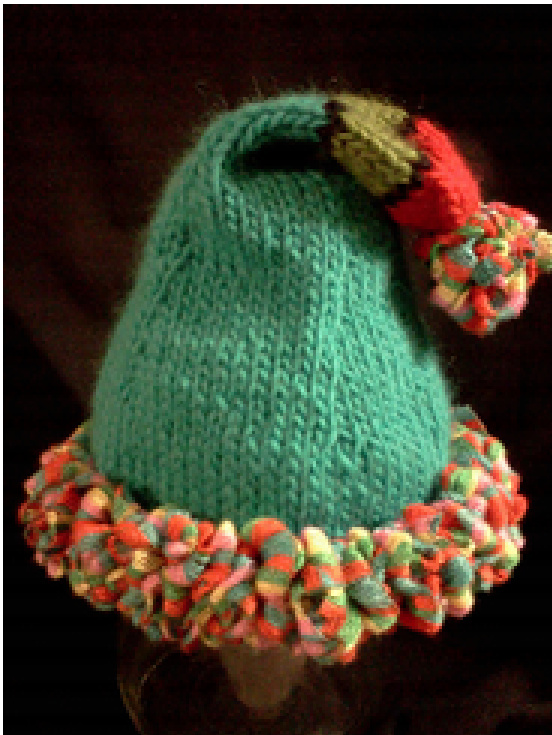
A fun litle hat that has a frilly band and pompom made with Flaunt ruffle yarn. Fits a child ages 2-6 (depending on head size!).
Materials
1 skein yarn A: Flaunt Coquette 1 skein yarn B: Full O' Sheep (or other aran weight yarn) - aquamarine 1 skein yarn C: Full O' Sheep - black 1 skein yarn D: Full O' Sheep - meadow 1 skein yarn E: Full O' Sheep - poppy needles sz 6 (straight or circular for knitting with Flaunt) & sz 9 (circular and/or dpn for knitting with Full O' Sheep) yarn needle sewing needle and thread to complement the Flaunt yarn stitch marker
Instructions Ruffle Band
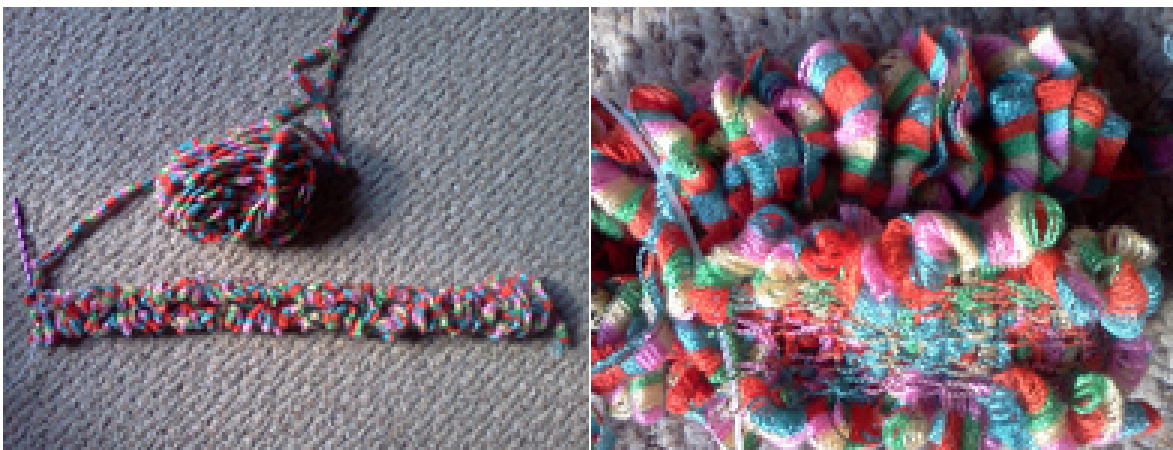
● Using yarn A, “cast on" 5 stitches with sz 6 needles. (you might like to consult this youtube if you haven't worked with this sort of yarn before: http://www.youtube.com/watch?v=dzTXrHGWHeo). ·Work in stockinette for 19". (Note: with Flaunt, working in stockinette causes the ruffles to all be on one side of the fabric. Also it will curl inward, as stockinette knitting usually does. The photos below show the right and wrong side of the fabric as well as the curling effect.)
Using sewing thread, sew the two ends of the 19" band together to form a circular band.
Body of Hat
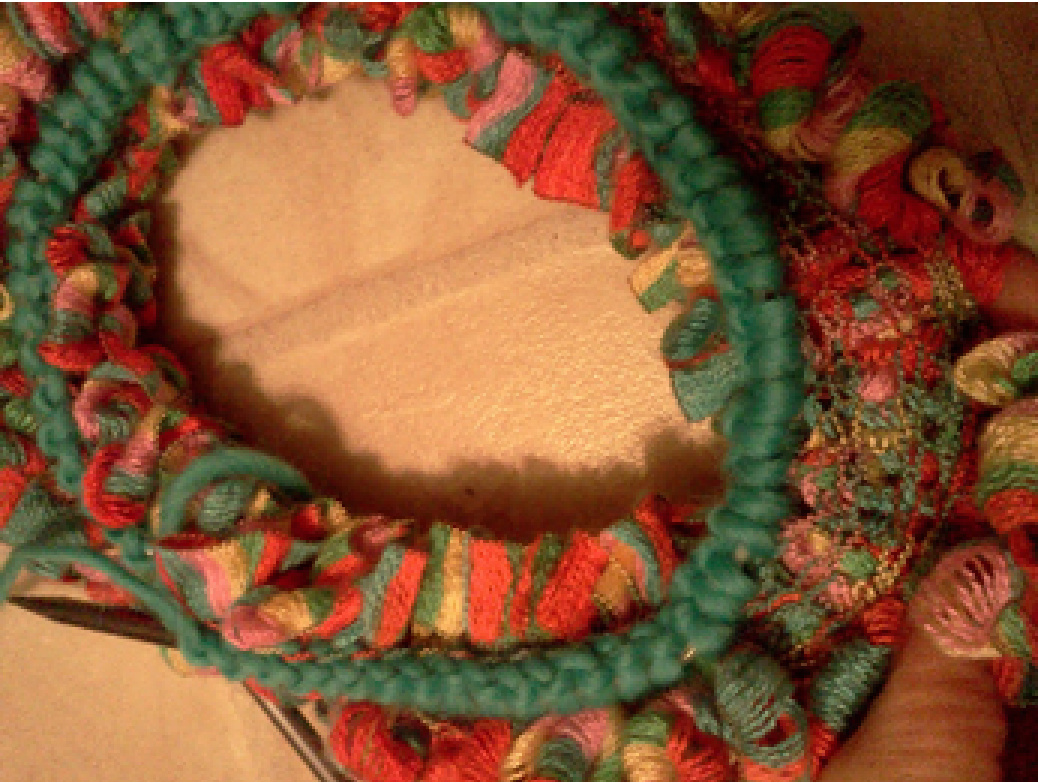
·Using yarn B and sz 9 needles, pick up 65 stitches from the top inside/wrongside edge of the circular ruffle band. Place marker at the beginning of round. (Note: it's not a good idea to use the Flaunt as an edge without a regular yarn-fabric backing. Pulling on the Flaunt band the way one normally puts on a hat will eventually break the fragile threads of the Flaunt. Using it as a turned up brim, possibly even tacked down to the woolen hat itself, should obviate this problem.)
Knit 4 rnds. Next Rnd: \*K11, k2tog; rep from \* around - 60 sts. Knit 3 rnds. Next Rnd: \*K10, k2tog; rep from \* around - 55 sts. Knit 3 rnds. Next Rnd: \*K9, k2tog; rep from \* around - 50 sts. Knit 3 rnds. Next Rnd: \*K8, k2tog; rep from \* around - 45 sts. Knit 3 rnds. Next Rnd: \*K7, k2tog; rep from \* around - 40 sts. Knit 3 rnds. Next Rnd: \*K6, k2tog; rep from \* around - 35 sts. Knit 3 rnds. Next Rnd: \*K5, k2tog; rep from \* around - 30 sts. ·Knit 4 rnds. ·Change to yarn C, knit one round even Change to yarn D, knit 5 rounds even Change to yarn C, knit one round even Change to yarn E, knit 3 rounds even Next Rnd: \*K4, k2tog; rep from \* around - 25 sts. Next Rnd: \*K3, k2tog; rep from \* around - 20 sts ·Next Rnd: \*K2, k2tog; rep from \* around - 15 sts Next Rnd: \*K1, k2tog; rep from \* around - 10 sts Break yarn leaving a 12" tail. Thread yarn onto yarn needle and draw up the remaining 10 stitches into a circle, remov the needle. Pull tight and pass needle through stitches again to reinforce. Leave tail for pompom.
Pompom
·Using yarn A, “cast on" 5 stitches. Knit 5 rows in stockinette. Cast off. Using the tail yarn from hat construction, pass yarn needle through top edge stitches of pompom "rectangle". Draw these stitches together, closing into a circle. Using the same yarn tail, continue to draw the bottom edge stitches the same way. This won't make a perfect ball, but something like a pompom (the ruffles do most of the work). With same yarn tail, fasten the pompom to the hat and secure it.
Finishing
·Weave in ends. Optional: Using sewing thread and needle, tack the Flaunt band/brim to the body of the hat, if you're concerned about too much pulling on the more fragile fabric of the Flaunt.


