
VariaTionson THeclassic DISHCLOTH
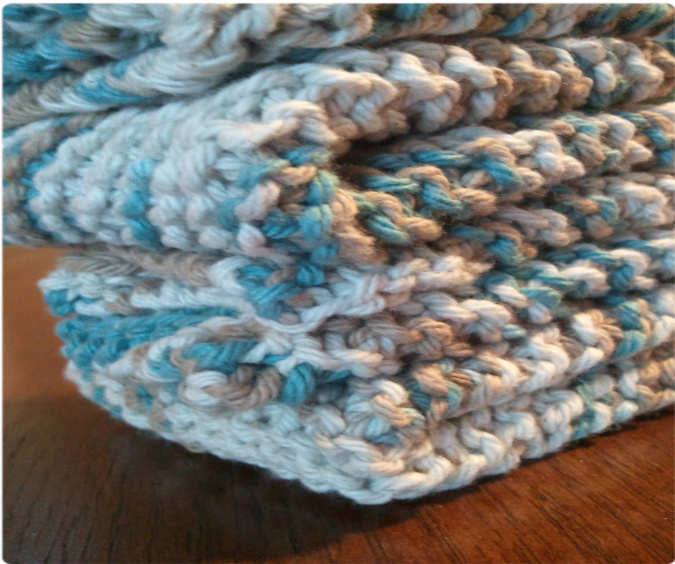
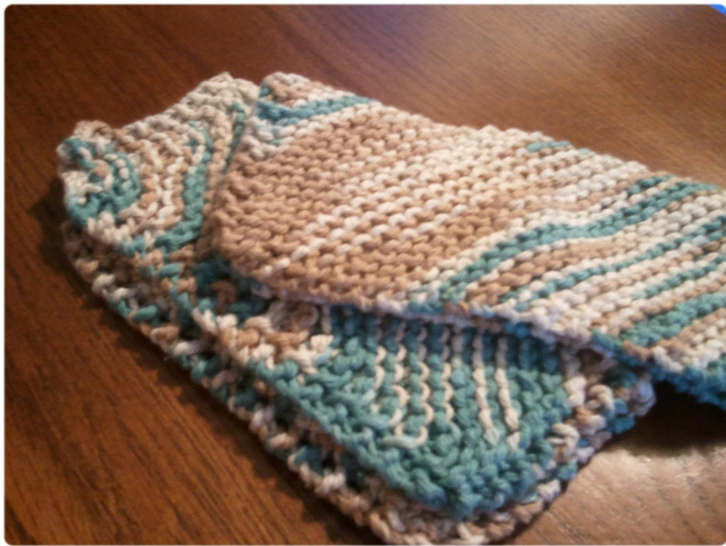
The classic diagonally-knit dishcloth design has been passed down for generations. It's equally perfect for use as a face cloth and for scrubbing dishes after a family dinner. It's a time-tested pattern, but how many ways can this design be knit?
| Yarn | Any worsted weight cotton yarn or cotton blend. |
| Needles | US 8 or size needed to obtainrelatively densefabric. |
| Measurements | pattern exactly; the cloth will shrink in the wash and with use. |
| WashingInstructions | Machine wash and dry. |
Traditional Pattern (with eyelets) CO 3 stitches. Row 1: K1, YO, K2. (4 sts) Row 2-38: sl 1, YO, K to end of row. (Row 38 - 40sts) Row 39-77: Sl 1, YO, K2tog 2x, K to end of row. (Row 77 - 4 sts) BO knitwise. Weave in ends.
Non eyelet variation
/ same instructions as above, but instead of using YO to increase, m1 by kft
Stockinette Variation
Follow same instructions as above, but work middle diamond in stockinette stitch. Be sure to work first 3 stitches knitwise to discourage curling (ex., Sl 1, YO, K1, then finish row).
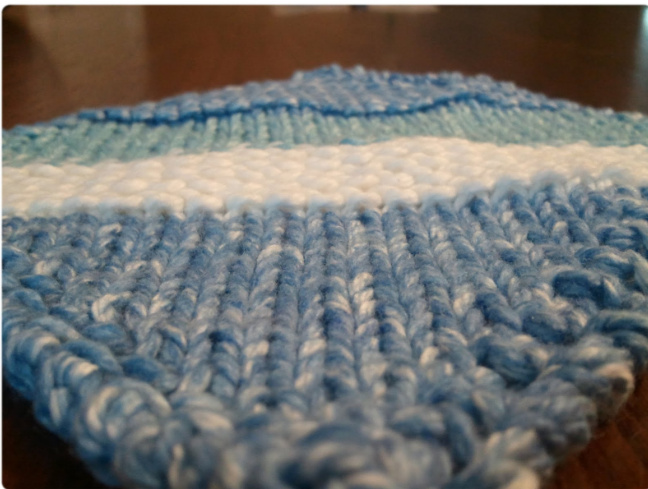
Block Variation
This works best with a "self striping" rather than variegated yarn, such as Lily Sugar n Cream with large color repeats. Follow instructions above, but when color changes, change from garter st on inside diamond to stockinette stitch, and back again when color changes again. This createsbands acrossthecloth.
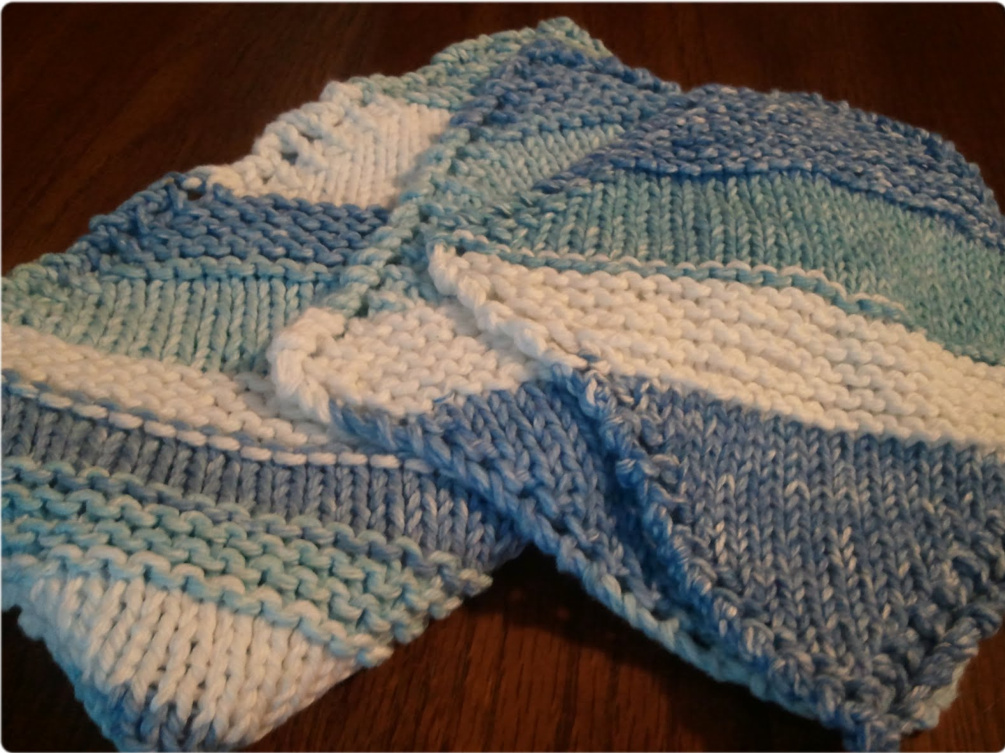
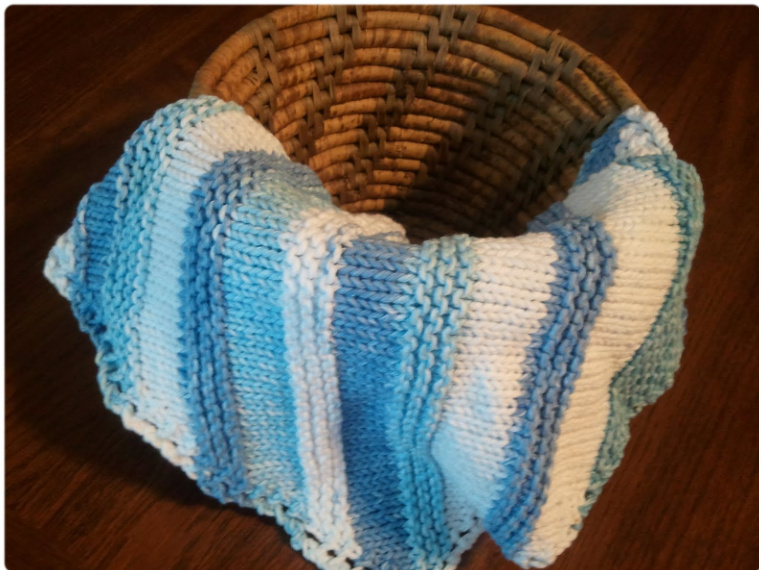
Of course, there are hundreds of variations using different stitch patterns on the inside diamond, different edges, and different numbers of stitches for larger or smaller cloths. You can also add a loop to a corner to hang the cloth as shown in the pictures. Next, I will outline several other items using the same basic ideas. Of course, the above variations can apply to each of them as well. The patterns will be written in the first variation For consistency.
Diagonal Coaster
Diagonal Dish Towel
CO 3 stitches. 1: K1, YO, K to end of row. 2: \*Sl 1, YO, K to end of row.\* Continue in pattern until you have 55 stitches (or however wide you want your towel to be). \*Sl 1, YO, K2tog 2x, K to end of row. Sl 1, YO, K to end of row.\* Continue in pattern until towel is as long as you would like. \*Sl 1, YO, K2tog 2x, K to end of row.\* Repeat until you have 4 stitches. BO knitwise. Weave ends in. CO 3 stitches. 1: K1, YO, K to end of row. 2: \*Sl 1, YO, K to end of row.\* Continue in pattern until you have 16 stitches. \*Sl 1, YO, K2tog 2x, K to end of row.\* Continue in pattern until you have 4 stitches. BO knitwise. Weave ends in.
Scarf
CO 3 stitches. 1: K1, YO, K to end of row. 2: \*sl 1, YO, K to end of row.\* Continue in pattern until you have (15 stitches for a small scarf, more for a wider one). \*Sl 1, YO, K2tog 2x, K to end of row. Sl 1, YO, K to end of row.\* Continue in pattern until scarf is as long as you would like. \*Sl 1, YO, K2tog 2x, K to end of row.\* Continue in pattern until you have 4 stitches. BO knitwise. Weave ends in.
Feel free to experiment and come up with your own applications and variations! More or less, anything rectangular can be created or pieced together using this technique. Enjoy!


