MEMORY BLANKET
Making a modular mitred square blanket A how-to by geongie Hfallom
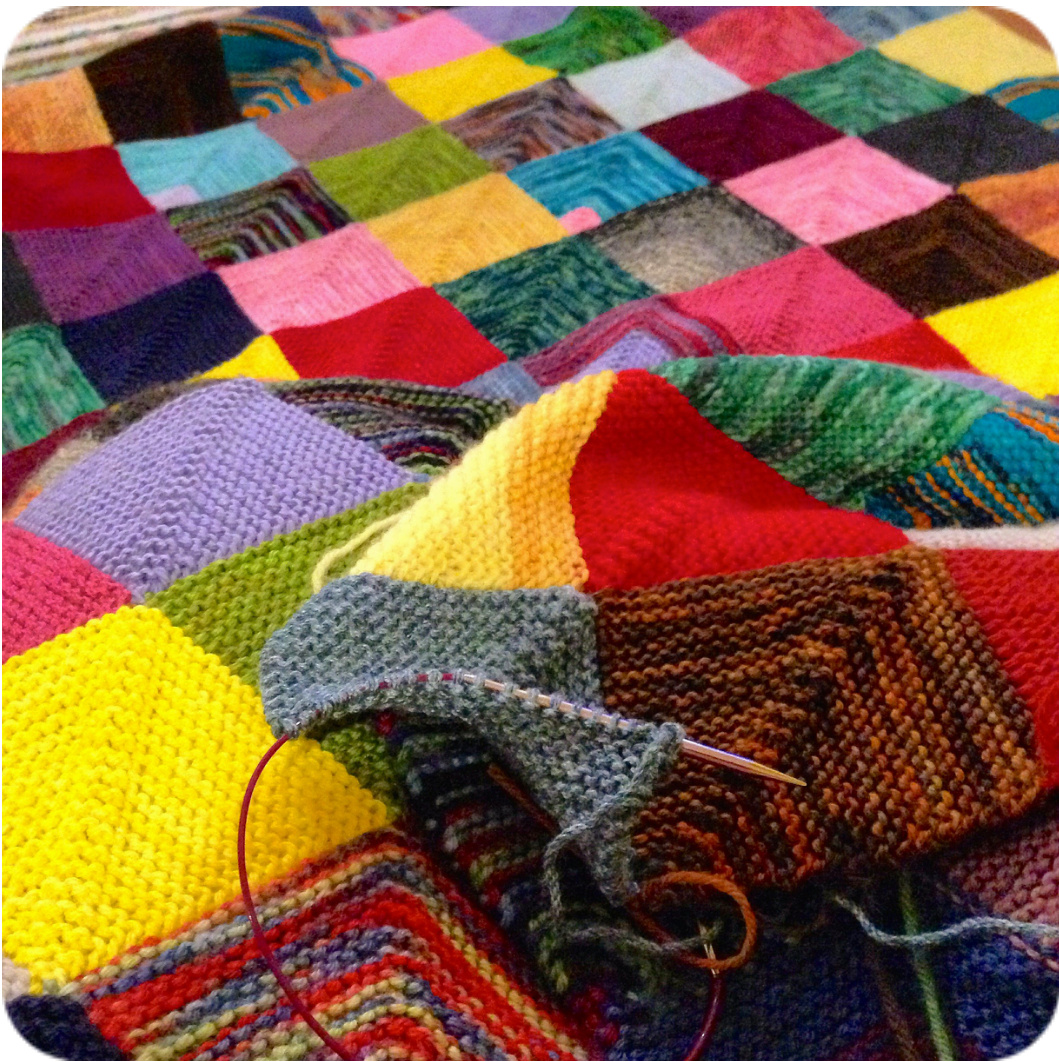
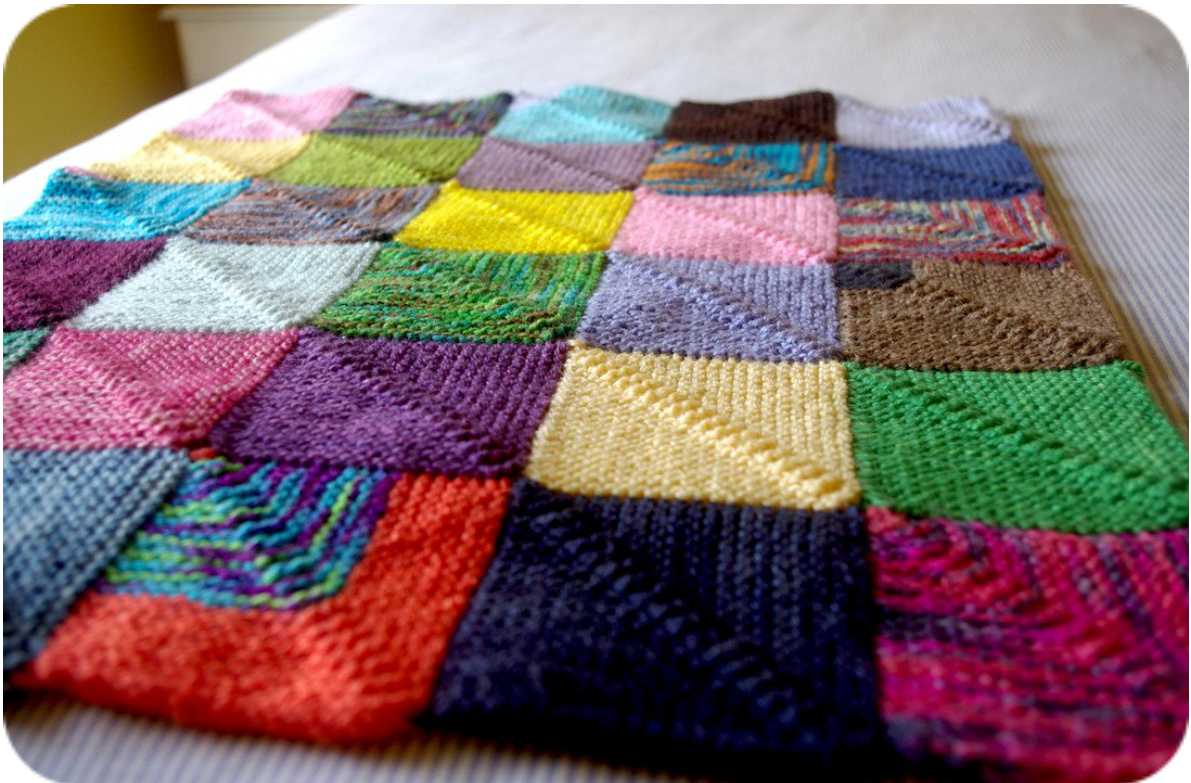
This is by no means an original idea, nor do I claim it to be. This is, however, my approach to knitting a mitred square blanket, seamlessly and modular. For those who detest seaming a thousand little squares together, I hope this approach to mitred squares will be of use and open up the world of blanket making. I've knit my blanket with all the left-overs from mostly kids knits. For me, it provides a memory blanket of all the things I've knit for my kids; a visual capture of where they've been at that time in their lives, the places we've explored, the emotions we've felt and the experiences we've shared. A record of our journey through life together captured in yarn. It's bold and bright, which is just the way I like my colours and kids! While my sample is knit in dk/8ply weight yarn it is incredibly easy to adjust for other yarn weights.
SIZE:
Any size! The choice is yours; make it doll, pram, cot, single, queen or even king size.
YARN:
The sample is knit in DK/8ply weight yarn and yields squares of approximately 33%4"/9.5cm squared.
TENSION:
22 stitches and 44 rows over 4"/10cm in garter stitch. Really, you're looking for a fabric that you like. Make sure it's not too loose so it doesn't stretch too much with the weight of the blanket.
NEEDLES:
US#6/4mm needles (or size required to achieve ter
THE HOW-TO:
Square one: (Pink square in bottom right hand corner) Using a US#6/4mm needle cast on 40 sts. Row 1: (WS) knit placing a stitch marker at the halfway point, 20 sts in. Row 2: (RS) knit to 2 sts before the sm, k2tog, slipsm, ssk, knit to end of row. Repeat rows 1 and 2 until 2 sts remain. Cast off. Square two: (Green square above pink square) Cast on 20 stitches. Place sm. Holding the first square as a diamond with the cast on edge at the bottom, pick up and knit 20 sts along the right side of the square. Continue as for square one. Square three: (blue square next to pink square) Pick up and knit 20 sts along the left side of the pink square. Placesm. Cast on 20 sts. (l usually cast on the first stitch using a backward loop and the next 19 using a cable cast-on. Continue as for square one. Square four: (yellow square diagonally above pink square) Pick up 20 sts from the left side of the green square. Place sm. Pick up 20 sts from the right side of the blue square. Knit across all sts. Continue as for square one.
ABBREVIATIONS
k2tog knit two stitches together. slipsm slip stitch marker. sm stitch marker. ssk slip slip knit Slip two stitches knit-wise one at a time. Use left needle to knit through both. st/s stitch/es. Continue building the blanket as set out by the first four squares. You will need to build the edges (repeating squares two and three) before knitting inner squares (repeating square four).
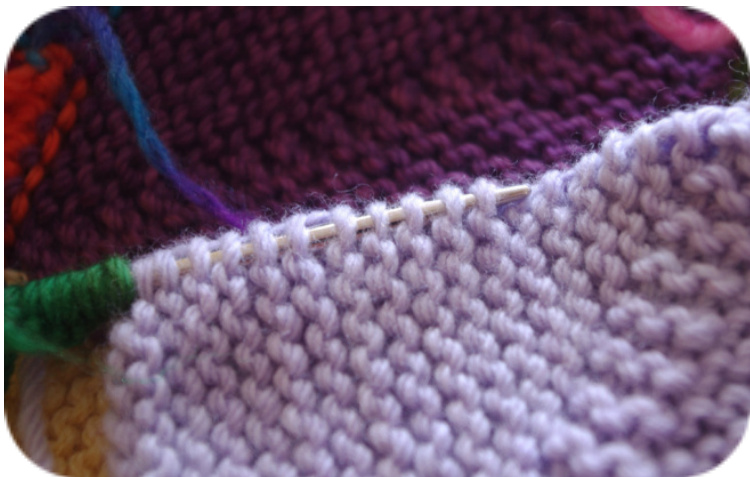
PICKING UP AND KNITTING ALONG AGARTEREDGE:
Picking up along a garter edge is slightly different to picking up along a stocking stitch edge. The best way to do it is to pick up all the stitches first by sliding your needle from left to right through the stitches closest to the edge (not the little knot thing that forms on the edge itself) then knitting the stitches onto your left needle once they're all on your needle. Easy peasy!