Kesin Lapsi
A baby blanket by Emma Karvonen (Villaviidakko Designs) Published in May 2012
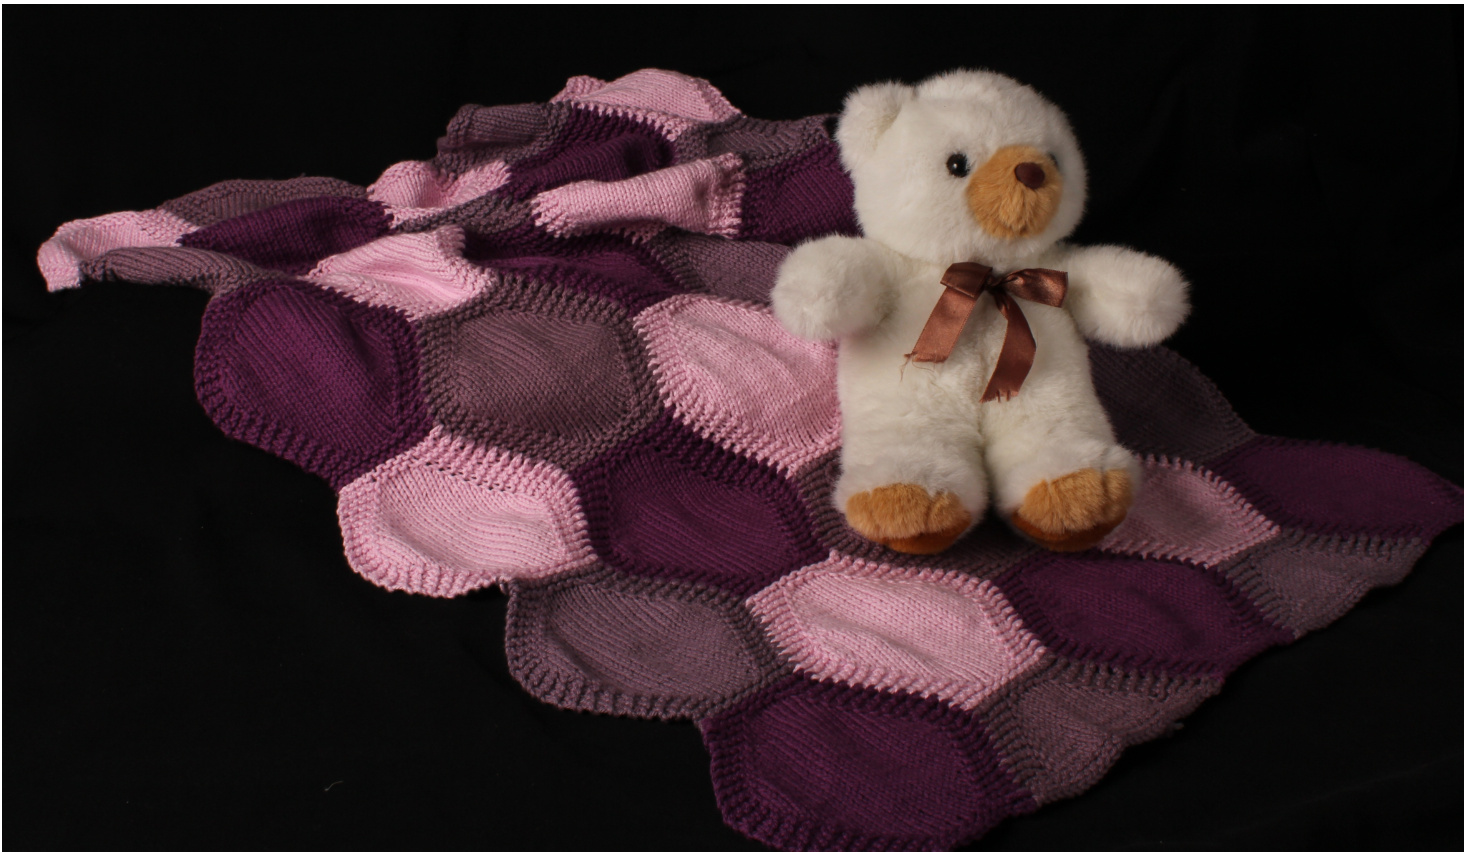
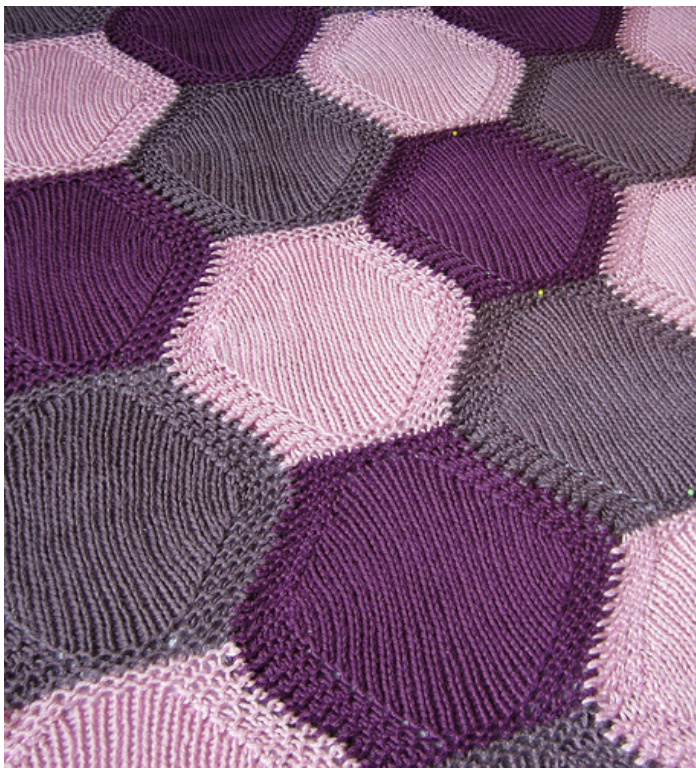
Kesän Lapsi (Finnish for “a child of summer") is a modular knitted hexagon blanket, that doesn't take much effort to finish. The blanket is knit in long chains of hexagons which are joined as you knit. You can knit it with any yarn and in any size from a babv blanket to a full sized bedspread - all vou need is varn and two dpns that make a gauge to your liking!
Yarn and meterage
For the baby blanket: Schachenmayr nomotta Cotton Time (100 % cotton, 50 g / 88 m) Colour A: pink (35) 150 grams Colour B: gray-purple (46) 150 grams Colour C: purple (49) 150 grams You can replace the yarn with any yarn you wish to use. However I do recommend using yarn that has at least 75 % natural fibers. If you use cotton, choose an unmercerised yarn to keep the blanket nice and soft.
Gauge
20 sts and 28 rows in stockinette stitch = 10 cm (4")
Needles
Two 20 cm dpns in size 4 mm or to get gauge
Size
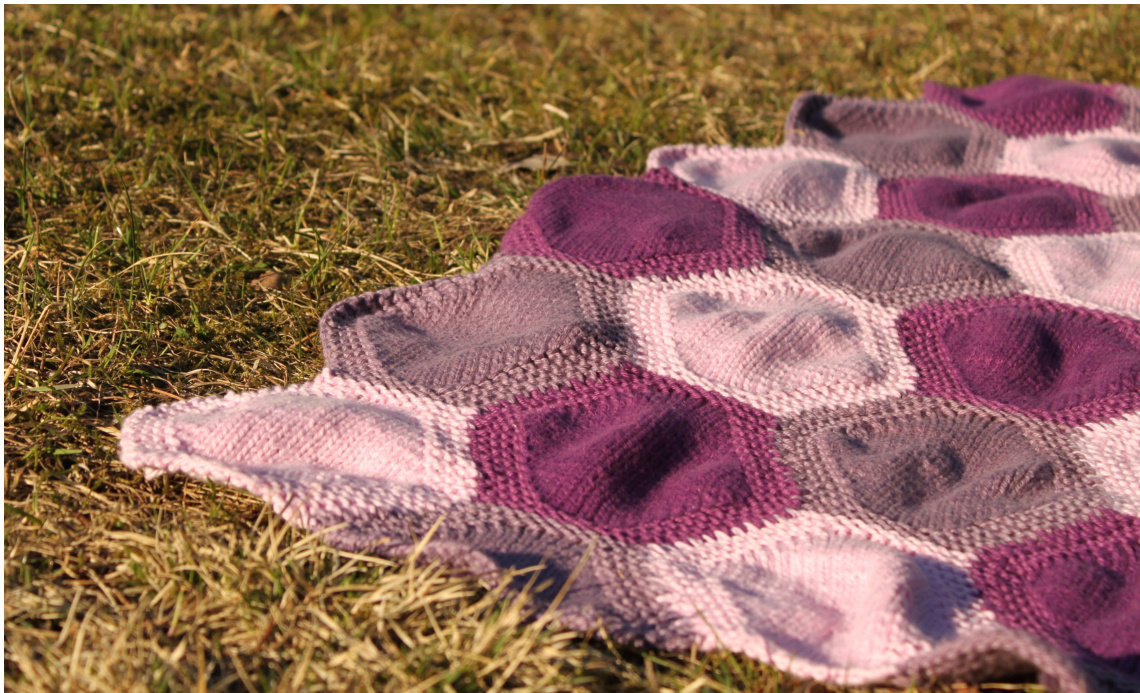
The sample blanket measures 60 cm x 80 cm after blocking.
Pattern
Before you begin
Kesän lapsi -blanket is knit in vertical hexagon chains which are joined as you knit. The joining begins when you start knitting the second chain.
Joining
Step 1: After finishing with a right side row place the previous hexagon chain next to the needle, working yarn between the pieces. Pick up and knit one stitch from the edge of the previous hexagon chain (picture 1). Pick up the stitch from between two garter ridges. This makes one extra stitch (picture 2).

Picture 1 Picture 2 Step 2: Turn work and knit the extra stitch together with the next stitch on your left needle (picture 3). Remember to pull the stitch tight in order to prevent the edge from rippling. This is now the first stitch on the WS row. Knit to the end of the row according to the pattern. In picture 4 you can see how the join looks on the right Side.
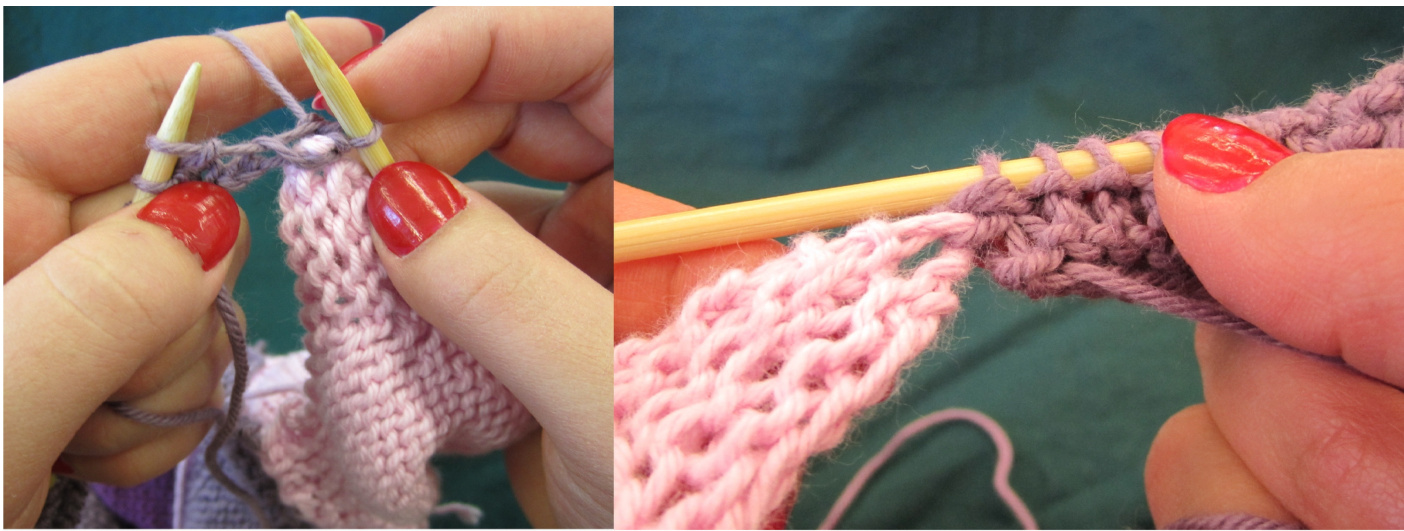
Picture 3 Picture 4 Repeat the steps 1 and 2 after every right side row at joining edge to join the hexagon chains together.
Abbreviations
k = knit p = purl pm = place marker sm = slip marker m1R = make one right: pick up the strand between sts with the left needle from back to front, knit m1L = make one left: pick up the strand between sts with the left needle from front to back, knit through back loop ssk = slip, slip, knitslipped sts together k2tog = knit two sts together
Chain 1
The first chain is made of six full hexagons. No joining yet!
Full hexagon:
Cast on loosely 12 sts using colour A. Knit 3 rows. Make sure you don't pull the edge sts too tight - if you do, the edges will curl and your hexagon will become a cup. Increases: 1st row: k4,pm, m1R, k4,m1L, pm, k4 2nd row: k4, sm, p6, sm, k4 3rd row: k4, sm, m1R, k6, m1L, sm, k4 4th row: k4, sm, p8, sm, k4 Keep working the first and last 4 sts in garter stitch, adding at each edge on RS rows and purling between the markers on WS rows until you have made the increases on nine RS rows in total, ending with a WS row - 30 sts. Work 4 rows without making increases but keep working the edges in garter and the sts between the markers in stockinette stitch. Remove markers. Decreases: 1st row: k3, ssk, k20, k2tog, k3 2nd row: k4, p20, k4 3rd row: k3, ssk, k18, k2tog, k3 4th row: k4, p18, k4 Keep working the edges in garter with the decreases on right side edges and the center in stockinette until you have 12 sts left, finishing with a RS row. Knit 3 rows. Now you're at the beginning of a RS row and the first hexagon is complete. One full hexagon has 46 rows, which makes 23 garter ridges on the edge. Break yarn and switch to color B. Make another full hexagon, starting with 4 knit rows, then working the increases, middle rows, decreases and finishing with 3 knit rows as with the first one. Break yarn and switch to color C. Make a full hexagon. The fourth hexagon will be knit with color A, the fifth with color B and the sixth with color C. After completing the sixth hexagon cast off all the stitches (with the right side facing you).
Chain 2
The first piece of the second chain is a half hexagon. The five following pieces are full hexagons and the last piece is a half hexagon.
Half hexagon to start the chain:
Cast on 30 sts using color B. Knit 3 rows. Attention! Remember to start joining this chain to the first chain after the second knit row as instructed earlier! Decreases: 1st row (RS): k3, ssk, k20, k2tog, k3 2nd row (WS): k4, p20, k4 3rd row: k3, ssk, k18, k2tog, k3 4th row: k4, p18, k4 Keep working the edges in garter with the decreases on right side edges and the center in stockinette until you have 12 sts left, finishing with a RS row. Knit 3 rrows. After completing the first half hexagon work five full hexagons as earlier, joining to the first chain as you go. The color sequence is C, A, B, C, A. Knit the last half hexagon to complete the chain, using color B.
Half hexagon at the end of the chain:
Work as a full hexagon until you have knit the increases 8 times in total, finishing with a RS row (28 sts). Knit 3 rows and cast off on the RS. The last half hexagon will be 2 sts narrower than the other pieces, because the chain would be too long with 9 increase rows. The difference in stitch count won't be visible in the finished blanket, because on chain 4 you cast on 28 and cast off 30 sts to even out the difference.
Chain 3
Work as chain one, joining to chain 2 as you go.
Chain 4
Work as chain 2, but to even out the stitch counts cast on 28 sts for the first half hexagon. The first half hexagon will have 8 decrease rows. At the last half hexagon piece make 9 increase rows (30 sts). Join to chain 3 as you go.
Chain 5
Work as chain one, joining to chain 4 as you go. The sample blanket has five chains. You can make a larger blanket by working more chains, altering with chain 1 and chain 2.
Finishing
Wet the blanket thoroughly, squeeze out excess water and block vigorously to keep the edges from rolling. When blocking, make sure you block all the pieces evenly to the same size - it's easy to block the edge pieces more than the center pieces. Let the blanket dry, remove the pins and weave in ends. Now wrap it nicely and give it to your loved one, or simply enjoy it yourself!
Attention! All rights reserved by the designer. Commercial use forbidden. You may knit products with this pattern for yourself or for a gift, but not for sale. Do not copy or sell this pattern without a written permission of the designer. For any questions, contact me at villaviidakko@gmail.com or via Ravelry, username nemesia.


