Easy-Peasy Trees-g Tutoriall
After finishing a project that I could not blog about until AFTER December, I needed a little something l could blog about, so l put this tutorial together and I blogged it! How about a Christmas Tree in miniature? Works for me! Here's what you'll need: Crochet hook, size K (and crochet hook size F, optional, for garland) Bernat Boa in bright green Loops and Threads Festive yarn in bright green (silver and red, optional) Tree form, cardboard or styrofoam Yarn needle, scissors
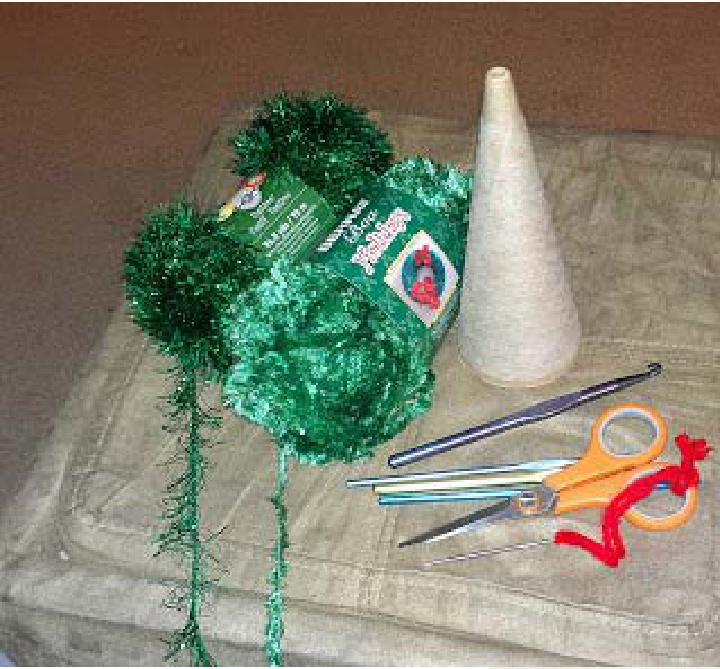
My form came from a cone of cotton..
Tutorial By: PJ Allen and PrettyKnittyJewelry Designs
These will be very loose instructions (dc=double crochet), and anyone with basic crochet experience should be able to figure it out. Here we go!
Instructions start here:
Using your preferred method (magic ring, chain 3 and join, etc.) and the K hook, and using one strand each of the green Boa and Festive, create a ring to crochet into. Round 1: Chain 3 (first dc), and work 6dc into ring, join. (7dc total) It's a little difficult to see where that hole is as you add dcs...do your best. :D Round 2: Chain 3,dc around, increasing 2dc evenly. (9dc total) Round 3: Chain 3,dc around, increasing 3dc evenly. (12dc total) Repeat round 3, increasing 3dc every round, until the work stretches slightly to cover the form. I believe that my last round had 24dc. Here's what mine looked like two roundsbefore finished... See the bottom? Almost there..
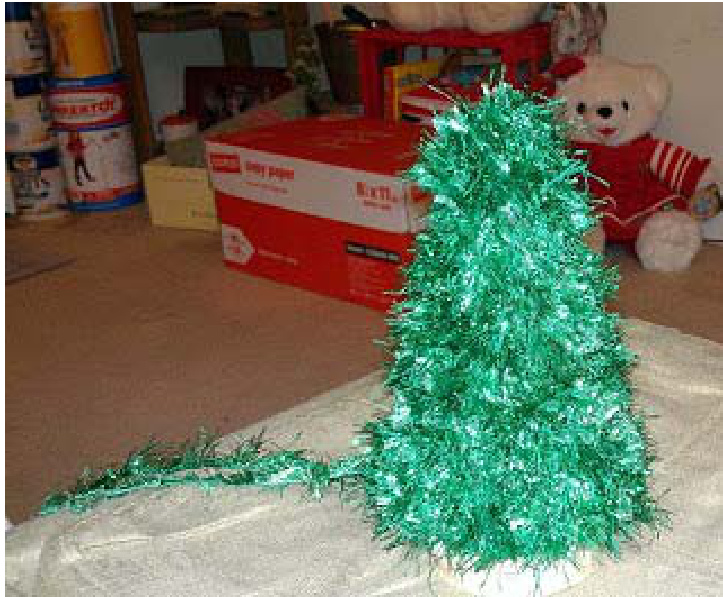
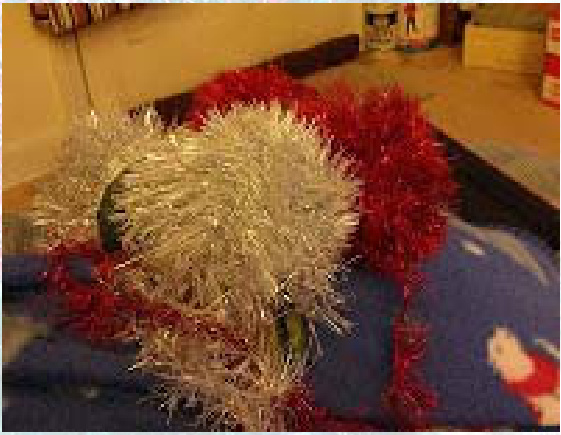
Cut both yarns, thread through yarn needle and weave in and out of stitches on last round. Place the blanket of "needles" you've crocheted over the tree form, and draw the woven yarn snug enough to cover part of the bottom of the form. Knot yarn and weave in ends.
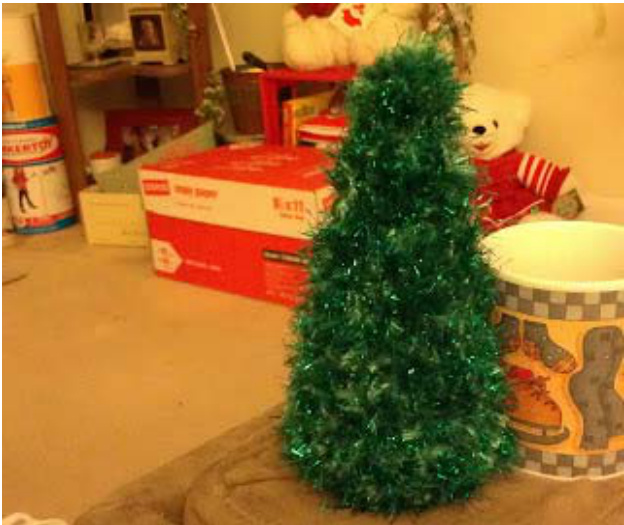
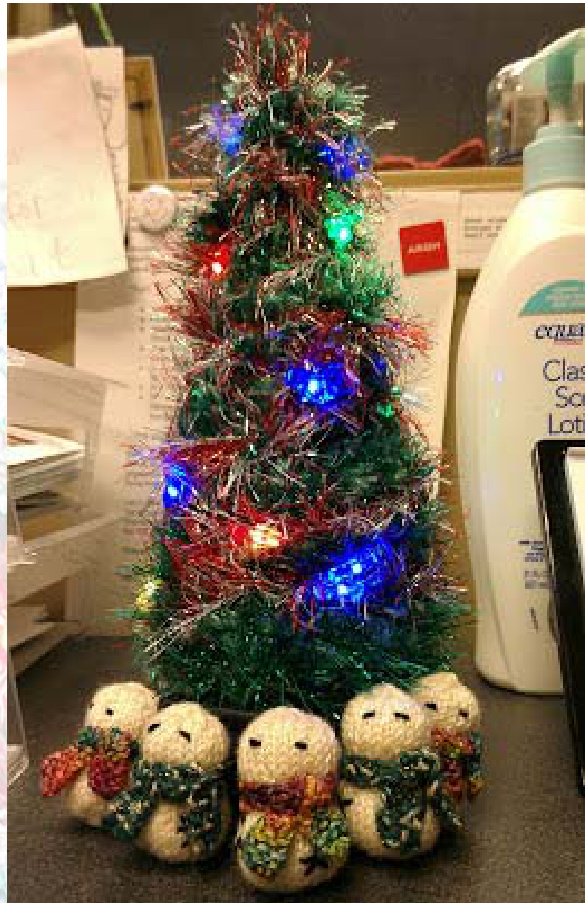
At this point, the top of your form may poke through the top of the tree. Just take a strand of either yarn and sew a few stitches to close the hole more tightly there. Look! It's a tree! (l made mine up in an hour or S0.) Nowyou decision to make. You might be done with your tree here. I thought mytrees looked a little naked, so I also created some "garland" for them. The tree on the right has a single strand each of the silver and red, wrapped around the tree and stitched in place here and there, and also some tiny LED lights...Love it!!!
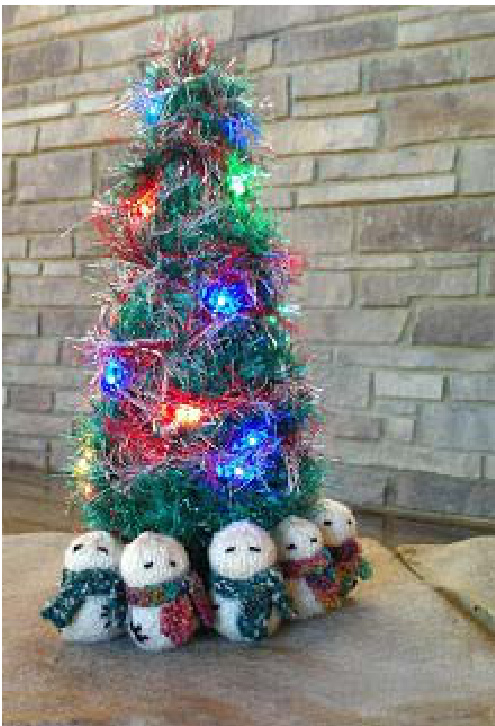
Tiny LED lights, with tiny wires...my latest QVC purchase. Mr. Pretty has me hooked on QvC! On the other tree, I used the smaller crochet hook to make a simple chain out of the silver and the red, and I crocheted it right onto the tree every 10 sts or so...I really like how that one turned out, too!

It's a different look..and very flattering! You might notice some of my new friends in those last couple photos. Tiny, knitted snowmen are like potato chips..-you can't just knit 1 (or 10). I've sent a half-dozen in the mail to my Peanut, and now l also have 5 (for now) to keep me company at my desk! I wonder how many it will take to go completely around the tree??? I wonder how many of those cotton cones I still have hanging around my knitting bags??? You should totally go and make a couple of trees of your own! Or maybe some snowmen tinies! OMGosh...I gotta go make MoRE!!! hanks for stopping by, and Knit in Good Health! Please feel free to use and share the link to this pattern freely. I'd also appreciate it if you mention PrettyKnittyJewelry when you do, thanks!


