Beaver Amigurumi
This sheep is pretty easy to make. The pattern uses single crochets. Perfect as a little gift or just as a decoration!
Stitches
Decrease
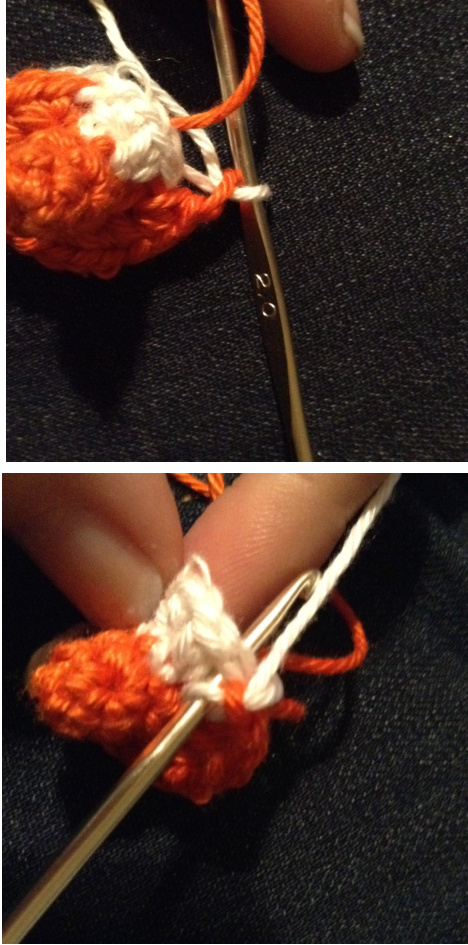
For the decreases, I recommend the 'one front loop, one back loop' method.
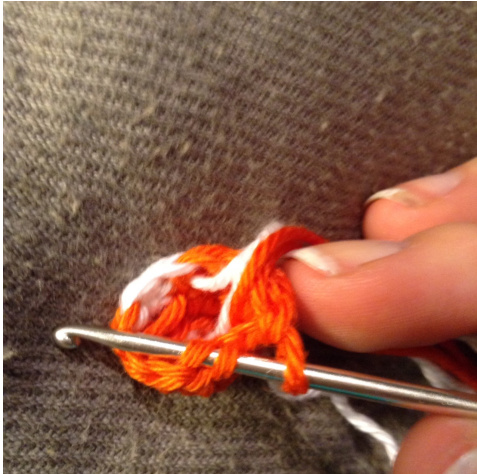
Pick up the front loop of the first stitch, and the back loop of the second stitch, so you now have three loops on your needle, like in the picture. Yarn over and pull throughall threeloops.Thisgivesthemostinvisibledecrease.
Sheep
Increase
For the increases, just crochet two single crochets in the same stitch.
Materials needed
Crochet needle: size 2 Grey yarn and black yarn: Sport / 5 ply. I recommend 100% mercerized cotton. In the pictures, I've used Catania. the cotton gives it a smooth look, but you could also use a more woolly yarn for a fluffy look. An embroidery needle polyfill
Colour change (if you want to use it)
If you want a smooth colour change, loop in the new colour as such: when you reach the place where you want to change colour, pull a loop of the new colour through the loop already on your needle. then pick up the next stitch, yarn over with your new color and pull through(so you now have two loops of the samecolour onyour needle).thenyarn over again and finish the Sstitch.
Copyright Annelien Vanessche, 2015 info.hippolita@gmail.com https://www.etsy.com/shop/Hippolita http://hippolita-crafts.tumblr.com
Instructions
sc= single crochet ch= chain st= stitch dec=decrease \*x\* rep 4 times = repeat x 4 times.
Head and body
| Row | Instruction | Amount of stitches |
| 1 | 6 sc in magic ring | 9 |
| 2 | 2 sc in each sc | 12 |
| 3 | 2 sc in next st , 2 sc in next st, 4 sc, 2 sc in next st, 2 sc in next st, 4 sc | 16 |
| 4 | 2 sc in next st ,2 sc in next st, 6 sc, 2 sc in next st, 2 sc in next st, 6 sc | 20 |
| 5 | 20 sc | 20 |
| 9 | (3 sc, 2 sc in next st) rep 5 time | 25 |
| 7 | 25 sC | 25 |
| 8 | 25 sC | 25 |
| 9 | (3 sc, dec) rep 5 times | 20 |
| 9 | 20 sc | 20 |
| 10 | (2 sc, dec) rep 5 times | 15 |
| 11 | 15 sC | 15 |
| 12 | 15 sc, stuff the body with polyfill | 15 |
| 13 | (1 sc, dec) rep 5 times | 10 |
| 14 | cut off leaving a long end. weave this end into the last stitches and pull closed. |
Copyright Annelien Vanessche, 2015 info.hippolita@gmail.com https://www.etsy.com/shop/Hippolita http://hippolita-crafts.tumblr.com
Ears (make two)
push in the first row so the beaver can stand up straight!
| Row | lnstruction | Amount of stitches |
| 1 | 4 sc in magic ring | 6 |
| pull closed. |
| Row | Instruction | Amount of stitches |
| 1 | 4 sc in mr | 4 |
| 2 | 2 sc in each sc | 8 |
| 3 | (1 sc, 2 sc in next st) rep 4 times | 12 |
| 4 | 12 sC | 12 |
| 5 | 12 sC | 12 |
| 9 | dec, 5 sc, dec, 5 sc | 10 |
| 7 | 10 sc | 10 |
| 8 | 10 sC | 10 |
| 6 | dec, 9 sc, dec, 9 sc | 8 |
| 10 | 8 sc | 8 |
| 11 | 8 sc | 8 |
| tie off with long end to sew on. press the tail flat and attach |
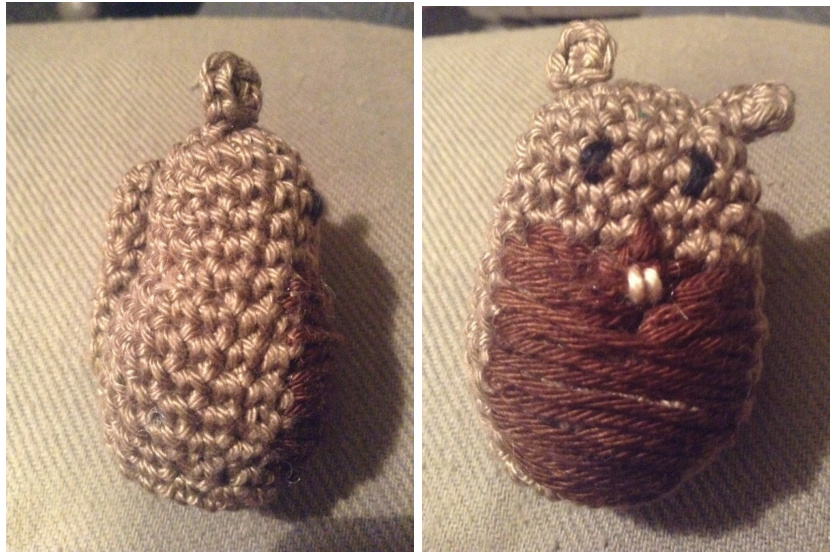
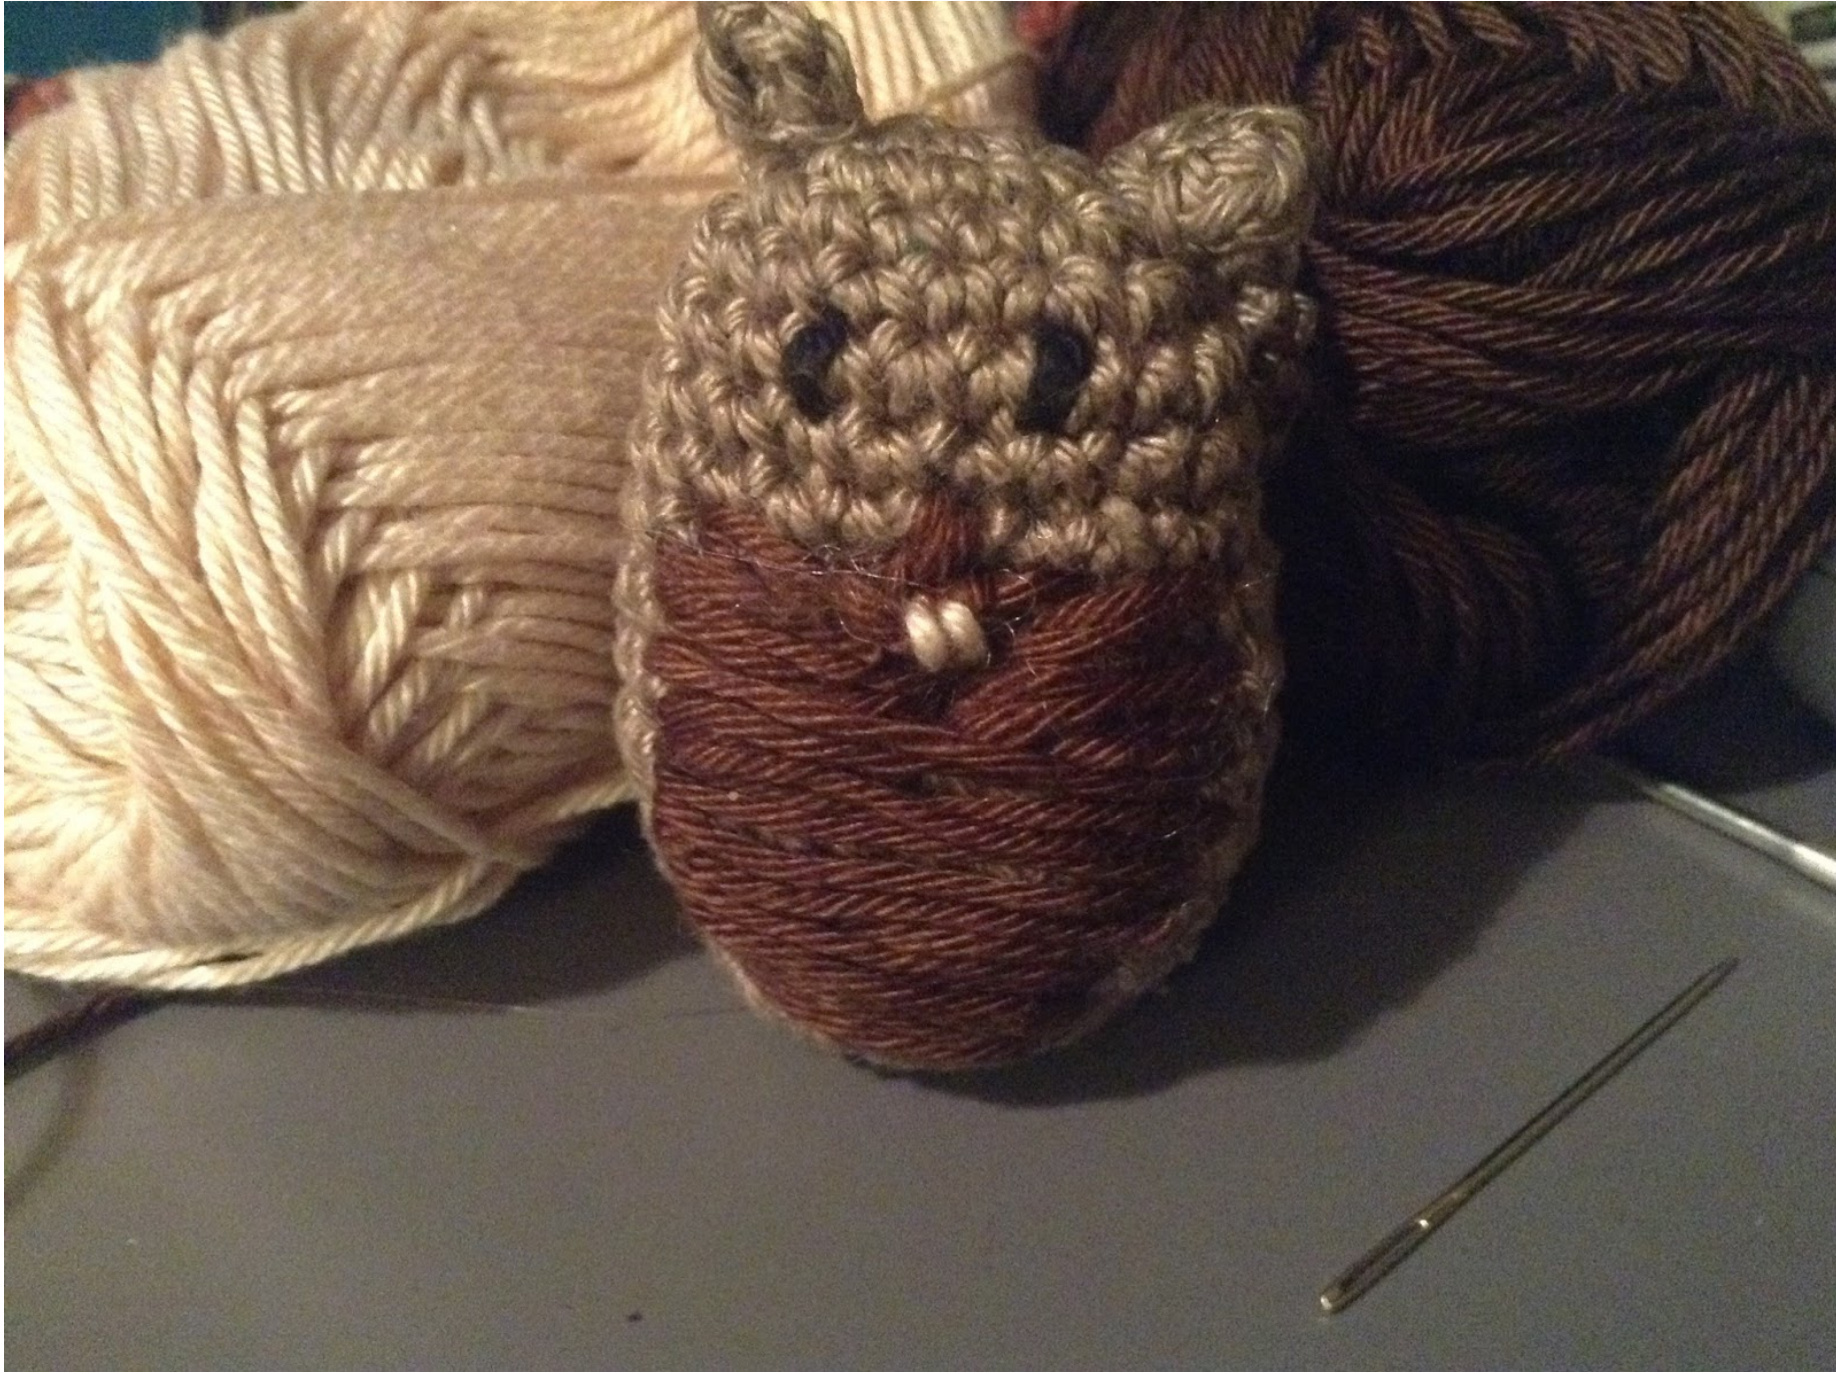
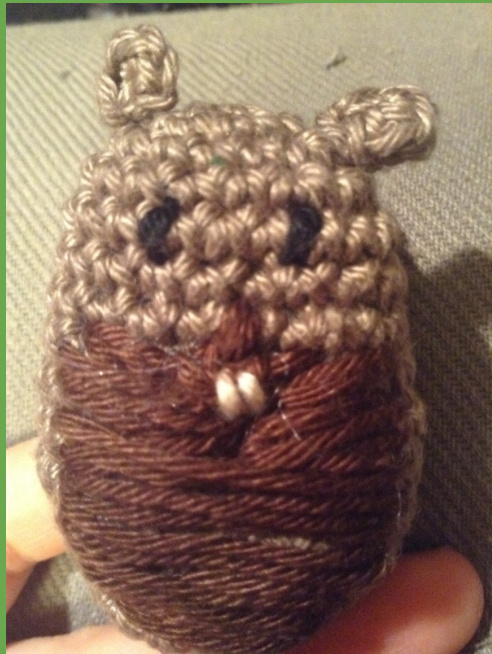
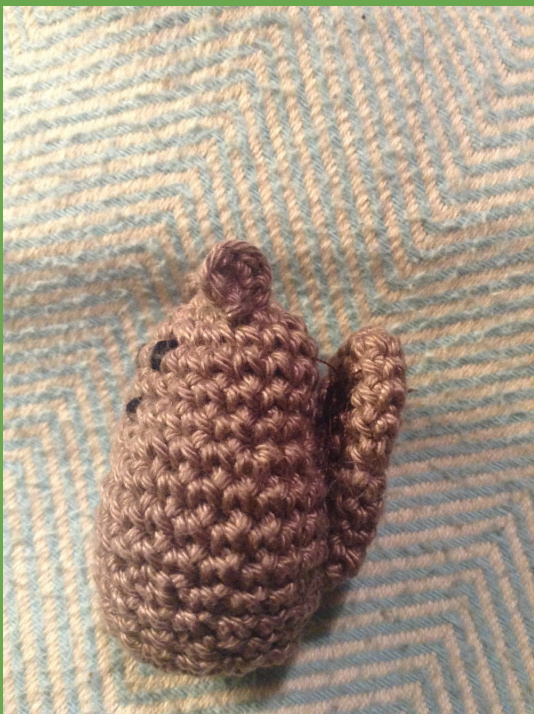
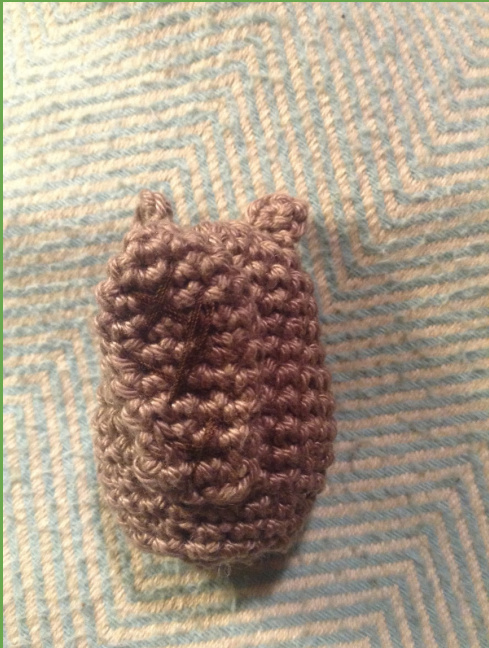
Construction
Sew on the tail and the 2 ears like in the pictures.
Face
Using black yarn, sew on eyes and nose. I use 1 stitchfor the nose and one for each of the eyes. the teeth are also two single stitches in beige. I embroidered on his belly, but you can also use a piece of felt!