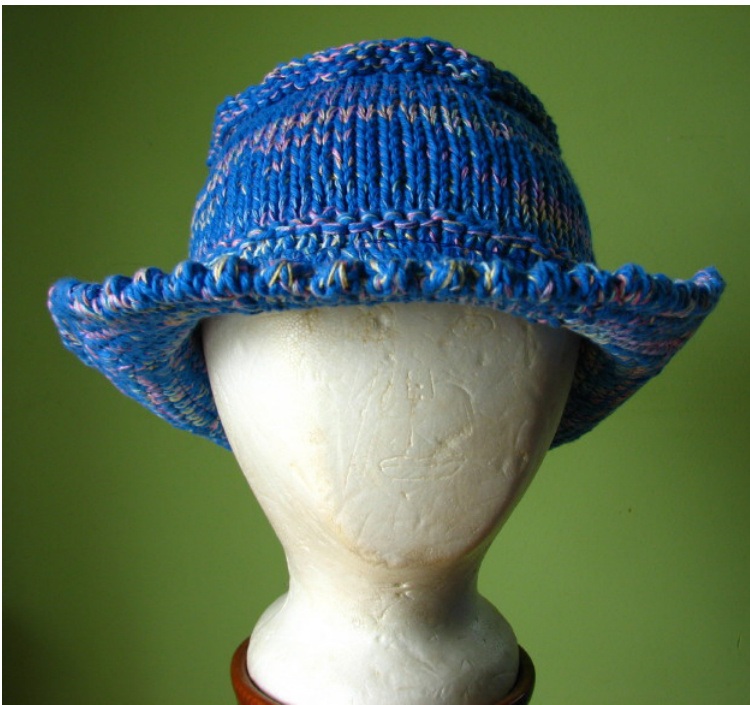
Summer Hat
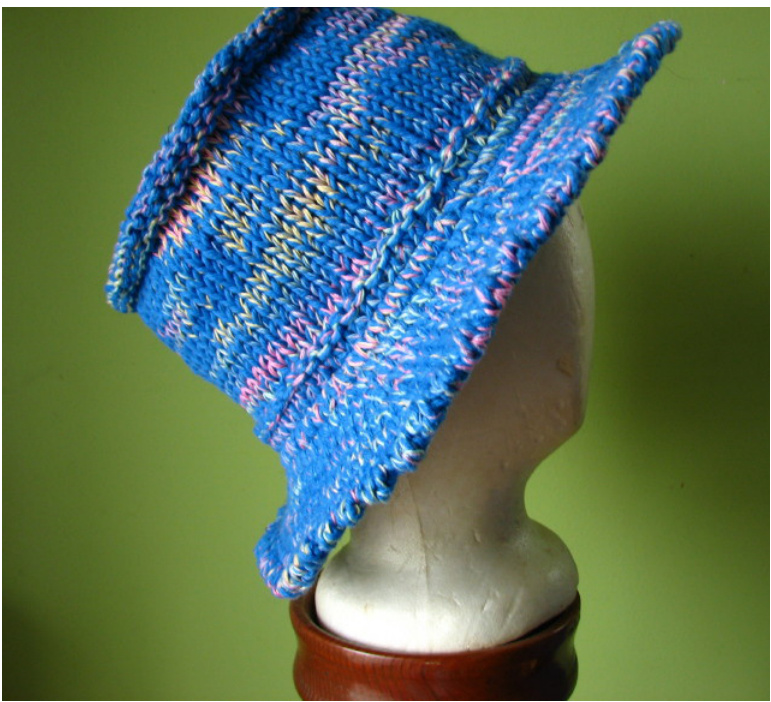
Project specs of the sun hat. 2 balls of Sugar and Cream $100\%$ cotton (really only used about 1.5 balls) held together with 2 strands of size 10 crochet cotton (Coats and Clark I think) Total yardage in length, not considering multiple strands approximately 300 yards (I'm guessing) #5 needle Gauge: $4\;\mathrm{sts}=1$ inch Short and Pithy EZ directions with some numbers for my tiny noggin. Using a provisional cast on, cast on 72 sts. (or a multiple of 8) Knit one round then begin increase rnds. Increase round K2, YO, $^{*}\mathrm{k}9,\mathrm{YO^{*}}$ rep. around end with k7 Next rnd knit even (knit the YO's in the back) Next increase round $\boldsymbol{\mathrm{k}3}$ ,YO $^{*}\mathrm{kl}0$ , $\mathrm{YO^{*}}$ rep around end with k7 Knit next around Next increase round ${\bf k}4$ , YO, $\ast\mathbf{k}11$ , $\mathrm{YO^{*}}$ rep around end with k7 Knit next round --notice the pattern being established, in the increase round the initial number of stitches before the repeat increases by one and you always end with K7. The number of knit stitches in the repeat is equal to beginning and ending stitch counts. An increase round is always followed by a plain knit round.--- Stop increases after k7, YO, $\ast_{\mathrm{k}14}$ , YO\*, end with k7 Knit next round. Next rnd: \*k2tog, YO\*--this makes the picot turn if picot is not desired, purl this row. Next rnd: knit Begin decrease rnds. Work the decreases using the same pattern established for the mcitase lounus vut l ieveise uiuei anu wuiNmg a Kzwg steau u 1U. First decrease round would be, k6, k2tog, $^{*}\mathrm{k}13$ , k2tog\* end with k7 Next round knit Once there is only 72 sts remaining (or whatever your cast on number was) work one more knit round. Fold the brim, put the stitches from the provisional cast on, on a second needle and knit a round with stitches from both needles. Brim is complete. Purl 1 rnd (optional it's just for decoration) Knit rounds for desired depth of hat. (I worked 18 rounds about 3.75 inches) Next work 4 purl rounds. (this makes the rolled edge at the flat top crown, next time I'll only do 3 rounds though) Flat top crown decrease pattern is typical spiral decrease. A decrease round followed by a plain round beginning with $^{*}\mathrm{k}7$ , k2tog\* Next rnd knit. \*k6, k2tog\* Knit \*k5, k2tog\* Knit Continue decreasing in this manner until 8 stitches remain, cut yarn and draw through stitches. Finishing, turn hat inside out and whip stitch the purl bumps that boarder the 4 rows of visible knit stitches together. (creating the roll edge at the crown on the outside) Now take the hat to the sewing machine place sewing foot along the base of the picots and stitch. Continue to spiral around the brim using the edge of the foot and previously made stitches as your guide for the depth of the brim. I also ran a spiral of stitches on the flat top crown. (this is optional) If the hand stitched whip stitches are a problem for you, you could work the roll edge right after the purl rows by picking up the purl bump on the inside of the hat and kniting them together with the working stitches as you continue in the hat pattern but believe me when I tell you, it's not an easy thing to do when you are working with unyielding cotton! Horrendously slow going and finger fatiguing! But to each his own.