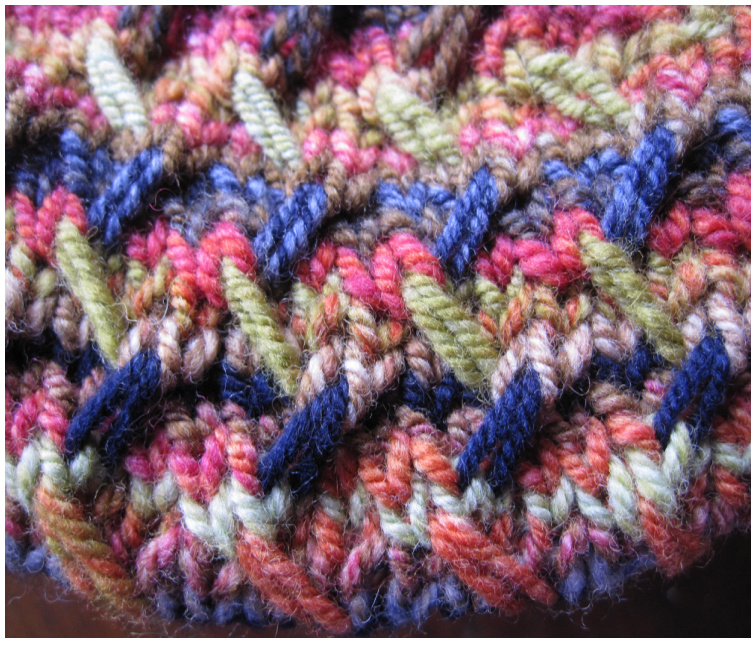
Shelburne Falls Beret by Rachel Brown

SKILLS NEEDED
Knit, purl, twisted stitches, knitting in the round, and increase. Stitch pattern is given in written and charted forms
SIZE
Adult medium/large, 22 inch circumference at ribbing. Hat is slouchy, so willfit larger head sizes easily.
MAIERIALS
\~170 yds handspun yarn, aran weight (13-14 wpi) US $9/5.5\;\mathrm{mm}$ and Us $7/4.5\,\mathsf{m m}$ needles (double points or circulars), or size needed to obtain gauge Wasteyarn Notions: stitch markers, cable needle (if needed), tapestry needle GAUGE 5 sts/6 rows per inch, in stitch pattern with larger needles $\copyright$ 2010 Rachel C. Brown/Porpoise Designs. All rights reserved. Pattern may not be used to create items for sale or distribution without prior written permission from the author.
THE SPINNING
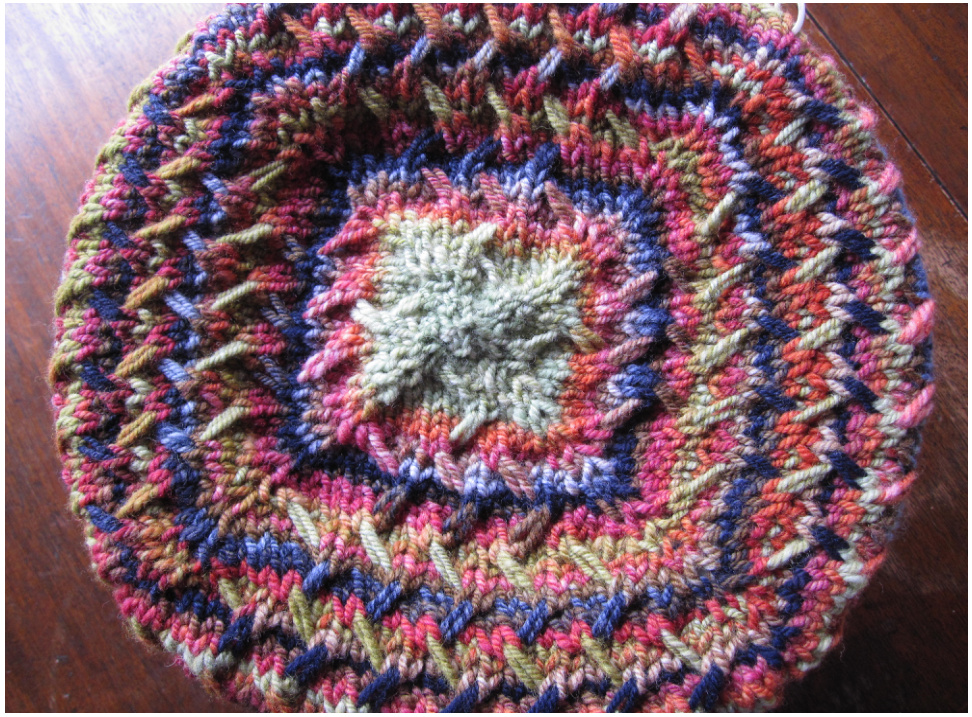
The plan for this fiber was to chain ply to get stripes that I could then play with in a slipped stitch pattern. But I wanted the stripes to stay the same width as the circumference of the hat got bigger, so I split the top into three unequal portions and spun them in order. First up was the smallest portion - a 1.1 oz length of the entire top. At the end of that piece, I found the appropriate point in the color sequence on the next chunk (1.4 oz) and tore out the excess. I did the same thing with the last 1.6 oz strip of top and spun to the end. The chunks that were removed were spun up at the end of the last strip of top, resulting in a long green stretch that ended up as the brim ribbing. The entire 4 oz were then chain plied and finished by washing in warm water with a bit of Soak. After spinning out the excess water, the skein was thwacked and hung to dry unweighted. I marked the end of the skein that contained the shortest stretches of color so I knew where to start the hat.
YARN SPECS:
Fiber: Targhee Preparation: combed top, split lengthwise into three uneven pieces, weighing 1.6, 1.4 and 1.1 ounces respectively Drafting method: Short forward draw (worsted) Wheel: ST folding Lendrum Wheel system: Scotch tension Ratio (singles/plying): 15:1 for both Singles direction spun: Z Singles tpi: 8 Singles wpi: 47 Number of plies: 3 (chain plied) Twist angle: $13.1^{\circ}$ Plied direction: Z Plied tpi: 17 Plied wpi: 13-14 Total yardage: 175 yards ypp: 651 Yarn classification: heavy worsted/aran Yardage used: $\mathord{\sim}170$ yds
THE PATTERN
ABBREVIATIONS
k - knit p-purl pm - place marker sm - slip marker sl - slip as if to purl with yarn in back m1 - make one (l make one by lifting up the bar between two stitches and knitting through theback loop) left twist (LT) - slip one stitch to cable needle and hold to front, knit two, then knit stitch from cable needle right twist (RT) - slip two stitches to cable needle and hold to back, knit one, then knit two fromcableneedle.
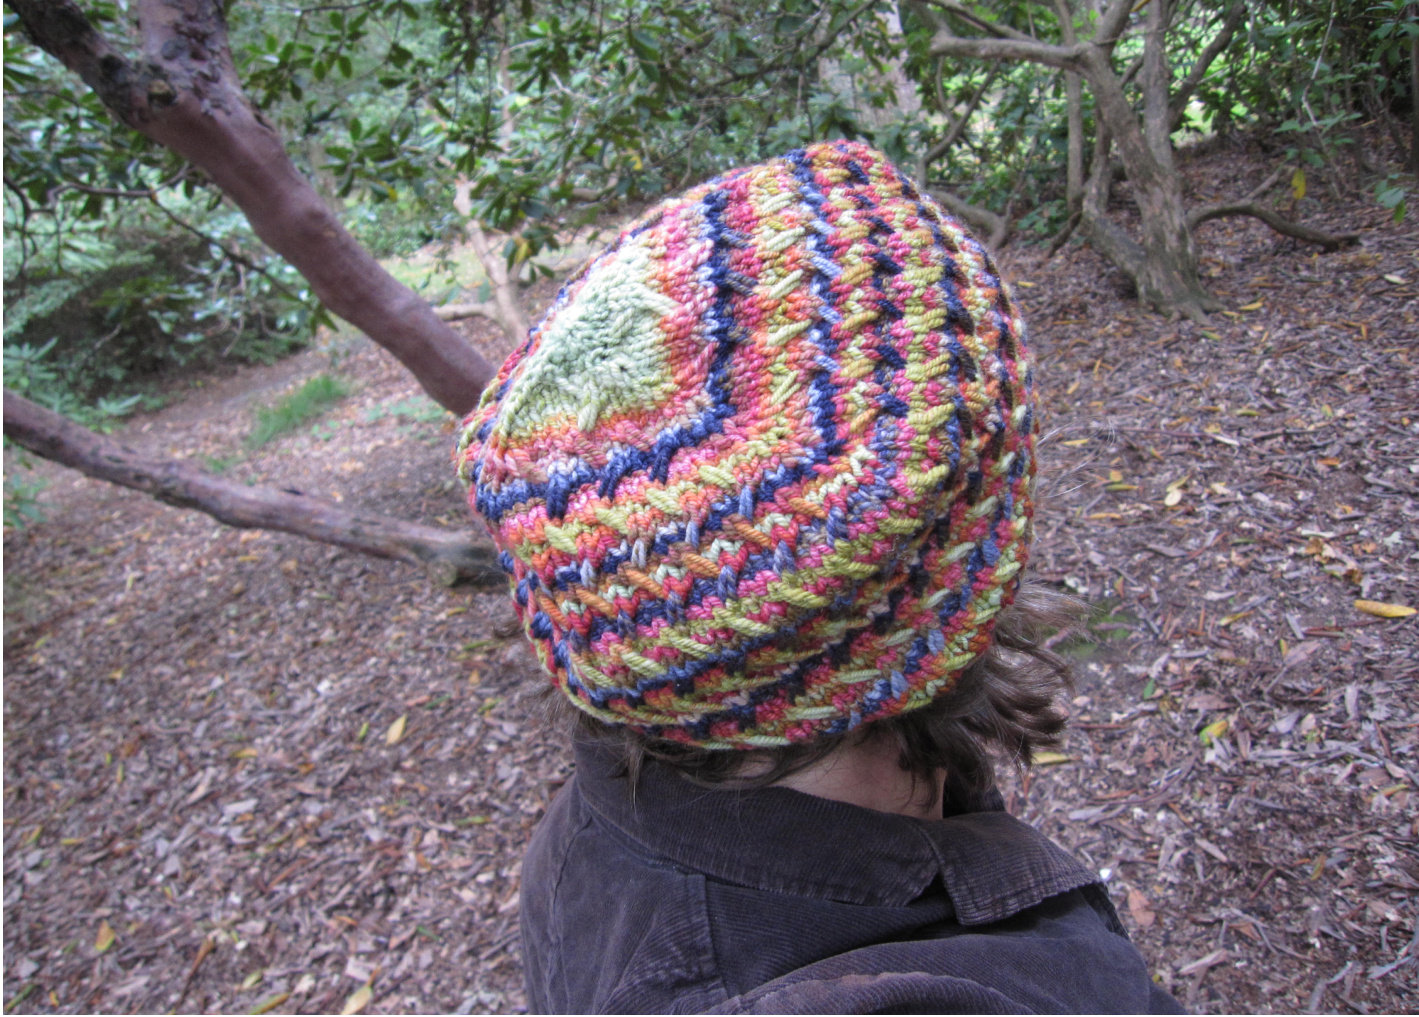
A note on construction: this hat is worked from the top down, increasing 8 stitches every other row at four points around the hat. These increases occur four times per row, with two stitches added on either side of a corner stitch (aka the stitch just before the markers added in row 1 below). The corner stitches are always knitted until you reach the desired stitch count, and thereafter they are incorporated into the already existing pattern. While increasing, the slipped stitch pattern is worked between the corner stitches, incorporating newly made stitches as needed - since the stitch pattern is a four stitch repeat, you'll need to wait until you have four new stitches before you add in a group of newly made stitches. With waste yarn and larger needles, cast on five stitches and work approximately one inch of i-cord. There is a good tutorial on knitting i-cord here - http://www.stitchdiva.com/custom.aspx?id=196. Switch to main yarn. Row 1: knit in the round. Row 2: kfb in each stitch - 10 stitches total. This is a good point to add in more dpns (2-3 stitches per needle) or start magic loop (5 stitches per needle). Row3:knit Row 4: kfb in each stitch - 20 stitches total. If using dpns, redistribute stitches so there are 5 stitches per needle. Row 5: knit, placing markers as follows. K1, pm, [k5, pm], repeat to last stitch, pm, k4. $\copyright$ 2010 Rachel C. Brown/Porpoise Designs. All rights reserved. Pattern may not be used to create items for sale or distribution without prior written permission from the author. Row 6 (increase row): k1, [sm, m1, work in pattern to 1 stitch before marker, m1, k1], repeat to last stitch, m1. Row 7: work in pattern, knitting newly made stitches. Repeat these last two rows, working in pattern between m1 points. The stitch pattern is worked over four stitches, so as you make new stitches along each side, begin working in pattern when you have enough stitches for another repeat. Continue working rows 6 and 7 until you have 140 stitches. Work next row in pattern as established. Next row: k1, sm, [work to one stitch before next marker, m1, k1, remove marker], repeat to end - 144 stitches total. The one marker remaining should indicate the beginning of the round. Continue working in pattern for four inches, ending on row 3 or 7 of the pattern. Next row: k1, k2tog all the way around - 96 stitches. Change to smaller needles, and work in k2, p2 ribbing for 1 inch or desired length. Bind off loosely. Pick out waste yarn i-cord, and using a tapestry needle, thread the yarn tail through the five stitches at the top of the hat and pull tight. Weave in ends on inside, and block. I blocked mine over a plate to get some roundness at the top of the hat, but if you prefer yours to be more slouchy, skip the plate.
ACKNOWLEDGEMENTS
Many thanks to Caroline Boileau for test knitting! $\copyright$ 2010 Rachel C. Brown/Porpoise Designs. All rights reserved. Pattern may not be used to create items for sale or distribution without prior written permission from the author.
STITCH PATTERN
This hat uses a slipped stitch pattern with a twist on rows 3 and 7. It is worked over a four stitch repeat. All stitches are slipped as if to purl with the yarn in back. Row 1: [sl1, k3], repeat to end. Row 2: [sl1, k3], repeat to end. Row 3: [left twist (LT), k1], repeat to end. Row 4: knit all stitches. Row 5: [k3, sl1], repeat to end. Row 6: [k3, sl1], repeat to end. Row 7: [k1, right twist (RT)], repeat to end. Row 8: knit all stitches. Chart:
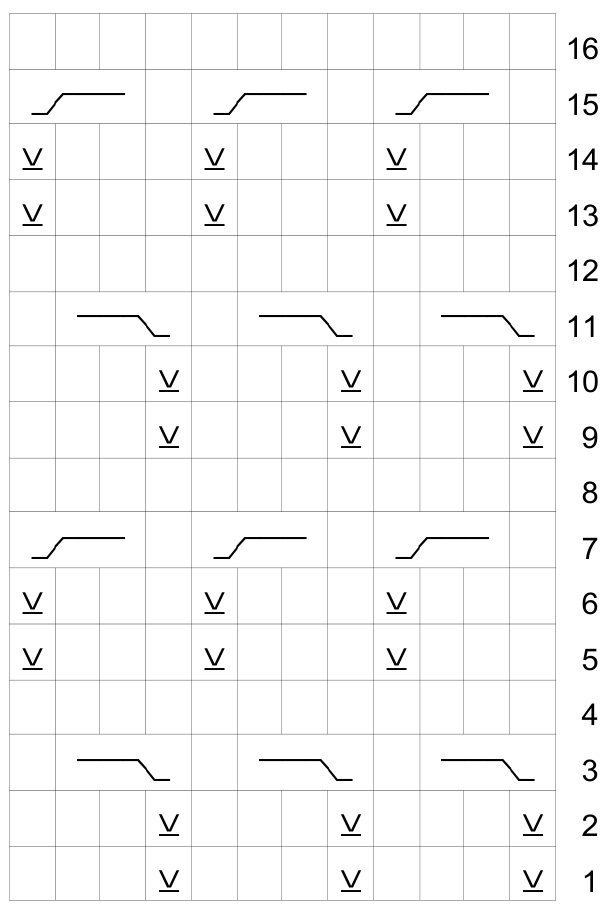

Vslip as if to purl with yarn in back RT: slip first stitch to cable needle, hold in front, k2, knit stitch from cable needle LT: slip two stitches to cable needle, hold in back, k1, knit two from cable needle $\copyright$ 2010 Rachel C. Brown/Porpoise Designs. All rights reserved. Pattern may not be used to create items for sale or distribution without prior written permission from the author.