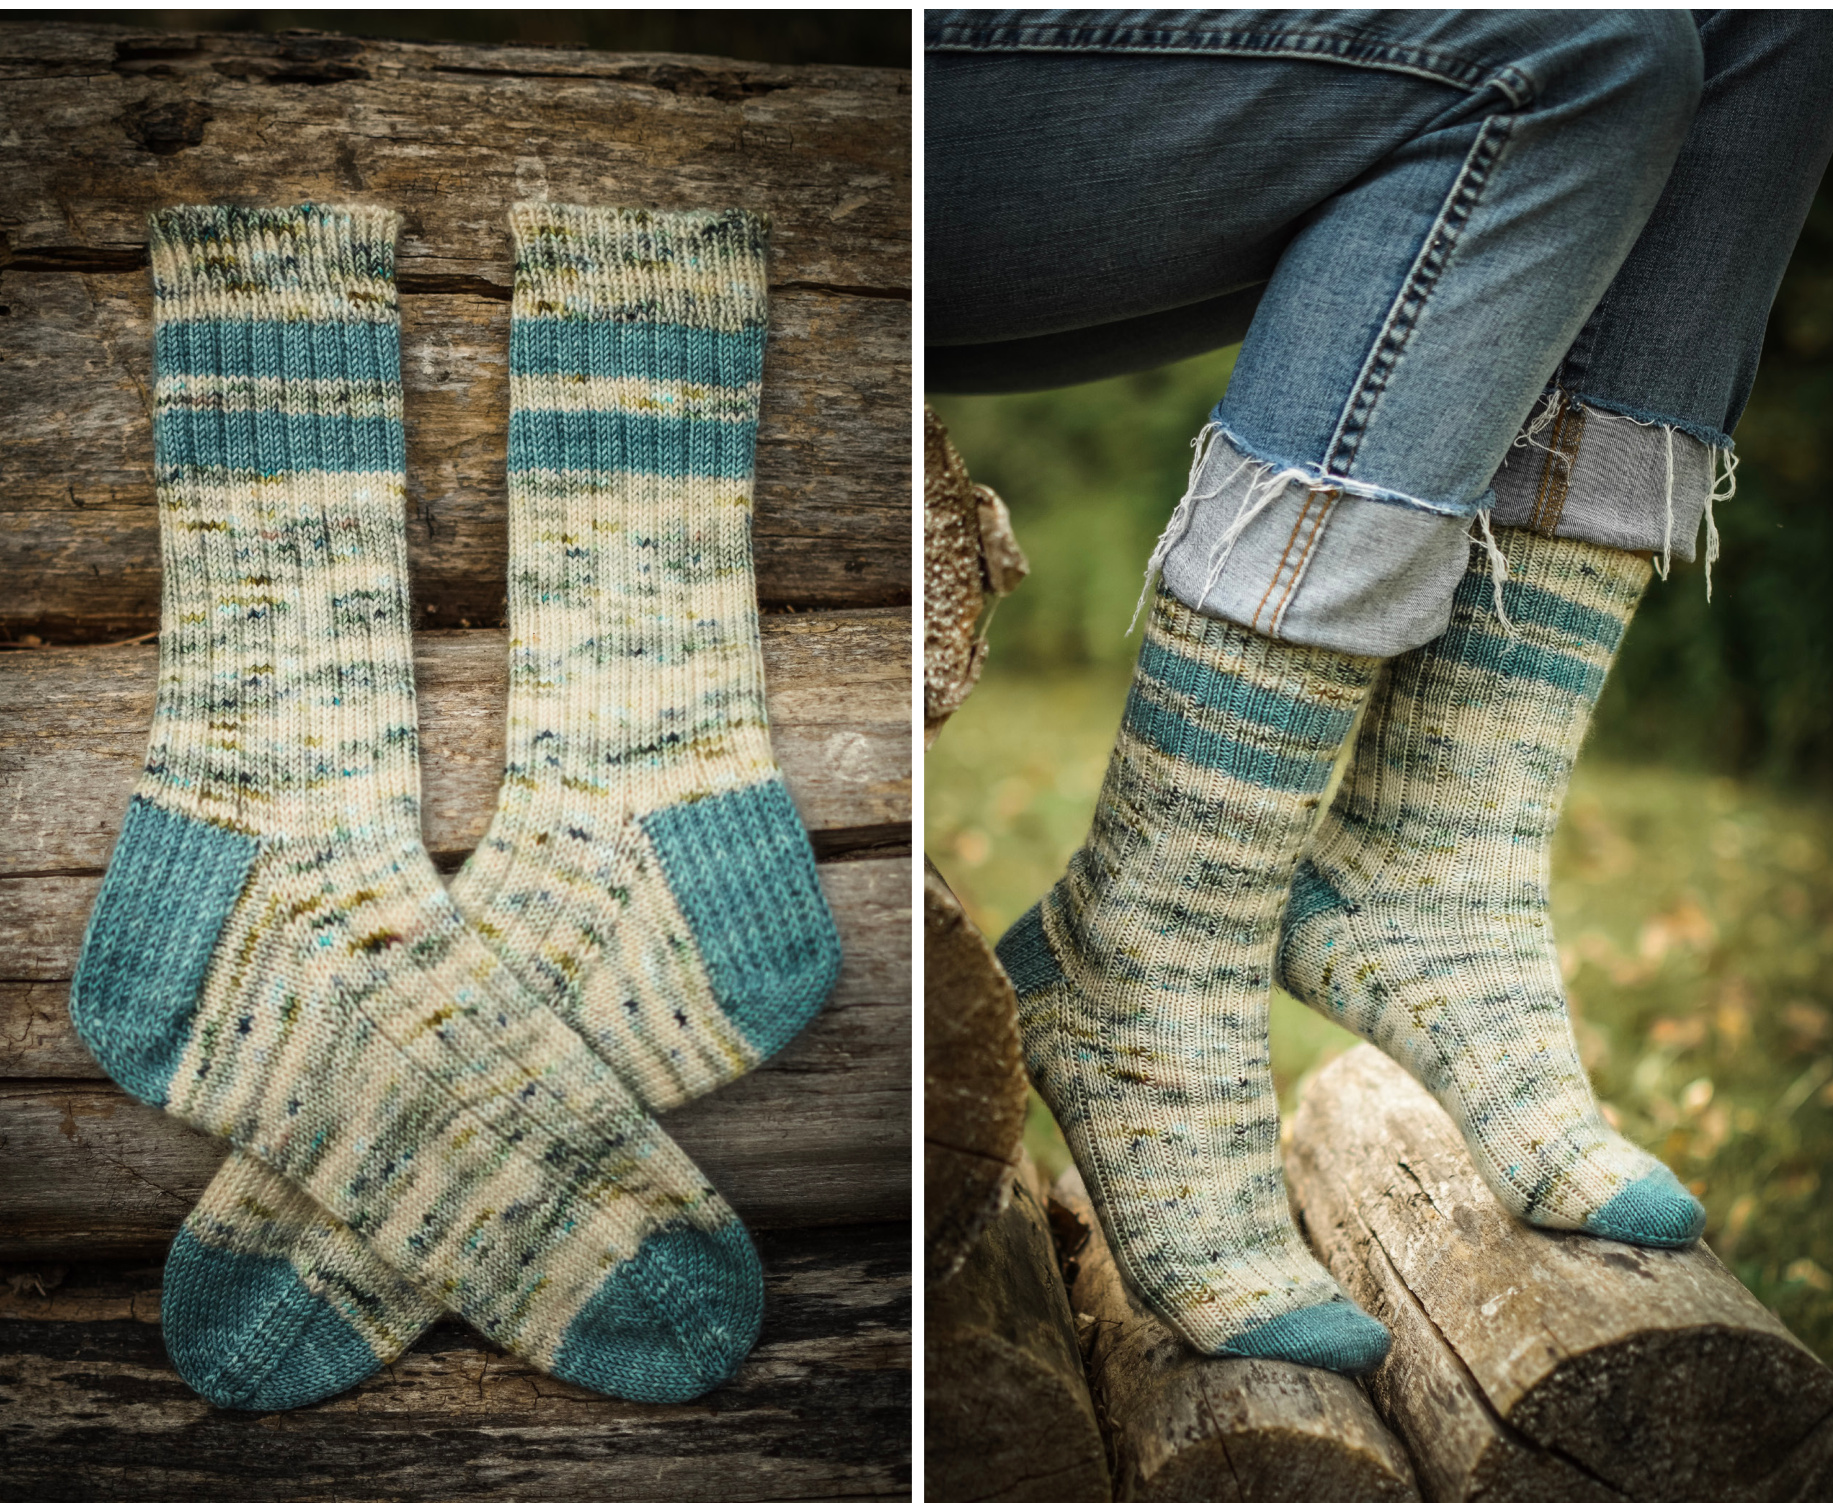
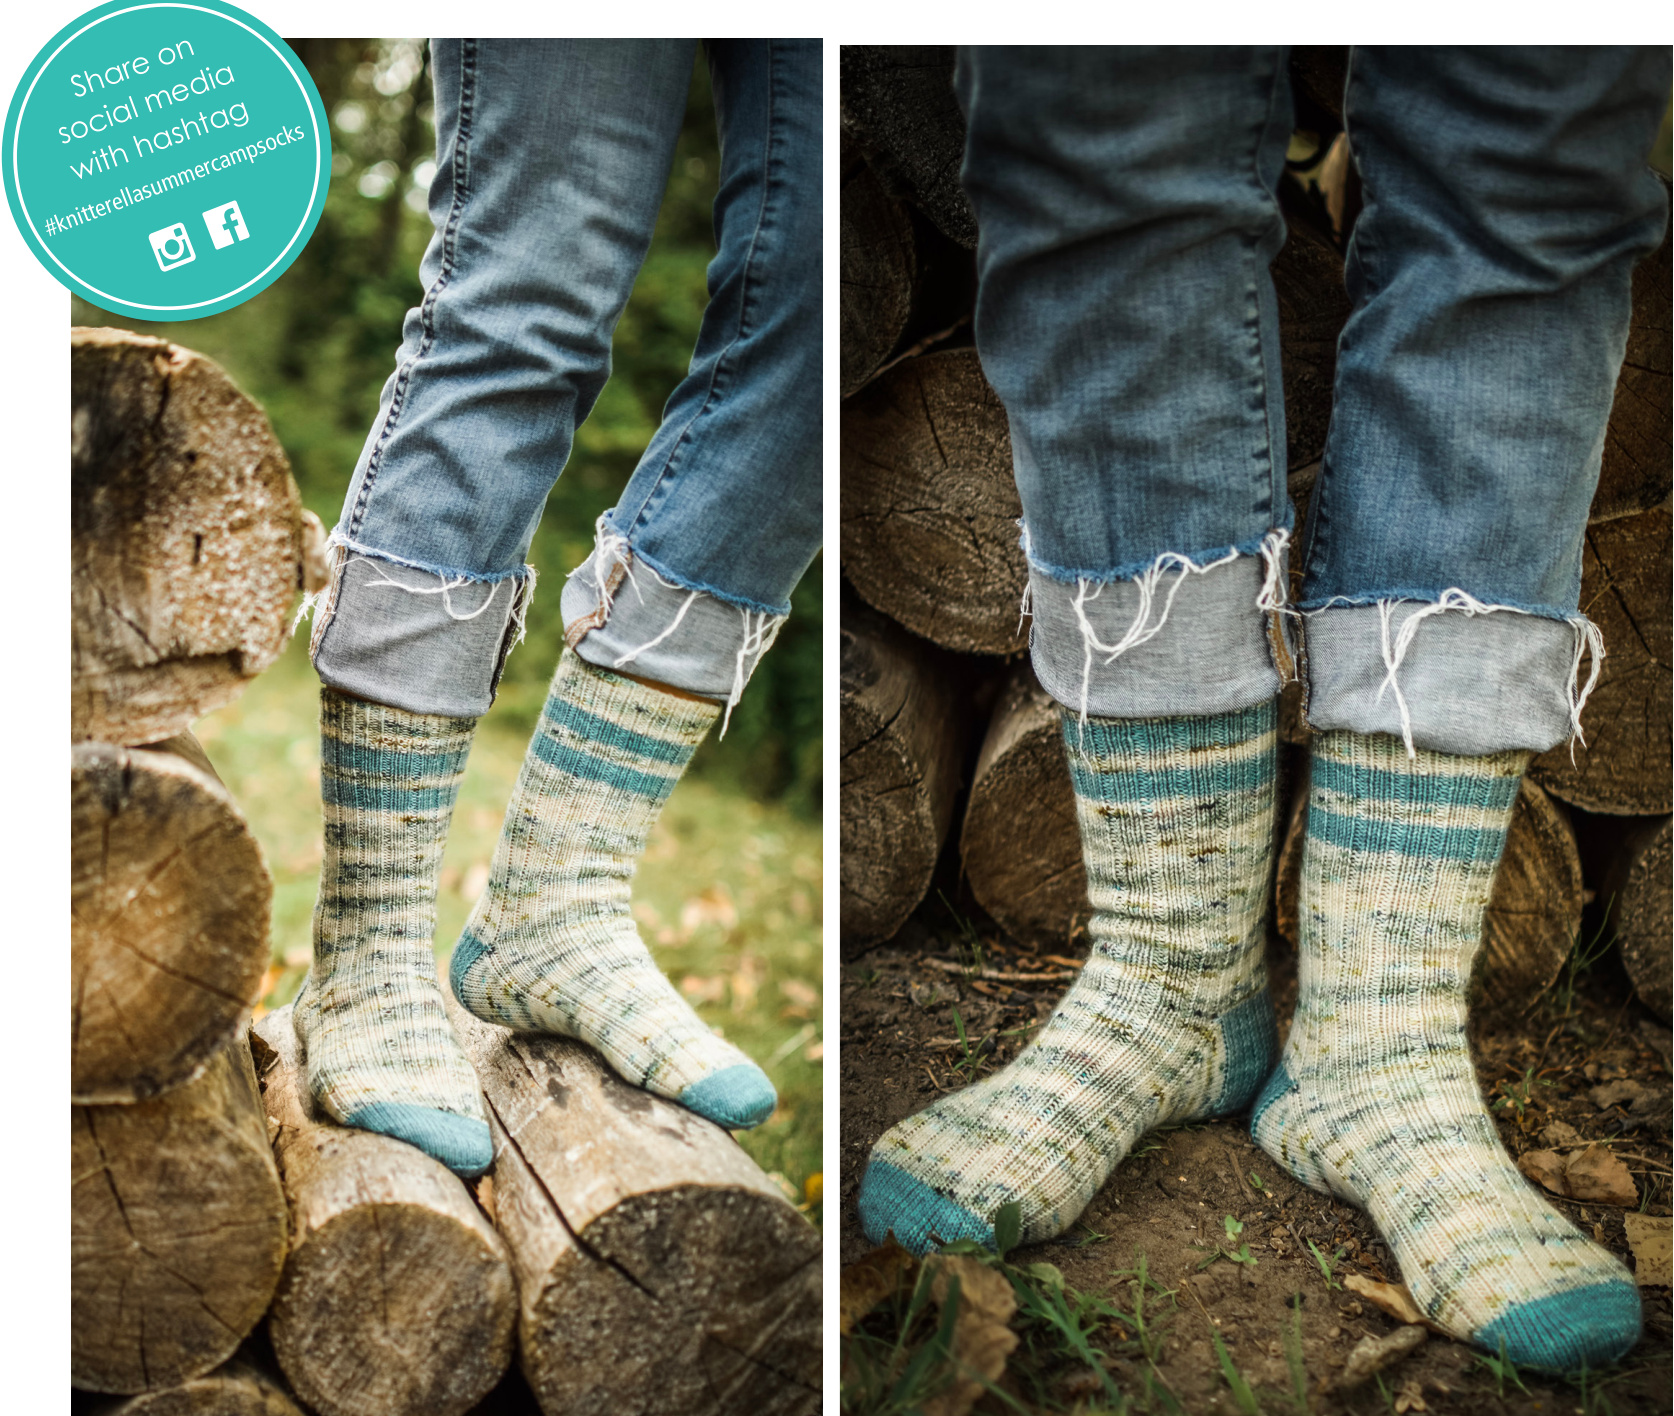
Summer Camp Socks
by Jill Zielinski, aka Knitterella Speckled yarn, color-blocking, and stripes gives a simple ribbed sock a whole lot of character! Options to knit top-down on DPNs or Magic Loop, this fingering weight design is my go-to sock pattern. I hope it will be yours too!
SIZES & YARN
SIZE: Women's Medium (Model shown is a size 7 US)
FINISHEDMEASUREMENTS:
Approx 8.5" / 21 cm foot circumference with foot length adjusted to fit. Sample shown is 9" / 23 cm long.
YARN:
Plucky Knitter Primo Fingering (75% merino, 20% cashmere, 5% nylon; 440 yd / 402 m per 115 g); Northport (MC) and Summer Suit (CC). 1 skein of each color. Or... Fingering Weight yarn in the following amounts: ·Approx 295 yds / 270 m MC ·Approx 85 yds / 77 m of CC
GAUGE:
34 sts x 44 rnds = 4" / 10 cm in Stockinette stitch
NEEDLES:
Needles listed are suggested. Always take time to swatch. · Size US 1 / 2.25 mm set of 5 double pointed needles (DPNs) (DPN directions)—or size necessary to obtain gauge OR · Size US 1 / 2.25 mm 40" circular needle (MAGIC LOOP directions)—-or size necessary to obtain gauge
TOOLS:
Stitch marker(s) and tapestry needle
NOTES:
· This pattern is written for both double pointed needles method and magic loop method. · In sections where both are indicated be sure to choose which method and follow that set of instructions.
ABBREVIATIONS
APPROX: approximately CC: Contrasting color CO: Cast-on K: Knit K2TOG: Knit 2 sts together. 1 stitch decreased M: Marker K2TOG: Knit 2 sts together. 1 stitch decreased M: Marker MC: Main color P: Purl PM: Place marker P2TOG: Purl 2 sts together. 1 stitch decreased REM: Remain REP: Repeat RND(S): Round(s) RS: Right side SL-WYIB: Slip one purl-wise with yarn in back SL-WYIF: Slip one purl-wise with yarn in front SSK: Slip the next 2 sts, one at a time as if to knit, to the right needle. Insert the left needle into the fronts of these two sts and knit them together. 1 stitch decreased ST(S): Stitch(es) WS: Wrong side
DIRECTIONS (make two)
With MC, CO 64 sts. (sample shown uses alternate cable cast-on.) Divide sts evenly over 4 DPNs (16 sts on each needle) or set up to work magic loop method, with 32 sts on each needle shaft. Using either method, join in the round being careful not to twist your sts.
CUFF: (DPN & MAGIC LOOP directions)
Rnd 1: \*K1, p1; rep from \* to end. This establishes 1X1 ribbing. Rep Rnd 1, until work measures approx 1.25" / 3 cm.
LEG: (DPN & MAGIC LOOP directions)
Change to CC Rnd 1: \*K3, p1; rep from \* to end. This establishes k3, p1 ribbing. Rep Rnd 1, until work measures approx .5" / 1.25 cm from color change. Change to MC and continue in k3, p1 rib until work measures approx .25" / .75 cm from color change. Change to CC and continue in k3, p1 rib until work measures approx .5" / 1.25 cm from color change. Cut CC and change to MC and continue in k3, p1 rib until work measures approx 8" / 20 cm from CO edge.
HEEL FLAP (DPN & MAGIC LOOP directions)
Continue in MC, (k3, p1)3x, k3. Turn work. Cut MC and switch to CC, p31. Turn work. Working only on these 31 sts (placing remaining 33 sts on spare dpn or cable if using magic loop method), continue asfollows: Row 1 (RS): \*K1, SL-WYIB; rep from \* to last st, k1. Row 2 (WS): SL-WYIF, p to last st, SL-VYIF. Rep these two rows 15 more times. TURN HEEL: (DPN & MAGIC LOOP directions) Row 1 (RS): K17, ssk, k1, turn. Row 2 (WS): SL-WYIF, p5, p2tog, p1, turn. Row 3: SL-WYIB, k until there is 1 st before the gap, ssk, k1, turn. Row 4: SL-WYIF, p until there is 1 st before the gap, p2tog, p1, turn. Rep Rows 3 & 4 until all heel sts have been worked. Note: On the last row worked will be a row 3 (RS row) and you will only be able to work through the ssk. 18 sts remain
HEEL GUSSET: (DPN directions)
Switch to MC, with empty DPN and RS facing (this will be called needle 1) pick-up and k16 sts from heel selvedge, work the 33 sts from the instep in pattern (these sts will be on needle 2 & 3), with empty DPN (this will be called needle 4) pick-up and k16 sts from heel selvedge, k9, pm (this m will be the new beginning of round starting at center back of heel.) Rnd 1: K to 3 sts from end of needle 1, k2tog, k1. Work instep sts from needle 2 & 3 in established pattern. At beg of needle 4, k1, ssk, k to end. (2 sts decreased) Rnd 2: Work in established pattern to end. Rep Rnds 1 & 2 until 65 total sts remain.
RIGHTSOCKONLY:
Rnd 1: K to 3 sts from end of needle 1 k2tog, k1. Work instep sts from needle 2 & 3 in established pattern. On needle 4, k to end. (1 st decreased)
LEFT SOCK ONLY:
Rnd 1: K to end of needle 1. Work instep sts from needle 2 & 3 in established pattern. At beg of needle 4, k1, ssk, k to end. (1 st decreased) 64 sts rem. If necessary, rearrange sts on DPNs to have 16 sts on each needle.
HEEL GUSSET (MAGIC LOOP directions)
Switch to MC and with RS facing, pick-up and k16 sts from heel selvedge, pm, work the 33 sts from the instep in pattern, pulling sts onto cable and establishing magic loop half way across instep. Pm and pick up and k16 sts from heel selvedge, k9 and pull sts onto cable. The middle of the 18 heel sts (center back heel) is now the new beginning of the round. Continue keeping magic loop as established. Rnd 1: K to 3 sts from marker, k2tog, k1. Work across instep sts in established pattern to next marker, slip marker, k1, ssk, k to end. (2 sts decreased). Rnd 2: Work in established pattern to end. Rep Rnds 1 & 2 until 65 total sts remain.

RIGHTSOCKONLY:
Rnd 1: K to 3 sts from first marker, k2tog, k1. Work instep sts in established pattern. k to end. (1 st decreased)
LEFTSOCK ONLY:
Rnd 1: K to second marker (slipping first marker and keeping instep sts in pattern) k1, ssk, k to end. (1 st decreased) 64 sts rem.
FOOT: (DPN & MAGIC LOOP directions)
Continue in established pattern until foot measures approx 2 " / 5 cm less than desired foot length. TOE: (DPN directions) Switch to CC. Knit one rnd, shifting the last instep stitch onto the needle which contains the foot sts. You should now have 32 sts for the top of the toe and 32 sts for the bottom. Rnd 1: Needle 1, k to last 3 sts, k2tog, k1; Needle 2, k1 ssk, k to end; Needle 3, k to last 3 sts, k2tog, k1; Needle 4, k1, ssk, k to end. (4 sts decreased) Rnd 2: K to end. Rep Rnds 1 & 2 until 32 sts rem. Rep Rnd 1 only until 12 sts rem. K sts from needle 1 onto needle 4. Sl sts from needle 2 onto needle 3. There will now be the same number of sts on each needle (6 sts on top needle and 6 on bottom).
TOE: (MAGIC LOOP directions) Switch to CC.
Knit one rnd, removing all markers shifting the last instep stitch onto the needle which contains the foot sts. Knit across the 16 foot stitches of the next round and draw up your needle to create a new beginning of round. Arrange stitches so that 32 instep stitches are on one needle shaft while remaining instep stitch and foot sts are on the other. Rnd 1: (first needle) \*k1, ssk K to 3 sts before end of needle shaft, k2tog, k1. Repeat from \* on second needle shaft. Rnd 2: K to end. Rep Rnds 1 & 2 until 32 sts rem. Rep Rnd 1 only until 12 stS rem. 6 remaining original instep sts are on one needle shaft and 6 remaining original toe sts are on one needle shaft.
FINISHING:
Cut yarn, leaving a tail approx 12" / 30.5 cm in length Kitchner stitch / graft rem sts together. Weave in ends. Block, if needed.
If you like this pattern, check out... Summer's End Shawl Visit Knitterella.com for more original patterns for knitters!