WIRE AND PEARL CUFF
Designed by Julie Weisenberger
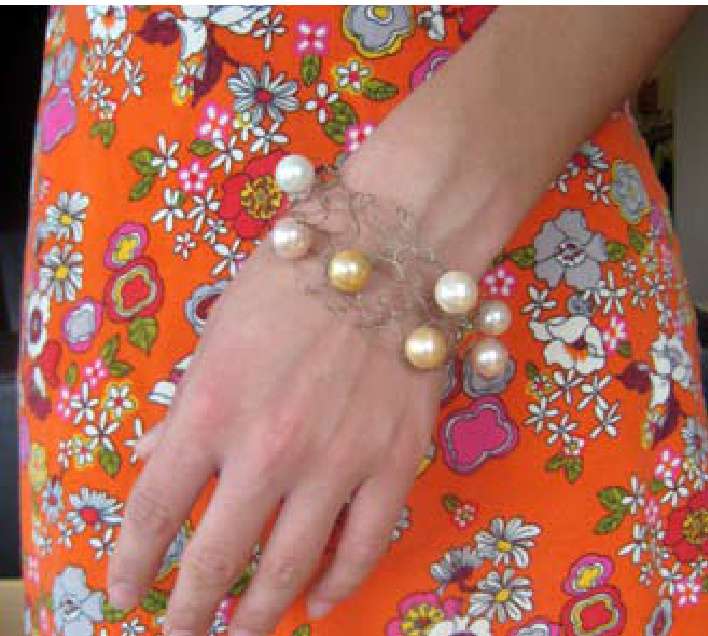
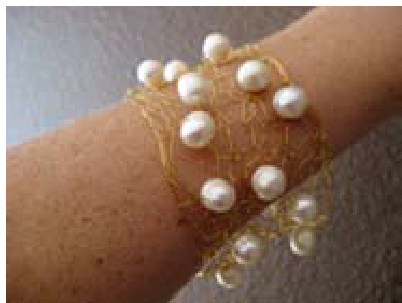
A few years ago I saw a fabulous wire and pearl bracelet at the jewelry store Viva! in Puerto Vallarta, Mexico (sadly out of business now). I picked up some sterling wire and freshwater pearls at the bead store down the street (La Piedra) and started messing around. Even on tiny needles I could never get the stitches even and tidy, so over time I used bigger and bigger needles and the cuffs were ever chunkier and more organic looking. I've decided that the bigger and sloppier the stitches, the more interesting the finished product looks! And it's fun to pick up galvanized wire from the hardware store and mix it with lovely pearls to give as gifts.. a great conversation piece. The directions are really just a guideline... have fun experimenting with different types of wire, needle size and beads and see what you comeup with!
Skills Needed
General knitting knowledge.
Finished Size
Custom (see directions for sizing).
Materials
Wire
The amount will vary greatly depending on the width of your cuff; 1 oz of sterling will yield several cuffs. · Galvanized steel will not rust; you'll want 28-30 gauge, available at hardware stores or floral wire on a paddle from the craft store. · Sterling will tarnish (but polishes); you can use 26-28 gauge, available at bead stores. · Gold filled with copper core, I used 30 gauge, it's quite soft, available at bead stores.
Notions
Freshwater pearls, between 15 and 25 for each cuff.
Needles
Note: I prefer metal needles for knitting wire - and don't expect to use them for anything else - the wire will scratch them! ■#ll on 28 gauge galvanized and 26-28 gauge sterling. · #9 on the 30 gauge gold and copper wire.
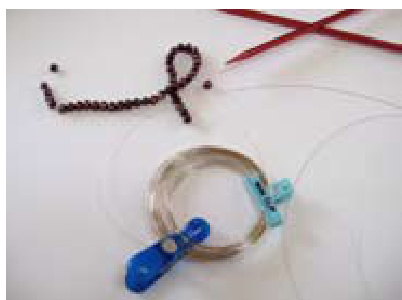
Gauge Knitter's preference. Abbreviations See cocoknits.com Note: If your wire comes from the hardware or craft store, it may be packaged in a spool or on a paddle that keeps it tidy. I find the most important aspect of this project is managing the wire! If your wire is loose, to keep it from springing all over the place and tangling, use chip clips or large paper clips like those pictured. I keep it clipped and tidy, unwinding just enough to work with every row or two.
Directions
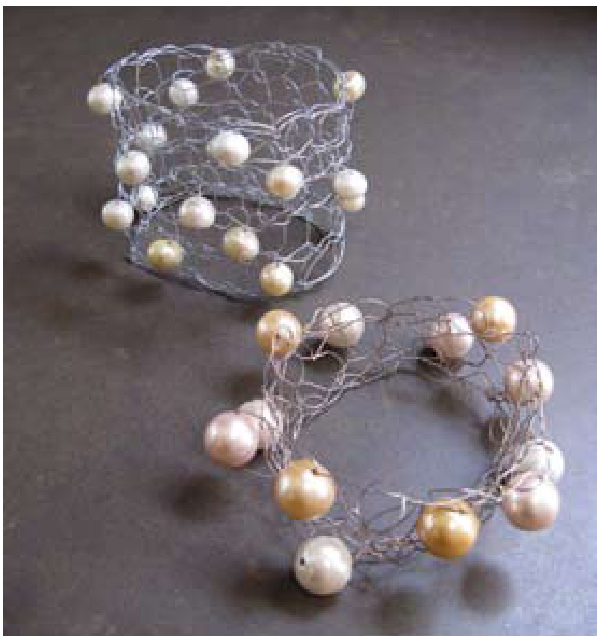
Note: The cuff is knitted back and forth widthwise, then grafted together with the provisional cast-on. It slips on over the hand, there is no clasp. Pre-string pearls onto your wire, err on the generous side!I seem to use between 15 and 21 per cuff but pre-string 25 to be on the safe side.
Cast on for the width of the cuff:
For the sterling with huge pearls, it was only 3 sts. For the finer gold cuff, it was 8 sts. I usually do around 6 sts.
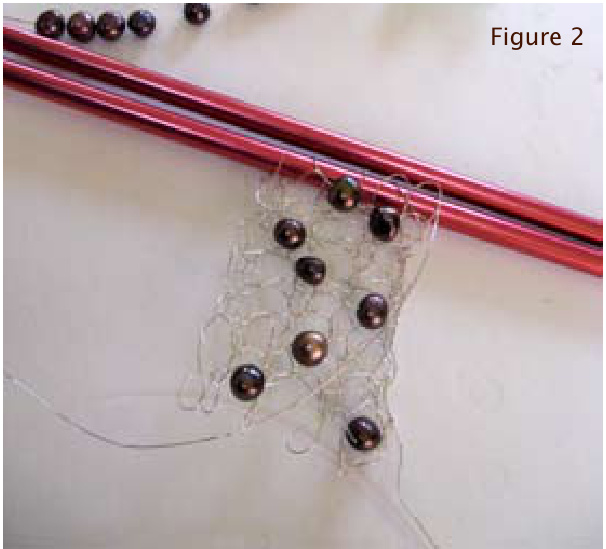
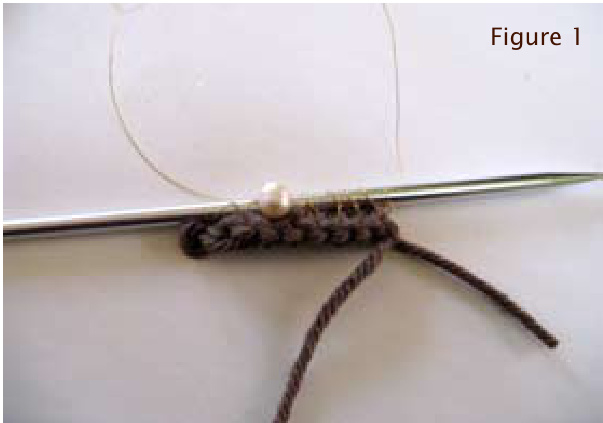
You can just see the circ needle running through the bottom sts. You can cast on with scrap yarn which you will later cut away (figure 1) or use a provisional with a circular needle [figure 2 (see knittinghelp.com)]l. Slip the first st of each row and work either in Garter st or St st. The majority of those pictured are Garter st, it's hard to even tell the difference and Garter st is easier to do. Begin placing pearls (l do it completely at random) in the second row after CO (or first if using circ needle CO). Place beads as follows: (note, if using garter st, you decide which is RS and Ws). On RS: knit to where you want the pearl, bring yarn to front, slide pearl up, sl next st wyif, bring yarn to back locking pearl in place at front and cont knitting. On Ws: knit to where you want the pearl, keeping yarn in back slide pearl up, sl next st wyib, then cont knitting locking pearl in place on the back (RS). Cont placing pearls as desired and when you can stretch the cuff around the largest part of your hand (it has to slide on over your hand) you are ready to graft. You can arrange sts on two needles and perform Kitchener st but I find it easier to graft the live sts... with wire you don't really have to worry much about the sts unraveling! If you have a knitted co, cut away the yarn. Flatten your live sts (make sure you don't twist them).
Curl the cuff with RS facing out and bring the two ends together to graft: st, down through the neighbor. When you go back to the other side, always go through the last st again... each st is secured by wire twice. Keep the tension the same as your knitted tension and you'll have a seamless cuff.
Finishing
The best way to hide the ends and keep them from snagging things is to run them through a pearl and then cut the wire flush with the pearl (it helps to have needle-nosed pliers for beading to achieve this).
Use either wire “tail" for grafting as long as it is about 3 times the width of your cuff. You graft by bringing the wire up through one st, and then down through the neighboring st, then on the other side up through one You can “block" your cuff by pulling width and then lengthwise to even out the stitches a bit, but it will never be perfect looking... that's the point!
Enjoy!
The pattern and photographs contained in this document are the property of cocoknits. This pattern is available for personal use only. No unauthorized reproduction, in whole or in part, or distribution of this pattern or content is allowed, Copyright $\circledcirc2008$ www.cocoknits.com


