QUINNSCUTEHAT FROMGLEE
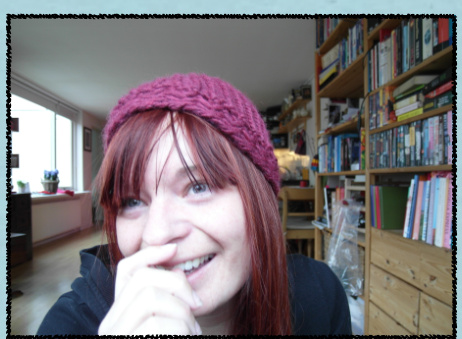
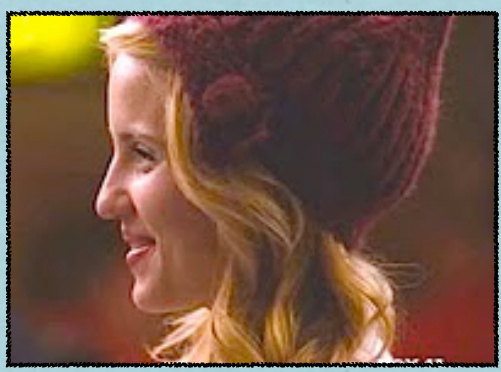
KNITTYGRITTY I love Glee! And this week I was thrilled by the "must have cute" hat Quinn was wearing in the first minutes (right after Sue-icide).
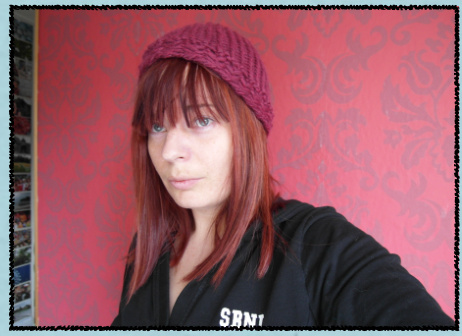
ORGINAL DESIGN BY MARIEKE WENNING I have been fooling around with some yarn and I am pretty pleased with the hat that emerged. It is not an exact copy, but has its own charmes :) ABBREVEATIONS: CO: CAST ON K1: KNIT ONE P1: PURL ONE YO: BRING YARN OVER NEEDLE WITHOUT KNITTING KTBL: KNIT TROUGH BACK LOOP K2TOG: KNIT TWO STITCHES TOGETHER WYB: WITH YARN HELD BACK
Materials needed:
> 6mm dpns (or if you prefer wire that's okay too) >5mm crochethook > stitchmarkers > 2 skeins of Drops Eskimo in colour 050 (burgundy red) Or 100-150 meters of any Super Bulky thread Hat is worked on unusual needles for this yarn thickness, but it will give the hat some firmness.

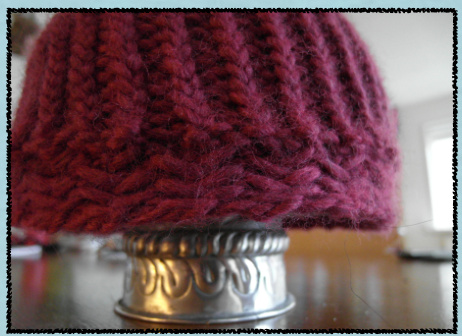
Pattern can be found on Ravelry: http://www.ravelry.com/patterns/ library/quinns-cute-hat-from-glee Orginal screenshot Herringbone rib band
Instructions:
Herringbone rib:
Band:
R1: k1, \*yo,slip 1 st pwise wyb, k2, pass slipped stitch over both knit st\* repeat between \*\* till end of round. Step 1: Co 71 st (81 for med), join round. Place marker for beginning of round. If working with dpns: co 18-17-18-18. (21-20-20-20) R2: \* k2, pass them both back to left needle, pass 3rd stitch over both st, pass st back to right needle, yo\* repeat between \*\* till end of round, k1 Step 2: Work in Herringbone rib for 8 rounds, or more if desired. If the herringbone gives you "great grieve" you can also cast on 70 (80) st and work in seedstitch: r1: \*k1,p1\* repeat till end of round r2: \*p1,k1\* repeat till end of round The first row starts with the extra stitch and the second row ends with the extra stitch, that way the yo shifts. Otherwise you will have visible holes.. Don't forget the yo otherwise you will be decreasing!
Head:
ktbl1,p1 rib for 20 rounds. (ktbl= knit through the back loop. Insert needle in back of st.) Step 3: Purl 1 round, purl last two stitches together, now you have 70 (80) st. Shift first st, so that every round starts with purl st. This can easily be achieved by shifting every first ktbl st to left needle if working on dpns. Or shifting marker that indicates the beginning of the round one place backwards if working on wire.
Crown:
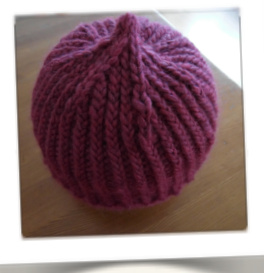
Crown step 1: Place marker after every tenth st. The last st before marker is a ktbl st. Crownstep2: R1: K2tog before every marker, working p1, 1ktbl rib for the rest of the round. R2: Next round will not have decreases, it will just be worked in rib. Purl the purl stitches and ktbl the ktbl stitches. Do this twice. So: decrease round, pattern round, decrease round, pattern round. Crown step 3: k2tog before marker every round till 14 (16)st remain Crown step 4: K2tog repeat till 7 (8)st remain Crown step 5: Knit all stitches 2 rounds,this will create the little point. Crown step 6: Cut thread, pull trough all the remaining stitches using a crochet needle, pull close from the inside. Weave in ends.
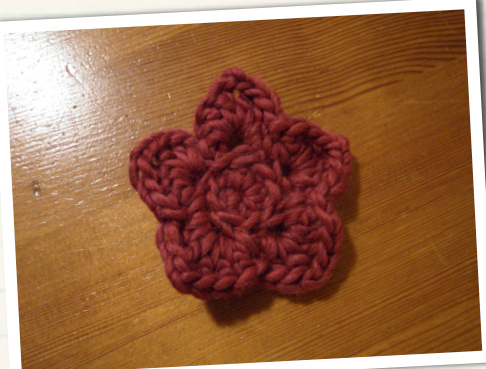
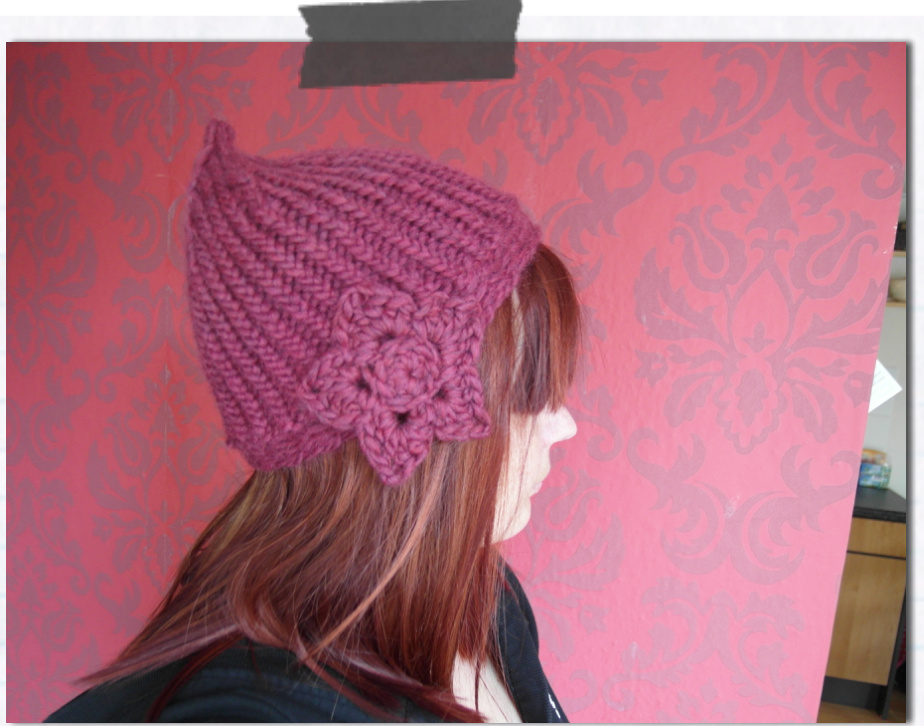
Crochet flower/ Star:
Ch 3, join to make ring with sl st. Make crochet flower or other applique, here is one example using 5 mm hook: Round 1: ch2 (count as hdc), 9 hdc in ring, sl st to second ch of beg. ch2. Round 2: \*ch3, skip 1 hdc, sc in next hdc\*. Repeat from \* around ending with sl st to previous joining st. (5 ch loops) Round 3: \*3 dc in next ch3 loop, ch2, 3 dc in same ch3 loop, sc in next sc.\* Repeat from \* around, ending with sl st to previous joining st. Sew on side of hat. Give it a little soak in special wool detergent, squeeze out water gently, roll up in towel, step on towel with hat in it for a bit, remove towel, pull in shape, if possible drape over bowl or other dome, let dry.
And wear with Glee :)
COPYRIGHT
The entire contents of this pattern and the knitted design to which it refers are subject to copyright. In obtaining this pattern you have aquired the the right to print and use for personal non-commercial use. Without the express permission of M.Wenning you may not distribute or sell electronic or paper copies of this pattern in any way. Nor may you sell any items produced using the directions of this pattern on larger scale. If you wish to sell one or two items please contact designer for written permission:
Block:
kiein@hotmail.com PATTERN SUPPORT Pattern support is provided free of charge. If you have any questions, or think you may have found an error, please email:

kiein@hotmail.com