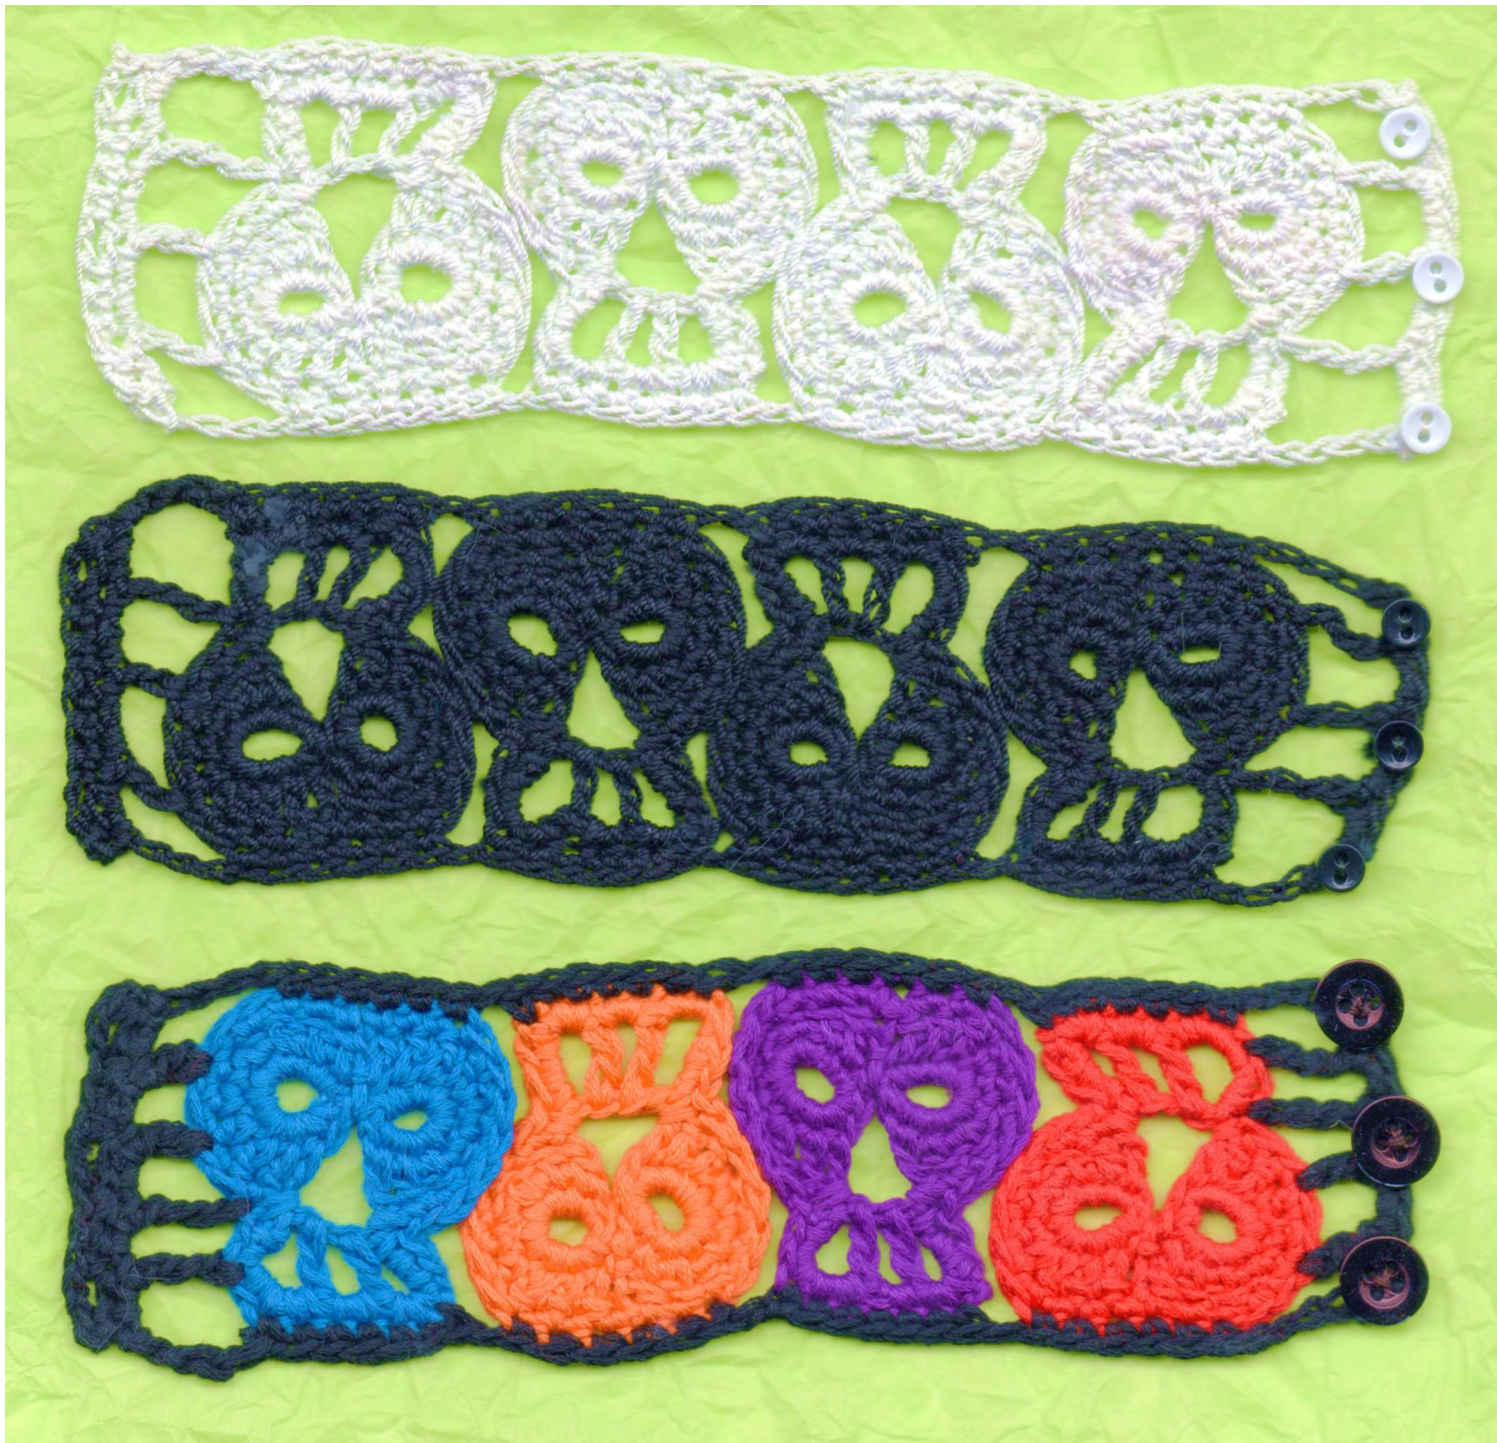
Quartet Day of the Dead Bracelet
Materials list
size 1.85 mm crochet hook For the solid color bracelet: crochet cotton #10 or 5 skeins embroidery floss For the multi colored bracelet 5 skeins cotton embroidery floss red, purple, turquoise, black, orange large eye tapestry needle 3 small buttons needle and thread
Abbreviations
sl st: slip stitch ch: chain SC: single crochet hdc: half double crochet tr: triple crochet st: stitch sk: skip beg: beginning
Help: annierobic@yahoo.com
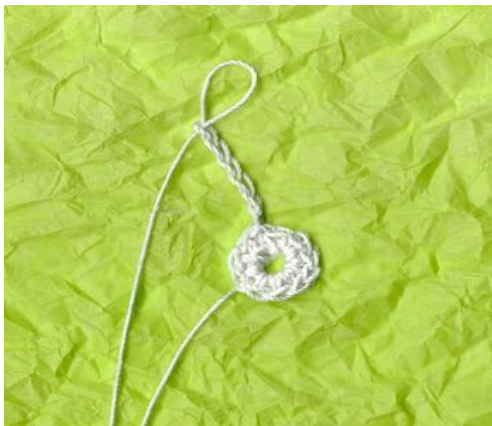
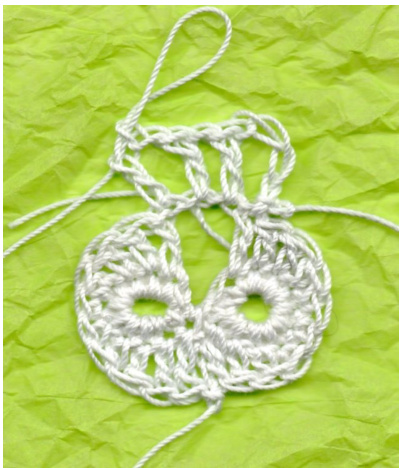
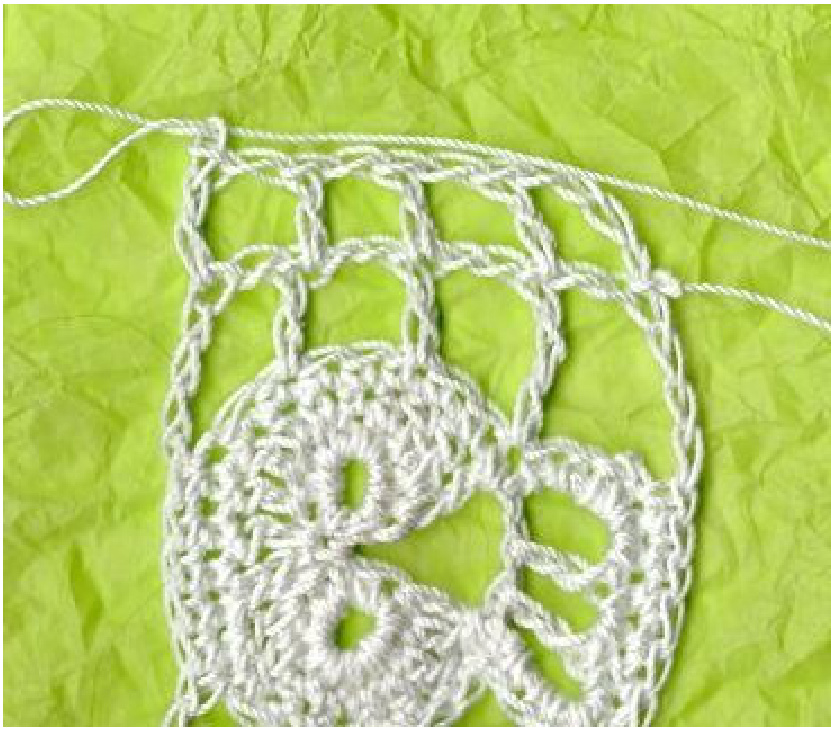
Skull #1
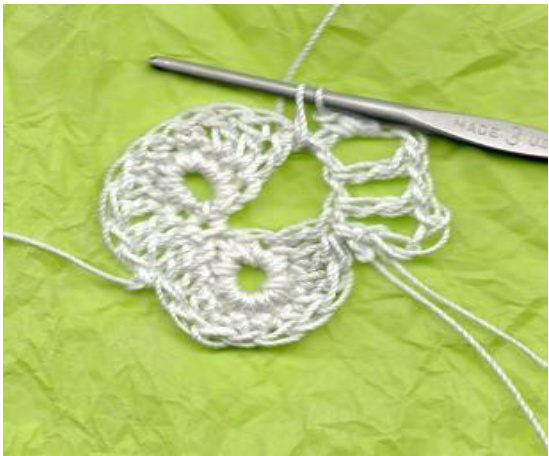
Round 1. Eye 1: Ch 5. Join with a sl st to form a ring. Ch 1, work 10 sc around chain. Join in 1"t st.
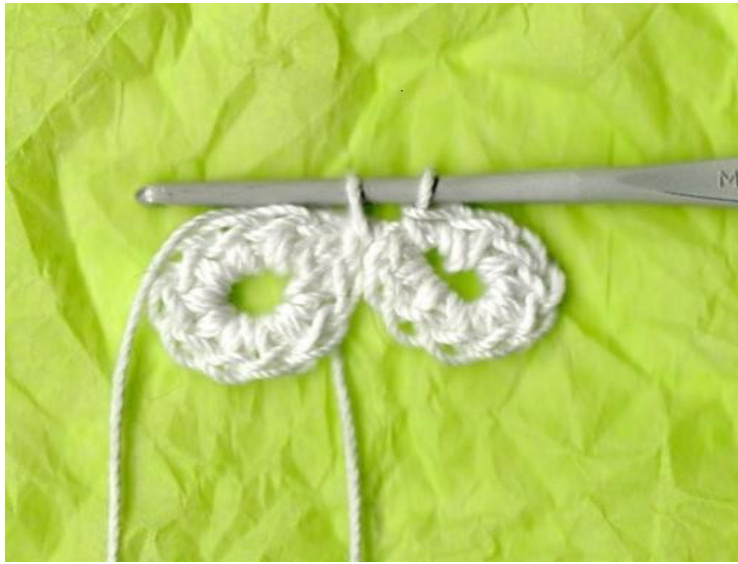
Eye 2: Ch 6, join in base of chain to form second loop.
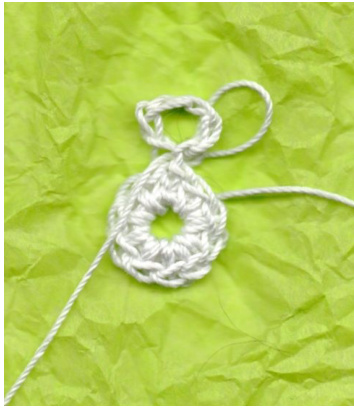
Ch 1, 10 sc around ch, join with a slip st in space between eyes.
Round 2: Forehead Cheeks & Nose
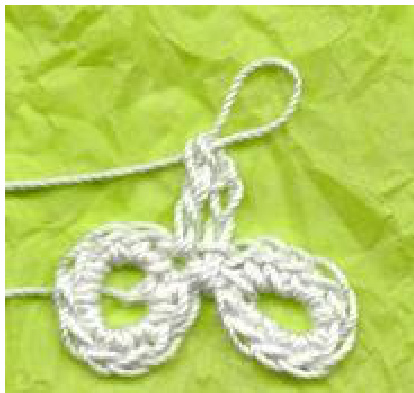
Ch 2. Dc in next 2 stitches, hdc in next, sc in next 2, hdc in next, 3 dc in next 3, ch 3 for base of nose. Skip last st on 1st eye, and first st on 2d eye. Dc in next 3 stitches, hdc in next, sc in next 2, hdc in next, dc in last 3, join to top of ch 2. End off
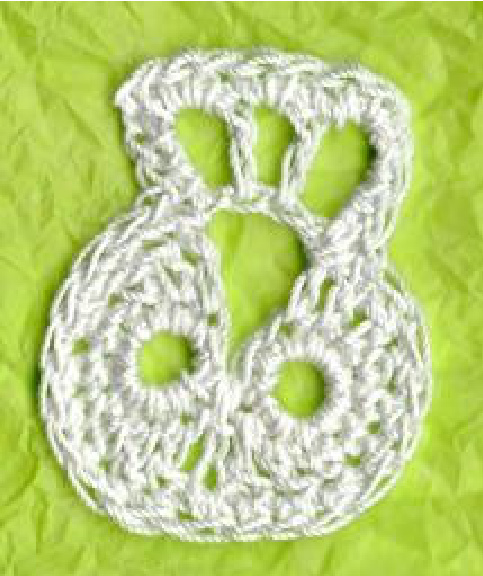
Teeth
Join thread in first loop of ch 3 at base of nose. Ch 4, {dc in next chain, ch1} 2 times,
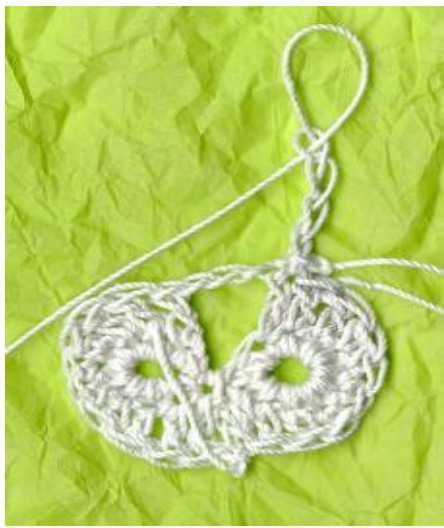
end dc in last ch 1 sp.
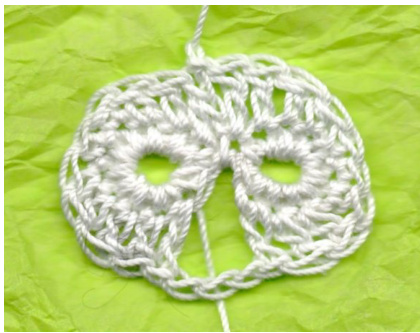
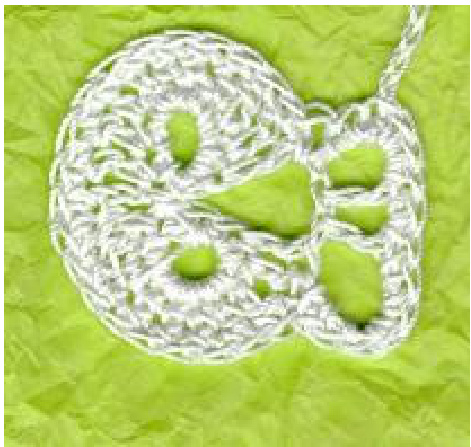
Last Round
Ch 1, turn skull 14 to the right. Piece will be right side up with teeth on right. Working down the last dc of the last row, sc around dc 2 times, sc tightly around next st at corner of nose.
Sc in each stitch around to next side of nose. Sc tightly around st in corner of nose.

Work 5 sc around chain that makes first tooth. 2 sc in next ch 1 sp, 2 sc in last ch 1 space, join in 1 sc and end off.
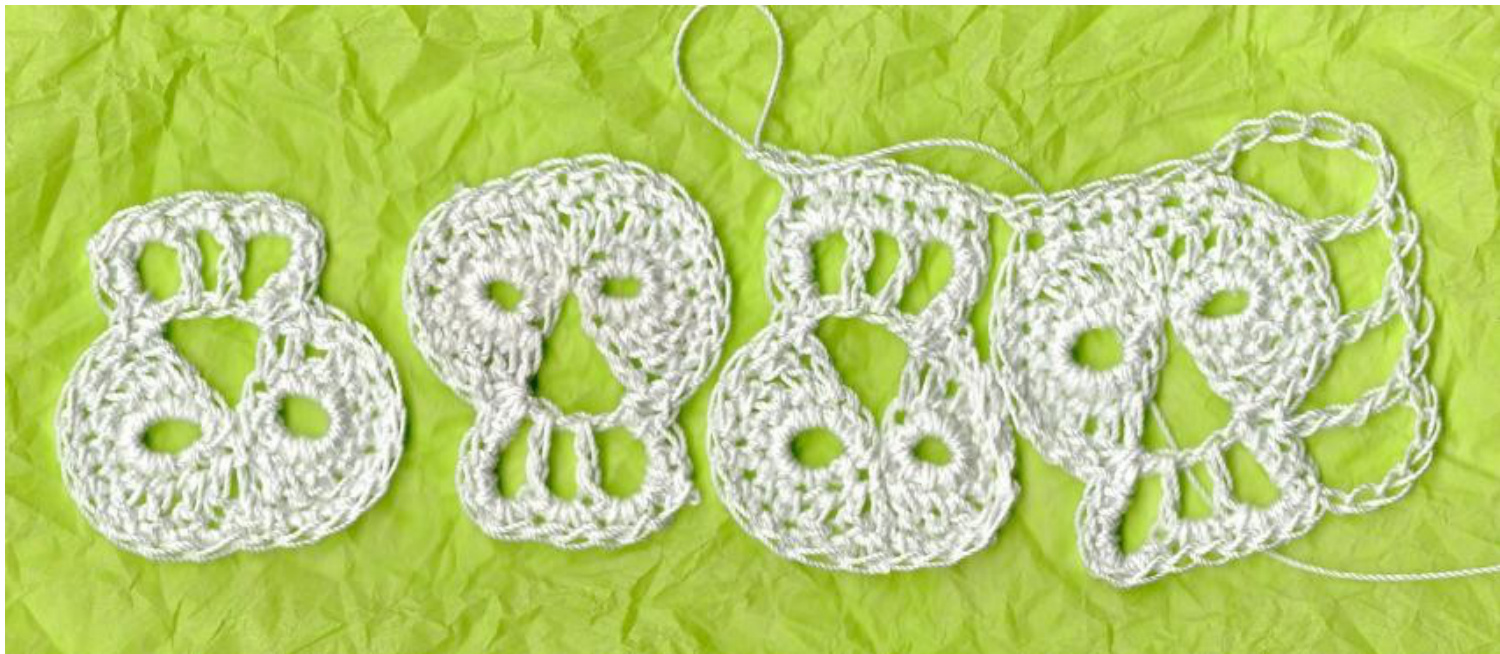
For solid color bracelet make 2 more skulls the same way. Make skull #4 the same way but do not end off. Join and chain 6. For Multi colored bracelet, make 4 skulls, 1 in each color. Join black in same st as the one you ended off, ch 6 and continue as for solid color.
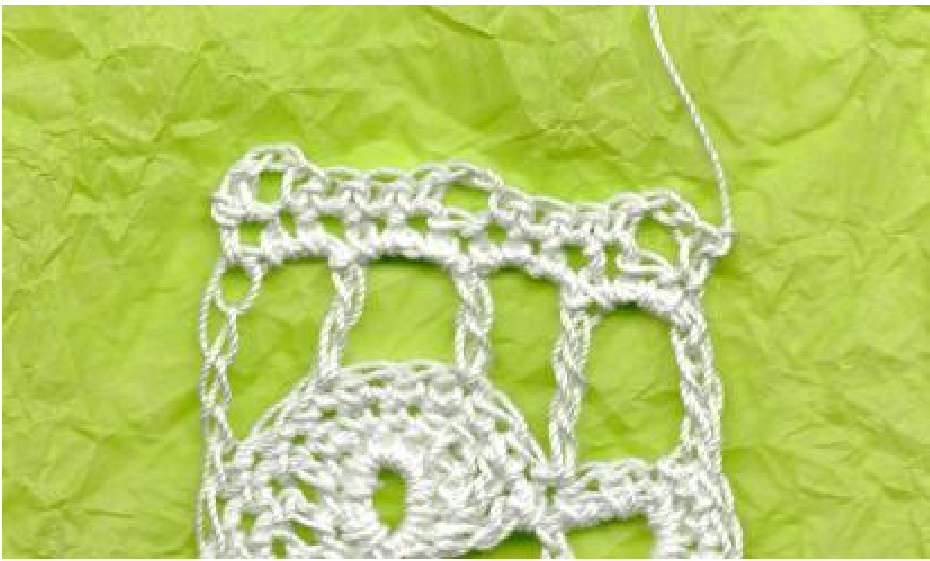
!st End of Bracelet
Working along jaw, sk 1 st, tr in next st. Chain 2, sk 2 sts, dc in next. Ch 2, sk 2 sts, dc in next. Ch 6, sk 1 st. Sc in center 6 sts of top of skull. Chain 1. Check to see that you have centered the stitches, and the skullis hanging evenly. You may have to adjust the placement of the sc at this point .
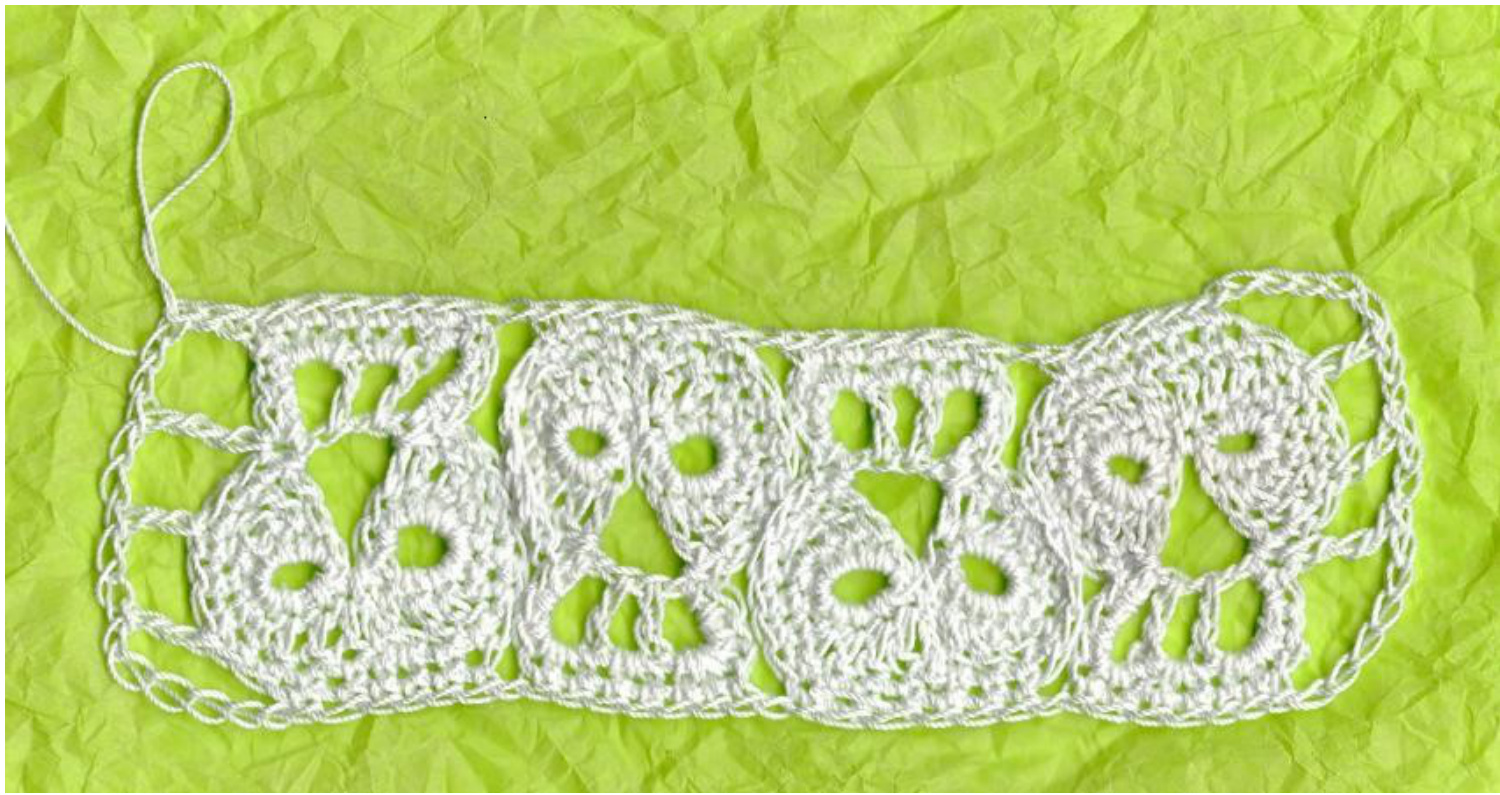
Joining skulls to form Bracelet
Lay the skulls out right side up, alternating upside and down.
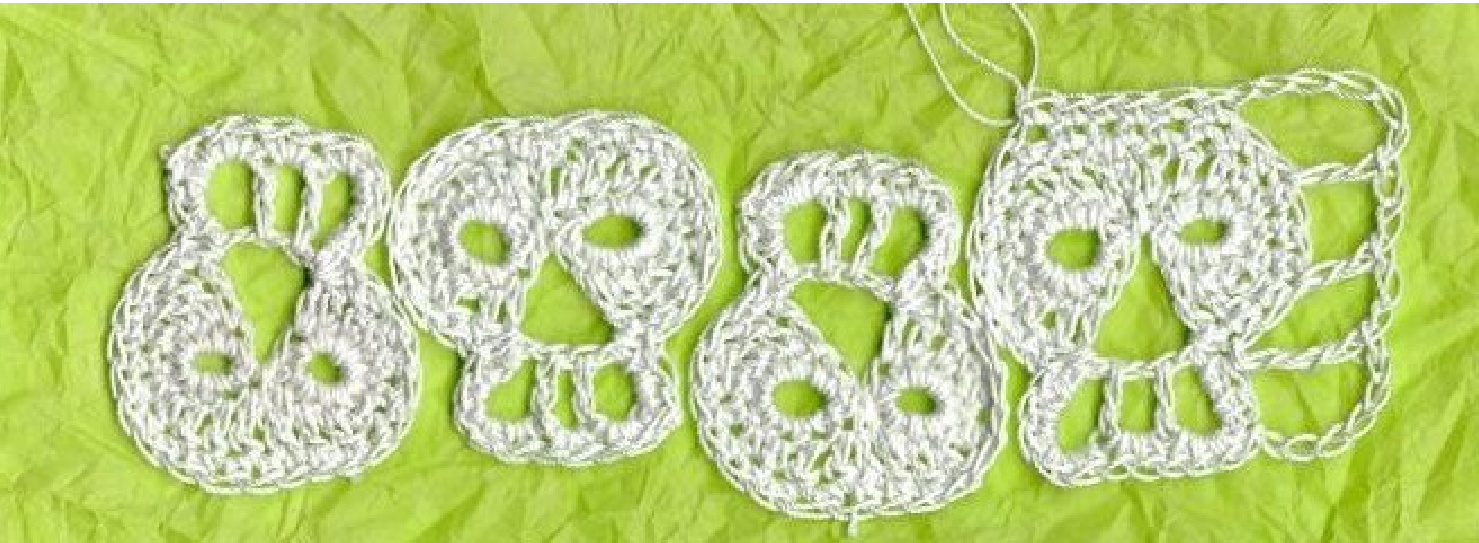
Work 1 sc in next 7sc across the jaw of the 2nd skull.
Ch 1, 6 sc in the center top stitches of the 3rd skull. Ch 1, 7 sc across the jaw of the last skull. Ch 6.
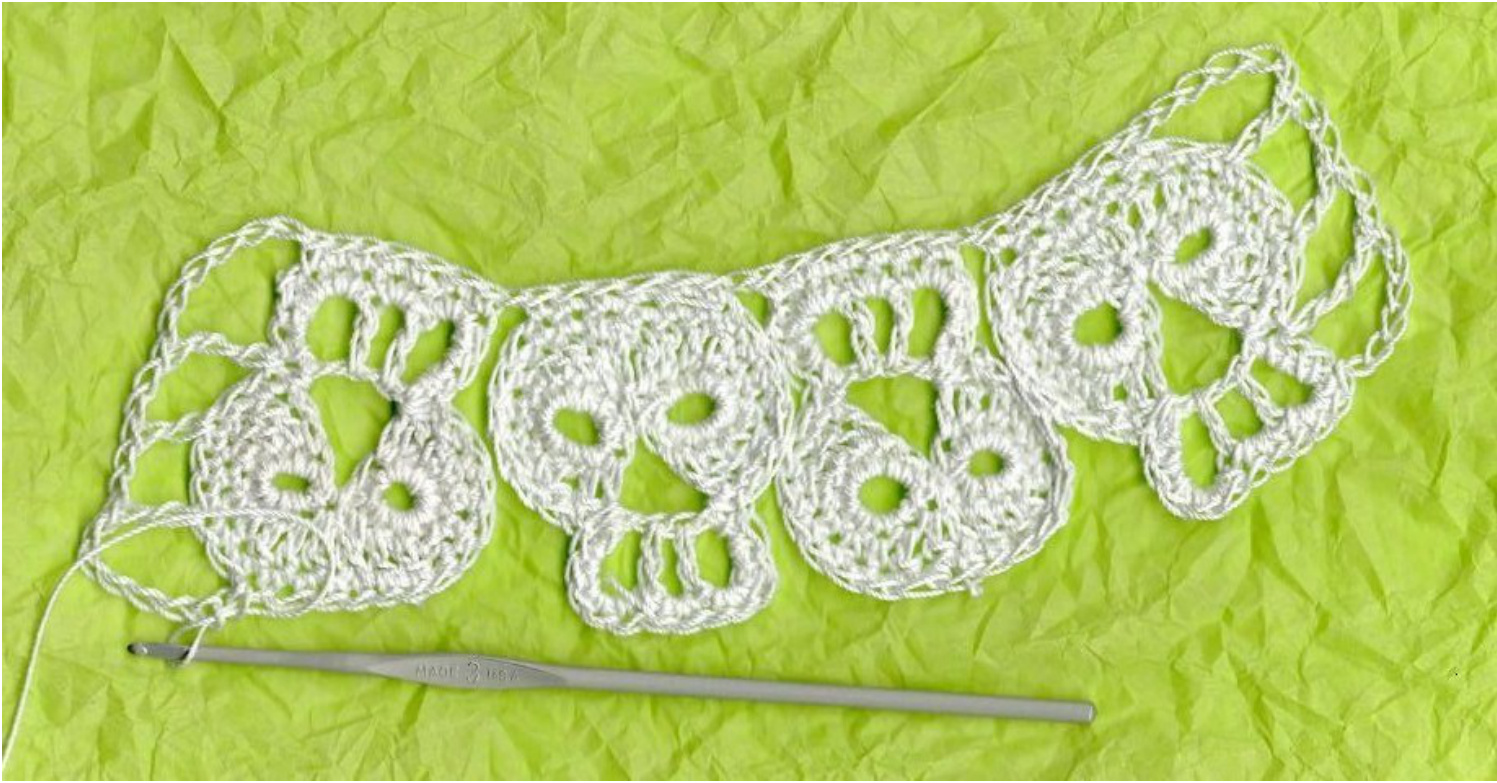
Working down the side of the last skull. Sk 2 sts, tr in next, ch 2 , sk 2 sts,dc in next, ch2 sk 2 sts, dc in next. Chain 6. Working across other side, sk 1 st. Sc in center 6 sts of skull, ch1. 7 sc across jaw, ch 1. Sc across 6 center stitches of skull, ch 1. Sc across jaw. To join, sl st in first ch of beg of row, sl in next two sts.
Button hole rowl
Slip st in next 2ch. Working in the same space, 3 sc around the next 2 ch sp. Work 3 sc around in each of the next the next ch 2 sps including the end sp. Ch 1 turn.
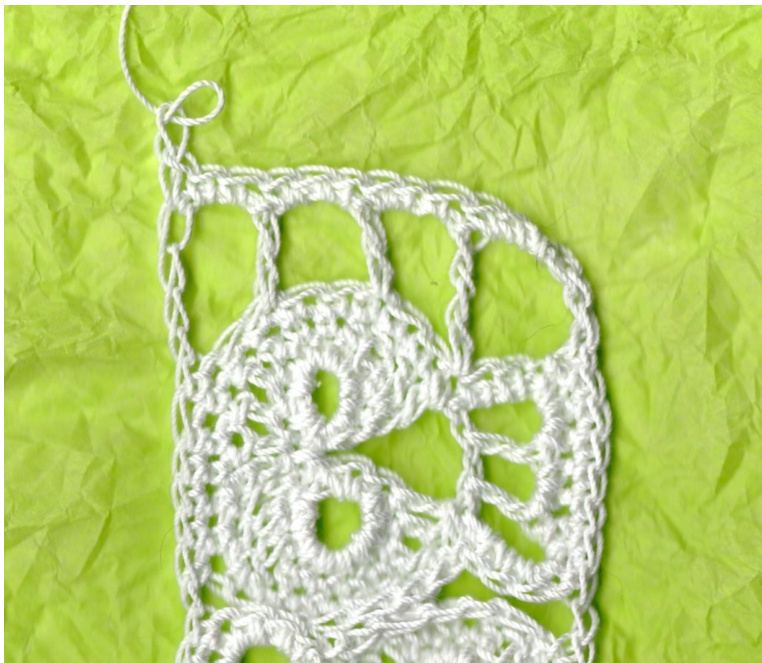
Row 2 Button holes
Sc in 1 st, ch 2, sk 1 st (Sc in next 3 sts, ch 2, sk 1 st)Repeat 2x. End sc in last st. Check to see that you buttons will pass through the loops. You may need to add 1 or 2 more chain sts to the button hole loops. End off.
Button Base Row
To make bracelet longer at this point see the option at end. Join thread in 3"d ch on the turning ch on other end of bracelet Ch 1, work 3 sc around ch 3 sp, and in every sp across. End off. Option: To make this bracelet longer add a row as follows: Instead of working the button base row, join thread in 3 rd ch of turning chain. Ch 4, skp next ch 2 sp, (dc in next st, ch 1) Repeat across row. Add rows until desired length. Then work button baserow.
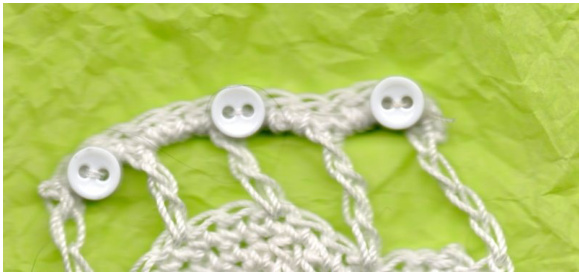
Finishing and Blocking
Run in loose ends with the tapestry needle Sew buttons evenly spaced across.
Dampen bracelet in cold water, squeeze out excess. Lay on towel, Spread out. Gently pull and pat into shape. Let dry.


