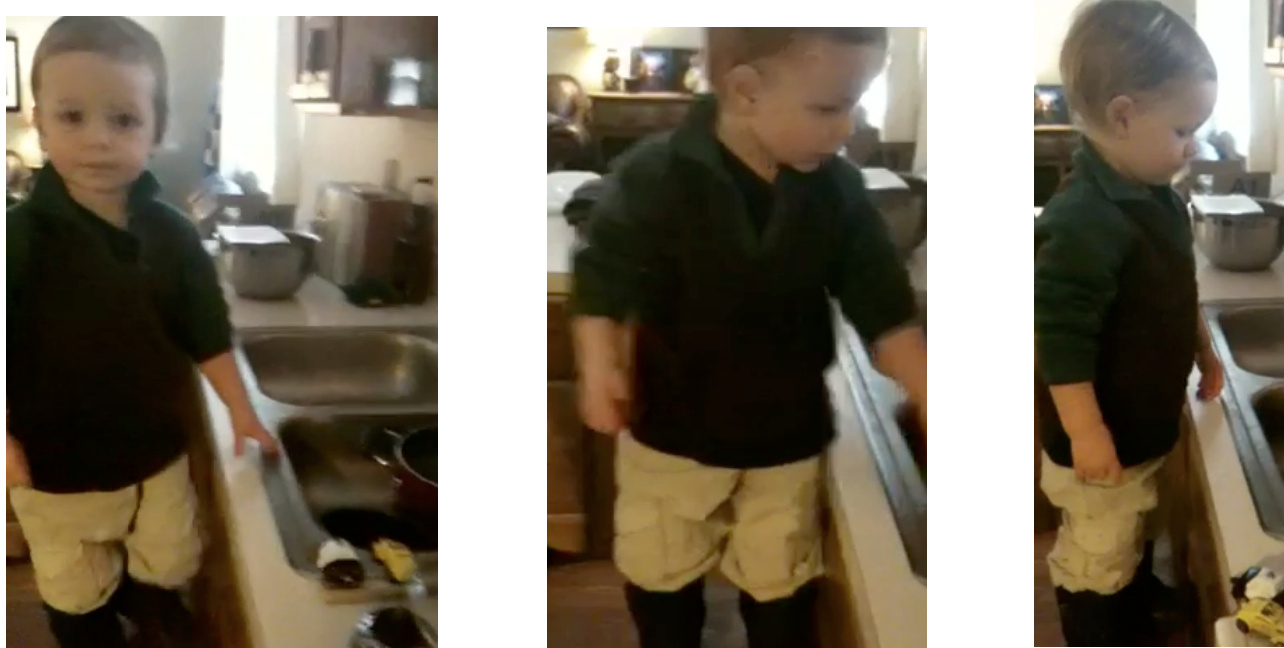
HermeS For your speedy messenger this fll This boy's sweater was difficult to photograph, since my model doesn't stand still too long. It's a pullover sweater body, with a split front. The split hits about mid-chest (around armpit-high), and buttons at that point. The arms are in a complementary color, and knit using intarsia method, so the whole thing is virtually seamless. To see this sweater in action, with trucks and rainboots, check out this youtube vid: http://www.youtube.com/U0D67CPf2K0 Skill Level: Intermediate; Includes basic (very easy) intarsia knitting, ribbing, and yarn-over buttonholes.
Materials: 1 set of US3 —-or appropriate size to achieve gauge—-DPNs, US3 circular needle, tapestry needle, 4 stitch markers, 4 buttons, scissors, and measuring tape. Yarn: Fingering weight, Aprox. 400 yards each, in two complementary colors. I used Knitpicks Stroll Kettle-dyed in Timber and Ivy. Gauge: 7 sts/inch (in stockinette) Ease: (due to ribbing and texture) Finished measurements: Size: 1, 2, 3, 4, 5, 6, 6x Chest circumference: 19", 21", 22", 23", 24", 25", 25.5" Back—Waist: 8",8.5", 9", 9.5", 10", 10.5", 10.75" Sleeve (to armpit): 8", 8.5", 9.5", 10.5", 11", 11.5", 12' Abbreviations: K= Knit K2tog= Knit 2 stitches together SSK=Slip, Slip, Knit P= Purl P2tog = Purl 2 stitches together SSP= Slip, Slip, Purl M=Make one by lifting the yarn between stitches from front to back and knitting into the back of the loop
Lower Body:
Using Color A, Cast on 120, (132, 138, 144, 150, 158, 160) stitches. Being careful not to twist them, place a marker for the beginning of the round, and join for working in the round. Work K1, P1 ribbing for 2 inches. Knit one round. AT THE SAME TIME, evenly increase 14, (16, 16, 18, 18, 18, 18) stitches for 134 (148, 154, 162, 168, 176, 178) total body stitches. Work in stockinette stitch until the body measures 6.5, (7, 7, 7.5, 8, 8.5, 8.5) inches (or until body measures comfortably from waist to approximately a half-inch below the armpit). Knit to five stitches before the marker, cast off 10 stitches, Knit 57, (64, 67, 71, 74, 78, 79) stitches, Cast off 10, Knit remaining 57, (64, 67, 71, 74, 78, 79) stitches. Set aside for later.
Sleeves (make 2)
Using Color B, Cast on 34, (38, 40, 40, 42, 44, 44) stitches. Divide among DPNs, and being careful not to twist stitches, mark the beginning of the round, and join for working in the round. Work K1, P1 ribbing for 1.5 inches. Increase round: K1, M1, K to last stitch, M1, K1 Work in stockinette stitch. Every 5th round should be an increase round. Work 8, (8, 8, 8, 9, 9) increase rounds for 50, (54, 56, 56, 60, 62) total stitches. Knit 1 round, stopping 5 stitches before the end. Cast off 10 stitches, Knit to the end.
Upper Body
Join knitting so that the live sleeve stitches fill in their appropriate spaces, matching the cast off stitches on both the body and the sleeve. Place markers between each join—-one on either side of each sleeve for four markers total. At this point, you will be knitting back and forth to form the front placket. You will need to knit in intarsia in order to maintain the colors of sleeve and body—so you should at this point, establish bobbins or separate balls of yarn for left and right fronts, each sleeve, and the back in the appropriate colors. For this section, the beginning of your knitting will be the midpoint of the chest, so you will be knitting to 2 stitches before the marker in color A, reducing (if necessary), twisting the colors to prevent a gap, continuing in color B, reducing (if necessary), and knitting to 2 stitches before the next marker, etc. Choose one side as the front of your sweater, and join your yarn in the midpoint: 28, (32, 33, 35, 37, 39, 39) stitches 0n 0ne side, and 29, (32, 34, 36, 37, 39, 40) stitches on the other. Join your yarn at this point and K one row. Turn work, and P one row. Begin decreases: Decrease row: In color A, K to two stitches before marker, K2tog, Slip marker, twist yarn. In color B, SSK, K to two stitches before marker, K2tog, Slip marker, twist yarn. In color A, SSK, K to two stitches before marker, K2tog, Slip marker, twist yarn. In color B, SSK, K to two stitches before marker, K2tog, Slip marker, twist yarn. In color A, SSK, K to end of round. Wrong side row: [In color A, P to marker, slip marker, twist yarn. In color B, P to marker, slip marker, twist yarn.] Repeat. In color A, P to end. Wrong side decrease row: In color A, P to two stitches before the marker, P2tog, slip marker, twist yarn. In color B, SSP, P to two stitches before the marker, P2tog, slip marker, twist yarn. In color A, SSP, P to two stitches before the marker, P2tog, slip marker, twist yarn. In color B, SSP, P to two stitches before the marker, P2tog, slip marker, twist yarn. In color A, SSP, P to end. Alternate working the decrease row and the wrong side row, until 10, (11, 11, 12, 12, 13, 13) decrease rows have been worked, leaving 54, (60, 66, 66, 72, 72, 74) stitches. Work Decrease row and Wrong side decrease row 2 times each—22, (28, 34, 34, 40, 40, 42) stitches. Lift back of neck: Knit to third marker, turn work. Work 3 rows stockinette stitch between the second and third markers (over the back of the neck), Knit to end of row.Purl one row. Cast off loosely in knit.
Finishing
Placket: Using color B (for contrast) or Color A (for subtlety), pick up and knit stitches evenly along the right front edge (2 stitches picked up for every 3 rows works best). Work 3 rows of [K1, P1] ribbing. Then, maintaining the ribbing pattern, evenly space four buttonholes by working a yarn over--K2tog for each. Work 3 more rows of K1, P1 ribbing. Cast off loosely in rib. Pick up and knit stitches evenly along the left front edge (2 stitches for every 3 rows). Work 8 rows of K1, P1 rib. Cast off loosely in rib. Collar: Using color B (for contrast) or Color A (for subtlety), pick up and knit stitches around the neck edge one in each cast off stitch and including the top of the plackets. Work K1, P1, ribbing until the collar measures 4 inches and lays flat when folded over. Cast off loosely in rib. Armpits: Seam up the 10 stitch gaps in the armpits. Weave in all ends, and block to desired measurements and shape. Affix buttons to match buttonholes. Fill sink and play with trucks. Hermes Sweater Pattern @ 2011 Claire Ellen All rights reserved.


