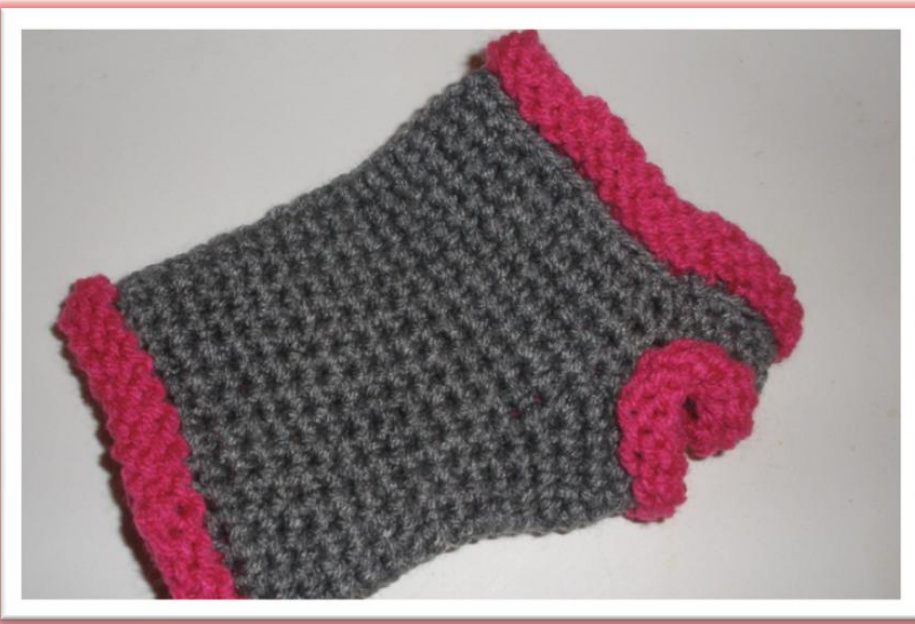
Bi-constructed Fingerleyy glovey
By Laurie O. Campbell Ravelry id: Locteach locteach@yahoo.com
J Hook Worsted Weight Yarn
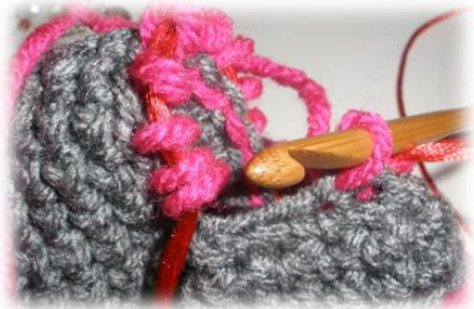
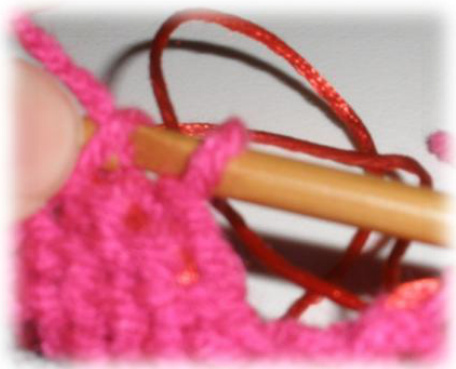
sc - single crochet pm - place marker 3i-constructed fingerless gloves are constructed using crocheting and knooking.
Crochet portion:
Chain 28 Slip stitch and pm in first stitch to mark beg of round - Be careful not to twist the chain. Rows 1-10 sc around (28 sc each row) Row 11 - sc around to last sc before pm, 2 sc in last stitch of row. (29 sc)

Row 12 - sc , in second stitch 2sc then sc around (30 sc)
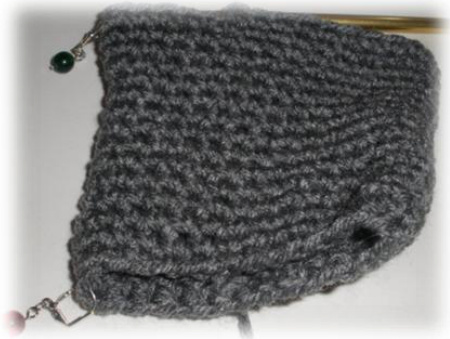
Row 15 - sc around to last 5 sc before pm that begins the next round - chain 9 (27sc, chain 9) Row 13 - sc around to last sc before pm, 2 sc in last stitch of row. (31 sc) Row 14 - sc in first stitch, in second stitch - 2sc, then sc around, pm on the first stitch of the 15th round. (32 sc)
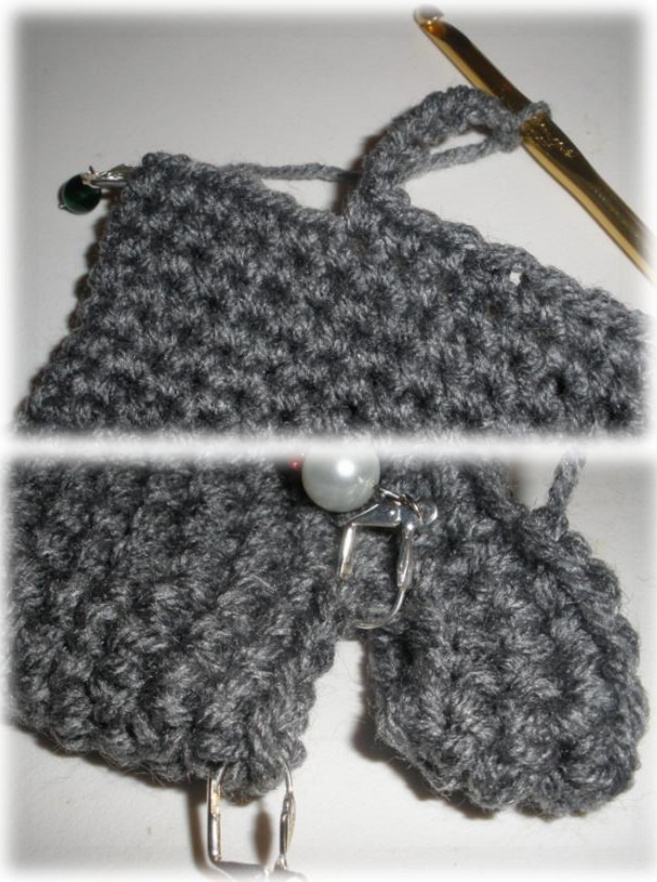
Row 16 - skip first 5 sc, then sc the chain 9 to the 6th sc of the new round continue to sc around this row. You will treat the chain 9 as part of the row/round you. When sc over the chain 9, make sure to crochet into the back loop of the chain. (36 sc) //Depending on the fit you may want to sc the chain 9 to the 5th sc of the round.// Row 17-18 - sc around - Basic form is complete (36 sc)
Knooked/Knitted portion (Can be completed in same or a coordinating color.)
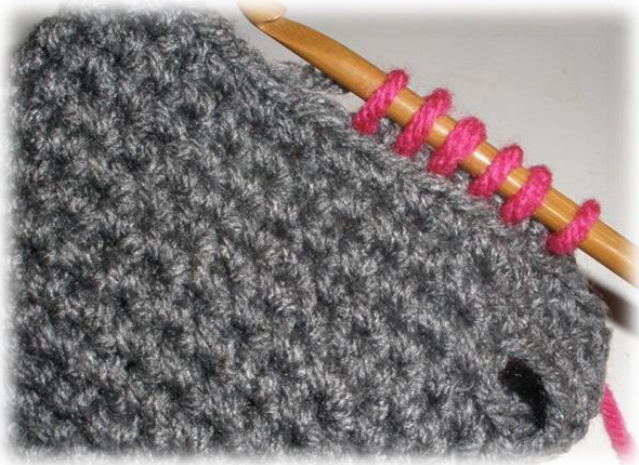
At the top of the glove (finger portion) Use your knook and cast on stitches in the round in the back loop only of the sc. Row 1-3Purl Row 4 cast off stitches in a slip stitch manner Slip stitch at end and fasten off
At the thumb
Use your knook and cast on stitches in the round in the back loop only of the sc. Row 1-3 Purl Row 4 cast off stitches in a slip stitch manner Slip stitch at end and fasten off At the bottom of the glove (the arm portion) Use your knook and cast on stitches in the round in the back loop only of the sc. Row 1-3Purl Row 4 cast off stitches in a slip stitch manner Slip stitch at end and fasten off
Be encouraged to try this on as you are making it and make any adjustments needed. For instance, you may want to make the top of the glove and/or wrist tighter when doing the knooking/knitting portion by purling two together. Your may increase or decrease the height of the glove by adding or subtracting a row of sc.
\*. For more information about knooking (knitting with a crochet hook) visit the Ravelry knooking group or you can purchase a digital book about knooking from http://tinyurl.com/2d7scyw through Etsy authored by Ronda Chapman, Offthehookart


