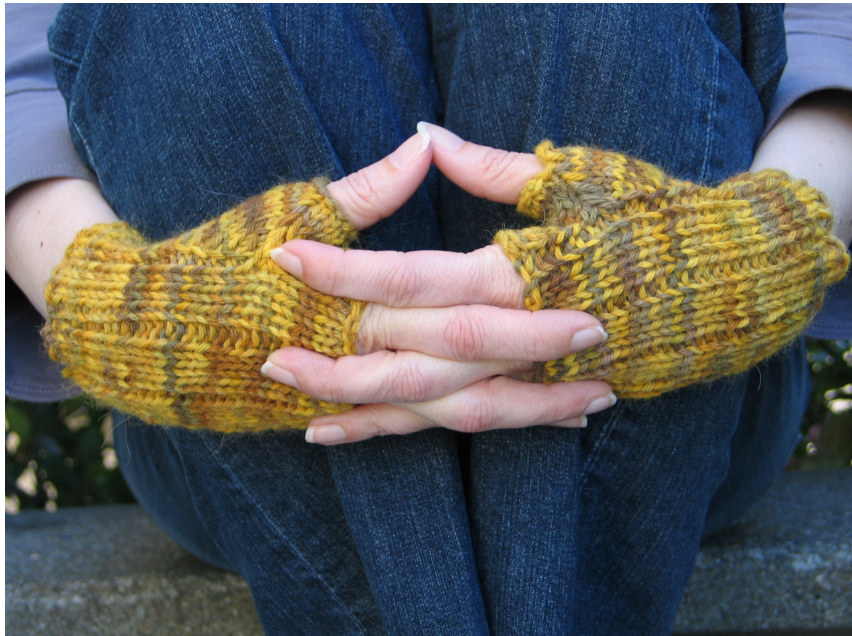
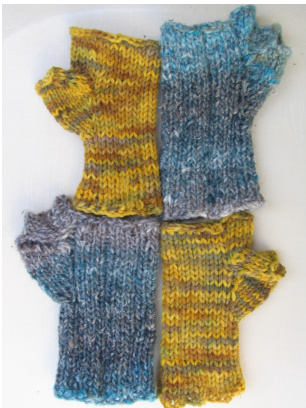
Frosty Fingerless Mitts Jennifer de Graaf I developed this pattern to snugly fit my own slender hands and wrists with the gusset fitted into the stitch pattern. Size: Will fit a small or medium women's hand or a smaller man's hand. You can adjust the length to suit the wearer (I have a 5-1/2" circumference wrist and a $7^{\circ}$ palm above the thumb). Yarn: Worsted weight yarn, approx. 100 yards. 1 used just under one skein of Noro Silk Garden for one pair, but knitted from two balls to sort of match the colors. I used a variegated alpaca yarn for another pair.
Needles: US 7 DPNs or as needed for your gauge. Notions: 2 stitch markers, a piece of waste yarn Gauge: Check your gauge in stockinette stitch and measure around your wrist. The purl stitches in the pattern will account for enough stretch if you measure gauge as though you were knitting stockinette. Adjust number of desired stitches so that you have a multiple of 4 sts. The pattern is easy (brainless) to adjust with any multiple of 4.
Abbreviations:
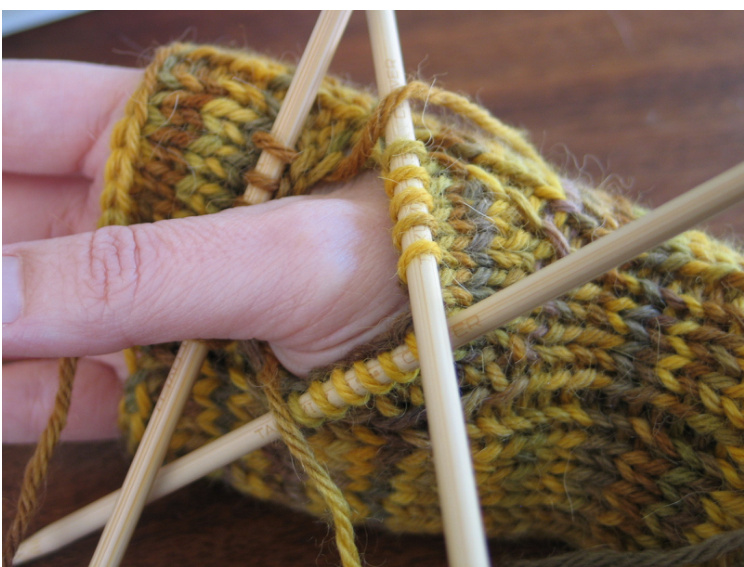
CO: Cast on sts: Stitches PM: place marker dpn: double pointed needle ssk: slip, slip, knit $=$ single decrease K2tog: knit two together $=$ single decrease RLI: Insert tip of right needle (back to front, right to left) into the right leg of the stitch just below the next stitch. Pull up this loop, put it on the left needle, and knit it. This adds one stitch to your knitting. LLI: Insert tip of left needle (back to front, left to right) into the left leg of the stitch two rows below the stitch you just knit. Knit this stitch through the back loop (it should not be twisted). This adds one stitch to your knitting. Directions: Make two - they're the same for either hand! Yay! Cuff: Cast on 28 sts with the knitted cast on or similar for flexibility at the cuff (which you'll need to pull them over your hands for wearing). Divide stitches between three dpn's with the fewest stitches on the last dpn. I like to try to divide the stitches between the needles in multiples of 4 so that the stitch pattern comes out even on each needle as extra verification I did not mess up. Join into a round. First round (and overall stitch pattern): K3, P1 ribbing to end. Continue to work each round as set until piece measures $2^{\circ}-3^{\circ}$ from cast-on edge or as long as you want to cover your wrists. Be careful that if you decide to make the wrist portion extra long, your forearms are wider than your wrists so adjust as necessary to 'go long'. Work as set up to last 4 sts of the round, PM, RLI, K3, LLI, PM, P1. Work to marker, slip marker, K5, slip marker, P1. Work to marker, slip marker, RLI, K5, LLI, slip marker, P1. Work to marker, slip marker, K7, slip marker, P1. Work to marker, slip marker, RLI, K7, LLI, slip marker, P1. Work to marker, slip marker, K9, slip marker, P1. Work to marker, slip marker, RLI, K9, LLI, slip marker, P1. Work to marker, slip marker, K11, slip marker, P1. Work to marker, remove first marker, put 11 sts on waste yarn, remove marker, CO 7 st using backwards loop cast-on to close the gap, P1. It is easy for that last P1 stitch to fall off the needle before you purl it, so be careful. On next round, work as set incorporating the 7 newly cast on stitches into K3, P1 rib pattern. Continue knitting in the round approximately $1^{\,\circ}$ more which is easy to measure at those new cast on stitches. I like to end my mitts just below the knuckles - an inch is sufficient for me. Last round on hand: Cast off in pattern (knit the knits, purl the purls). Cut yarn and secure the last loop (we will weave this in later). Thumb: Move those 11 thumb stitches off the waste yarn to two DPNs (5 on one, 6 on the other or vice versa). Join yarn, leaving a $5^{\circ}$ long tail, and pick up 7 stitches from the backward loop cast-on edge. These 7 new stitches will follow the K3, P1, K3 that are above them. With a new dpn, pick up 2 sts in the space between these 7 stitches and knit the 5 or 6 stitches on the next dpn. Continue around the thumb hole (with new dpn's as needed) by knitting the next 5 or 6 holder stitches and pick up another 2 sts in the space between these stitches and the 7 picked-up stitches at the top of the thumb hole. Next round: K3, P1, K18 just going one round in pattern to smooth things over from all those picked up bits). Begin decrease rounds on thumb: (You can work another row or two straight if desired for a longer thumb, I didn't even though I had room for it before the thumb's knuckle). Next round: K3, P1, K3, k2tog, K11, ssk (you have just decreased away those picked up stitches from the row before last). Then: K3, P1, K3, k2tog, K9, ssk K3, P1, K3, K2tog, K7, ssk K3, P1, K3, K2tog, K5, ssk K3, P1, K3, K2tog, K3, ssk Bind off in pattern (knit the knits, purl the purls).
Finishing:
Put on the mitts to find any loose spots in your knitting and then weave in ends, using the tails from the thumb pickups to close these loose stitch holes if there are any. Block if desired, but because of the fitting, it is probably not necessary.


