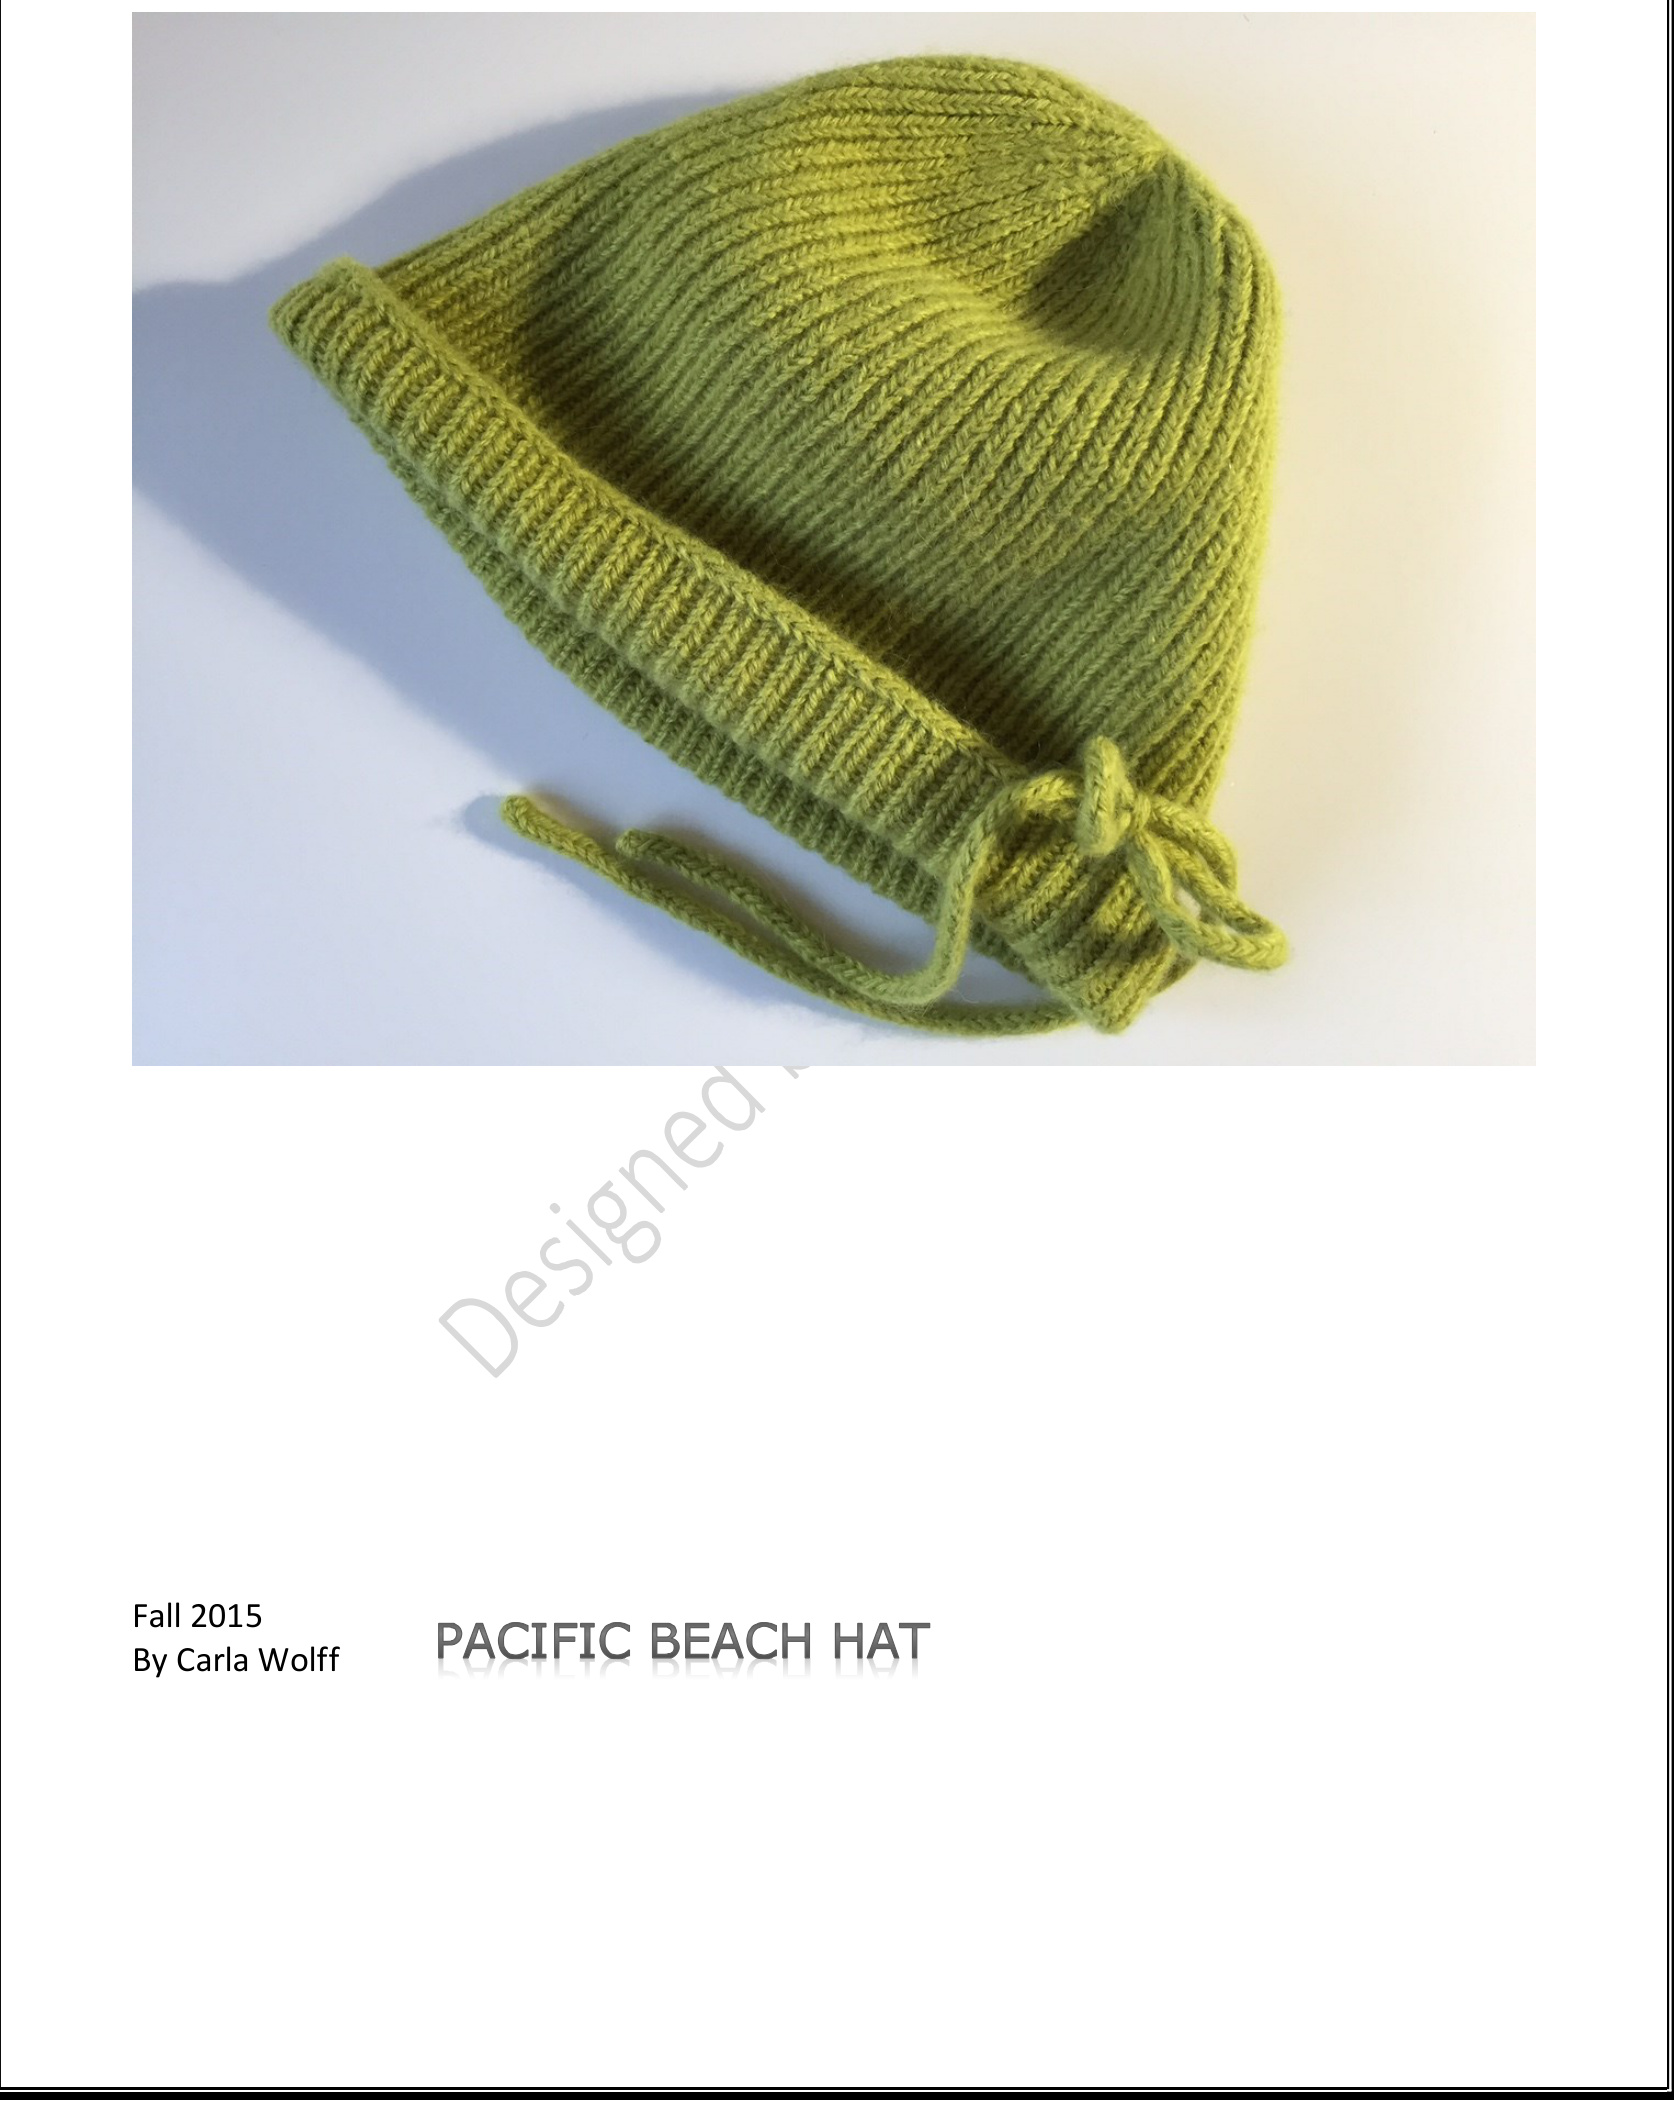
PACIFIC BEACH HAT
By Carla Wolff This hat was born from the need of keeping my hair out of my eyes when coastal breezes are stiff while walking along the shoreline of the Pacific Ocean. The early morning walks are the coolest part of the day and a warm close-fitting hat is the perfect solution for morning calisthenics. This hat worked equally well in La Jolla beach and Vancouver. ....let's go for a walk.
Design Details:
Starting from an i-cord, stitches are picked up and knit in 1 X 1 rib, converging at the crown. The cord facilitates a little tightening if the wind is strong. This hat is soft and lightweight, easy to pack and lovely to wear.
Finished Dimensions
48 cm diameter at lower edge 20 cm to top of cap
Yarn
Rowan yarns are used throughout for best results. www.knitrowan.com Rowan Finest (wool, alpaca, cashmere) 3 balls X 25 gm approximately 261m (uses approx. 200m) in shade Charm (SH062)
Needles
2.75mm circular needle (40 cm) 2.75mm double pointed needles for the i-cord and the crown shaping Tapestryneedle Stitch marker to mark the beginning of a round. I use a scrap piece of yarn tied in a loop. Stitch markers for marking the shaping stitches at the crown.
Tension
32 sts and 48 rows to 10 cm measured over 1 X 1 rib using 2.75mm needles slightly stretched
Stitches used in this pattern
1X1 rib; Knit 1, Purl 1 I-cord: using a double pointed needle, place a loop on the needle. Knit into the front and the back of the loop. 2 sts. Knit into the front and the back of the first stitch, knit the second stitch. 3 sts. Knit row of an I-cord: slide the 3 stitches to the right on the needle, so that you are working them from the other end, pull yarn across the back of the stitches to start the next row, knit three stitches, pull a little tug on the yarn to tighten the gap made from knitting the stitches at the beg of the row. Knit all rows in this manner. You will be creating a tubular cord.
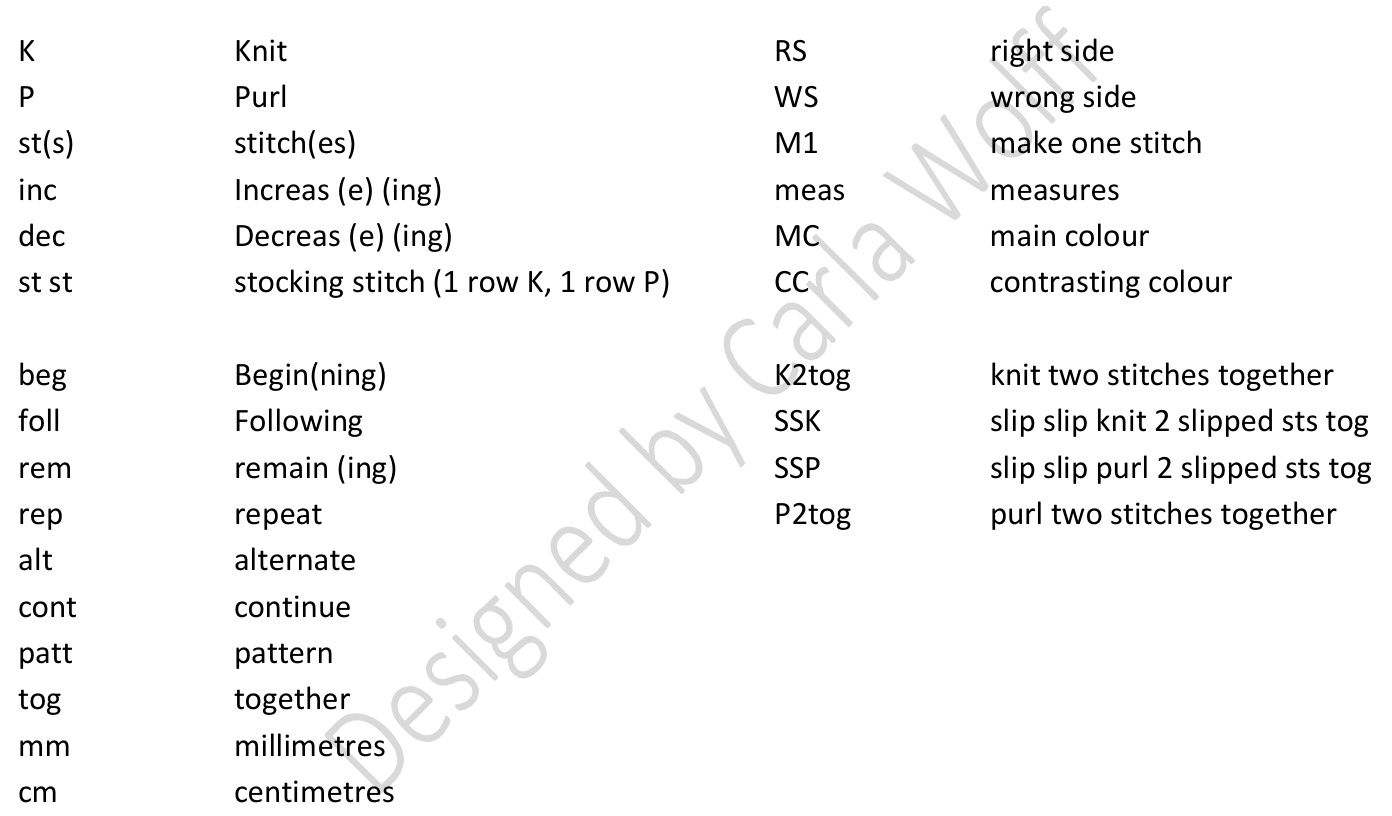
Index of terms and abbreviations
CAP
Using 2.75mm double pointed needle create 3 sts as outlined in the i-cord instructions. Work i-cord for 100 cm or 40". Bind off i-cord by K2tog twice. Pull tail through rem stitch. Hide tails in the centre of the cord using a tapestry needle. Place markers 26cm or 10" from both ends of the i-cord. This should create a space at the centre of the i-cord that is 48cm or 20" for the diam of the hat. Starting at one of the markers, using the 2.75mm circular needle, pick up and knit 140 sts evenly on the i-cord to the next marker. This is approximately 3 stitches for every 4 rows. You will have two long tails on either end of the picked up stitches. Join in the round being careful not to twist the row. This is a bit tricky with the bulk of the i-cord, there may be a small gap (this will be filled when you tie the i-cord at finishing to create the bow). Place a marker to mark the beginning of the round. Work in K1, P1 rib. Continue in rib until work measures 20 cm.
Shape crown
Place markers at every 7th stitch, 20 markers. A tip: the markers should be on knit stitches. The K2tog will result in the purl stitch being absorbed by the knit stitch. This will keep the right side of the work looking tidy with knit stitches. The purl bumps will be on the wrong side. Dec round: Work to 2 sts before marker, K2tog, continue to decrease stitches before each marker, for one round. 120 sts Knit 3 rounds straight Work another decrease round, moving the markers 2 stitches to the next knit stitch. 100 sts Knit 1 rounds straight Work another decrease round 80 sts Work another decrease round. All purl stitches have been absorbed by knit stitches. Cont with K2tog every other stitch. 60 sts Work another decrease round 40 sts Work another decrease round. Work all stitches K2tog. 20 sts Work anotherdecreaseround 10 K2tog 5 times 5 sts rem Break yarn and thread through rem stitches with a tapestry needle. Thread through stitches 3 times to secure the opening at the top. Pull tail through to the wrong side and hide in the decrease stitches. Tie the i-cord tails into a bow or a double knot. Tighten when wearing as the wind picks up.
Blocking your tuque
Wash tuque in cold water with a mild soap. Rinse well and squeeze our remaining water by wrapping in a thick towel and pressing out any excess water. Place a teacup saucer inverted into the crown of the cap and place the saucer on a bottle. This will drape your hat and shape the crown and create plenty of airflow around your cap. When the cap is completely dry, wear and enjoy.


