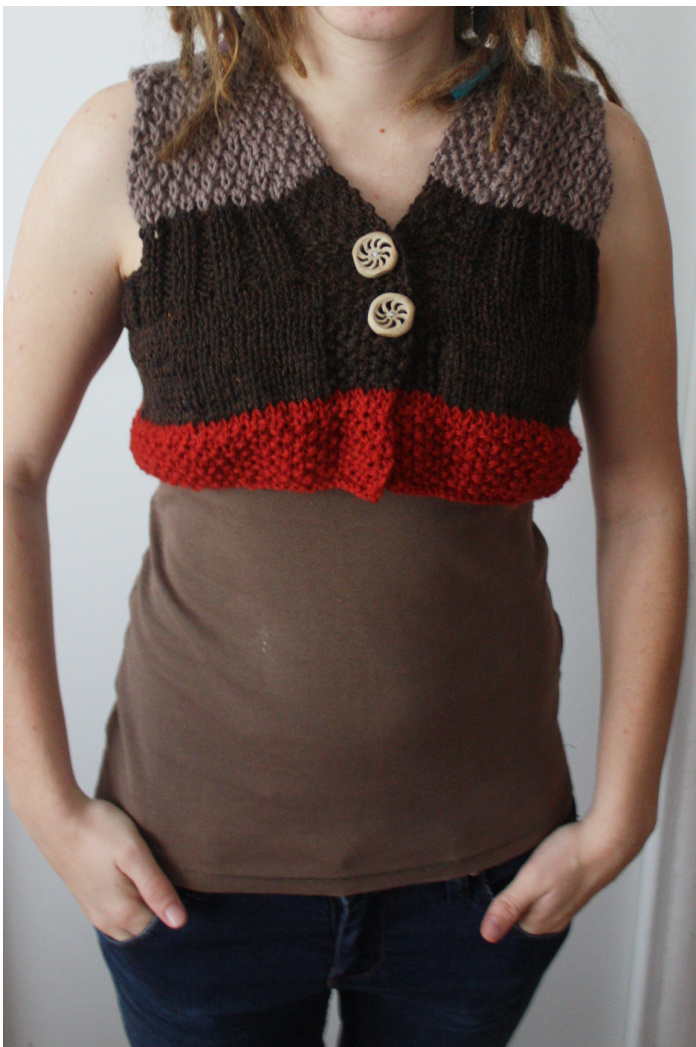
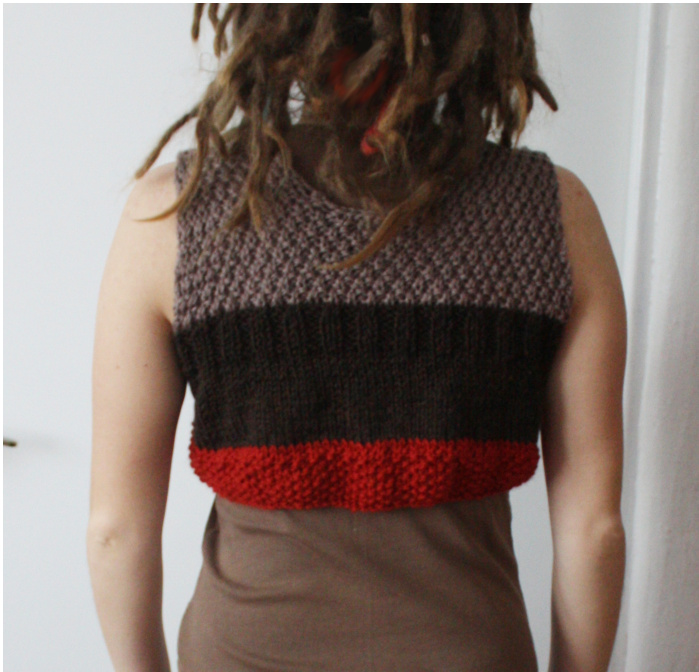
Borrower's vest
It's called Borrower's vest - inspired by the story of Borrowers - who would ,borrow? little pieces of yarn, left overs and such, and knit their vests and sweaters. It's short vest, flowy at the bottom. I used two buttons for closure, but you could add nice string or ribbon to tie the front together. The pattern doesn't include button holes because I found the seed stitch (which is used on the edge) wide and loose enough to fit buttons. It's quick project and great stash buster. The dotted line shows where back and front and back sections are grafted together at the end.
MATERIALS
5.5 mm circular needle (can be straight but it's easier to hold all the stitches on circular needle) yarn - I used acrylic from stash (you can use different yarns - held double - if they are thin, etc. )

CO 130 stitches The vest is worked flat so do NOT join the stitches in round. Work the first 5.5cm in seed stitch - I used red yarn Seed stitch: First row: k1, p1, kl, pl... (you will purl the last stitch) Second row: p1, k1 .. (knitting the stitches you have knitted and purling the purl stitches) Repeat rows 1 and 2 Switch colors Knit 1 row in new color (right side) Next row: seed stitch for first and last 7 stitches : K1,p1,kl,pl,kl,p1,kl, p116 K1,p1,k1,p1,k1,p1,k1 (wrong side) K1,p1,kl,p1,kl,p1,k1 k116 K1,p1,k1,p1,k1,p1,k1 (right side) Repeat until the whole project measures 13 cm (from red bottom). K1,p1,kl,p1,k1,p1,k1 (seed stitch border) then k2, p2, k2, p2, .. for the middle 116 stitches and K1,p1,k1,p1,k1,p1,k1 for the last 7 stitches (seed stitch border) Repeat 7 times. (this k2p2 section makes the vest a little bit more fitted under arms, while keeping the fabric stretchy enough to fit comfortably around your body) in this row we will separate back and fronts. K1,p1,k1,p1,kl,p1,k1 (seed stitch border) k2,p2 for the next 18 stitches (continuing the previous pattern) Arm hole: cast off following 14 stitches Continue k2, p2, pattern for next 52 stitches (this is the back of the vest) Second arm hole: cast off 14 stitches K2, p2, for the next 18 stitches and finish with K1,p1,kl,p1,kl,p1,k1 (seed stitch border) Now you will work the fronts and back separately, then grafting them together on top.
FRONT Continue the K1,p1,k1,p1,k1,p1,k1 (seed stitch border) always on the edge of the vest and for the next 4 rows of the front, continue the k2, p2 pattern. Switch colors Knit one row (all 25 stitches) K1, pl - all of the stitches Now we will start moss stitch pattern for the front of the vest, while keeping the seed stitchborder -always K1,p1,k1,p1,k1,p1,k1 on the side of the seed stitch border -for the 18 stitches - continue moss stitch for 5 rows moss stitch: first row : k1, p1.. (purl last stitch of the 18) second row: kl, pl .. third row: pl, k1 ... fourth row: p1, k1 .. repeat these 4 rows to create moss stitch. ...after 5 rows of moss stitch, you will start decreasing on the sides, to shape the front of thevest. 6th row of moss stitch: K2tog before the seed stitch border. 7th row: K2tog at the end of the moss stitch (on the arm hole side) 8th row : K2tog before the seed stitch border... 9th row: K2tog at the end of moss stitch (arm hole side) -continue decreasing until 14 stitches left (7 moss stitches and 7 seed stitches) leave stitches on needle or spare yarn/ stitches holder. work the second front section in the same fashion. BACK Switch colors -- knit one row in the new color Continue in moss stitch for 4 rows 5th row - K2tog at the beginning and end of the section 6th row - continue moss stitch
repeat these two rows until 46 stitches left. Next row - continue moss stitch pattern - cast off the middle 6 stitches Now the two sides of the back are finished separately. Continue moss stitch pattern, but always K2tog on the ,inside" edge in the right side rows - shaping the collar Continue until 14 stitches left.

Work the other half of the back section the same way - shaping the collar until 14 stitches are left. Graft the front and back stitches together using kitchener stitch (make sure you have the stitches facing the right side. Ta-da! The vest is finished. Now you just need to add the closure of your choice and you're ready to go borrowing!


