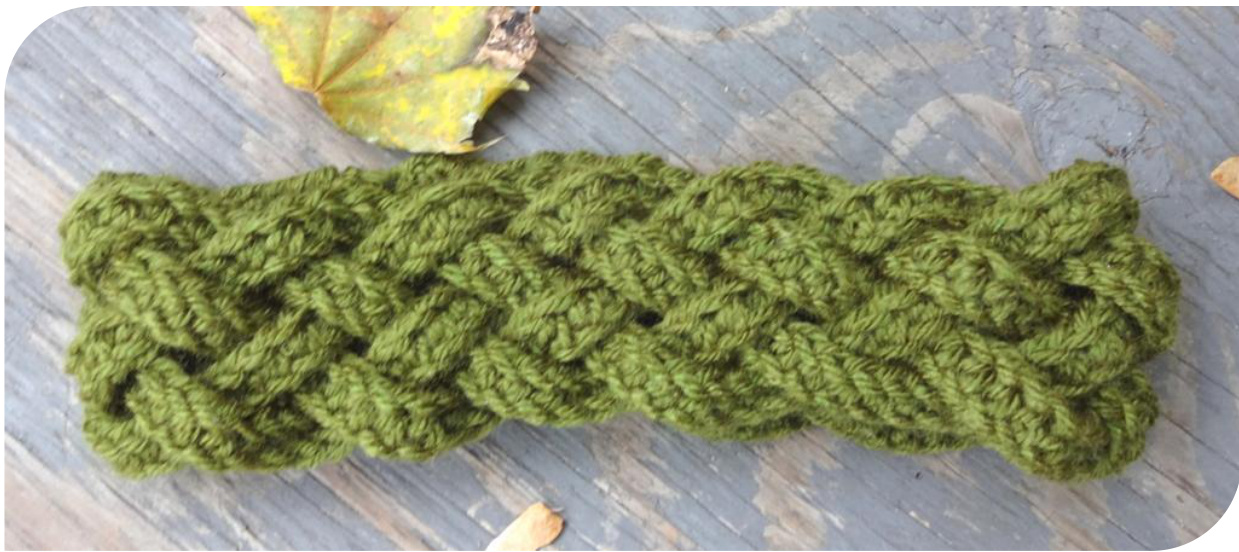
-Strand Braided Crochet Earwarmel
By MycoCrochet Level Intermediate beginner
Abbreviations
This pattern uses US crochet terms Chain ch Slip stitch sl st Single crochet SC Half-double crochet hdc Space sp Size Adjustable from ≈ 20" (51cm) upwards Yarn % skein Vanna's Choice by Lion Brand Yarn, or any other worsted weight yarn
Hook 5.0 mm (H)
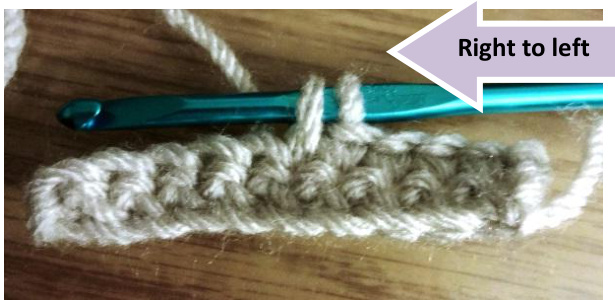
Gauge Gauge isn't very important, but mine was 4 hdc = 2.25" long and .5" tall (5.7 cm x 1.3 cm). It's better to play on the safe side and have a shorter gauge as it is very easy to add rows on at the end. Headband Create a headband by using a sport or dk weight yarn and a 4.0mm (G) hook. In addition, ch. 87 for each step 3 because your smaller gauge will make a shorter headband. Special notes You will notice that I crochet left handed. Do not be discouraged if you are a righty! Just imagine the picture flipped over - the pictures are more of a guideline for what to do next and you should have no problem following along. The more confusing steps have pictures for both lefties and righties. I crochet in this direction..
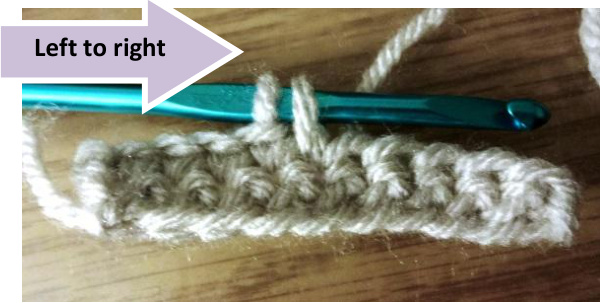
...you are likely to crochet in this direction
The Pattern
Step 1: Ch 11, sc in 2nd ch and each ch across (10 sc) Step 2: Ch 1, sl st in first sc Step 2 for the left-handed
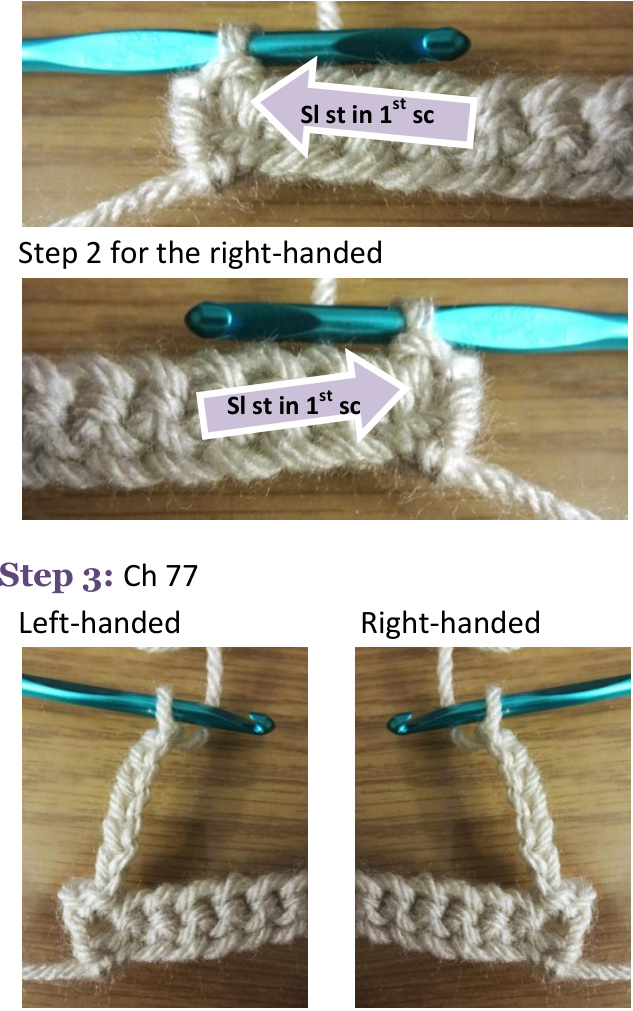
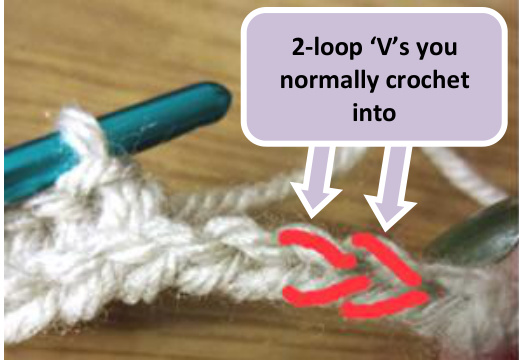
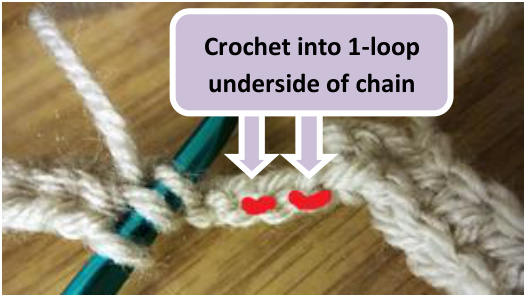
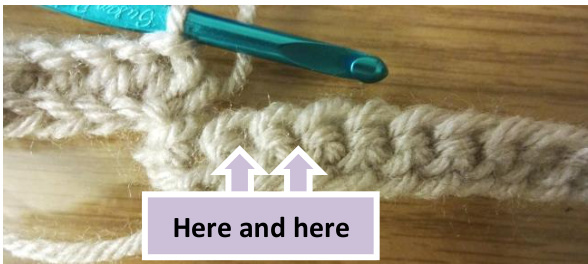
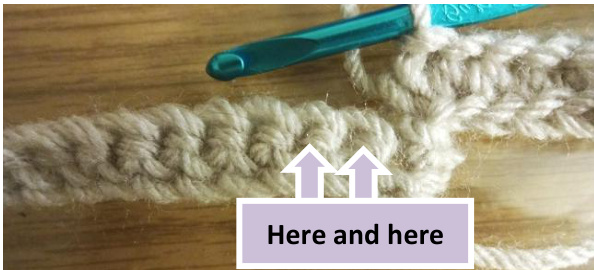
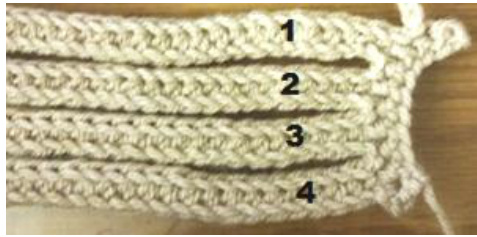
Step 4: Hdc in 2nd ch and each ch across (75 hdc) (Hdc in underside ch loops - see pictures)
Step 5: Sl st in next 2 sc Step 5 for the left-handed
Steps 6-14: Repeat steps 3-5 3 times
Step 15: Repeat step 4, sl st in last sc. Fasten off, leave an 8in. tail for sewing ends together.
Page 2 0f 4 MycoCrochet
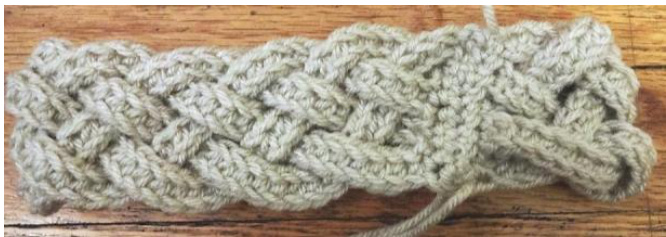
Braiding & Finishing
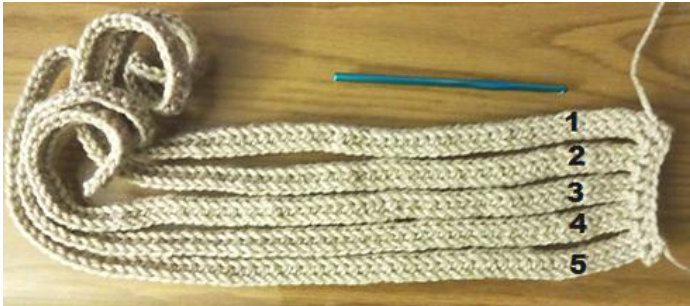
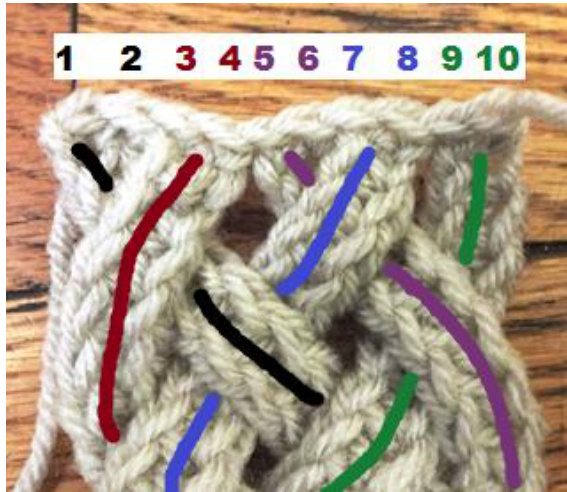
Step 16: Braid the hdc strips - and here's how: 1. With all five strips straightened out and the first row secured, start with the 1st strip on the left.
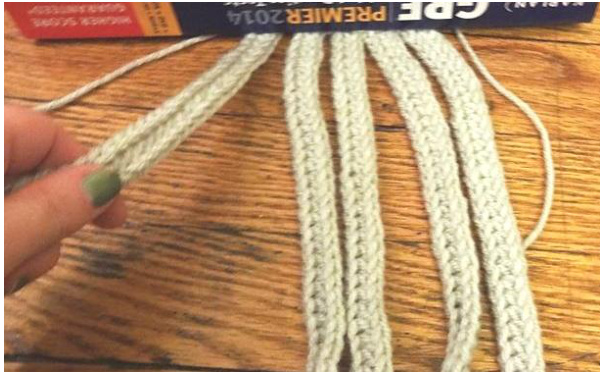
2. Weave that strip over, under, over, and under the next four strips.
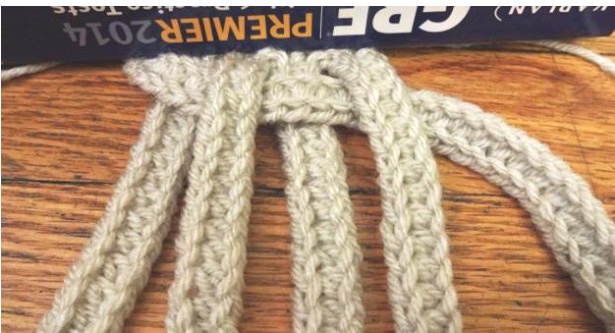
3. Pick up again with the leftmost strip and do the same.

4. Continue until you are at the end - if some of the strips are longer than others at this point you can go back and adjust them, pulling carefully, to even things out
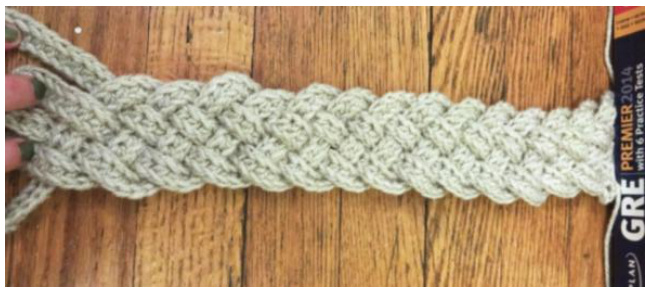
5. Weave a piece of yarn lightly through the ends to keep them from unraveling
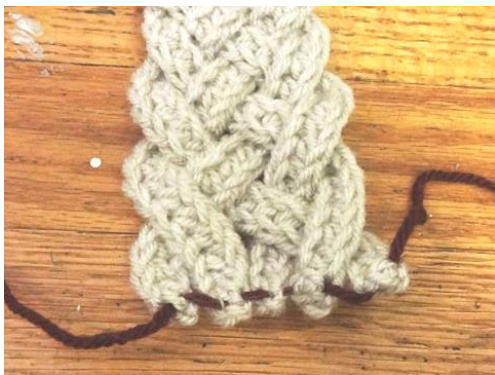
Step 17: Working on the newly woven end, pull up a loop through edge of outermost hdc strip. Ch 1, sc in same sp, sc again in same strip edge. Continuing onto next 4 strips, 2sc into each hdc strip end (10sc).
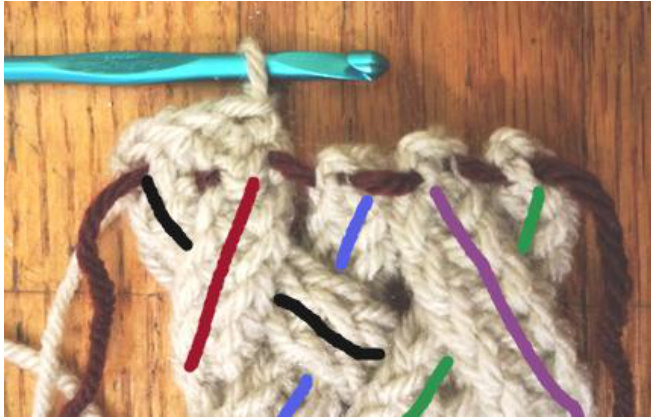
Step 17 for the right-handed
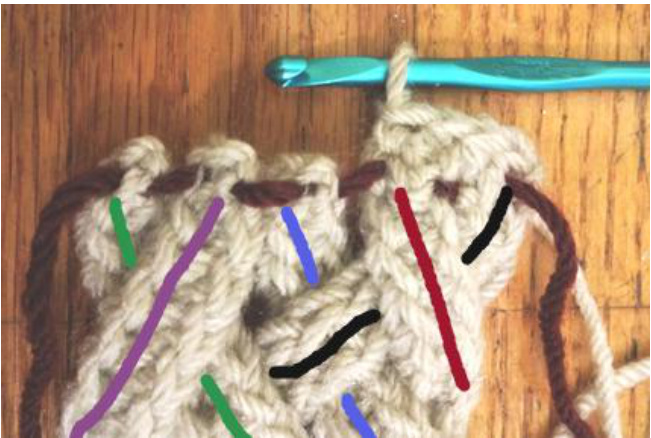
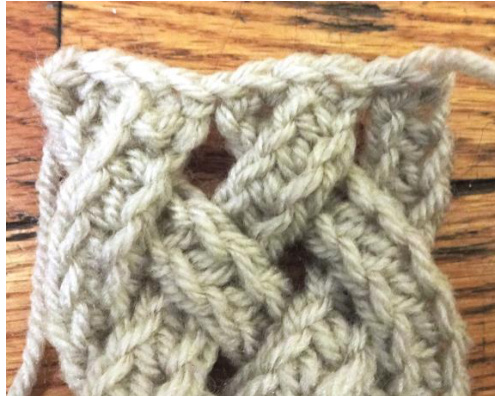
Step 17 completed
\*\*If the earwarmer at this point is not quite long enough to fit snugly and comfortably around your head, continue to step 18. If it is, skip to step 19.\*\* Step 18 Ch 1, sl st in back loop across (10 sl st). Repeat row until headband stretches to desired length. This slip stitch ribbing adds length and gives it more stretch.
Unstretched ribbing
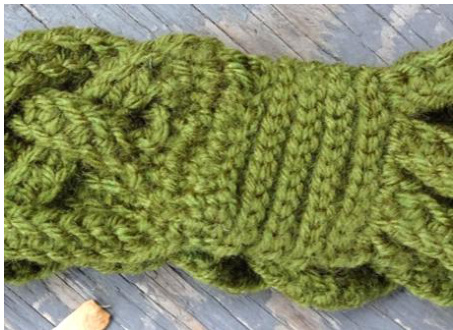
Stretched ribbing
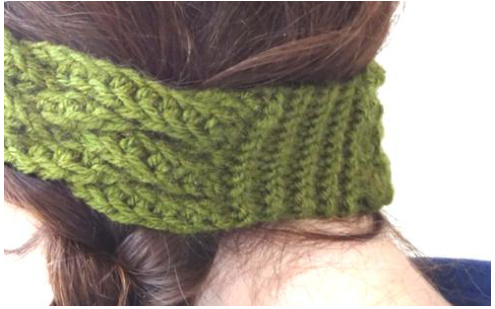
Step 19 Fasten off, whipstitch the two ends together, weave in ends, and enjoy! If you don't do any rows of ribbing, your join will look like this:
Feel free to contact me if you have any questions about this pattern!
Find me on...
Etsy: mycocrochet.etsy.com Ravelry: ravelry.com/designers/mycocrochet Craftsy: craftsy.com/user/2457798/pattern-store


