Cheshire Cat Pattern By: Lauren Synowiec
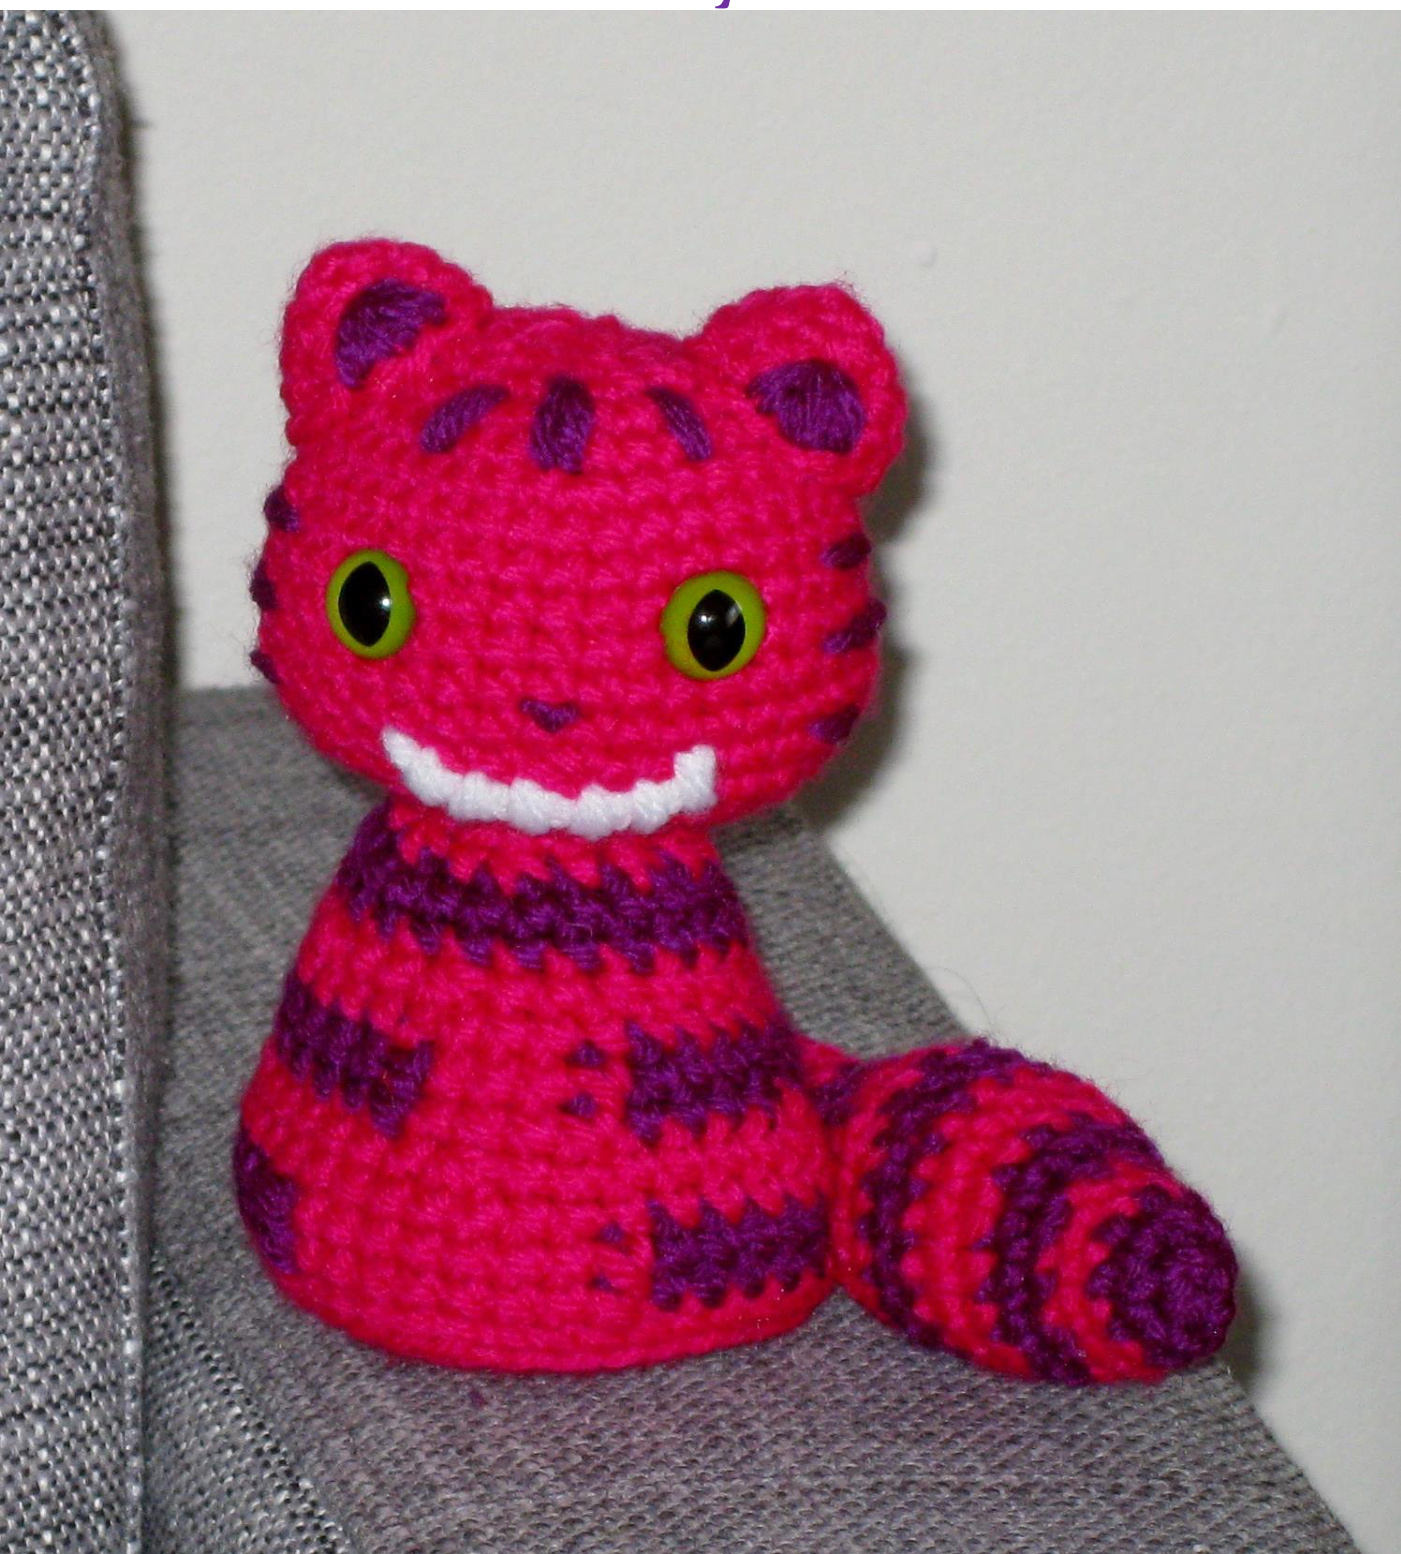
Materials: Yarn in Purple and Pink (I used the Hobby Lobby Brand “I love this yarn Neons" I don't normally support Hobby Lobby due to their ridiculousness but that is what is close to my house, so there yougo) Small amount of White (Read Heart) Amigurumi Size Hook- I use an F (3.75) size hook because that is what works for me. I know most people use a size G Fiberfil Safety Eyes (green with slits) Tapestry Needle Stitch Marker (I use a safety pin most of the time, works great)
Notes:
Gage isn't important provided you keep the same gage all the way around. Chessie came out to be around 5 inches tall The numbers in the parentheses O) is the count you should have at the end of the row. Each row starts at the stitch marker. When you see \* around something that means repeat it the (x) number of times I sew everything on before connecting the head and body, I find this makes a neater project and makes it easier to attach everything. This project is worked in the Round except the Tail which is joined rounds. I find joined rounds work well for skinny things because you don't need a stitch marker Joined rounds make your slip stitch, chain one and first single crochet in the same Spot Please do not sell this product or claim it as your own design since I have posted it for free. Various people own the actual rights to the image of the Cheshire cat Abbreviations: (this is done in the US style) sc: Single Crochet dc: Double Crochet inc: Increase- two stiches in the same stitch dec: Decrease by joining two stitches together BLO: Back loops only Sl: slip stitch Mc: Magic Circle Pi: Pink Pu: Purple Ears Make 2 in Pink Rnd 1: 4 mc (4) Rnd 2: inc in all (8) Rnd 3: \*1 sc, inc\* (12) Rnd 4: sc around (12) Sl st in the next and tie off. When ears are finished use the purple to embroider the inner part of the ear; do this before sewing the ears on to the head.
Head:
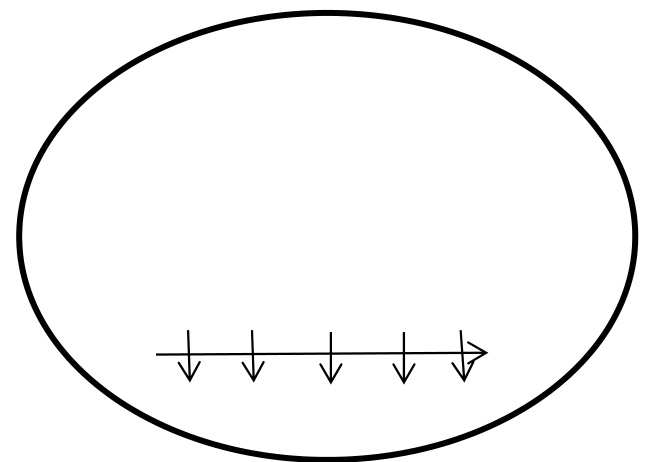
Rnd 1: 7mc (7) Rnd 2: inc (14) Rnd 3: \*1sc, inc\* (21) Rnd 4: \*2sc, inc\* (28) Rnd 5: 6sc, inc, inc, 12 sc, inc, inc, 6 sc (32) Rnd 6: \*7sc, inc\* (36) Rnd 7-12: sc around (36) Rnd 13: \*7sc, dec\* (32) Rnd 14: 6 sc, dec, dec, 12 sc, dec, dec, 6 sc (28) Rnd 15: \*2sc, dec\* (21) Rnd 16: 1sc, dec (14) Sl st in the next stitch and tie off I embroidered the all the parts on the face, and added the eyes and ears between rows 15 and 16. This will give you enough room to get your hand inside to tie everything in. The mouth was using a double strand of white and sewed just one line across the face. Then I went back and did a few lines going down for the teeth. I used the teeth to pull the first line down a little to add smile effect. Feasibly, you could use felt or leave the mouth out all together as well. The Strips on the face were pretty much done in the same fashion. Here is a little sketch that might help with the mouth:
Body: (start body in Pink) Rnd 1: 7mc (7) Rnd 2: inc (14) Rnd 3: \*1sc, inc\* (21) Rnd 4: \*2sc, inc\* (28) Rnd 5: 6sc, inc, inc, 12 sc, inc, inc, 6 sc (32) Rnd 6: \*7sc, inc\* (36) Rnd 7: sc around in BLO (36) This is where you are going to have to start doing some color changes. This video works well enough if you need some help: https://www.youtube.com/watch?v=f8vtkK- 3Do Rnd 8: Pu 14sc, Pi 8sc, Pu 14sc (36) Rnd 9: 14sc, Pi 8sc, Pu 14sc (36) Rnd 1o: Pi sc around (36) Rnd 11: \*7sc, dec\* (32) Rnd 12: Pu 6sc, dec, dec, 4sc, Pi 4sc, Pu 4sc, dec, dec, 6sc (28) Rnd 13: Pi sc around (28) Rnd 14: \*2sc, dec\* (21) Rnd 15: Pu sc around (21) Rnd 16: sc around (21) Rnd 17: Pi \*1sc, dec\* (14) Sl st into next stitch and tie off Tail (worked in joined rounds) Start in purple Rnd 1: 4mc (4) Rnd 2: \*inc\* (8) Rnd 3: Pi sc around (8) Rnd 4: sc around (8) Rnd 5: Pu \*1sc, inc\* (12) Rnd 6: sc around (12) Rnd 7: Pi \*2sc, inc\* (16) Rnd 8: sc around (16) Rnd 9-1o: Pu sc sround (16) Rnd 11: Pi \*2 sc, dec\* (12) Stuff tail Rnd 12: sc around (12) Rnd 13: Pu \*1sc, dec\* (8) don't stuff any further Rnd 14: sc around (8) Rnd 15-16: Pi sc around (8) Rnd 17-18: Pu sc around (8) Rnd 19: Pi sc around (8) Sl st in the next and tie off. Assembly: Sew the tail to the body. I lined it up right with the seam on the back. Stuff body and head. The head I stuffed pretty firmly, but the body needs to be a little looser so it can stand on its own. Sew the head to the body.


