Mirkwood Clue 3
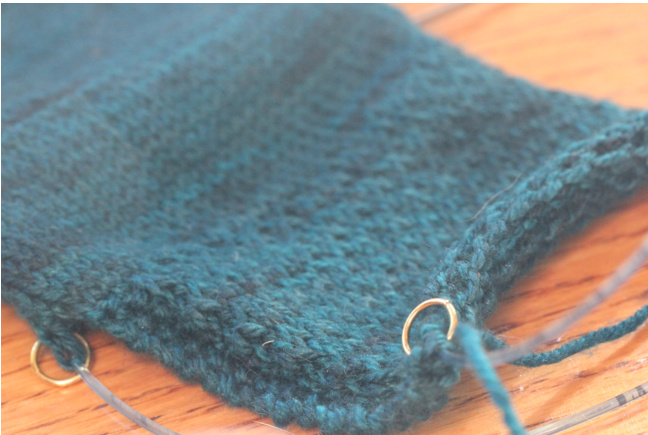
The HEEL
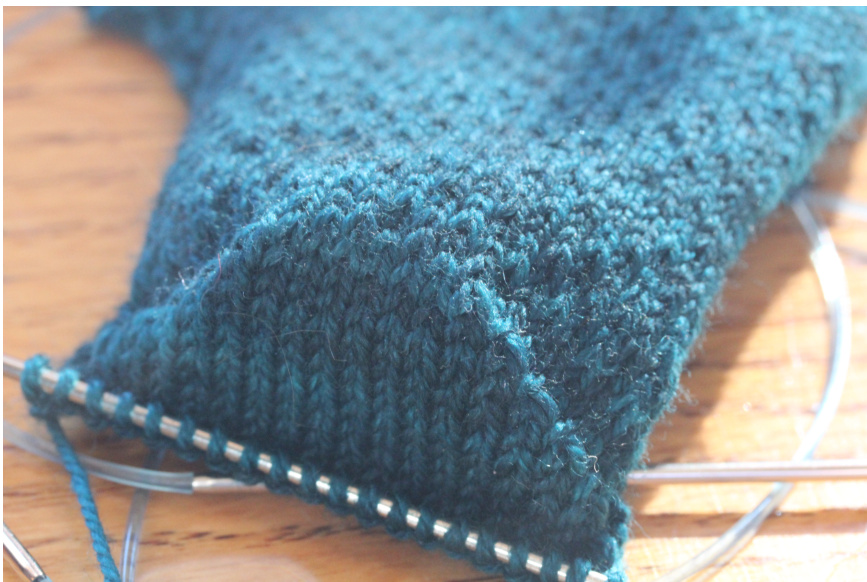
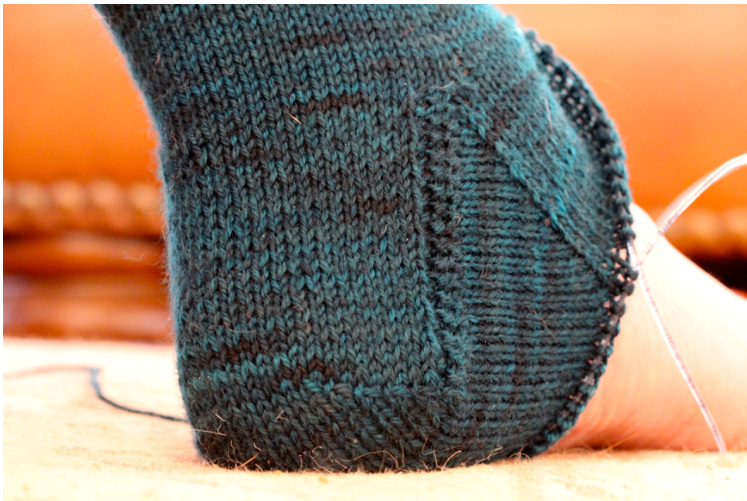
My absolute favorite heel is called the Eye-of-Partridge Heel. The sock in the photos is knit using that heel. Some may not want to venture (or wander) too far off the path of familiarity, so for those, I am giving you a simple slip stitch heel with a 3-st garter along the sides. The 3-st garter makes it a little easier to pick up stitches for the gusset. But, for the adventurous amongst us, skip over the simple heel directions and give the Eye-of-partridge heel a try.
SIMPLE HEEL FLAP for the cautiouS of heart Row 1 (wS): K3, purl to end. Row 2 (RS): P3, \*K1, sl 1, rep from \* to last 4 sts, k4. Repeat rows 1 and 2 until you have 24 (32, 40) heel-flap rows. Repeat row 3 one more time so that you will be ready to start a right-side row when it is finished.
EYE OF PARTRIDGE HEEL FLAP for the bold amongst uS
Row 1 (WS): K1, p1, k1, purl to last 3 sts, k1, p1, k1. Row 2 (RS): K1, p1, k1, \*K1, sl 1, rep from \* to last 3 sts, k1, p1, k1. Row 3: K1, p1, k1, purl to last 3 sts, k1, p1, k1. Row 4: K1, p1, k1, \*sl 1, k1, rep from \* to last 3 sts, k1, p1, k1. Repeat rows 1-4 until you have 24 (32, 40) heel-flap rows. Repeat row 3 one more time so that you will be ready to start a right-side row when it is finished.
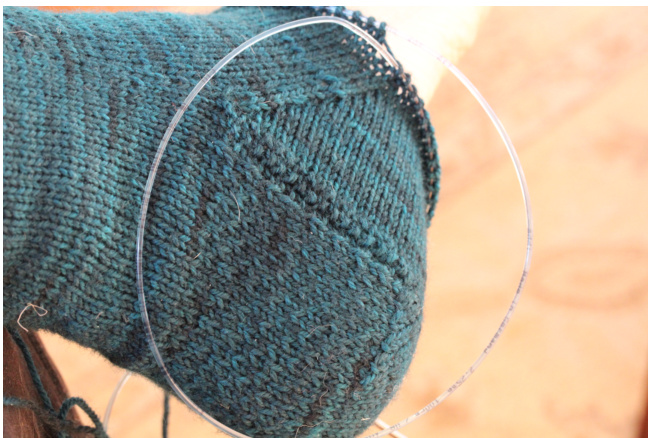
TRAPEZOID HEEL TURN
The heel turn in Mirkwood is the pointy trapezoid heel. I like this type of heel turn because it fits nice and tight around the back of my heel. Slip all stitches purl-wise except on the decrease (ssk), slip the decrease sts knit-wise. Work across all sts removing st markers as you come to them. Row 1 (RS): Sl 1, k 16 (18, 20), ssk, k1, turn. Row 2 (WS): SI 1, p 7 (7, 7), p2tog, p1, turn. Row 3: Sl 1, knit to 1 st before gap, ssk to close gap ( 1 st on each side of gap), k1, turn. Row 4: Sl 1, purl to 1 st before gap, p2tog (1 st on each side of gap), p1, turn. Repeat rows 3 and 4 until all sts have been worked and you have 18 (20, 22) sts remaining. Knit 9(10,11) sts across heel. Beginning of round now starts here.
The GUSSET
Needle 1: With RS facing you and needle 1, knit across remaining heel sts, pick up and knit 14(16,18) sts between purl bumps on garter edge. Pick up and knit 2 sts at top of gusset to prevent gusset hole.
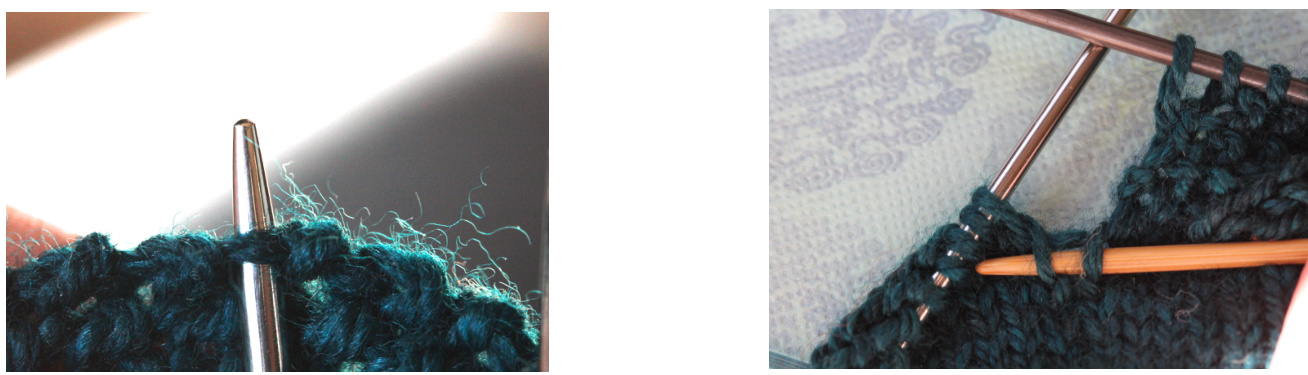
Needle 2: Work across instep resuming cable pattern at row 1. Needle 3: With third needle, pick up 2 sts at top of gusset and continue to pick up and knit 14(16,18) sts between purl bumps on garter edge. Knit across remaining heel sts.
GUSSET DECREASES
First round only: Needle 1: Knit to last 2 sts, ssk. Needle 2: Knit in established cable pattern (row 2). Needle 3: K2tog, knit to end. All other rounds: Rnd 1 Needle 1: Knit to last 3 sts, k2tog, k1. Needle 2: Knit in established cable pattern. Needle 3: K1, ssk, knit to end. Rnd 2 Needle 1: Knit. Needle 2: Knit in established cable pattern. Needle 3: Knit Repeat these two rnds until 56(64,72) sts remain. FOOT Continue knitting stockinette stitch on sole of foot (Needles 1 & 3) and established cable pattern on instep (Needle 2) until you are 2" short of your actual foot length. Next week we will finish out the toe and graft it together!


