Kitimat
Pattern by Kayla Sparkes figcottage.blogspot.ca figcottagehandmades@gmail.com

This simple colourwork toque is named after a small town in British Columbia, Canada. A Tsimshian First Nation name, Kitimat (Kitamaat) means "people of the snow". This pattern blends white and grey to represent the climate of the region that is so beloved (well... by some). The finished hat can be worn back on the head for a slightly slouchy look, or with the brim folded up for a closer fit.
MATERIALS
PatonsClassicWoolWorsted 1 skein each of colours 202 Aran (A) / 224 Grey Mix (B) 4mm and 4.5mm circulars (40cm) or DPNs Stitch marker Tapestry needle SIZE Small (Medium, Large, Extra Large)
GAUGE
20 stitches = 10cm/4 inches, on 4.5mm needles
ABBREVIATIONS
K knit P purl st(s) stitch(es) M1 make one (with L needle,lift bar between sts from the front and knit through back loop) k2tog knit twotogether [] repeat to the end of round
SPECIAL NOTES
The largest size requires no more than half a skein of each colour so full skeins aren't necessary, but do take care to ensure you have enough if using scrap yarn! If using Patons Classic, you should be able to make two XL hats and have a bit of each colour left over. For the stranded body of the hat, the instructions indicate how many stitches to knit in a given colour. Example: [K1B, K3A]. This means knit one in colour B, knit 3 in colour A, and repeat to the end of the round.
INSTRUCTIONS
With 4mm needle and colour A, cast on 72 (80, 88, 96) stitches using the long tail method. Join to work in the round, placing stitch marker at the start of the round. Knit 9 (10, 11, 12) rounds of 1x1 ribbing. Switch to 4.5mm needle. Increase round: Knit 9 (10, 11, 12), M1. Repeat to the end of the round. 80 (88, 96, 104) stitches on the needle. Work 3 (4, 5, 5) rounds of stockinette stitch, then follow the steps below to complete the stranded portion of the hat.
| BODY | CROWN |
| 1. [K1B, K3A] | Cut the yarn for colour A only, leaving a tail to weave in. |
| 2. Knit 4 rounds in A | You'll now be working strictly with colour B. |
| 3. K2A [K1B, K3A] K1A | |
| 4. Knit 3 rounds in A | Small (Medium, Large, Extra Large) = begin decreases with |
| 5. [K1B, K3A] | step 4 (3, 2, 1) |
| 6. Knit 2 rounds in A | |
| 7. K2A [K1B, K3A] K1A | Knit one round then: |
| 8. Knit 1 round in A | 1. [K11, k2tog] (96) |
| 9. [K1B, K3A] | 2. [K10, k2tog] (88) |
| 10. Slip 1 purlwise, K1B, K1A [K3B, K1A] K1B | 3. [K9, k2tog] (80) |
| 11. Knit 1 round in B | 4. [K8, k2tog] (72) |
| 12. [K1A, K3B] | 5. [K7, k2tog] (64) |
| 13. Knit 2 rounds in B | 6.[K6, k2tog] (56) |
| 14. K2B, K1A [K3B, K1A] K1B | 7. [K5, k2tog] (48) |
| 15. Knit 3 rounds in B | 8. [K4, k2tog] (40) |
| 16. [K1A, K3B] | 9.[K3, k2tog] (32) |
| 17. Knit 4 rounds in B | 10.[K2, k2tog] (24) |
| 18. K2B, K1A [K3B, K1A] K1B | 11. [K1, k2tog] (16) |
FINISHING
Cut yarn, leaving a tail, and draw it through the remaining stitches. Pull the tail gently to close up the top of your hat. Weave in all ends. If desired, block to relax the fabric and smooth out any ripples. The pompom is optional, but it does add a nice touch! Make one in any size you wish, fluff it up, trim any stray/long bits, and use the tails from tying it together to attach to the finished hat with a simple knot. Weave in the tails and wear!
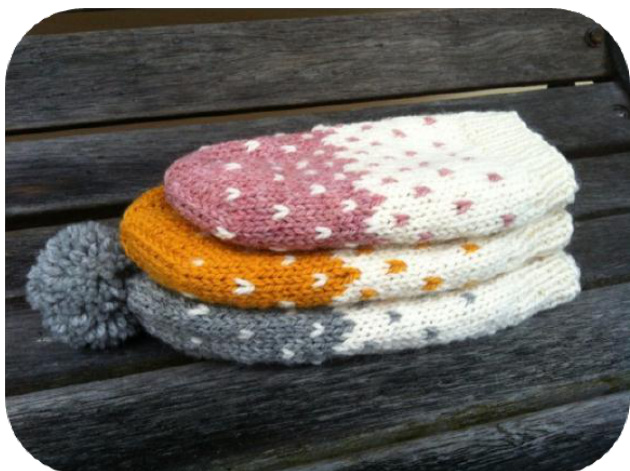
Shown in sizes small, large, extra large.
Free for personal use only - not for sale or profit!
figcottage.blogspot.ca figcottagehandmades@gmail.com


