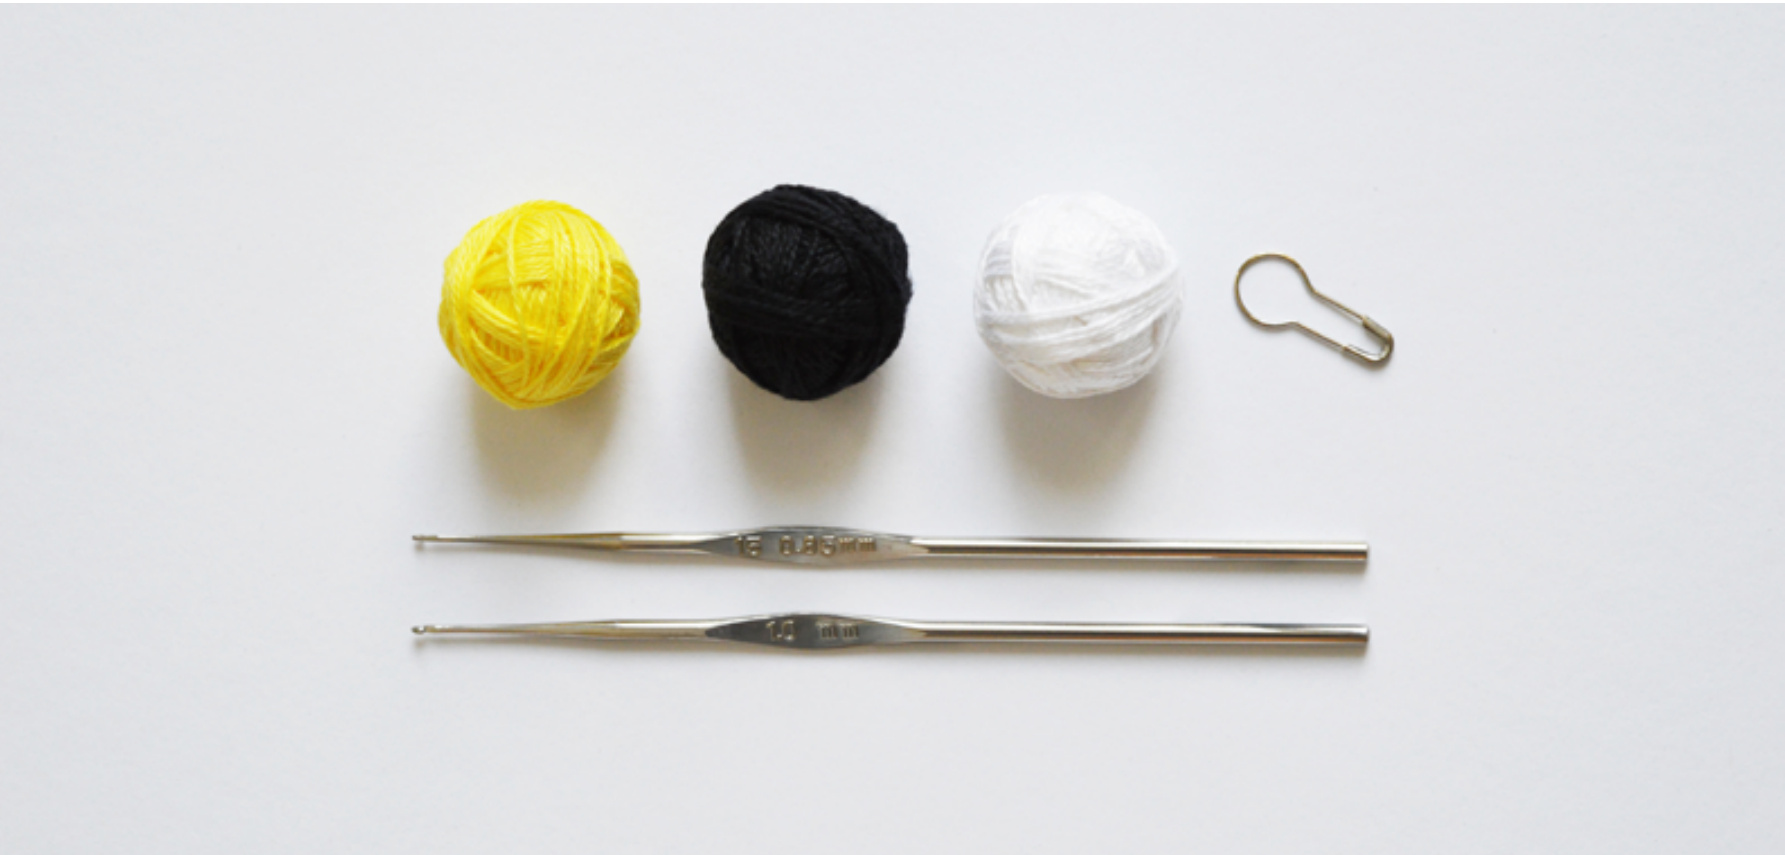
1. Instruments and materials
· 0.85 and 1.00 mm hook . Yellow, black and white yarn · Sewing needle · Stuffing material
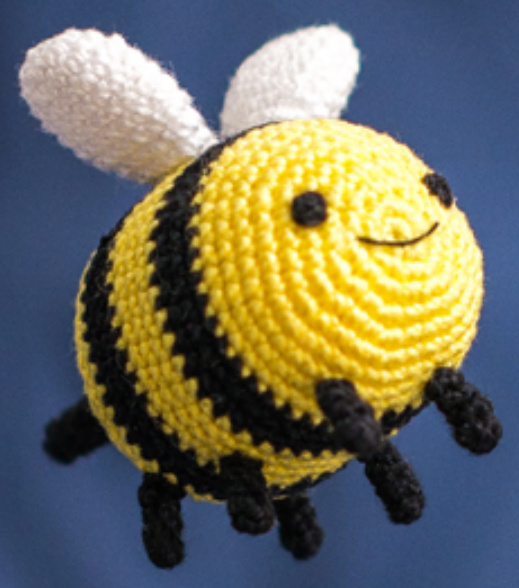
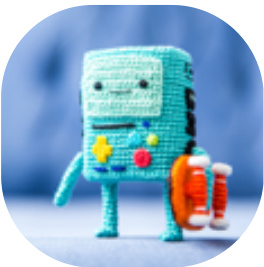
Breezy - character of the popular cartoon “Adventure Time", that was created by Pendleton Ward for Cartoon Network. This toy was crocheted with"Ariadna KAJA" yarn (200m/30g). This is 100% cotton. To create a toy with a height of 5 cm you must crochet with single yarn using a 1.00 mm hook. Legs are crocheted with 0.85 mm hook. The stuffing material used in this toy is polyester wadding. This pattern is for personal use only. Sharing information from this pattern is prohibited. If you publish photos of the toys that are crocheted following this pattern, it is better to mention the author of the pattern. You can also use hashtag #AradiyaToys at Twitter and Instagram to share your toy and see other toys that are created following AradiyaToys' patterns.
2. Abbreviations
Ch chain Sc single crochet Dc double crochet Tr treble crochet HDc half double crochet SI slip stitch INC increase INVDEC invisible decrease BLO back loops only FLO front loops only Tip 2 To keep track of the beginning of the row, use a marker. Pin marker to the last loop of the row. Every new row must be finished with a loop at the marker. Tip 1 The toy must be crocheted with tight stitches, to be sure that there won't be any holes through which stuffing material can be seen. All amigurumi toys are crocheted with tight stitches. Avoid small holes when stretching crochet fabric, if there are some tiny holes, use a smaller size hook. To avoid seams, all details are crocheted in a spiral without slip stitch and lifting loops. There is a chance that you will lose the beginning of the row; to avoid this, use a marker. It can be a colored pin or thread of contrasting color.
3. Body
With yellow yarn, 1.00 mm hook 1 row 6Sc in magic circle (6) 2 row 6INC (12) 3 row (1Sc, INC) repeat 6 times (18) 4 row (2Sc, INC) repeat 6 times (24) 5 row (3Sc, INC) repeat 6 times (30) 6 row (4Sc, INC) repeat 6 times (36) 7 row (5Sc, INC) repeat 6 times (42) 8 — 10 rows Sc in each Sc around (42) Connect black yarn and do not cut yellow one. Crochet with black yarn: 11 - 13 rows Sc in each Sc around (42) Tip 3 To avoid uneven edges, all details that are made in spiral technique must be finished with a slip stitch.
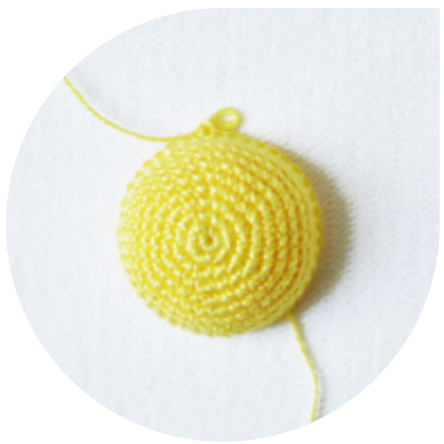
Image 1
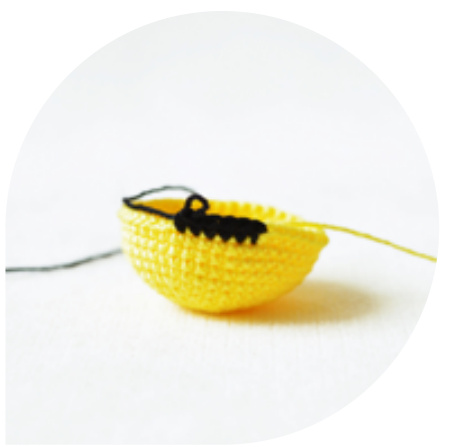
Image 2

Image 3
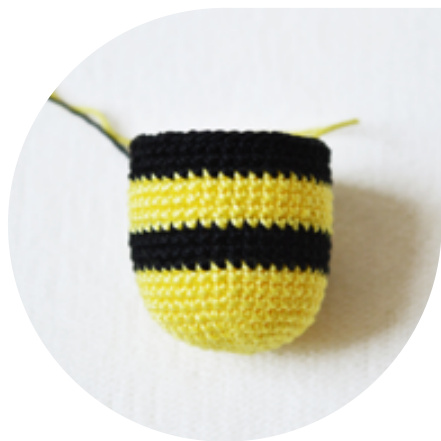
Image 4
3.1 Body
Crochet with yellow yarn: 14 - 17 rows Sc in each Sc around (42) Crochet with black yarn: 18 - 20 rows Sc in each Sc around (42) Cut black yarn, continue crocheting with yellow yarn. 21 - 22 rows Sc in each Sc around (42) 23 row (5Sc, INVDEC) repeat 6 times (36) 24 row (4Sc, INVDEC) repeat 6 times (30) Stuff detail with stuffing material, continue crocheting. 25 row (3Sc, INVDEC) repeat 6 times (24) 26 row (2Sc, INVDEC) repeat 6 times (18) 27 row (1Sc, INVDEC) repeat 6 times (12) 28 row 6INVDEC (6), SI Cut the yarn. Tighten all stitches and hide the end of yarn inside the body.
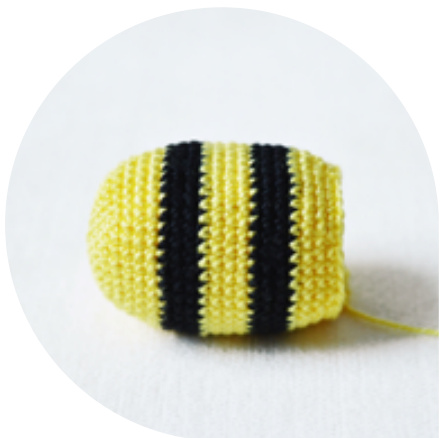
Image 5

Image 6
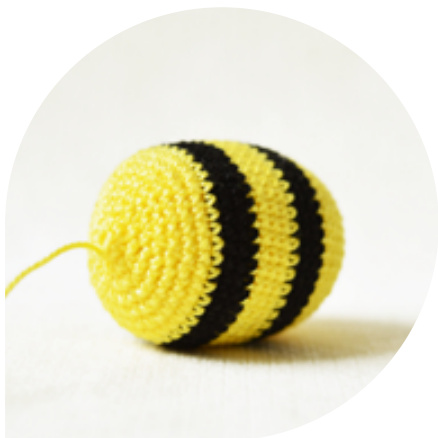
Image 7
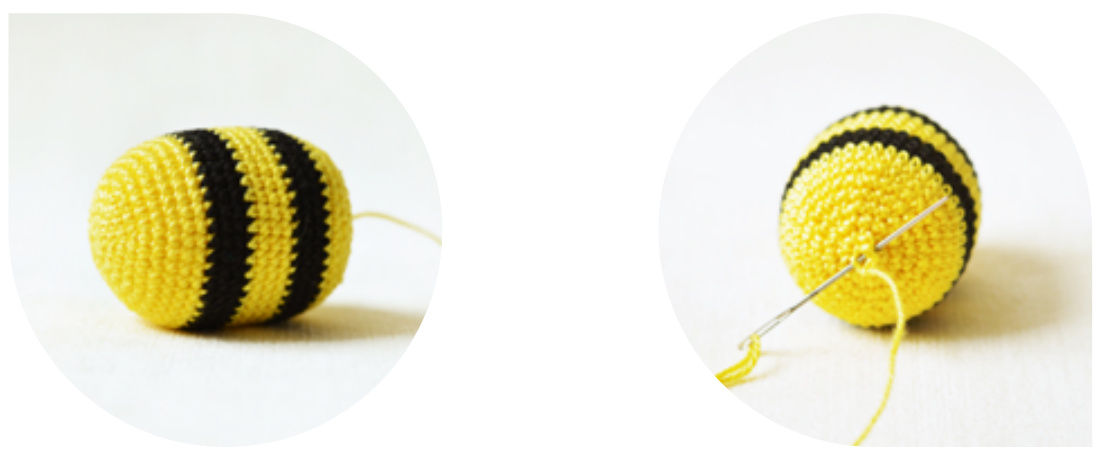
Image 8 Image 9
4. Sting
With black yarn, 1.00 mm hook
1 row 4Sc in magic circle (4) 2 row 3Sc, INC (5) 3 row 4Sc, INC (6) 4 row 5Sc, INC (7) 5 row 6Sc, INC (8) 6 row 7Sc, INC (9) 7 row Sc in each Sc around (9), Sl Cut the yarn, leave a long end for sewing. Stuff detail with stuffing material.

Image 10
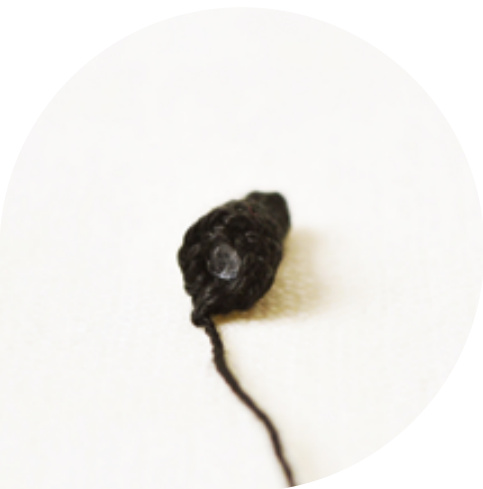
Image 11
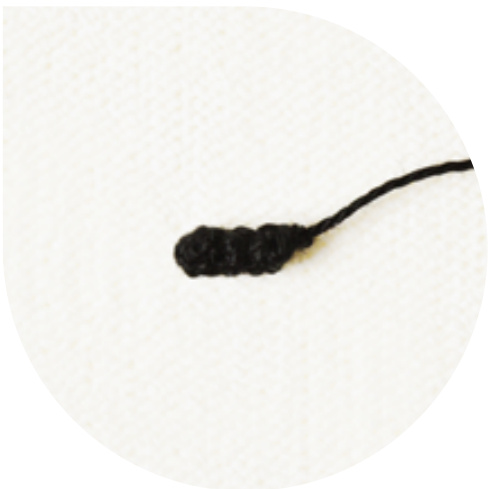
5. Legs
With black yarn, 0.85 mm hook
1 row 6Sc in magic circle (6) 2 - 4 rows Sc in each Sc around (6), Sl Cut the yarn, leave a long end for sewing. Make 6 details.
6. Wings
With white yarn, 1.00 mm hook 1 row 6Sc in magic circle (6) 2 row 6INC (12) 3 row (2Sc, INC) repeat 4 times (16) 4 - 8 rows Sc in each Sc around (16) 9 row (2Sc, INVDEC) repeat 4 times (12), SI Cut the yarn, leave a long end for sewing. Stuff the wings with a small amount of stuffing material and squish it as shown on the photo. (lmage 15) Make 2 details.
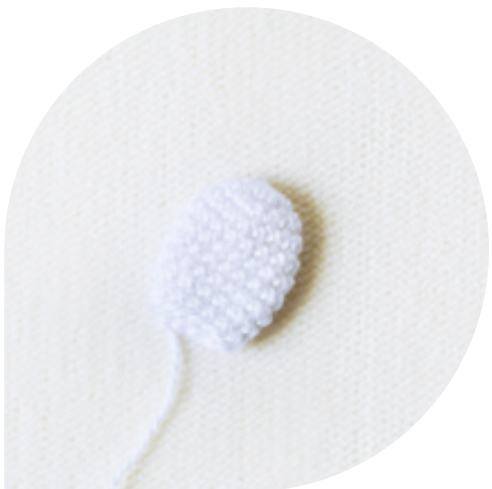
Image 13
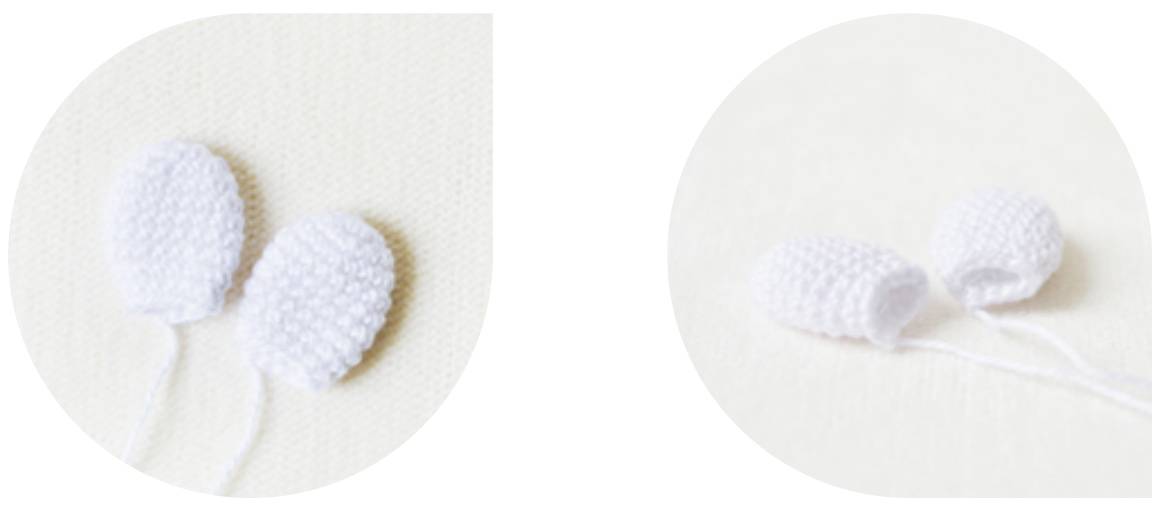
Image 14 Image 15
7. Assembly
Place the sting on the bottom part of the body, right at the center and fasten it with pins. (lmage 16) Sew the sting with the end of black yarn that we left before. (Image 17) Fasten and cut the yarn, hiding the end inside the body. (lmages 18 and 19)
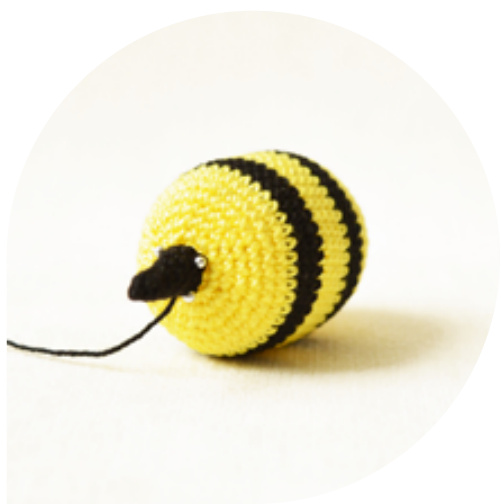
Image 16
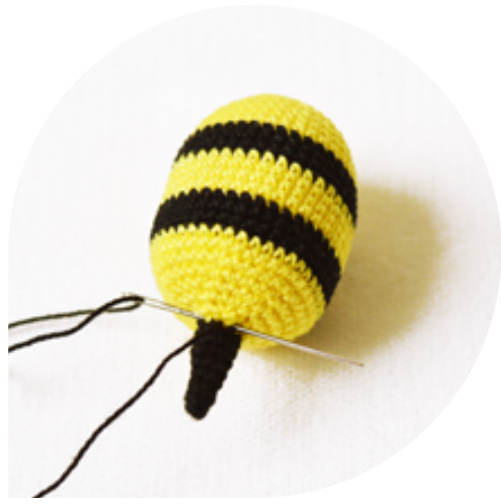
Image 17
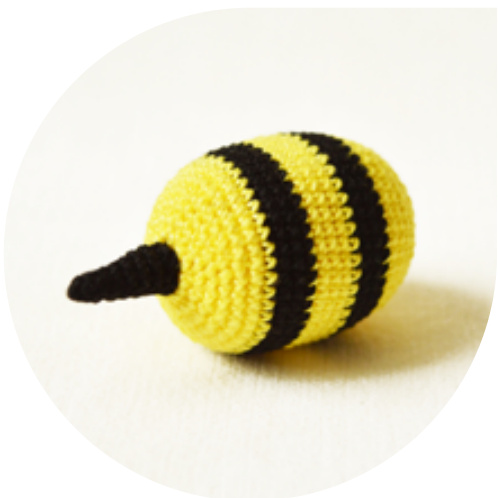
Image 18
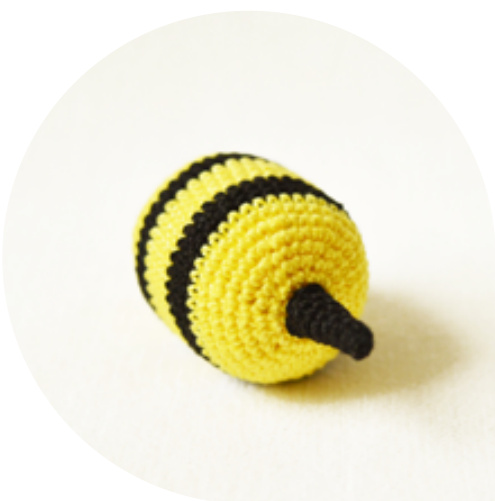
Image 19
7.1 Assembly
When you crochet with different colors of yarn, you will notice that the colors are not aligned at the color transition place. It doesn't look esthetic, that why it is better to make the color transition place face downwards so that it will remain almost invisible. The legs should be placed around the color transition place. To make this, choose a place for the legs on the yellow strips on the body and mark them with pins. Try to place the legs symmetrically around the color transition place. (lmage 20) Sew all six legs one by one with the ends of black yarn that we left before. All yarn must be fastened and hidden inside the body. (Image 21) Bend legs a little to make them look more natural. (lmage 22)
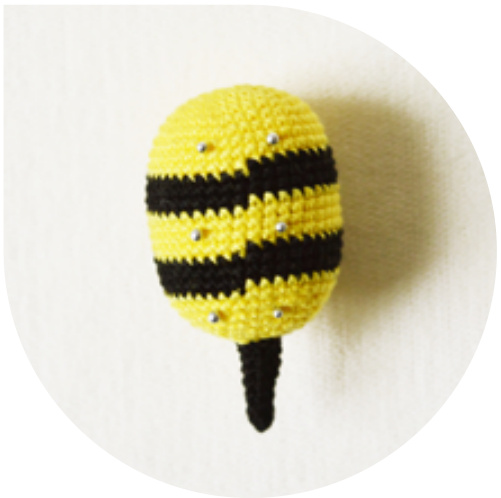
Image 20
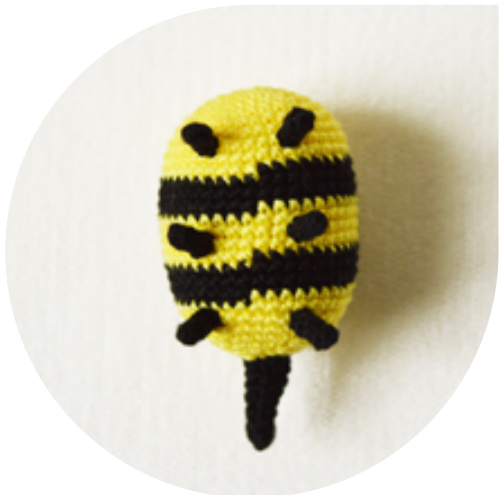
Image 21
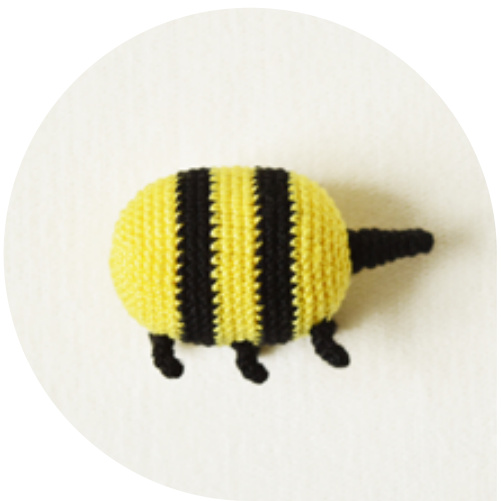
Image 22
7.2 Assembly
Place the wings symmetrically on the center of the body and fasten them with pins. (lmages 23 and 24) Sew the wings with the end of white yarn that we left before. (lmage 25) Fasten and cut the yarn, hiding the end inside the body. (Images 26 and 27) Embroider the eyes and the mouth on the front part of the body with black yarn. (Image 28)
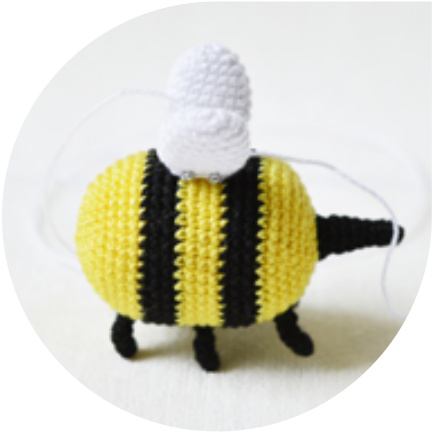
Image 23
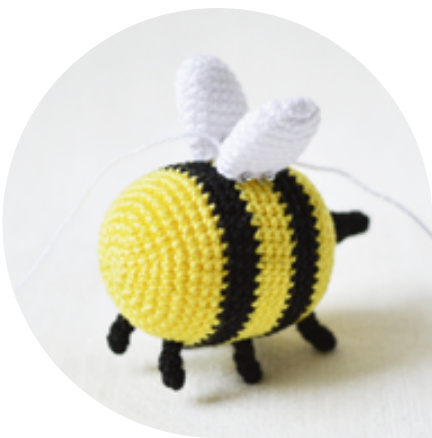
Image 24
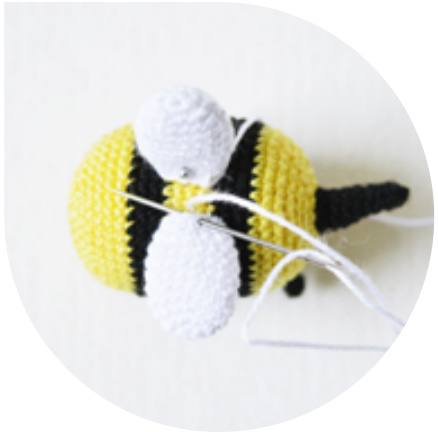
Image 25
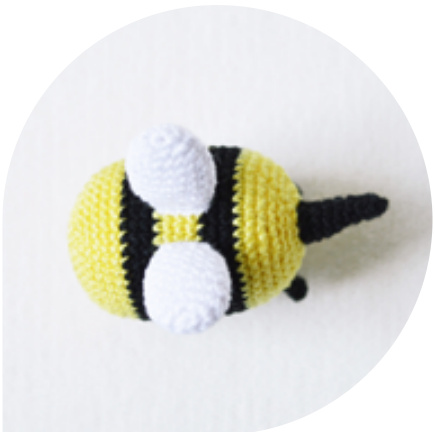
Image 26
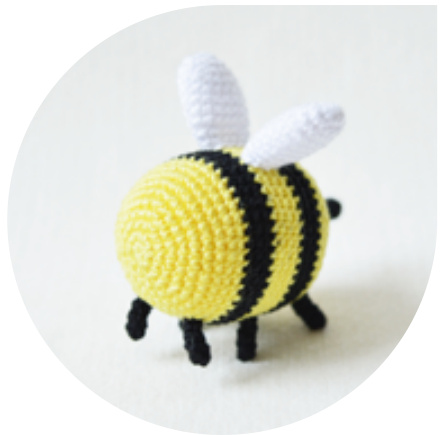
Image 27
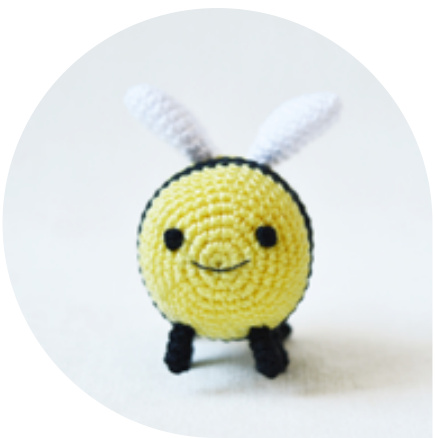
Image 28
7.3 Assembly
Congratulations, your Breezy is ready!
Don't forget to share your final result on Twiter and Instagram using #AradiyaToys hashtag. If you enjoyed this pattern, subscribe for more! All links below are clickable (touchable)
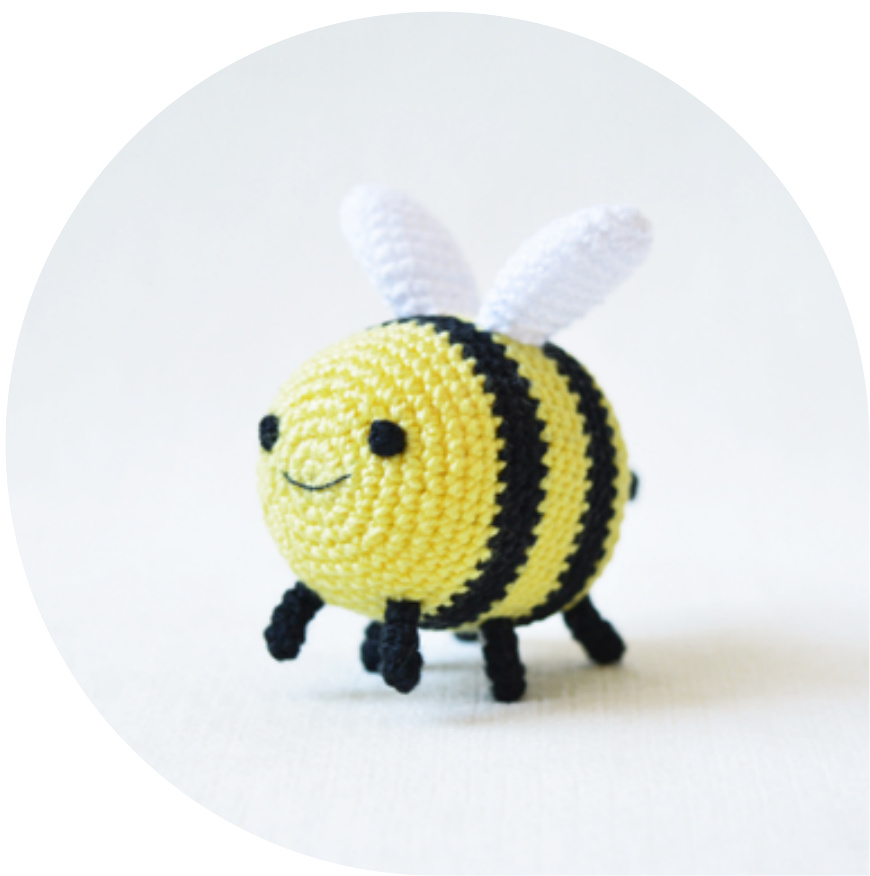
Image 32
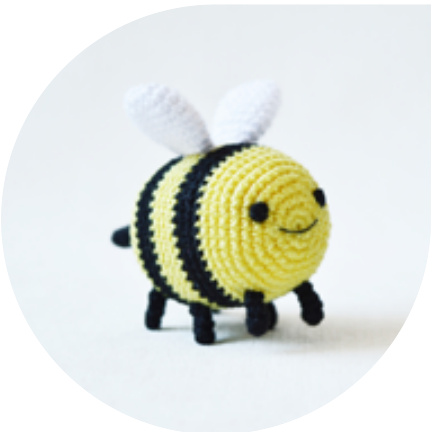
Image 29
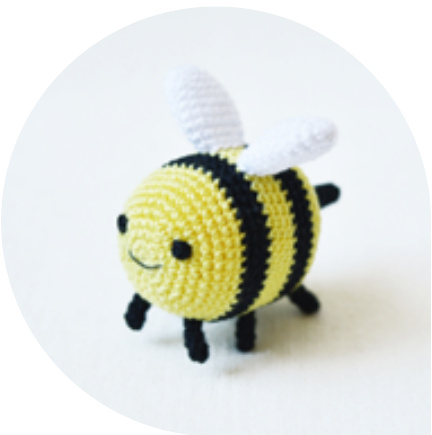
Image 30
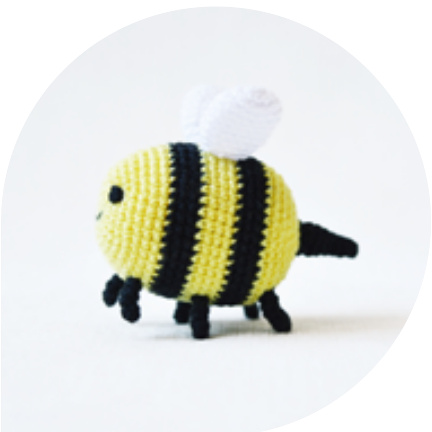
Image 31 @aradiya_ /AradiyaToys


aradiyatoys.deviantart.com aradiyatoys.tumblr.com telegram.me/AradiyaToys


Other patterns from Adventure Time collection
2
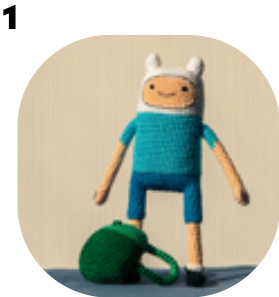
Finn the Human
Jake the Dog
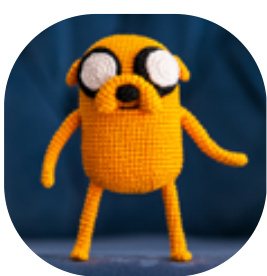
Get this pattern on: Etsy Craftsy Ravelry Get this pattern on: Etsy Craftsy Ravelry
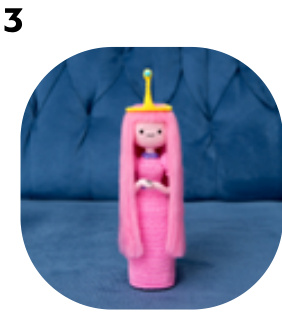
Princess Bubblegum Get this pattern on: Etsy Craftsy Ravelry
BMO Get this pattern on: Etsy Craftsy Ravelry

Tree Trunks Get this pattern on: Etsy Craftsy Ravelry


