The Colvin Hat
a Brownie Knits design brownieknits.com www.ginakanouse.blogspot.com User Level: Beginner
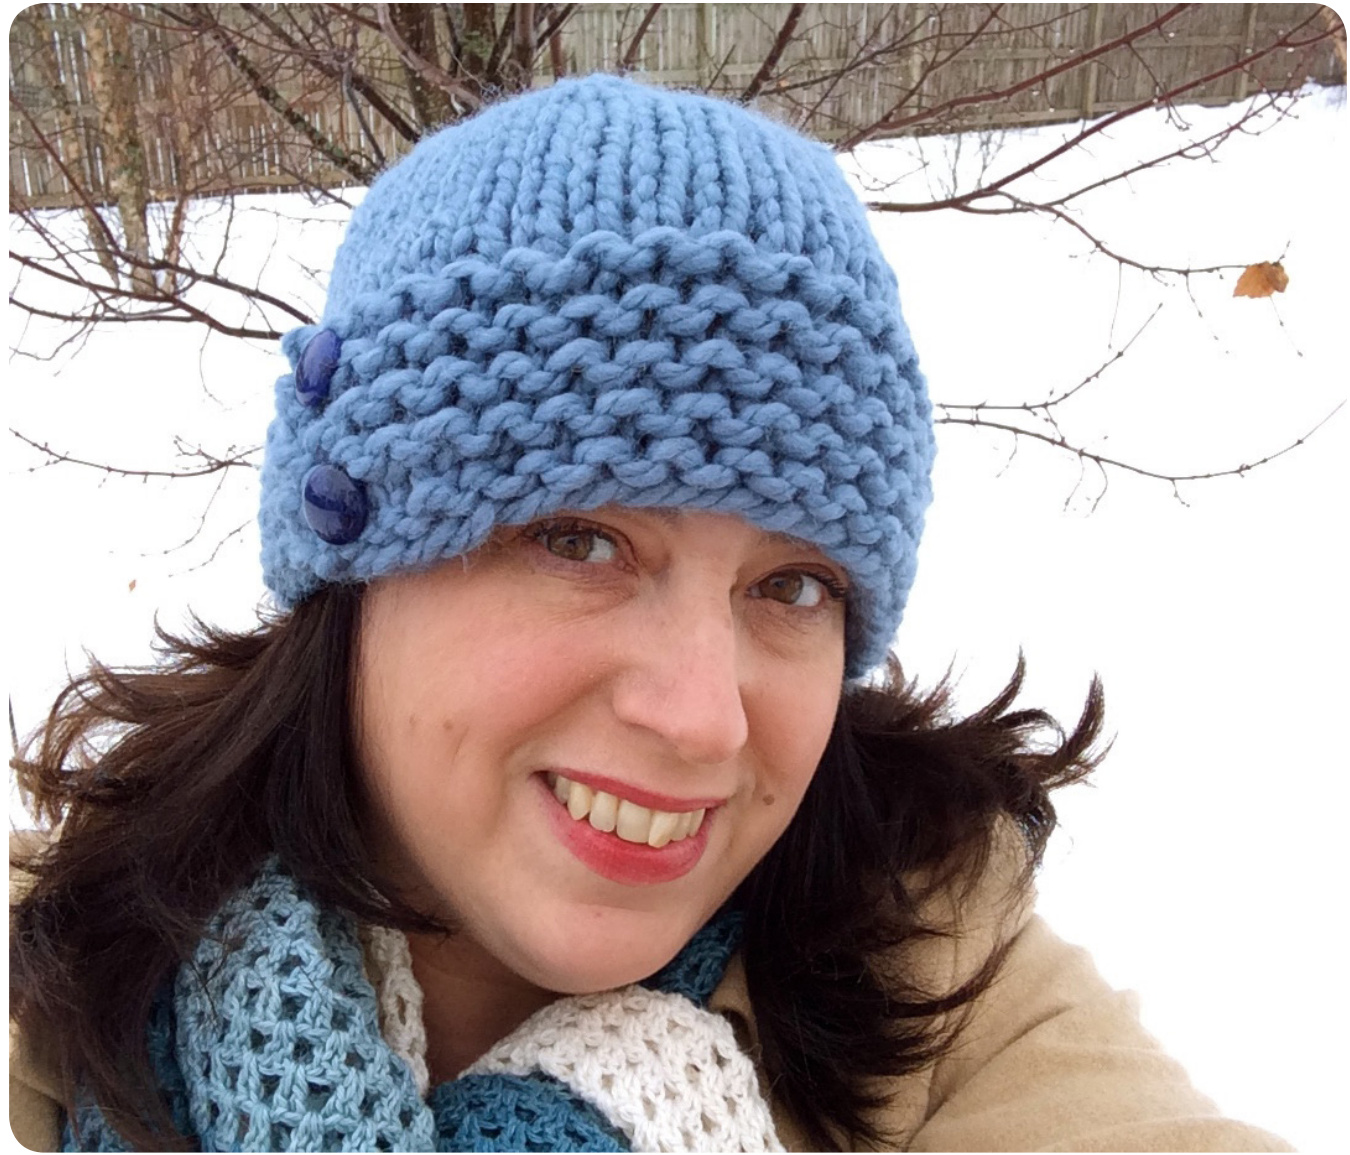
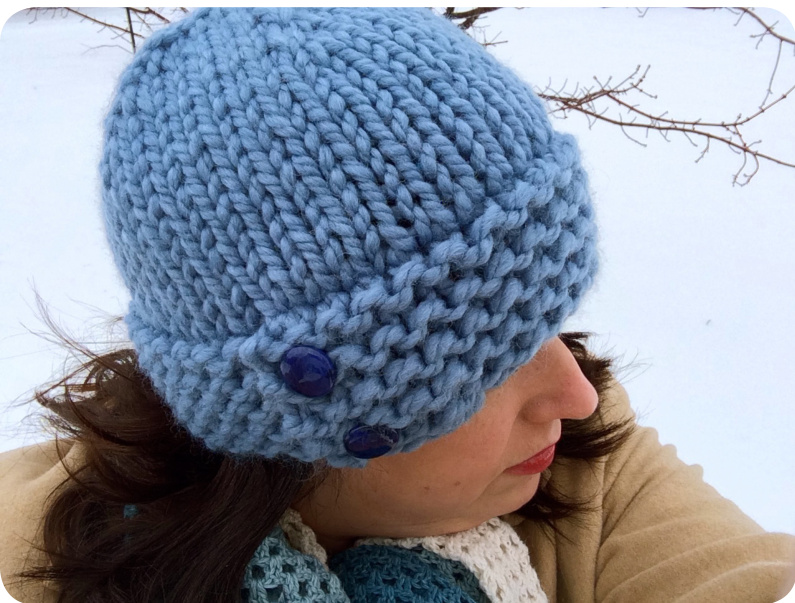
The Colvin Hat is a quick knit using super bulky yarn and large needles. Grab two fun buttons and in a few hours, you will have a new addition to your wardrobe. Knit from the bottom up, the pattern was originally used to teach new knitters how to pick up stitches. Don't be afraid to stretch your legs if you are a new knitter! Go for it! For a deeper hat, knit more rounds before beginning decreases, but be aware that you will need more yarn if you knit more rounds. Happy knitting!
Waterials:
Yardage: 64 yards/58.5 meters of super bulky yarn Sample knit out of Encore Mega in colors Blue (515) and Cream (256) (64 yards/58.5 meters; 75% acrylic, 25%w0ol) Note: You can also hold worsted weight yarn as three strands together to get a super bulky yarn. Be sure to check your gauge if making this adjustment.
Gauge:
2 sts over Garter = 1 inch
Needles:
US 15 (10mm) 16-inch circulars US 15 (10mm) DPNs in a longer length or size needed to get gauge Working back and forth (do not join), k 9 rows. (This will give you 5 Garter ridges on the front side—9 rows, plus the one row put on by the long-tail CO.) BO all sts loosely.
Ablreviations:
ftew:
Using the long-tail cast on and your circular needles, CO 44 sts. Be sure not to cast on too tight. You want the bottom of the hat to be able to stretch. Place a split stitch marker on the front of your work before you turn so that you will know the RS from the WS.
Tip: You might find it easier to pick up the sts if you use a crochet hook.
Stitches Used:
Garter stitch = Knit every row (when knitting flat).
Garter Stitch Band
Motiony:
Siging:
2 buttons of whatever size you desire Crochet hook optional Scissors 1 split stitch marker 1 stitch marker Tape measure Yarn/Tapestry needle One size fits most adults; circumference to fit: 19-22 inches. BO = bind off CO = cast on DPN(s) = double pointed needle(s) K, k = knit k2tog = knit two stitches together mm = millimeter(s) pm = place marker P, p = purl RS = right side St st = stockinette stitch sts = stitch(es) WS = wrong side Stockinette stitch = Knit ever round (when knitting in the round).
Stockinette Stitch Top
Overlapping the first and last 4 sts of the band, pick up 40 sts around. To do this for the first 4 sts, insert your needle through the fourth st of one end and the first st of the other at the same time. Wrap the yarn and pull it through both spaces to create a new live stitch on your needle. Repeat this for the rest of the overlapping sts and then pick up one st for every BO the rest of the way around. Place marker and join knitting into the round. It is easy to miss the edge st and only pick up 39. If this happens, increase 1 st on the first knit round. K 9 rounds. (If you desire a deeper hat, knit more rounds before going to the Decrease Rounds. However, remember that you will need more yarn to complete your hat.)
Decrease Rounds
Switch to DPNs when your work will no longer connect on the circular needle. Decrease Round: \*K6, k2tog; repeat from \* around. (35 sts) Even Round: K even. Decrease Round: \*K5, k2tog; repeat from \* around. (30 sts) Even Round: K even. Decrease Round: \*K4, k2tog; repeat from \* around. (25 sts) Decrease Round: \*K3, k2tog; repeat from \* around. (20 sts) Decrease Round: \*K2, k2tog; repeat from \* around. (15 sts) Decrease Round: \*K1, k2tog; repeat from \* around. (10 sts) Decrease Round: \*K2tog; repeat from \* around. (5 sts) Cut a long tail and pull it through the remaining sts. Weave in the end.
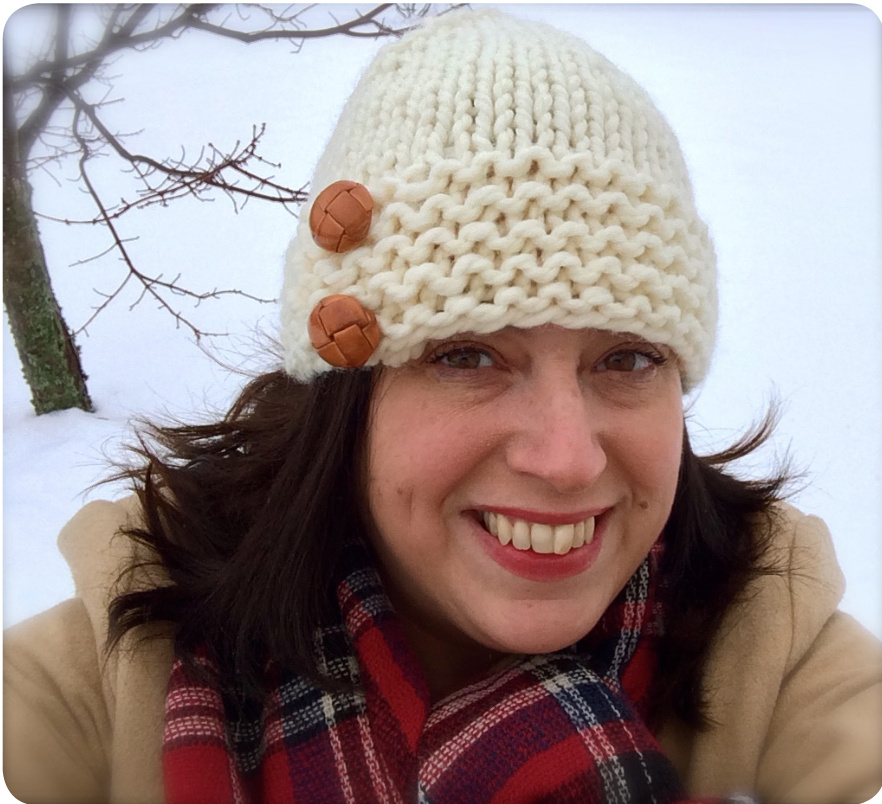
Using the tails at the Garter band, tack down the Garter band so that the flap is secure. Sew on buttons or other embellishments. Block your hat per the yarn label instructions and enjoy your new Colvin hat! I would love to see your finished projects or answer any questions about the pattern. Email: brownieknits@yahoo.com Website: brownieknits.com Blog: ginakanouse.blogspot.com Etsy shop: etsy.com/shop/brownieknits Facebook: Brownie Knits Instagram / Ravelry / Craftsy / Pinterest: BrownieKnits YouTube channel: BrownieKnits


