Viking or Dwarven Beard
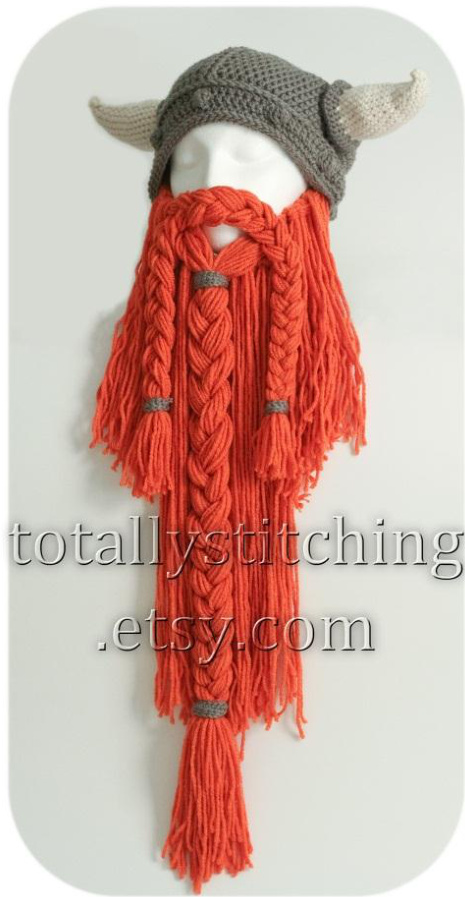
Basic construction: This pattern explains the process to make a beard that attaches to an already completed hat. We will begin by making the "base" which lies against the face when worn. From this base we will hang strands of yarn that make up the beard. On each side of the beard are three button holes which allow the beard to hang from your hat at different sizes (please note the photos are out of date and show only two button holes).
Materials:
- 300+ yards of worsted weight yarn (yarn in this tutorial is Red Heart With Love in Mango) -4mm hook -Yarnthreader - Two 1-inch buttons
Gauge:
8 rows of 9 sc = 2" square
Abbreviations used (Us terms)
CH: chain SC: single crochet HDC: half double crochet SL ST: slip stich TR: triple crochet (aka “treble crochet")
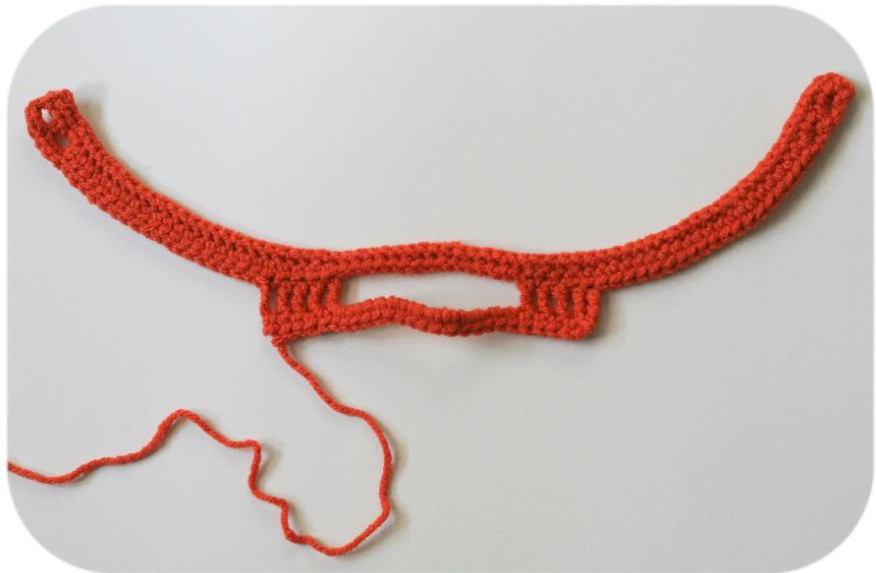
Beard base
CH67 R1: In 2nd ch from hook, SC 66 across R2: CH 1, turn, HDC in same, [CH 2, skip 2 stitches, HDC 2] 3 times, HDC 12, SL ST 16, HDC 14, [CH 2, skip 2 stitches, HDC 2] 2 times, CH 2, HDC R3: CH 1, turn, [2 SC in button hole, SL ST 2] 3 times, SL ST 7, CH 4, 4 TR, CH 16 (skip 16 stitches), 5 TR R4: CH 2, turn, HDC 25, cut yarn leaving tail 19 inches long (it wilhang with the beard strands) Weave inbeginning tail
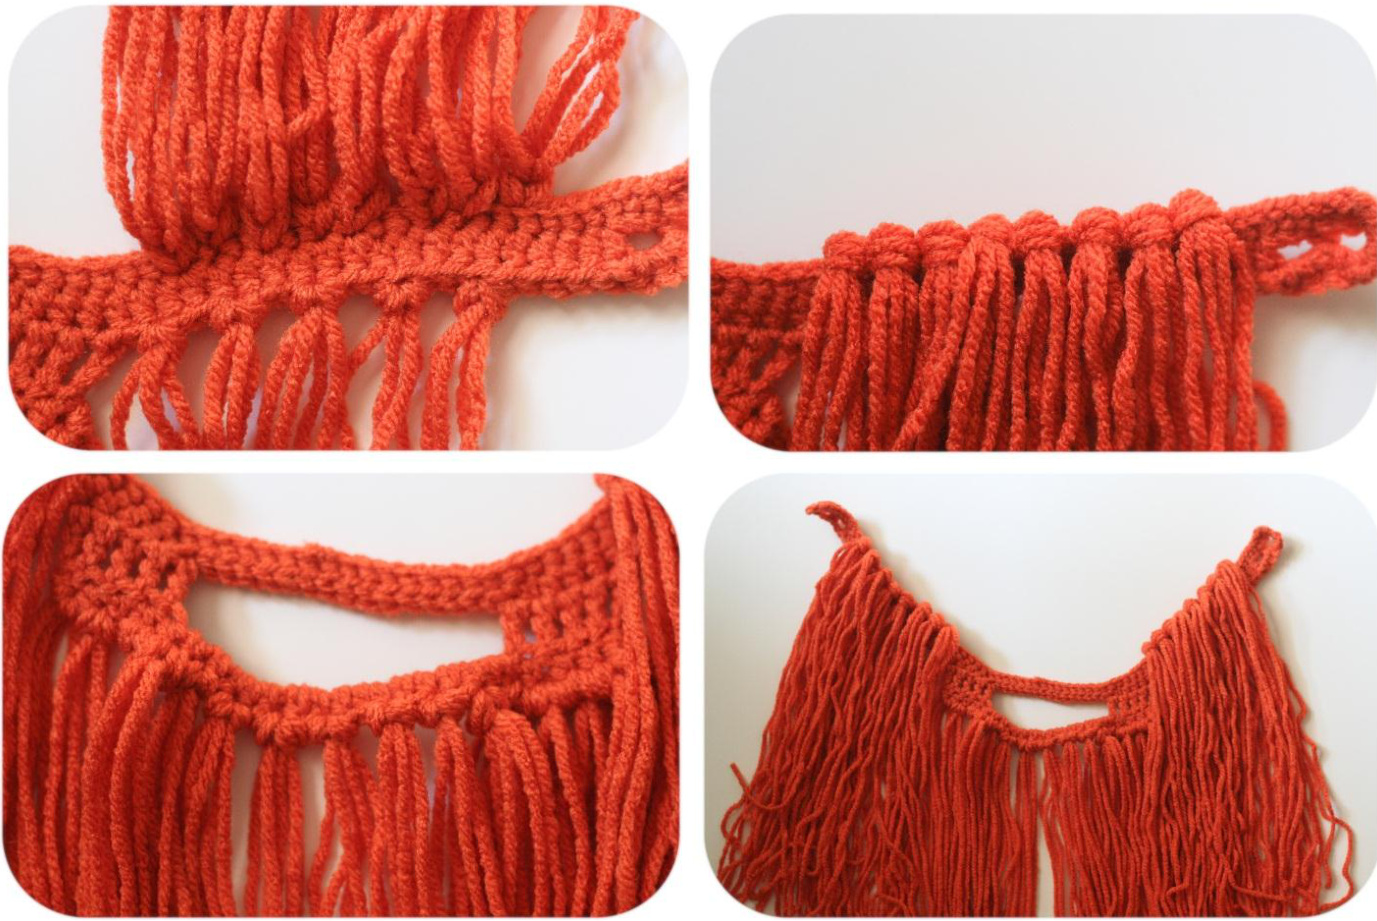
Beard Strands
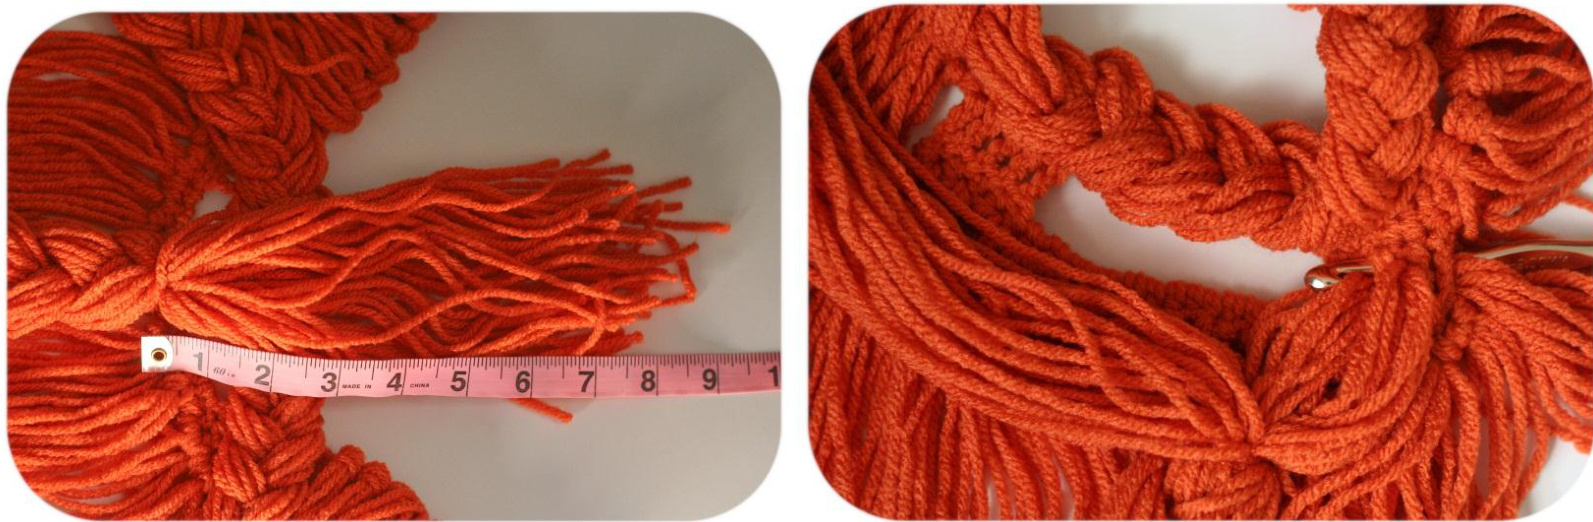
Cut about 70 strands of yarn 24"long. Use these to make tassels along the top and bottom of the left and right side of the beard base. Use 3 strands of yarn for the top tassels and 2 for the bottom. Cut about 45 strands of yarn 38" long. Use these to make tassels along the chin using 3 strands of yarn. Tip: I found that my computer monitor was the perfect height and width to wrap my yarn around and cut both sizes of strands.
Thin Braid
Cut thirty 38" strands and tie them together at the top with a matching piece of yarn. Use a heavy item (like a book) to steady the top of the strands while you braid. Separate the strands into 3 clumps of 10 strands of yarn and braid until you reach the end. Tie more matching yarn tightly at the bottom and top of the braid to keep it from coming un-braided. Cut the very first tie off.
Thicker Braid
Cut sixty 38" strands and use the same technique as making the thin braid. Separate the strands into 3 clumps of 20 strands of yarn to braid.
Attaching the Thin Braid
Grab your yarn threader and a matching strand of 50"+ yarn to sew with. Line up your thin braid (using stitch markers or safety pins helps) and sew it on to the base. Pay attention and watch what you're doing so you don't pull it too tight where it bunches up the braid or too loose where the braid isn't secure. Sew one direction, then back to where you started and tie ends securely. It's fine to leave the tails hanging.
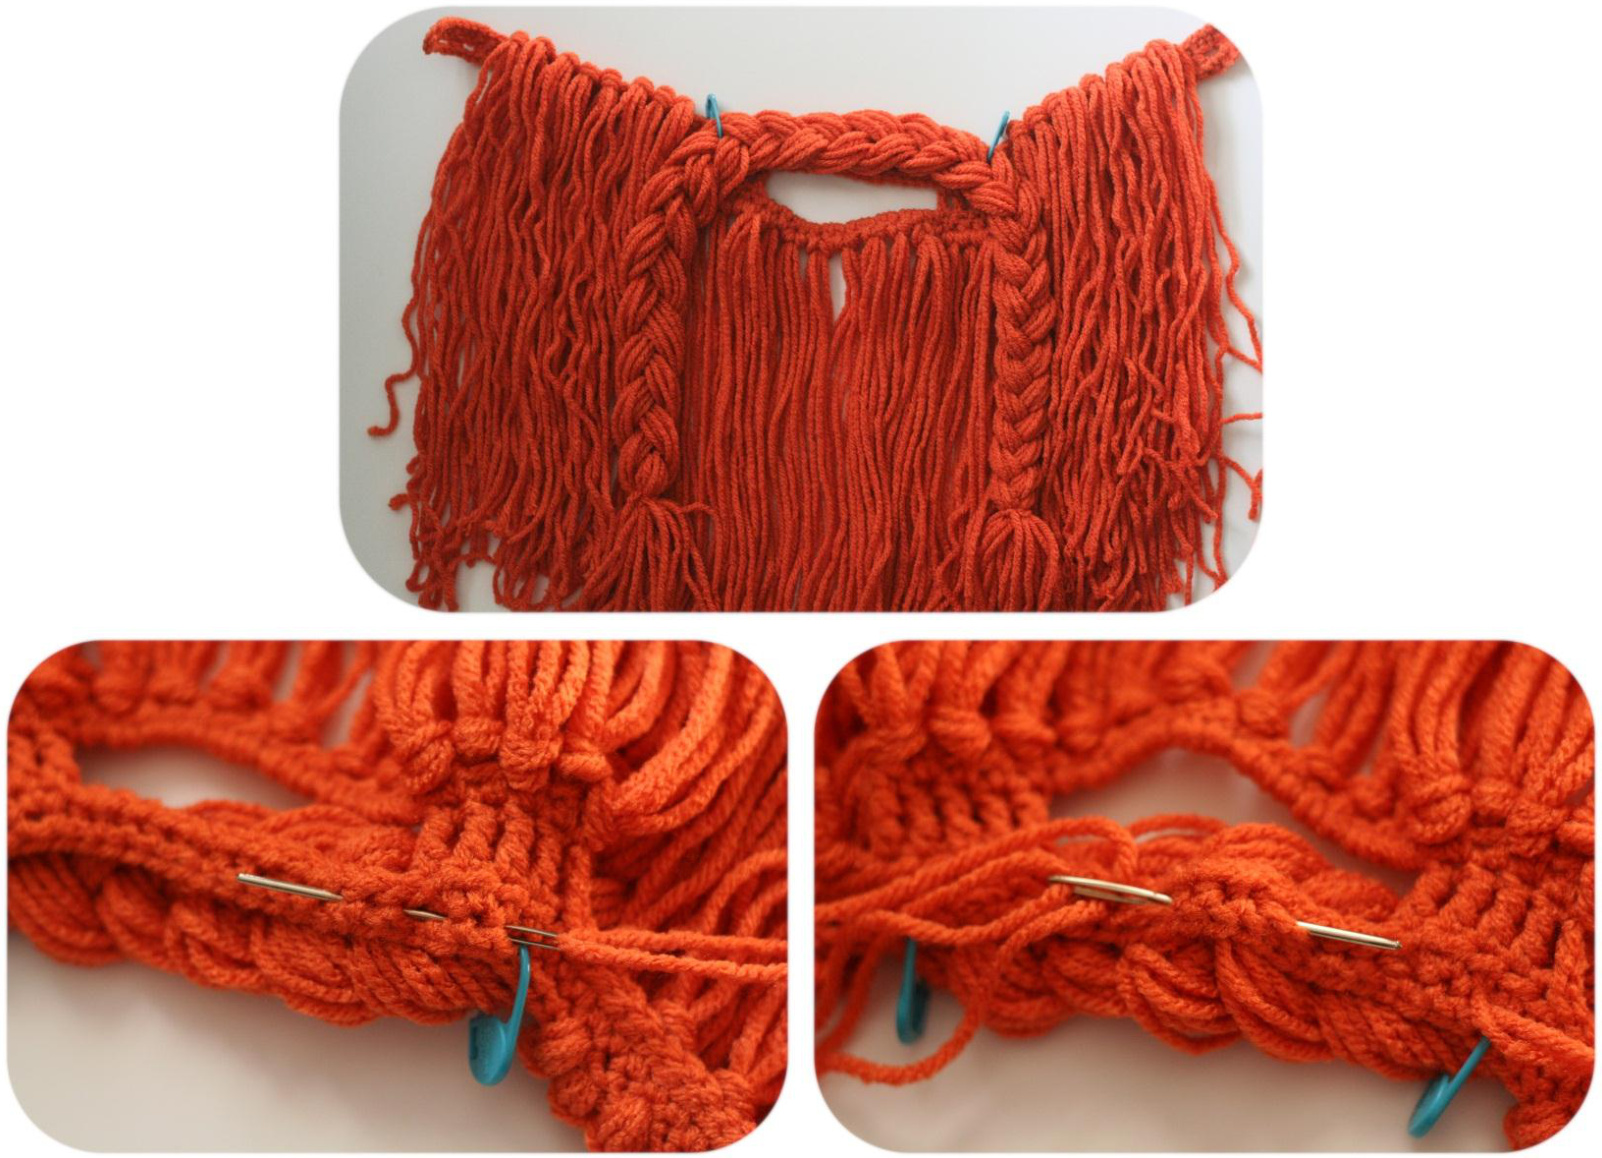
Attaching the Thick Braid
This is my least favorite part because it's tedious. But it's the focal point of the beard so it must be done! Add a secure tie to the thick braid about 8-9" from the top and remove the old top tie. Divide the yarn strands into two equal clumps. On one side, divide into two equal clumps again and using a crochet hook (a large one like an N is easiest), pull one clump through a treble stitch in the base. Now pull the other clump through an adjoining treble stitch. Repeat on the Other side.
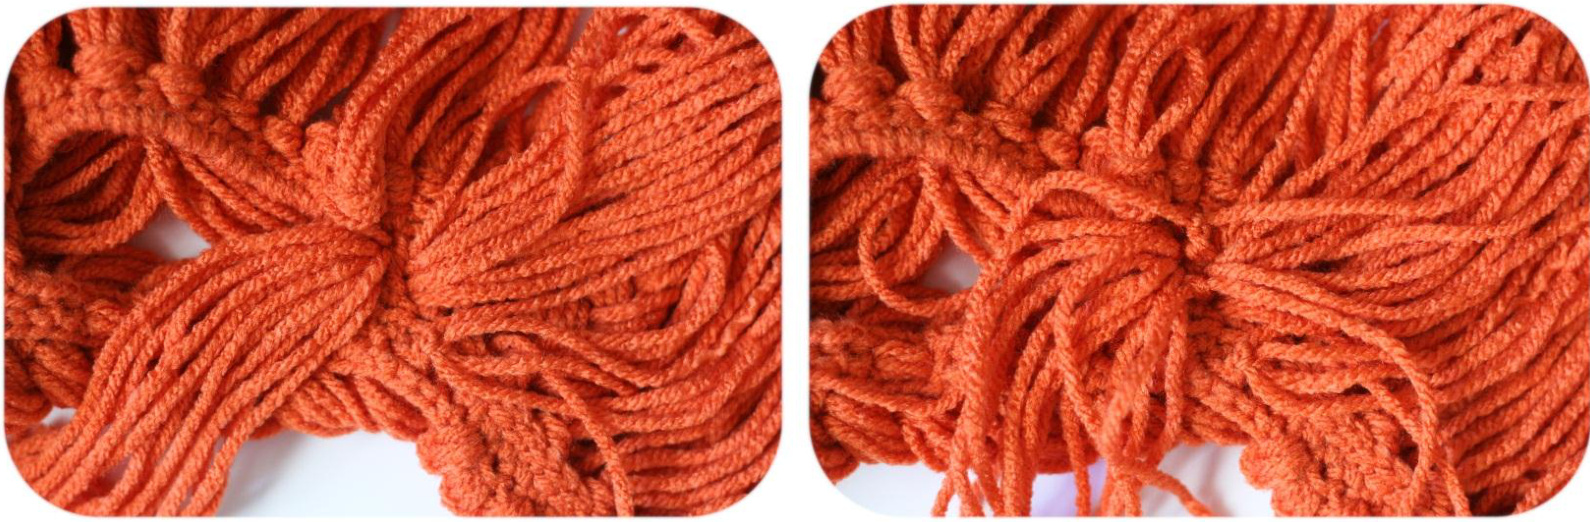
Look at the front of your beard and pull on the braid or yarn ends accordingly to achieve the proper position (refer to finished project photos for assistance). Carefully turn the beard over and begin tying the yarn ends to one another. Again, watch your tension so the front doesn't bunch up from being too tight or too loose. The photos below demonstrate...if you can make out anything in all that orange :P
Small Braid Rings (make two using same yarn used to make hat) CH 8 (leave tail 6 inches long for tying) R1: In 2nd ch from hook, SC across R2: CH 1, SL ST across and pull tail through beginning ch loop, cut tail 6 inches long Large Braid Rings (make two using same yarn used to make hat) CH 15 (leave tail 6 inches long for tying) R1: In 3rd ch from hook, HDC across R2: CH 1, SL ST across and pull tail through beginning ch loop, cut tail 6 inches long Use the tails of the rings to tie them onto the braids. Use photos for placement if necessary. Ijust tie them into the ties that are already holding the braids together. Now sew your buttons on to your hat. The easiest way to do this is to just put the hat on, stretch the beard across your face and mark where the button holes line up to the hat with stitch markers. When you actually sew on the buttons, sew them about 3-4 rows up (towards the top of the hat) from the markers. Attach that beard, you're done! Now put it on your head and go have an ale, nice job Extra tip: If you want your beard strands super straight, run a garment steamer overthem, it works great! The hat pictured is the Lael Viking Hat by Tara Murray, link: http://www.ravelry.com/patterns/library/lael-viking-helmet
Find me:
Mrs_c1126@yahoo.com facebook.com/TotallyStitching etsy.com/shop/TotallyStitching ravelry.com/stores/totally-stitching pinterest.com/TotalStitching/
@ Copyright Melissa Campbell
This pattern is free, please feel free to share it. Please do not copy it and claim it as your own. You are free to sell projects made from this pattern, all I ask is that you provide a link back to this pattern on Ravelry or back to my Etsy shop (etsy.com/shop/TotallyStitching). Much appreciated and enjoy!


