HOLLY
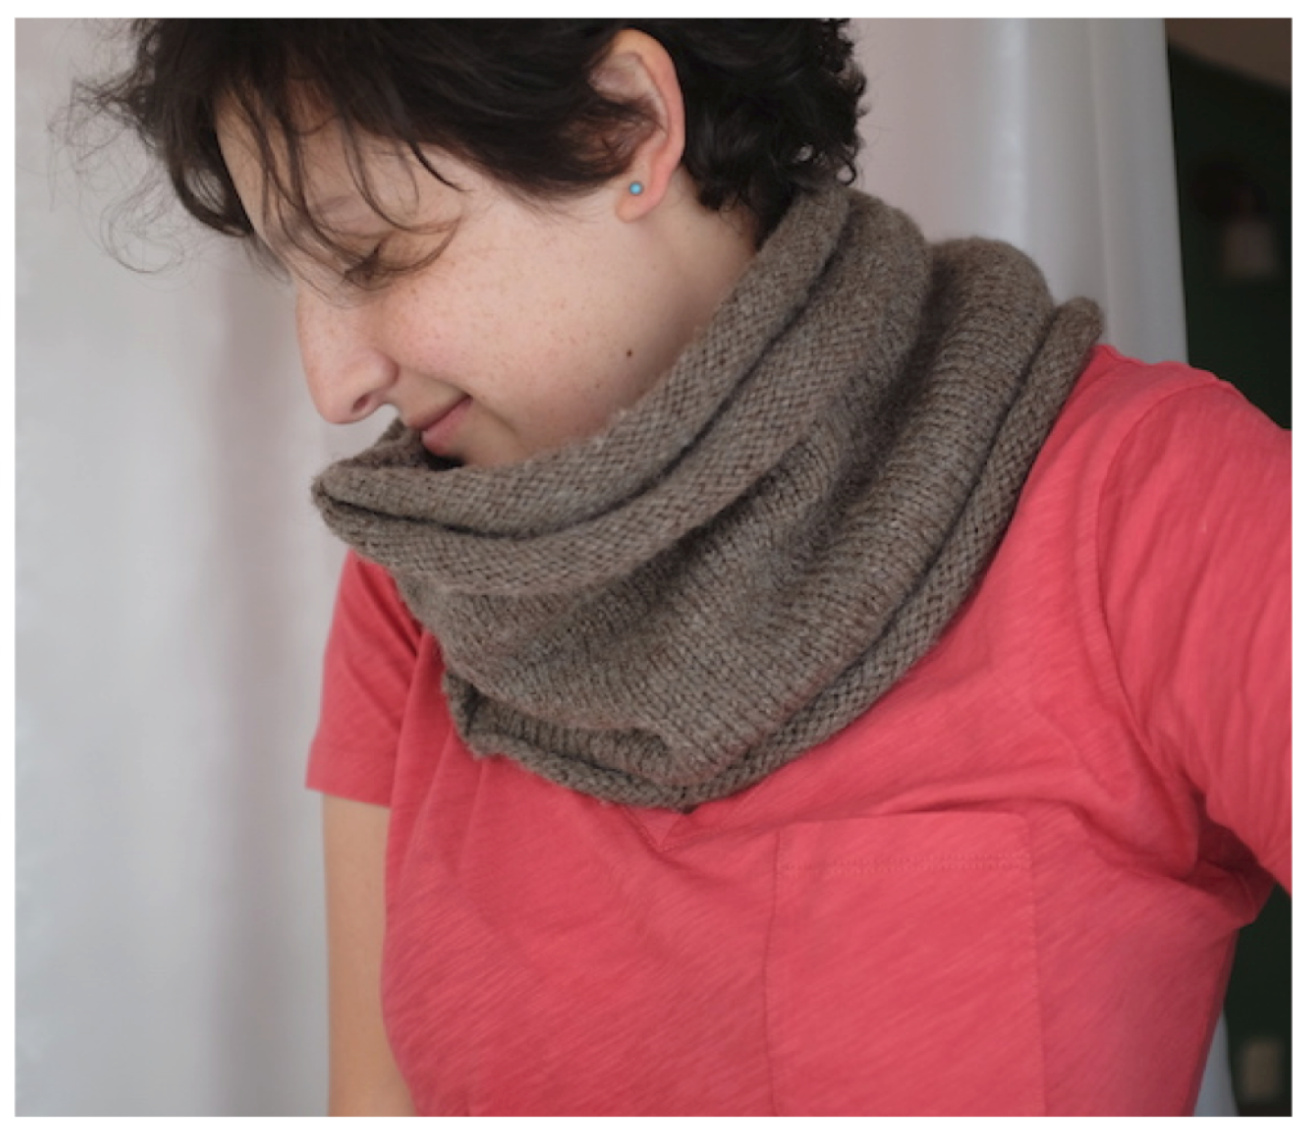
Double Wrap Cowl By Michele Kraus Materials DK weight wool yarn in the following approximate amounts: 650yards Photographed in Rowan British Sheep Breeds DK Undyed in Mid Brown Bluefaced Leicester (782) Gauge 18 stitches & 30 rows = 4" in stockinette stitch with Size A needle(s), after blocking Needles SizeA One 32" circular needle in size needed to obtain gauge listed. Suggested Size: 4 mm (US 6) Finished Dimensions 12" x 65" laid flat before seaming. Additional Tools Tapestry needle Skill Level 2 of 5
About this Design
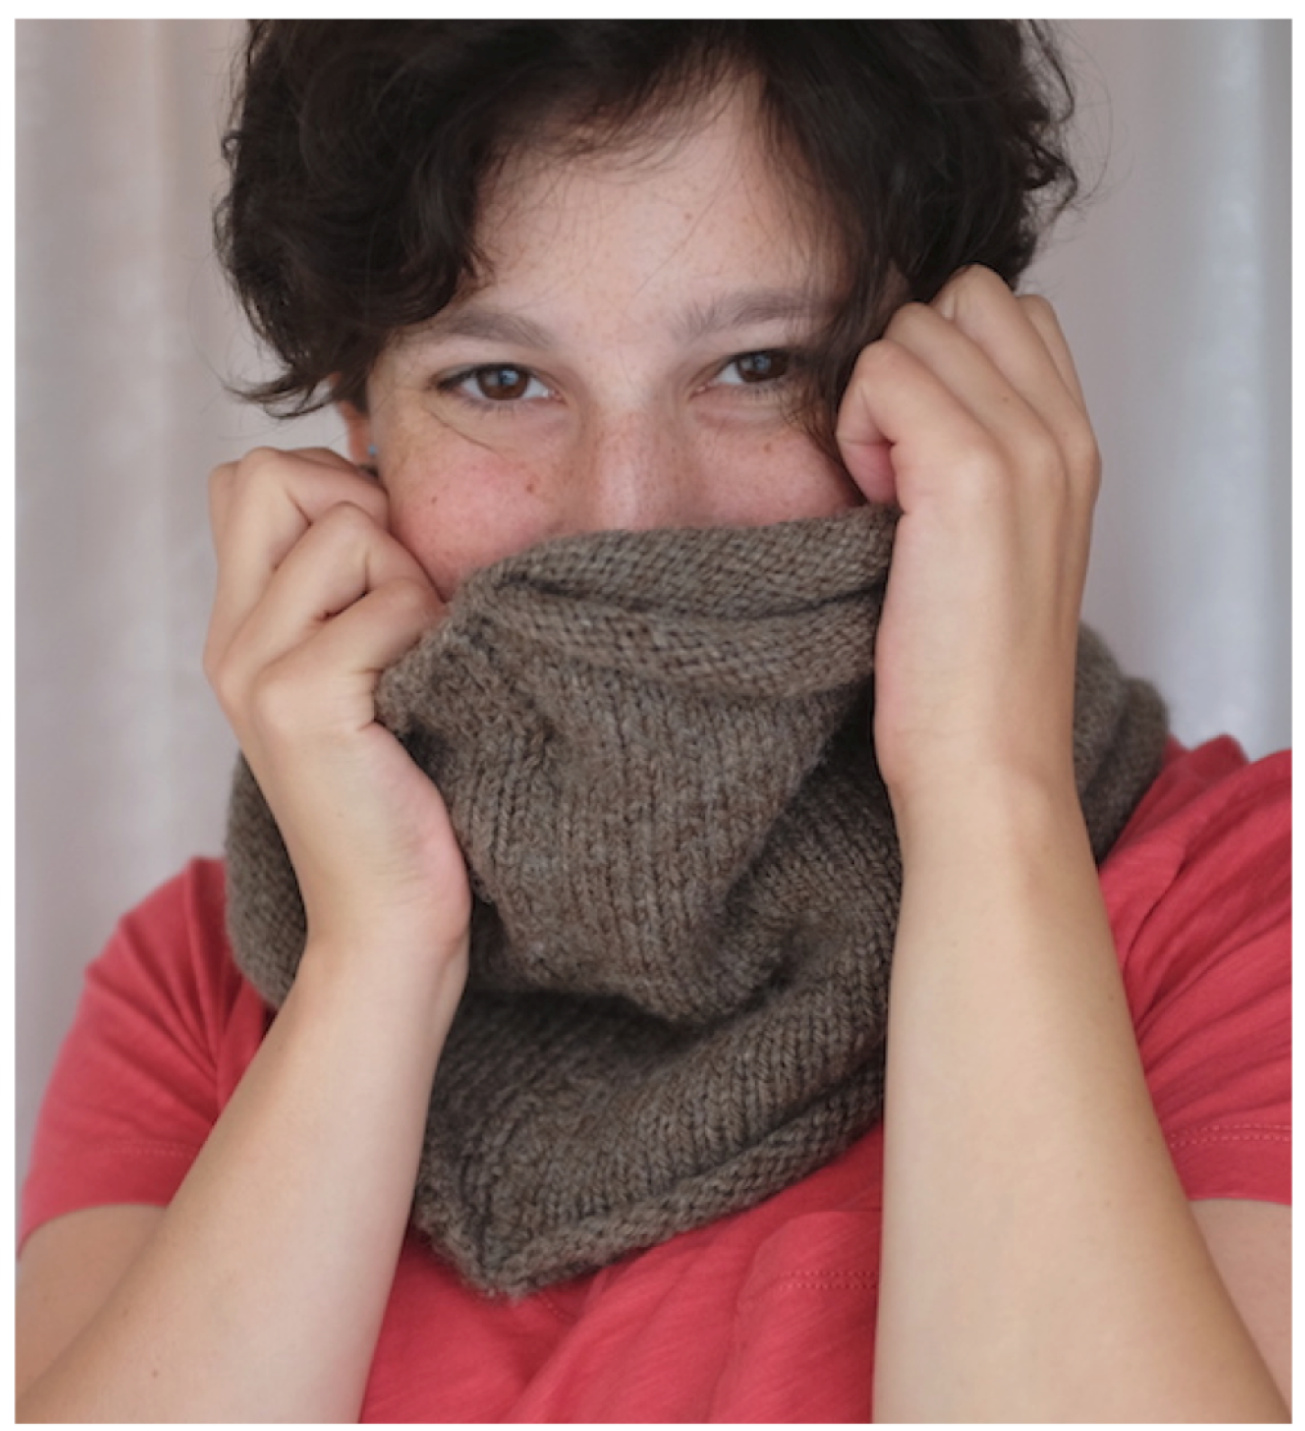
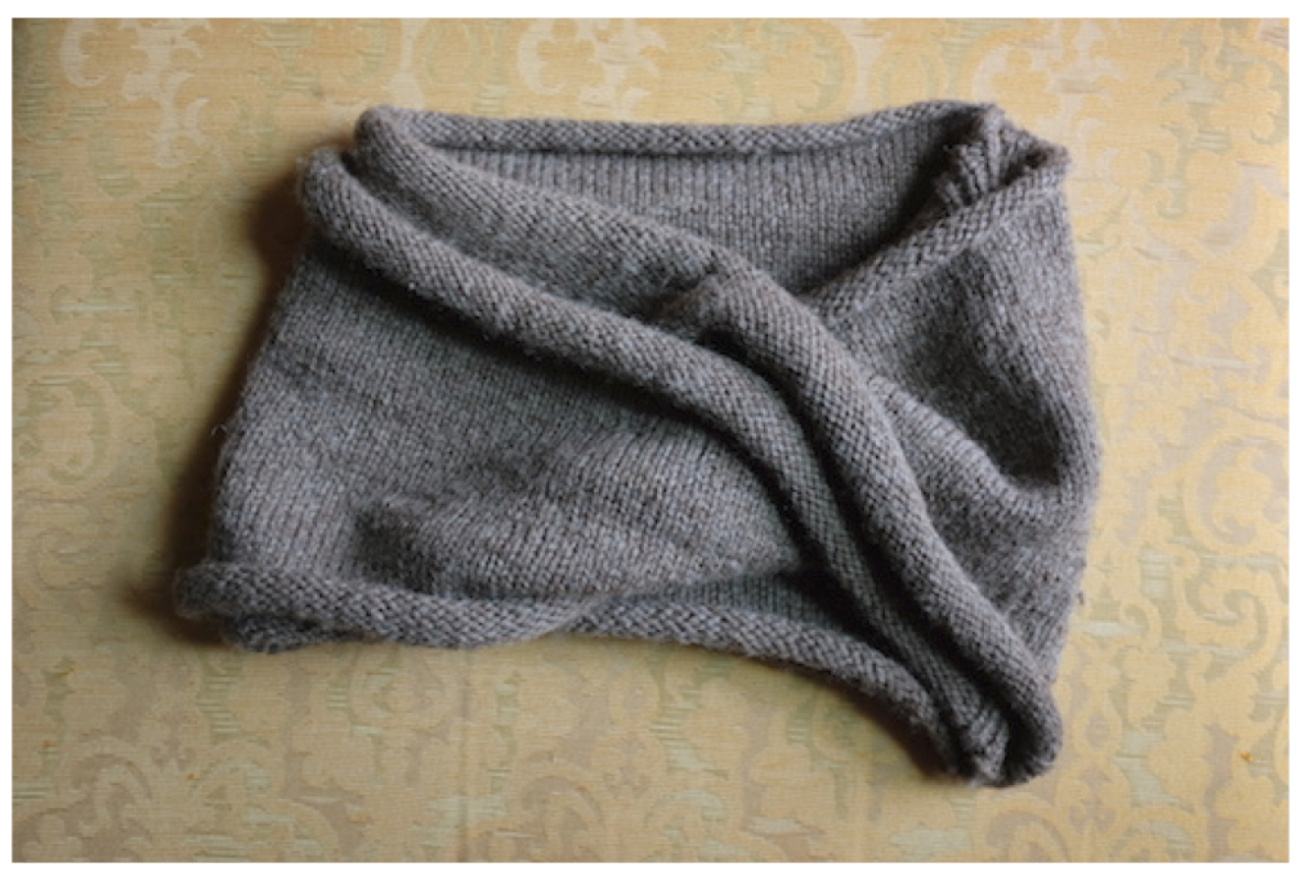
Holly is knitted in the round and then doubled back again to make a winter weight cowl warm enough to keep out the chill, but refined enough to dress up for a night out. The twist that makes it a mobius strip also makes it a unique cowl for everyday wear.
Cowl With Size A needle(s) cast on 300 stitches using the Cable Cast On. Do not join; work back and forth in rows. Row 1: (k1, p1) 4 times, knit to end of row. Row 2: (p1, k1) 4 times, purl to end of row. Continue Rows 1 and 2 until piece measures 12" from cast-on edge. Finishing Wet-block piece to pattern measurements (see special techniques). With WS facing, fold piece in half, hamburger style, and join short ends with Mattress Stitch (see special techniques). Fold in half again, this time adding a twist, and join the newly joined end with the centerfold in mattress stitch. Special Techniques Wet-Blocking (from Brooklyn Tweed) Fill a sink or basin with warm water and a small amount of delicate dish soap or rinseless wool wash. Submerge fabric in water, gently squeezing out any air bubbles so that the piece can remain under water without being held there. Soak work for 30 minutes, allowing fabric to become completely saturated. Drain the sink and remove work. If you have used dish soap (rather than rinseless wool wash), you will want to fill the sink again once or twice to rinse the soap from your fabric. Never place knitting directly under running water. Squeeze out excess water from your work, taking care not to twist or wring fabric. Roll your fabric between two clean bath towels “burrito" style and firmly press towel roll. This will aid in removing moisture from the knitted piece. Remove piece from towels - your fabric should now feel damp but not saturated. Mattress Stitch (from The Purl Bee) Align the two pieces you wish to seam. Bring your threaded tapestry needle from the back of your work to the front at the location where you wish your seam to Start. For Mattress Stitch you sew two knit pieces together by grabbing a strand of yarn from each edge, alternating back and forth, working vertically along the edges. The strand of yarn you grab is a horizontal bar that runs between the knit stitches (or "V"s). If you gently tug on the right and left edge of your knit piece, you can see these horizontal bars (or "ladder") between the Vs. Picking up a bar from each side draws the edges together, making it appear as though it is one knit piece. Next, draw the needle under the bar between the two most outer Vs of the second knit piece, right across your entry of the first edge. Beware of the outermost column of knit stitches; it tends to curl to the back. The farther in from the edge that you work, the bulkier the seam will be. Take the tapestry needle back to the first piece and pick up the bar just above your initial entry point. Now, take the needle back to the second piece and pick up the bar above the last one your picked up on this side. NOTE: Depending on the gauge or density of the fabrics, sometimes it is just as effective to pick up every other bar, rather than ever bar. It is a personal choice. Continue working vertically along the two edges, drawing the tapestry needle under each bar of each piece. Above you can see the many red stitches connecting the two columns of Vs. The goal is to bring those Vs together. Just as with knitting, the more even you can keep your tension, the better. An even tension will prevent pulling and puckering along the seam. To close the seam, gently pull the length of yarn from either the top or the bottom. If you are working a long seam, it is best to sew a few inches, then pull to close, again sew a few inches and pull, continuing in this fashion to the end of the seam, being careful to maintain a consistent tension throughout. Mattress stitch video and step by step instructions: www.purlbee.com/2013/11/11/mattress-stitch/