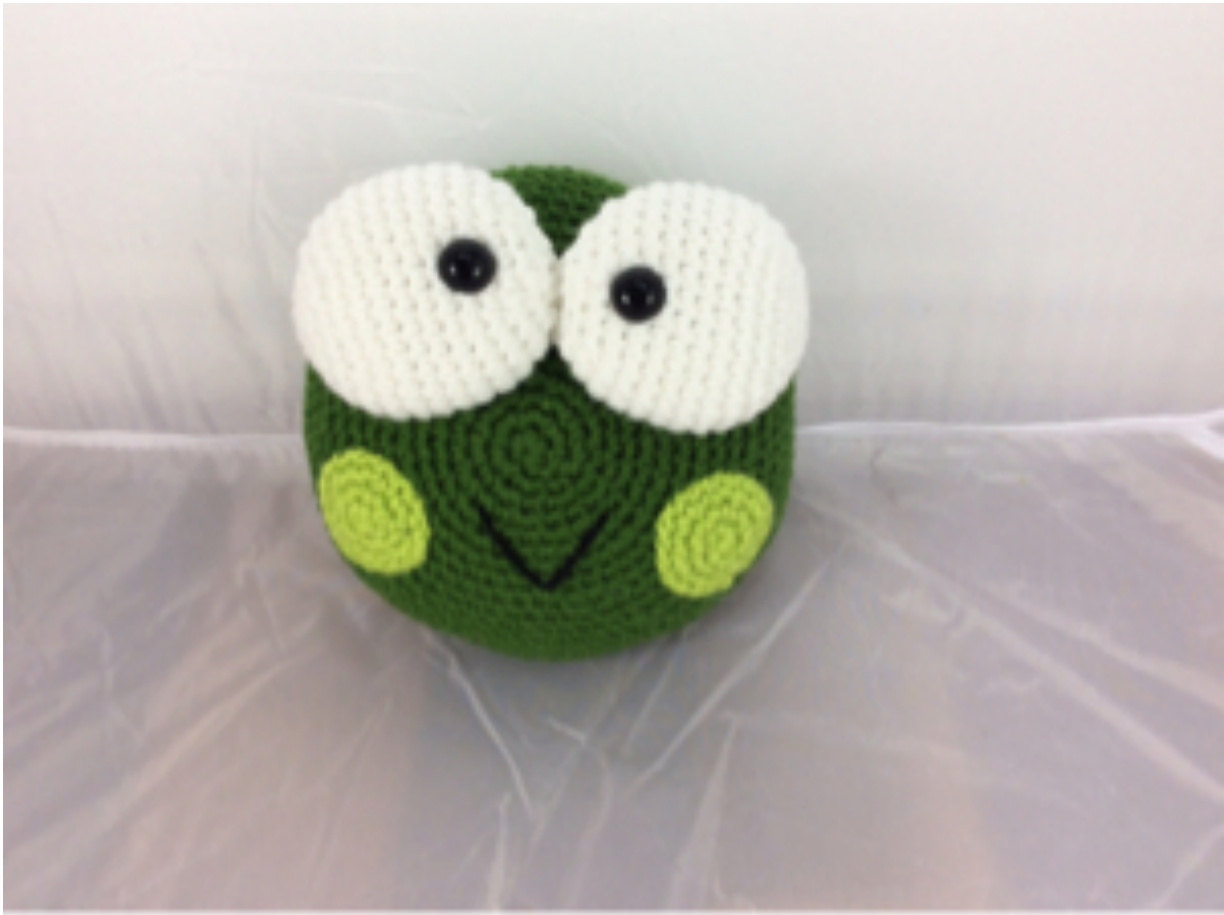
Frog Decorative Pillow Pal
Notes:
\*for areas worked in the round, do not join unless it is noted otherwise \*Place a stitch marker at the beginning of the round and move the marker up as each round is completed \*Make colour changes by switching to the new colour in the last yarn over of the last stitch of the old colour \*Chain 1 at the beginning of the row does not count as a stitch unless otherwise statec \*this pattern is written using standard US crochet terms \*sample is 7" x 7"
Abbreviations used:
MR - magic ring or circle Sc - single crochet 2sc - make 2 single crochet stitches in one stitch - increase Sc2tog - turning 2 single crochet stitches into one - decrease Sk - skip a stitch \*to\* - means to repeat the directions inside the stars as directed - usually to the end of the round Ch - chain SI St - slip stitch St - stitch
Supplies needed:
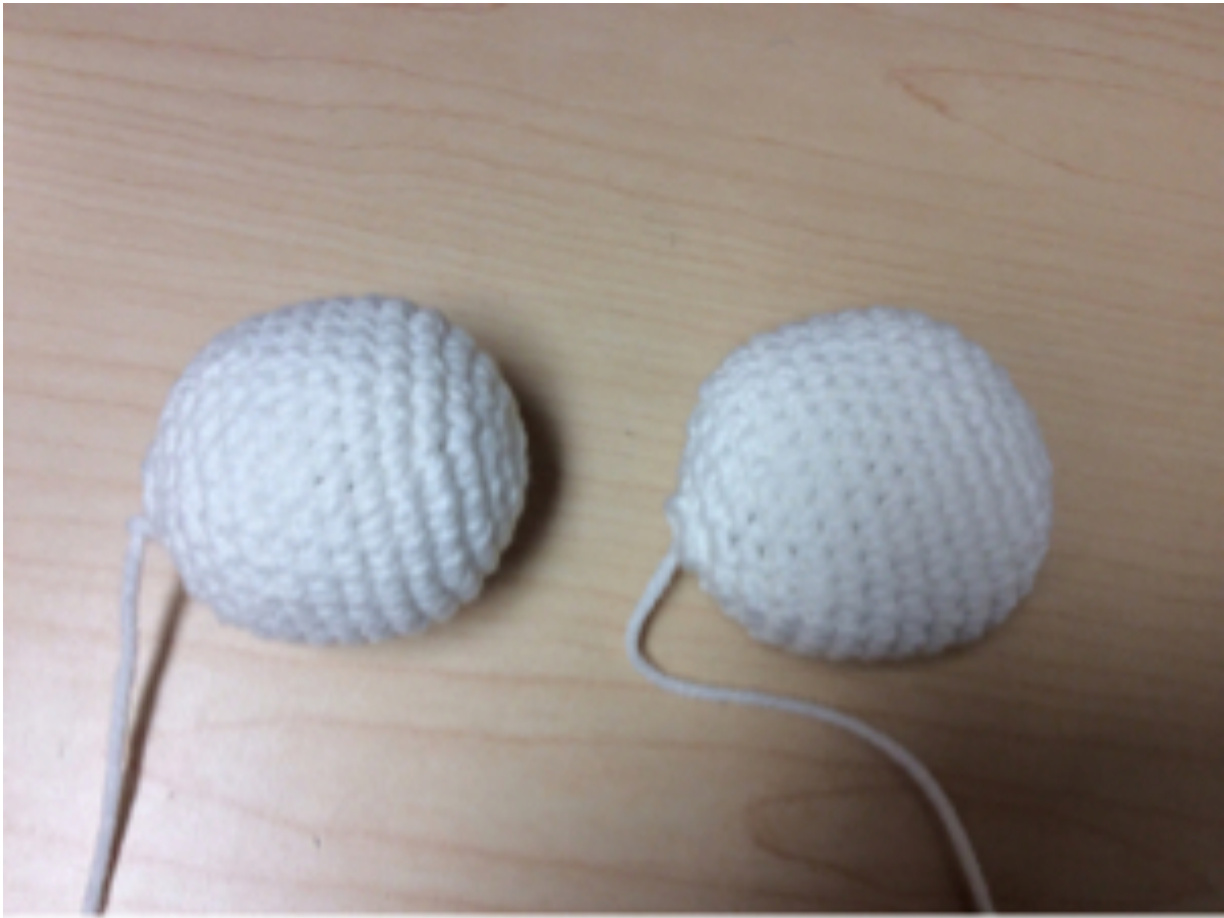
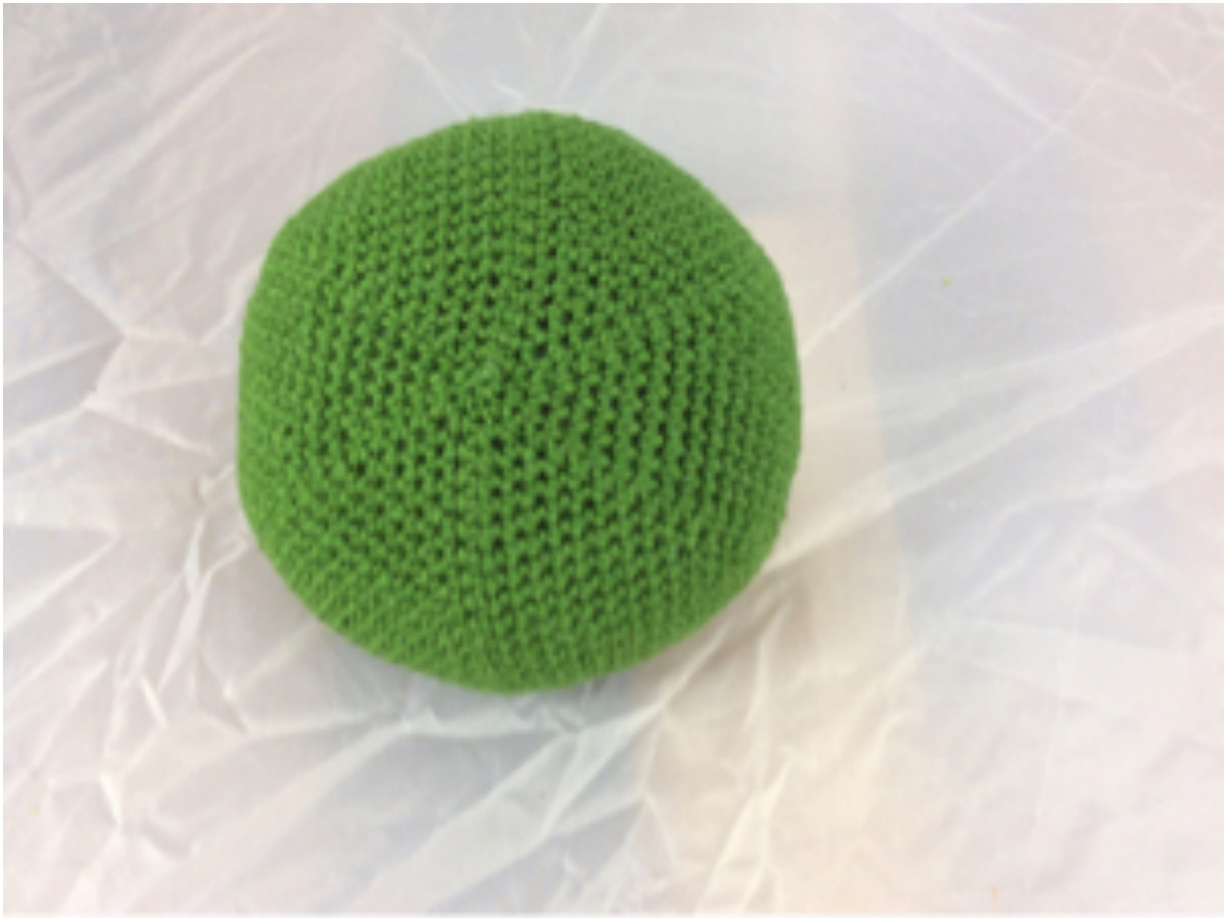
Vanna's choice : Kelly green (75 grams) Red heart super saver: black - small amount for the mouth Red heart super saver: white - small amount for the eyes Vanna's choice: radiant green - small amount for the cheeks 4 mm crochet hook Polyester stuffing Stitch markers Straight pins for holding your pieces in place while sewing 15 mm safety eyes (1 pair of black) Head : worked in the round with Kelly green 1) MR - 6 sc in the loop 2) 2sc in each stitch (12 st) 3) \*sc in the next St, 2sc in the next st\* repeat \*to\* all around (18 St) 4) \*sc in the next 2 St, 2sc in the next St\* repeat \*to\* all around (24 st) 5) \*sc in the next 3 St, 2sc in the next st\* repeat \*to\* all around (30 St) 6) \*sc in the next 4 St, 2sc in the next st\* repeat \*to\* all around (36 St) 7) \*sc in the next 5 St, 2sc in the next st\* repeat \*to\* all around (42 St) 8) \*sc in the next 6 St, 2sc in the next st\* repeat \*to\* all around (48 St) 9) \*sc in the next 7 St, 2sc in the next st\* repeat \*to\* all around (54 St) 10) \*sc in the next 8 St, 2sc in the next st\* repeat \*to\* all around (60 St) 11) \*sc in the next 9 St, 2sc in in the next st\* repeat \*to\* all around (66 St) 12) \*sc in the next 10 St, 2sc in the next st\* repeat \*to\* all around (72 St) 13) \*sc in the next 11 St, 2sc in the next st\* repeat \*to\* all around (78 St) 14) \*sc in the next 12 St, 2sc in the next st\* repeat \*to\* all around (84 St) 15) \*sc in the next 13 St, 2sc in the next st\* repeat \*to\* all around (90 St) 16 to 19) Sc in each St around (90 St) 20) \*sc in the next 13 St, sc2tog\* repeat \*to\* all around (84 St) 21) \*sc in the next 12 St, sc2tog\* repeat \*to\* all around (78 St) 22) \*sc in the next 11 st, sc2tog\* repeat \*to\* all around (72 St) 23) \*sc in the next 10 St, sc2tog\* repeat \*to\* all around (66 St) 24) \*sc in the next 9 St, sc2tog\* repeat \*to\* all around (60 st) 25) \*sc in the next 8 St, sc2tog\* repeat \*to\* all around (54 St) 26) \*sc in the next 7 St, sc2tog\* repeat \*to\* all around (48 St) 27) \*sc in the next 6 St, sc2tog\* repeat \*to\* all around (42 St) start stuffing and shape asyou fill 28) \*sc in the next 5 St, sc2tog\* repeat \*to\* all around (36 St) 29) \*sc in the next 4 St, sc2tog\* repeat \*to\* all around (30 St) 30) \*sc in the next 3 St, sc2tog\* repeat \*to\* all around (24 St) 31) \*sc in the next 2 St, sc2tog\* repeat \*to\* all around (18 St) 32) \*sc in the next St, sc2tog\* repeat \*to\* all around (12 st) 33) \*sc2tog\* all around (6 St) Fasten off leaving a long length of yarn to weave through the front loops of the stitches from the previous row, pull tight then hide your ends inside the frog veballs - make 2 using white yarn and working in the rounc 1) MR - 6 sc in the loop 2) 2sc in each St (12 St) 3) \*sc in the next St, 2sc in the next st\* repeat \*to\* all around (18 St) 4) \*sc in the next 2 St, 2sc in the next st\* repeat \*to\* all around (24 St) 5) \*sc in the next 3 St, 2sc in the next st\* repeat \*to\* all around (30 St) 6 to 13) Sc in each St around (30 St) start stuffing and continue as work progresses 14) \*sc in the next 3 St, sc2tog\* repeat \*to\* all around (24 St) 15) \*sc in the next 2 St, sc2tog\* repeat \*to\* all around (18 St) 16) \*sc in the next St, sc2tog\* repeat \*to\* all around (12 St) 17) \*sc2tog\* all around (6 St) Flatten - insert safety eyes between rows 11 and 12 in the front of the eyes
- make 2 using radiant green yarn and working in the roun 1) MR - 6sc in the loop 2) 2sc in each St (12 st) 3) \*sc in the next St, 2sc in the next st\* repeat \*to\* all around (18 St) Fasten off leaving a long tail
Assembly:
\* sew the eyes to the front of the pillow - between rows 4 and 13 - make sure the eyes touch each other in the middle and flatten the eyes as you sew \* sew the cheeks between rows 9 and 15 (below the eyes) \* using black yarn stitch the mouth between rows 5 and 8 Back of the head :
Tada your little pillow pal should be complete :) I hope you enjoyed making him and that the recipient enjoys him for years to come. lf you should have any questions feel free to send me an email at the address below:

Thank you for your purchase :) The usual copyright conditions apply and yes you can sell your finished items You can find more of my patterns at the following links : http://www.ravelry.com/designers/lisa-kingsley https://www.etsy.com/ca/shop/Teddywings I also have a Facebook page if you are interested :) https://www.faceb0ok.com/pages/Lisa-Kingsley-Designs/830393556987932


