Announcing: An ebook collection of 16 garter stitch patterns by designer, teacher and self appointed monarch: Jodie Gordon Lucas Available October 2015 through Ravelry and www.QueenieKnits,com
The Ubiquitous First Garter Stitch Scarf
"What do you want to make?".. Queenie By Jodie Gordon Lucas I have taught many people how to knit. Whenever I ask this question I'm inevitably told "a scarf". This first scarf is worked in garter stitch (every row is knit) and is perhaps the most important project in the life of a knitter. This is where they will flourish or flounder in the craft. This is where they make an almost metaphysical transformation..they become (cue drum roll) "A Knitter". When I decided to offer a free garter stitch pattern to celebrate the release of "The Queen's Garters", I realized there was no better herald to a garter stitch collection than a tutorial for that Ubiquitous First Garter Stitch Scarf. Relying on my years of (mostly successful) teaching, I've divided this tutorial into 4 skill building sessions. Each session offers tasks, tricks and tips as well as common mistakes to avoid. By the time you bind off you will be able to proudly call yourself "A Knitter" (and have a cool scarf, too)!!
Details
Difficulty
Beginner-This tutorial assumes that you are learning the basics of knitting (cast on, bind off, joining new yarn, weaving in ends, etc.) from another knitter (or a book, or YouTube). Sizes Offered One size
Measurements
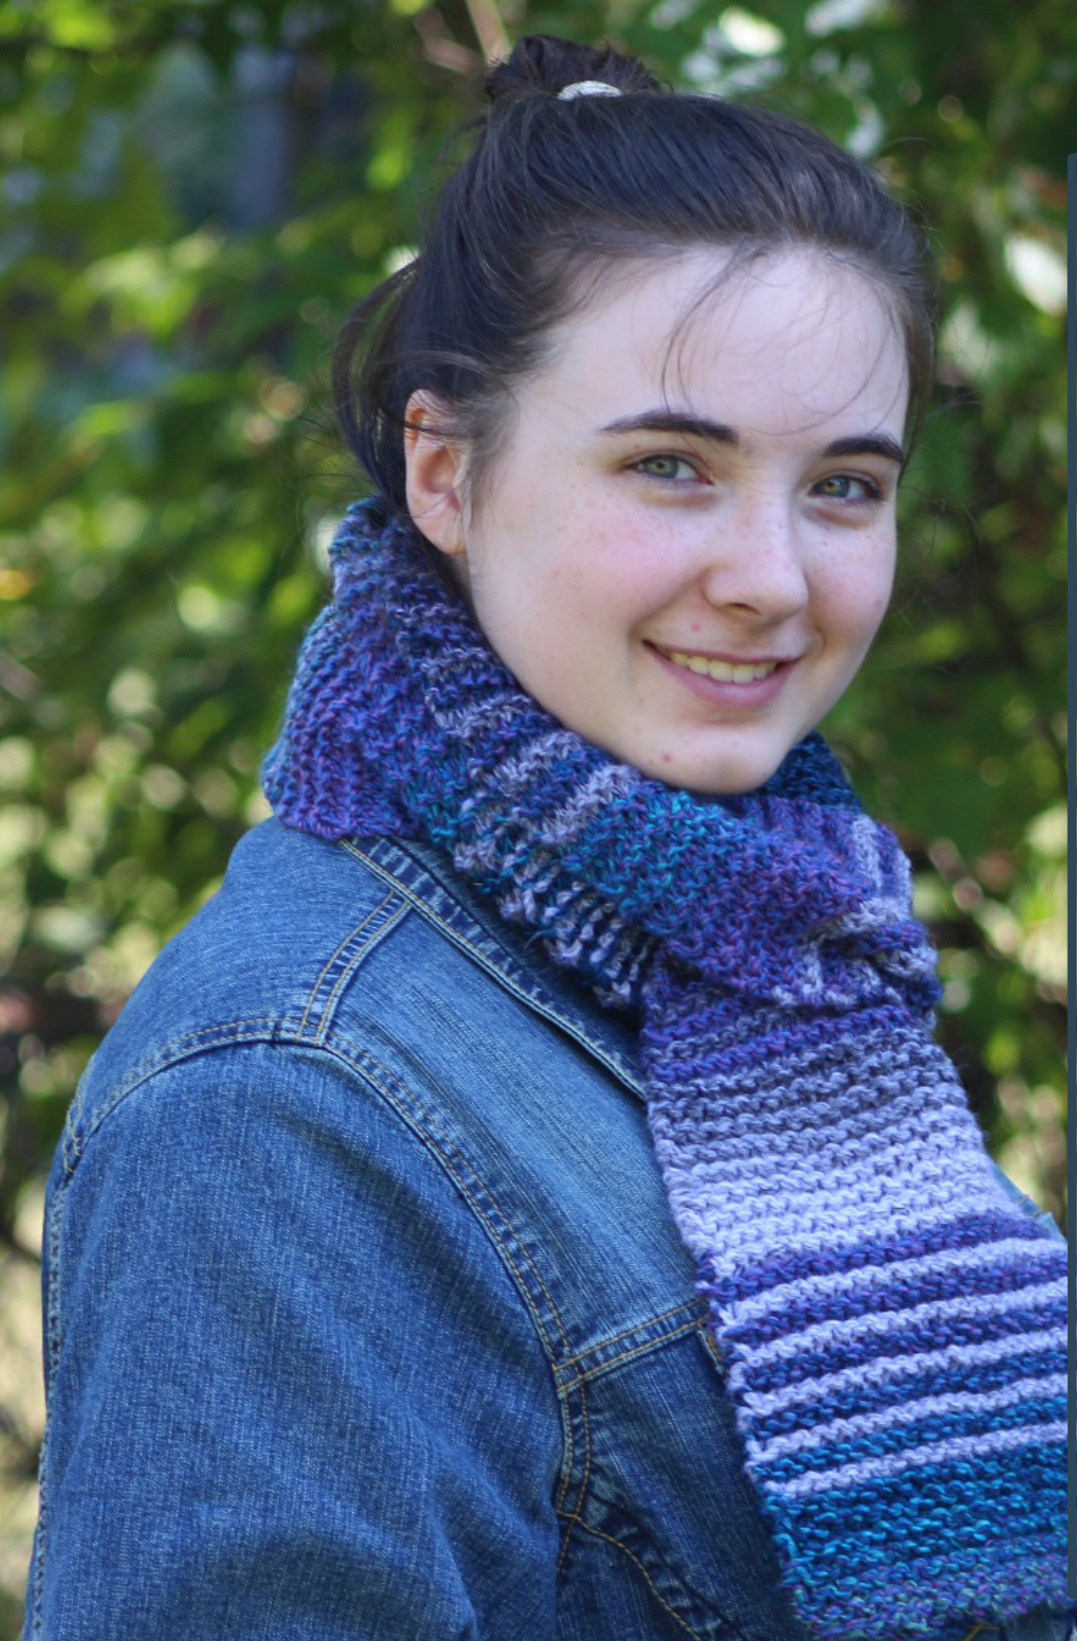
Sample is 8 inches wide by 64 inches long.
Yarn Weight
Select two, bulky yarns with long colorways. For best contrast be sure yarns do not have common colors. Also, choose yarns that you love. You're going to spend many hours making this scarf-get something that you will enjoy knitting and wearing.
Yardage Required
140 yards in each of 2 colors Yarn Pictured Lion Brand, Tweed Stripes
Needles
US #10 (6 mm) straight or circular needles
Gauge
Not important Notions Tapestry needle for weaving in ends
Notes
● This design is divided into sessions. A session is whatever length of time you want to spend knitting-or when you get tired of the current session's pattern. The sessions don't have to be the same length. ● New yarns will always be added at the beginning of a right side row (established at the end of Session #2).
Overview
The Ubiquitous First Garter Stitch Scarf is written as a practice and learning pattern. There are 4 sessions worked in 2 colors: Session #1: Solid in Color 1; Session #2: Stripes; Session #3: Solid in Color 2; and, Session #4: Stripes. Repeat the sessions until you run out of yarn or the scarf is desired length.
SESSION #1 The Knitting
Cast on 25 stitches using the knit on method. Knit every row. Do not break (cut) your yarn. You'll need it for stripes in Session #2. Stop before you want to stab someone with your needles.
Tasks, Tips and Tricks
●I use the knit on method when I teach so that in the course of casting on you are actually practicing the knit stitch. 丨 teach my students the following steps of the knit stitch: INSERT, WRAP, LOOP, OFF. It's easy to keep these 4 words in your mind and they help you keep track of where you are in the process. ●丨 tell my students not to worry about how they're holding the yarn the first time they work Session #1. For now, just focus on what is happening with the stitches. Look at your stitches at the end of every row.Does everything look right (no stray loops, everything parallel, no giant holes)? ·Count your stitches at the end of each row.Make sure you haven't accidentally increased or decreased. ●I have new knitters-especially children-touch their chin and then their knee with the yarn before starting a new row. This exaggerated movement seems to establish the habit of correctly positioning the yarn to avoid accidentalincreases (see common mistakes below).
Common Mistakes
Wrapping theyarn the wrongway around the n When wrapping a stitch, the yarn travels behind the right needle toward the left, then back between the needles toward the right. There's a quick way to tell if you've been wrapping the wrong way. Look at how the stitches are angled on the needle. They should all be parallel and slanted slightly to the left (about 5 degrees). Any stitch that angles to the right was wrapped the wrong way. These stitches are "twisted". Found a stitch that's twisted? No need to rip back. This is easily fixed when you get to the stitch. Carefully slip it off the needle, untwist it, and then slip it back on again so that it is angled to the left. Accidentally increasing at the ends When you work the first stitch in a row it is important to make sure it's standing on its feet, not mooning you. To make the stitch stand correctly, bring the yarn forward and then take it under and behind the needle-the stitch is now standing on its feet. To make the stitch stand incorrectly, bring the yarn forward and then over the top of the needle-the stitch is now mooning you.See how the one stitch now looks like two stitches? If you knit both of these loops you will accidentally increase your stitch count.If your work starts growing wider this is probably your mistake.
Preparation for Next Session
Watch other people knitting. If you're not in a knitting group you can watch instructional videos onYouTube.Pay attention to how knitters hold their yarn-there are MANY ways. You're going to figure out which method you preferinSession #2.
SESSION #2 The Knitting
Ignore Color 1 for the moment (just let it hang). Join Color 2 leaving a 6 inch yarn tail and knit 2 rows. Drop Color 2, bring Color 1 forward under the dangling Color 2 and then toward the back of your work to start knitting the next row. Knit 2 rows with Color 1. Alternate colors every two rows. Break only Color 1 leaving a 6 inch tail. You'll need Color 2 for Session #3. Stop before you contemplate turning your knitting needles into tomato stakes.
Tasks, Tips and Tricks
●Everything from Session #1 still applies. When you change yarns always bring the new strand up in front of the old strand as described above.Thisis called "carrying" the yarn and it gives a nice, twisted edge. is also bad. Things just slide right off and you're left looking bewildered and holding a snarled mess. If your stitches are too tight you may be giving the yarn too hard of a pull when you wrap it. Loosen up a bit. If your stitches aretoolooseyou don't have enough tension on the yarn when youwrap.Try a newwaytohold it.In the mean time, give a little tug on the yarn at the end of the wrap to tighten it up abit.
Giving up
Usually about now new knitters are realizing that this knitting thing isn't as easy as it looks (and face it, accomplished knitters really do make it look easy).It's awkward to make your hands hold needles and yarn and the fabric they're making and keep a measure of control over everything. I had one newstudenttell me itwouldbe easier to thread an olive onto a toothpick, blindfolded at 60 miles per hour on the back of a Harley. This is not an easy thing you're doing-and it certainly isn't relaxing (yet)- but it's also not impossible. There will comeamoment-usuallybytheendofthe fourth session-when you suddenly realize things aren't hard any more. That's when it starts getting relaxing and fun. Hang in there a bit longer.
Preparation for Next Session
Look back at Session #1.Notice that both sides are identical. Now, look at both sides from Session #2. They are no longeridentical. On the right side you have simple, obvious stripes. On the wrong side the two colors are more intermingled, making the stripes lookmorelike thin rows of dashes. Now that the right and wrong sides have been established you must always add a new yarn color before working a right side row.If you are at the edge of the scarf where the yarn colors are switched then you are ready to begin a right side row.
Tasks, Tips and Tricks
Everything from Sessions #1 and #2 still applies. Study your knitting. How is it going? Look at your work from Sessions #1 and #2. You should be starting to see some improvement in your stitches. So long as there are no running holes DO NOT start over so you can have a “perfect scarf". You earned those stitches. They are where you learned-and you'll want to see them again someday. They will be the measure of howfar you have come!
Common Mistakes
Stranglehold
●Some new knitters hold their yarn and needles almost violently tight. This is a recipe for over-tight stitches and carpal tunnel syndrome (which even I have to admit is more serious than too tight stitches). If your hands are exhausted or achy while knitting, then stop. Wait until your hands feel normal again before you resuming. When you resume, take frequent breaks. Shake out your hands and relax them regularly. Make yourself loosen your grip! Pain is an absolute stopper. You hurtyou stop!
Storage Snafus
·Store your knitting carefully when you're not working on it. Push the stitches awayfrom the tips and push the tips into the ball of yarn to make sure the loops stay on the needles. Put the project into a bag and store it away from curious children and pets. ●You worked hard for those stitches. Protectthem!
Common Mistakes
Tension wonky
Itell my students you want the stitch as tight on the needle as you would want the waistband of your underwear (I know, tacky, but it makes the point). Too tight-it's just bad. It's hard to move and uncomfortable to work.Too loose
SESSION#3 The Knitting
Beginning with a right side row, knit every row with Color 2. End this session having completed a wrong side row. Stop when you are feeling a sense of accomplishment!
SESSION #4
The Knitting
You're back to stripes. Beginning with a right side row, knit two rows with Color 1, then two rows with Color 2 using the instructions from Session #2. Stop after you tell yourself "just one more row"-the second time.
Tasks, Tips and Tricks
At some point you will realize that you don't have to carefully pay attention to what you're doing. This is when knitting can become relaxing! Try this relaxation technique while you are knitting: Inhale slowly while knitting 3 stitches (or whatever number you can knit comfortably during a slow inhalation); hold your breath while you knit 3 more; exhale slowly while you knit 3 again; rest while you knit a final 3. Repeat this process several times. Knitting can also be used to guide your thoughts. For example, I have a blanket I made while pregnant where every single stitch has the thought “"I love you" paired with it. For more information on intentional knitting go to : http://www. Shawlministry.com.
Common Mistakes
Cockiness
· You're probably getting faster-but don't let it go to your head. · Check occasionally to be sure you have the right stitch count. · Actually look at your work every time you finish a row.
Perfectionism
If you don't make mistakes you're not going to get better. It's in learning how to recognize and overcome the mistakes that you improve as a knitter.So, embrace them. Respect them. This process is what is going to make you an AWESOME KNITTER!
ONWARD
Repeat Sessions #1 through #4 until you're happy with the total length (5 or 6 feet is good). Occasionally look back and see how your knitting has improved since the early sessions. Go you! When you're done, bind off and weave in ends.
FINALASSIGNMENTS
Do not give away your first scarf. This is where you started. Keep it. Seriously consider making the scarf again, BUT instead of knitting every row, purl every row. The scarf will look identical but you will have had the opportunity to practice and perfect this extremely important stitch. Finally, when you show off your scarf, DONOTSHOWWHERE THEMISTAKES ARE!!! Yes, they're there. And yes, you learned a lot by making them. But so many knitters say "look at this wonderful thing I made...and here are the 15 ways I screwed it up". Stop with "look at the wonderful thing l made". You earned it...knitter!
Here are some things you may experience as you make the mystical transition from non-knitter to knitter. Check them off as they occur
1. You ask another knitter for help. 2. You drop a stitch and pick it up correctly. 3. You notice a twisted stitch and fix it. 4. You finish a row in under 5 minutes. 5. ...in under 3 minutes. 6. ..in under minute. 7. You're able to have a conversation while knitting. 8. You're able to watch television while knitting. 9. You find knitting relaxing. 10. You try a new way to hold the yarn and prefer it. 11. You try a new way to hold the yarn and don't prefer it. 12. You look through a stitch dictionary. 13. You figure out what a lifeline is. 14.. what frogging" is. 15... what "tinking" is. 16. You join Ravelry.com. 17. You search for a pattern on Ravelry. 18. You offer to help another knitter. 19. You drool over yarn for the next project. 20. You pick out a pattern for the next project. 21. You join a knitting group. 22. You screw up badly enough to take the work off the needles and rip it back... 23....and successfully return your stitches to the needle. 24. You show someone your knitting. 25. You demonstrate for someone how to knit. 26. You read a knitting book. 27. You join the QueenieKnits fan group on Ravelry. 28. You start a yarn stash. 29. You experiment with a different needle. 30. You invest in a set of interchangeable needles. 31. You explore an online yarn store. 32. You learn what a process knitter and a product knitter are. 33. You visit a yarn shop. 34. You pet at least 3 non-acrylic yarns and fall in love with at least one of them. 35. You invest in cool stitch markers! 36. You add a knitting bag to your "can't leave the house without" list. 37. You yarn bomb something. 38. You attend a fiber fair. 39. You take a knitting class (in person or online). 40. You know what a swift is. BONUS POINTS: You also know what a nostepinne, niddy noddy and a Lazy Kate are. Up to 15: You've got potential! You're off to a great start! 16 to 30: You're taking this knitting thing seriously. There are probably hand knit socks in your future! Over 30: You're going to be one of those knitters. Might want to brace yourself and your family for the ride!


