The Holly Hat
This pattern has been living in my head for quite a while now and I thought I would get it down in writing for all to share. The great thing about this pattern is that you can make a bunch of different hats with the same pattern (with just a few tweaks) and the same size needles. Sizes NB(Baby, Toddler, Child, Adult) Yarn Any worsted weight yarn anywhere from 1oz to 4oz
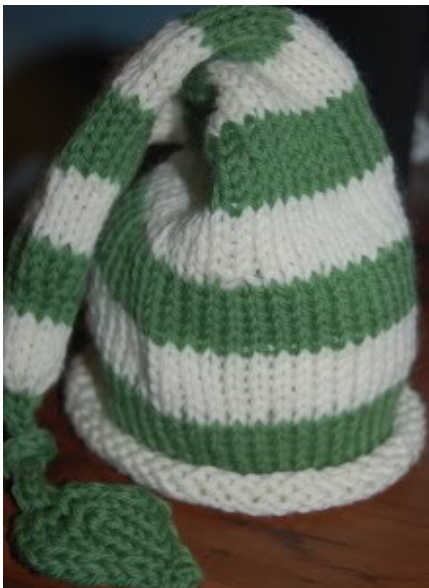
Easy Hat to Knit for your Newborn to Hubby...lots of sizes, lots of styles Needles Size US9 16" circs (5.5mm) One set of US9 dpns (5.5mm) Notions Tapestry needle, stitch marker, scissors Hat pattern: Using circular needle, cast on 48(56, 64, 72, 80) stitches. Join to work in the round, do not twist your stitches and place your stitch marker here. For a rolled brim hat, work stockinette stitch (knit every stitch, every row) for $4~1/2(5",6",7",8")$ from cast on row with the edge unrolled. See Rolled Brim Hat below (with Sprite Like Versions' decreases).
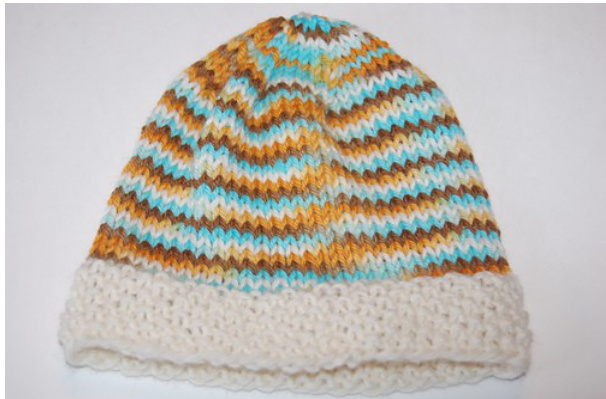
For a seed stitch brim hat, work seed stitch (knit the purls and purl the knits) for $1~1/2"(2",2",2",2$ 1/2") from cast on row. Now work stockinette stitch (knit every stitch, every row) until your piece measures 4 1/2(5", 6", 7", 8"). See Seed Stitch Brim Hat above.
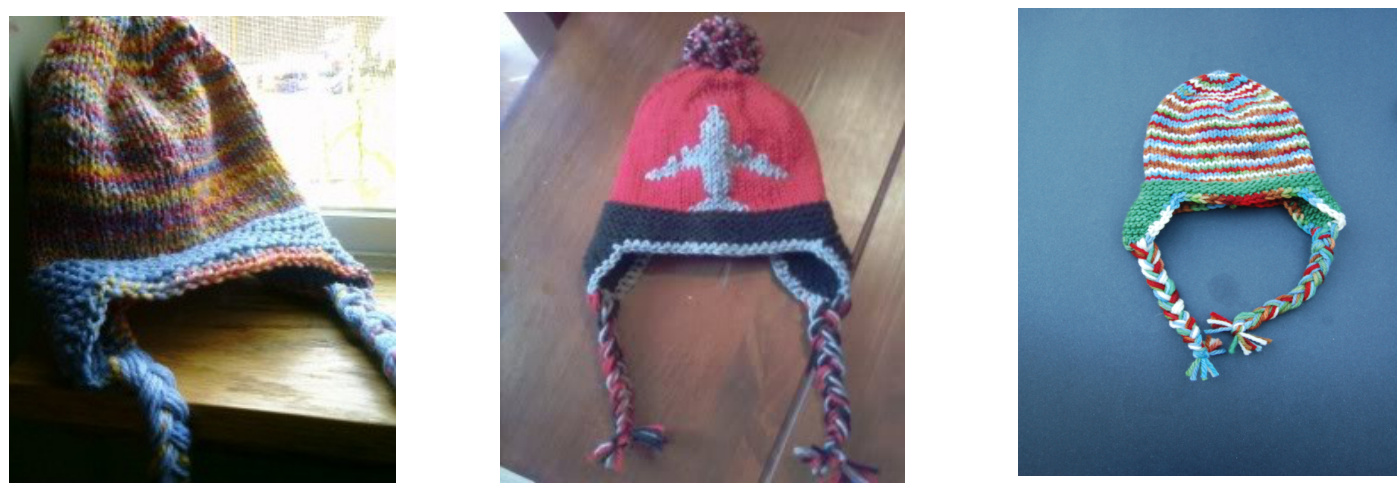
For a garter stitch brim hat, work garter stitch (knit one row, purl one row) for $1\,\,1/2"(2",\,2",\,2",\,2\,\,1/2")$ from cast on row. Now work stockinette stitch (knit every stitch, every row) until your piece measures $4\,\,1/2"(5",\,6",\,7",\,8")$ . See Garter Stitch Hat above (with earflaps and braids). Single rib brim hat, work single rib stitch (K, P, K, P repeated) for $1\,\,1/2"(2",\,2",\,2",\,2\,\,1/2")$ fromcast on row. If you wish to fold over your brim for your hat, just double your brim to 3"(4", 4", 4", 5"). Now work stockinette stitch (knit every stitch, every row) until your piece measures $4~1/2(5",6",7",8")$
For Double rib brim hat, work double rib stitch (K, K, P, P repeated) for $1\,\,1/2"(2",\,2",\,2",\,2\,\,1/2")$ from cast on row. If you wish to fold over your brim for your hat, just double your brim to $3"(4",4",4",5")$ Now work stockinette stitch (knit every stitch, every row) until your piece measures $4~1/2(5",6",7"$ 8"). See Double Rib Brim Hat above.
For the Little Miss version you will start a little different. Cast on 56(64, 72, 80, 88)..which is 8 extra stitches for each size. Work in garter stitch knitting flat (alternating knit and purl) for $1/2"(2",2",2,2$ $1/2"$ ). On the next round bind off 8 stitches and join for knitting in the round. Now work stockinette stitch (knit every stitch, every row) until your piece measures $4~1/2"(5",6",7",8")$ .Afteryoucomplete the decrease rounds attach the flap to the hat and sew on a button through both layers. See Little Miss version above. Now work your decreases rounds. You will need to switch to your dpns when the piece is too tight on yourcircs. Round 1: K6, k2tog; repeat to end Round 2 and all even rounds: Knit Round 3: K5, k2tog; repeat to end Round 5: K4, k2tog; repeat to end Round 7: K3, k2tog: repeat to end Round 9: K2, k2tog; repeat to end Round 11: K1, k2tog; repeat to end Break your yarn leaving a tail and using your tapestry needle, thread the tail through the remaining stitches and remove them from the needles. Pullthese stitches tight and poke the tail to the inside of the hat and tie it off securely and weave in your ends.
If you would like to make the sprite-like version of this hat (see pic above), follow the pattern for the roll brim hat and then work your decreases like this: First Decrease Row: K6, k2tog; repeat to end Knit 8 rows. Second Decrease Row: K5, k2tog; repeat to end Knit 8 rows. Third Decrease Row: K4, k2tog; repeat to end Knit 8 rows. Fourth Decrease Row: K3, k2tog: repeat to end Knit 8 rows. Fifth Decrease Row: K2, k2tog; repeat to end Knit 8 rows. Sixth Decrease Row: K1, k2tog; repeat to end Knit 8 rows. Seventh Decrease Row: K2tog; repeat to end Continue Decrease rounds of K2tog til you have 3 or 4 stitches remaining. Work icord for desired length, bind off. You can put all kinds of fabulous things at the ends of your hat. A tassel, a ball, a leaf, a heart. There are lots of fun patterns out there to try :)
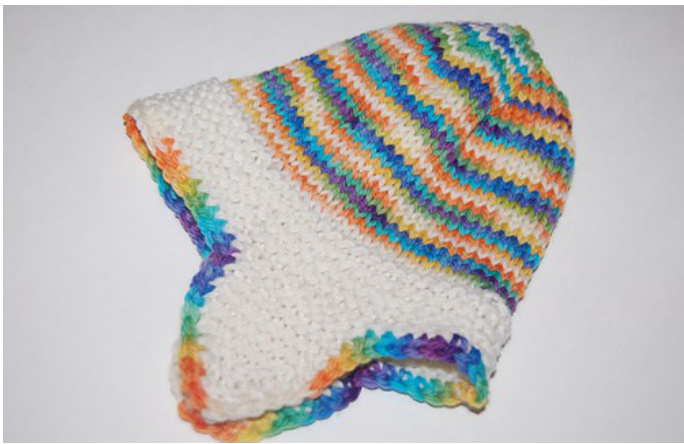
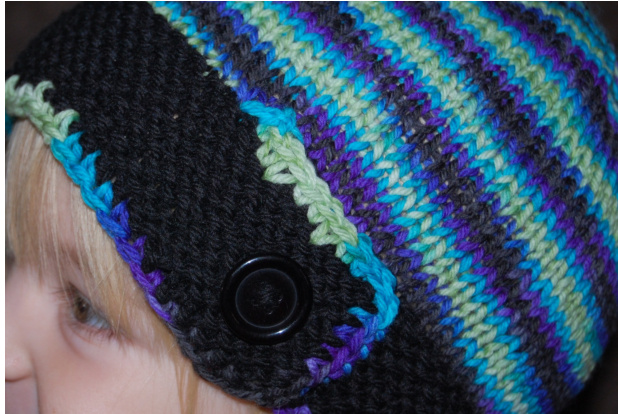
Want ear-flaps on your hat for those cold winter days? Easy. I like to use the seed stitch version of the hat for the brim (but the garter stitch brim works great as well). Find the middle/back of your hat. From the middle, count forward 6(8, 8, 10, 10) stitches. With your dpns, pick up in seed stitch (Knit the purls, purl the knits) 10(12, 12, 14, 18) stitches. Turn and work seed stitch across 6(6, 6, 8, 8) rows. Turn your work and seed stitch across to the last two stitches, k2tog. Continue the last row until you have 3 sts. Now you can work a 3 stitch i-cord for your ties. Bind off and have no ties, just ear-flaps (see example above).
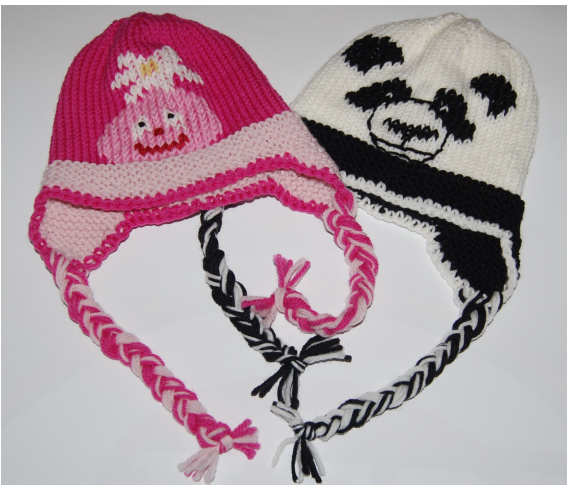
Bind off and cut long strips of coordinating yarn. I like to hold three strands together and have three sections. Send each 3 strand section through the bound off stitches on the bottom of the ear-flap. Double them up, giving you (3) 6 strand sections and braid them together. Tie off tightly at the bottom nf hraid Two examples of hats with braided ties above. I also like to take a contrasting color and do a simple single crochet row around the bottom of hat and ear-flaps...just gives it a great finishing touch.

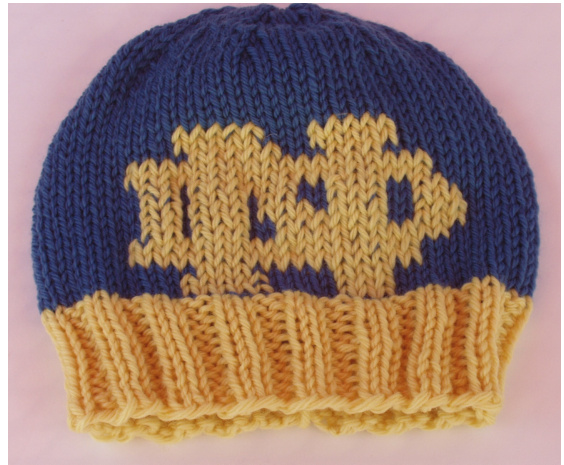
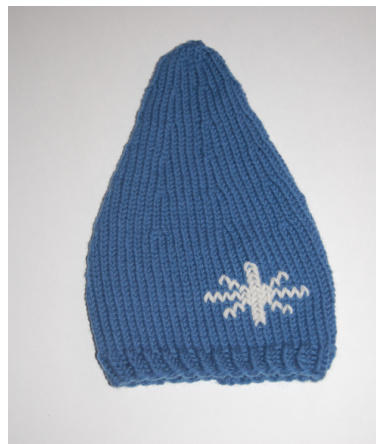
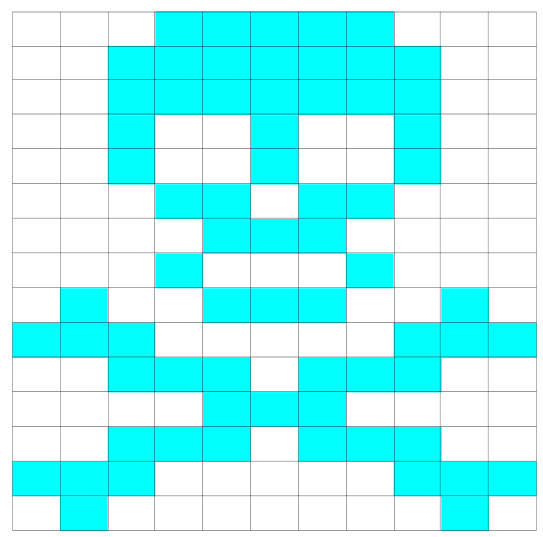
Another technique I love for these hats is to add a little flair with duplicate stitch. Below is a chart for the small Skull that is featured on the above Holly Hat.
Enjoy working duplicate stitch? Check out all my charts available on Ravelry or www.hyenacart.com/handmadebymama I have worked this hat a ton of times, but have not worked every hat in every size, every pattern. I would love for you to post your pics of your finished objects here and of course, if there is a mistake, please let me know :) I don't mind if you make this hat to sell, but would like credit for the pattern. Please contact me at handmadebymama $@$ gmail.com for more info about this. Thanks so much!


