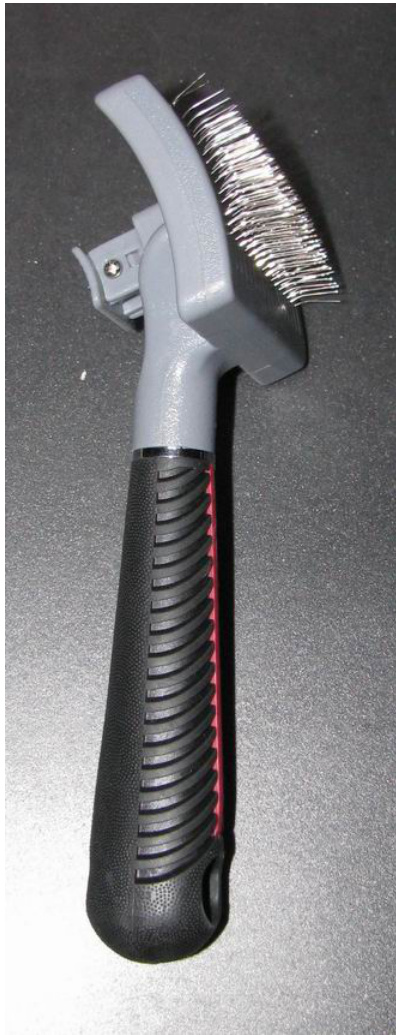
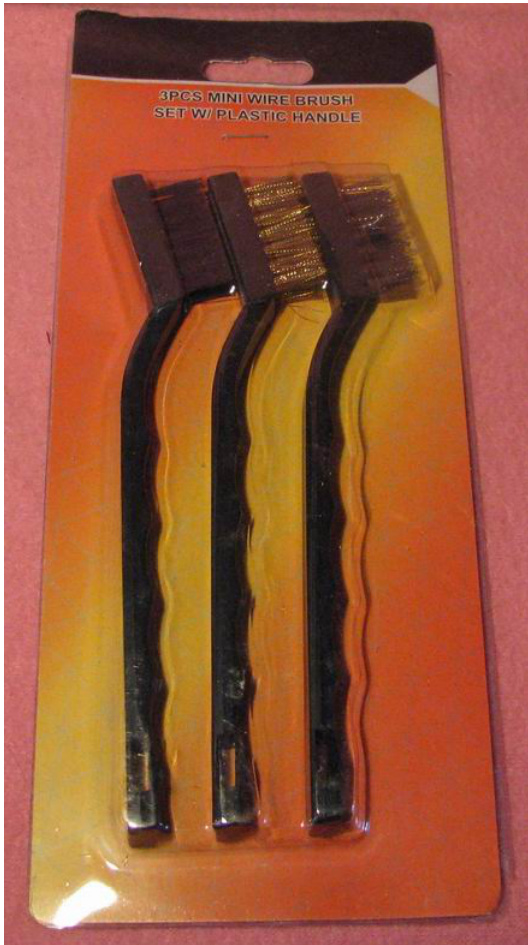
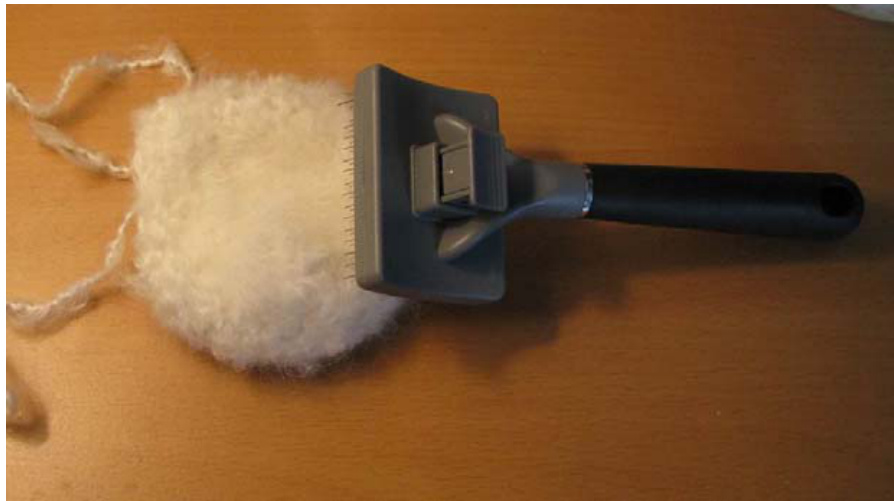
Yarn Brushing Tutorial Brushing yarn to give it a "fuzzy" or "furry" look is not difficult. I am using my Terrier pattern for this tutorial. I devised this little tutorial to help you achieve beautiful results with your yarn for various projects. The effects will vary depending on the yarn you use. I find Mohair blend yarns work the best. I have used Patons Lacette, Lion Brand Jiffy, Pattons Divine, Bernat Soft Boucle, Red Heart Symphony and other types of yarns. Each yarn gives a different effect when brushed. Check the yarn content. So have fun experimenting with yarn brushing and see what your results will be. CC ?BY THIS WORK IS LICENSED UNDER THE CREATIVE COMMONS ATTRIBUTION-NONCOMMERCIAL-SHARE ALIKE 3.O UNITED STATES LICENSE. TO VIEW A COPY OF THIS LICENSE, VISIT HTTP://CREATIVECOMMONS.ORG/LICENSES/BY-NCSA/3.O/US/ OR SEND A LETTER TO CREATIVE COMMONS, 171 SECOND STREET, SUITE 300, SAN FRANCISCO, CALIFORNIA,94105, USA. COPYRIGHTOCRAFTSBYAPALLRIGHTSRESERVED2007 This is the pet brush I use to brush the yarn. The bristles are fine metal and it has a button to eject the "hair" caught between the bristles. I tried different brushes and found this one to work the best. You can try other pet brushes and see which one works best for you. Make sure it has metal bristles. After I complete each piece, I brush with the pet brush. I brush several times - first when the piece is done, again when it is attached, and once again when the entire piece is assembled. I give one last final brushing when the entire project is completed. The more you brush, the fluffier your project will be. You can brush any yarn - the effect will vary depending on the content of the yarn. The end result is incredible! CAUTION: The bristles are very fine and sharp. Use with care - injury may result with improper use. Not advisable for small children. I also use the fine metal bristled bushes for the areas by the eyes, nose or any other tight spot.
Once the entire project is complete, I use a toothbrush for the final grooming. This tutorial will cover, from start to finish, yarn brushing a crocheted dog. TIP: You will be brushing on a flat surface. You may scratch the surface you are working on. I purchased an inexpensive cutting board for brushing. This way I will not scratch my desk or table or the surface I am working on. Remember, these bristles are sharp. All my patterns are available: http://apdesigns.etsy.com http://craftsbyap.artfire.com Visit my blog for free patterns and tutorials: http://arminas-aminals.blogspot.com/
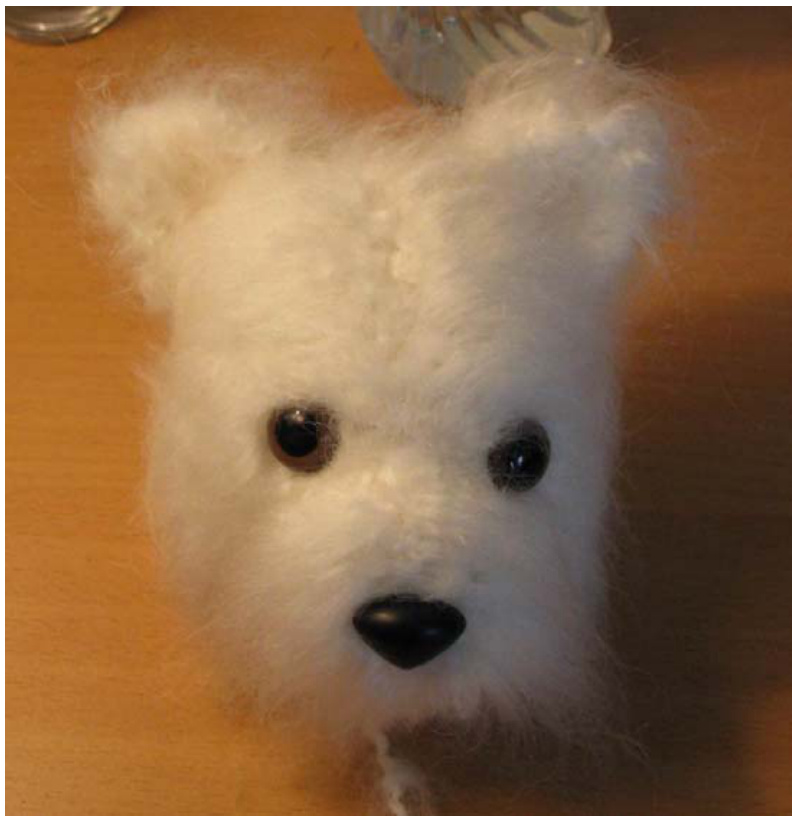
Brushing The Head Crochet the head as directed and fasten off. Place on a flat surface and hold one end - brush in one direction first, and then brush in the opposite direction. Continue alternating brushing. You will brush several more times before your project is completed. TIP: To avoid injuring your fingers, hold the piece as close as you can by the yarn tail. After you have brushed the head, insert safety eyes and nose. Now you can stuff the head (stuff firmly). Do not sew the opening closed. Brush the head again after inserting the eyes - be careful not to scratch the eyes during brushing. You can use the small wire brush around the eyes. For the Terrier, the muzzle is crocheted and attached separately. The Terrier's muzzle is also brushed (see below) before the safety nose is inserted.
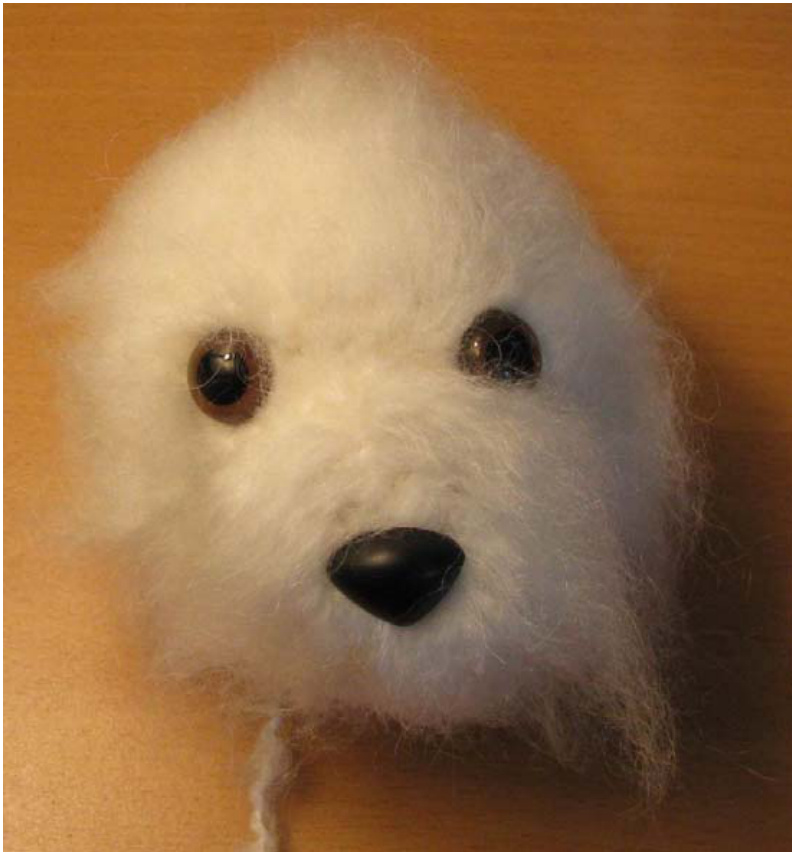
The picture shows the muzzle brushed and attached to the head. Directions for the muzzle are below. Believe it or not, this is the muzzle brushed. Brushing from the center out towards the edge, and then repeating the brushing going from the outside toward the center. Continue to brush until the fibers are fluffed.

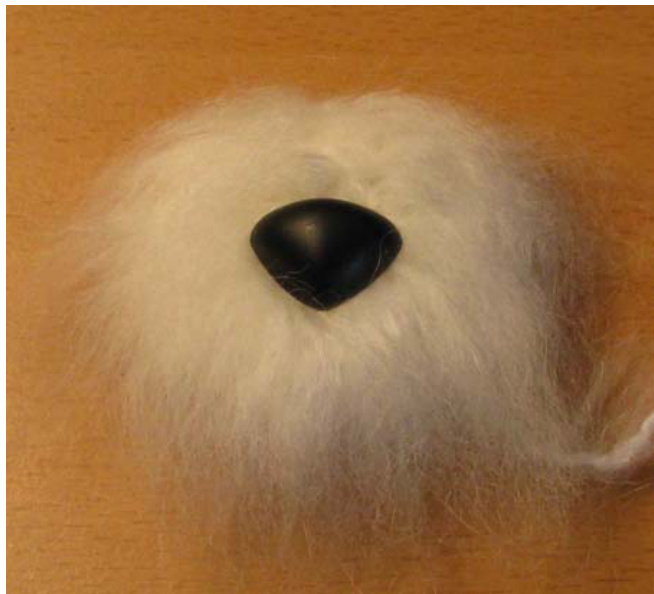
With the muzzle completely brushed, center and insert the safety nose. Brush again after the nose is inserted. Once again, brush carefully so you do not scratch the nose while brushing. This is where the small wire brush can be used. Stuff the muzzle firmly. One you have completed the head and the muzzle, you can attach the pieces. I like to crochet the pieces and attach them as I go.
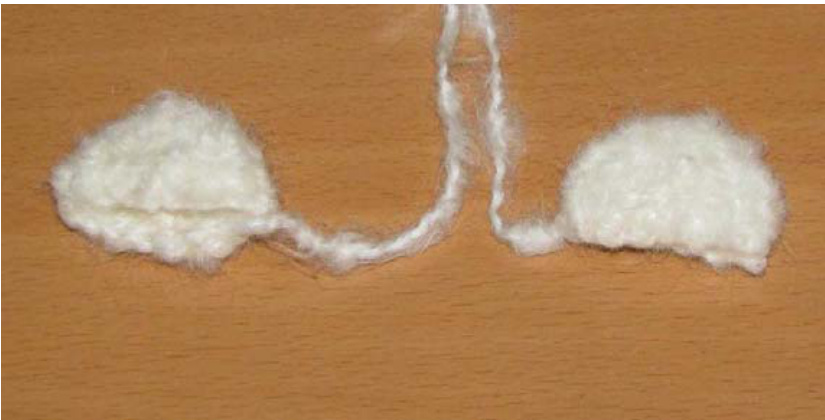
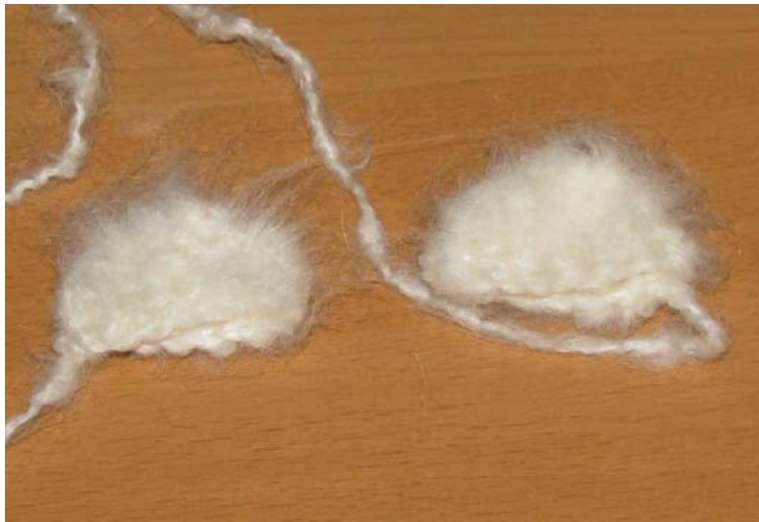
It works best for me, not so overwhelming. Of course, you can do whatever method works best for you. Again, as you attach the brushed pieces, it may look slightly matted, especially the spots where you have stitched and attached the pieces. You will be brushing several more times once the item is complete and it will all pull together. When you are attaching the pieces, make sure your stitches are tight and secure so it will not fall apart when you are brushing. You will more than likely stitch some of the brushed yarn when attaching the pieces, don't worry - you will brush again and your stitches won't show. Now you work the ears. Ears, not brushed Ears Brushed. This is only the first brushing for the ears. You will brush several more times before your project is done. Hold piece on flat surface, brush going up the ears, then brush going down, brush again going to the left and again going to the right. Ears are attached to the head. Brush both ears, from the back and also from the front. Brush going up from head to tip of ear(s), then from the tip of the ears toward the head. Brush the back going left to right, then right to left, Remember, when brushing, brush in one direction first, and then go in the opposite direction. This brushing technique releases all the fiber from the yarn. After the ears are brushed and attached, shape the ears, cupping it slightly. Head is complete.
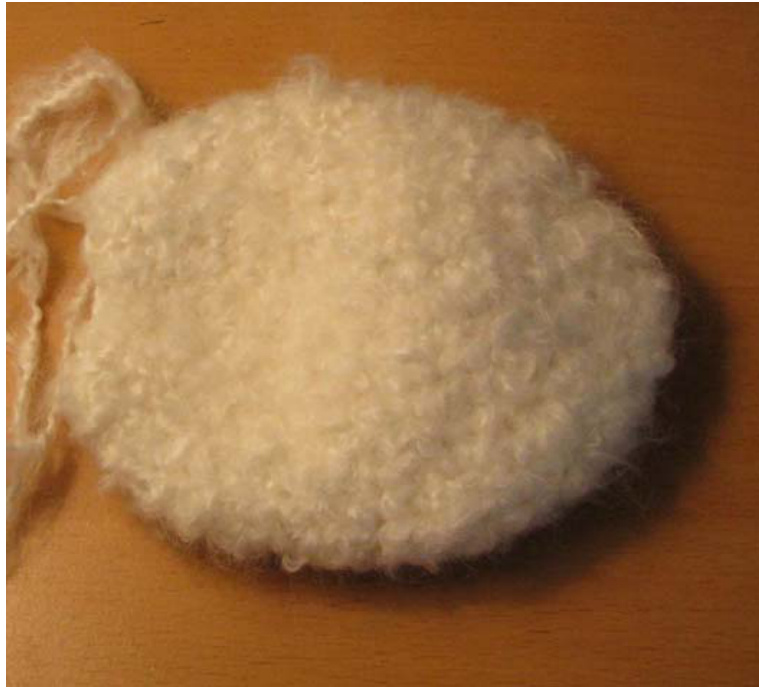
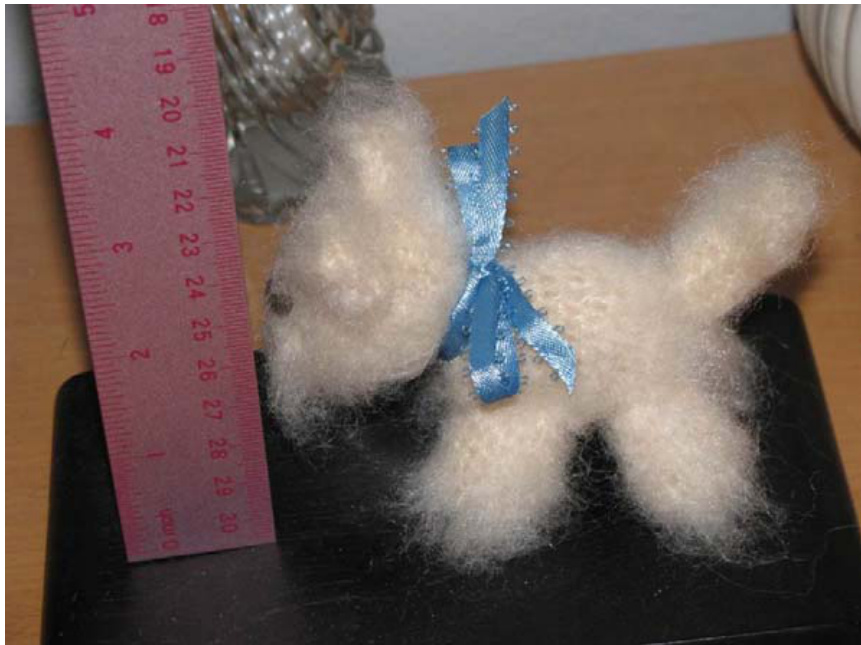
The Body not brushed.
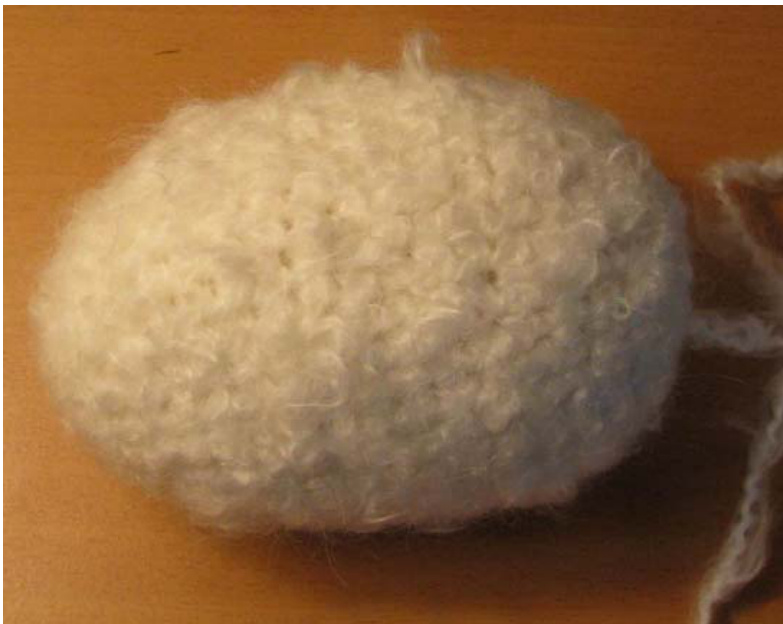
The body stuffed and ready to attach to the head. I did not brush the body at this point. I brushed the body after I attached the head.
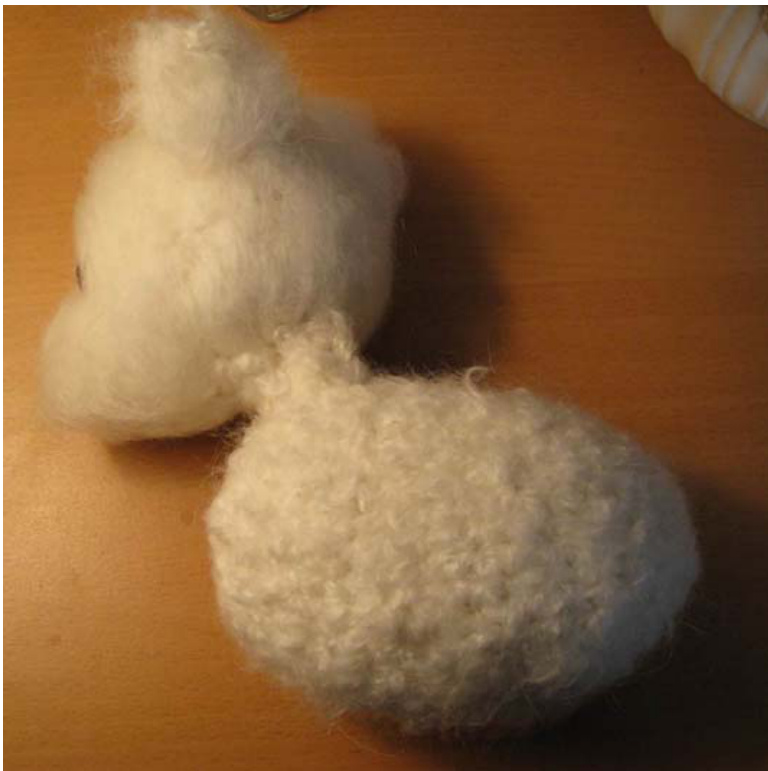
The head attached to the body, not brushed. It looks odd at this point, but once you brush the yarn, it will all pull together.
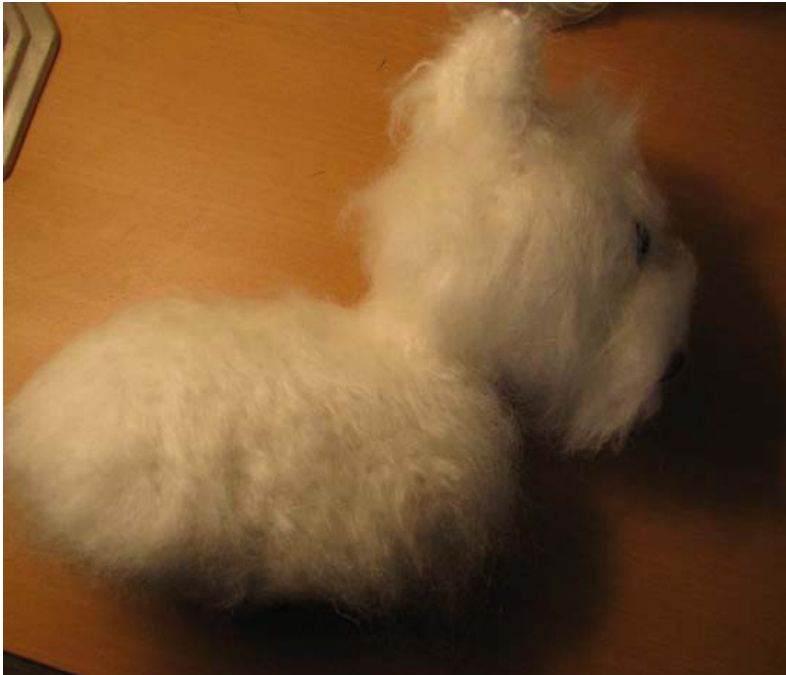
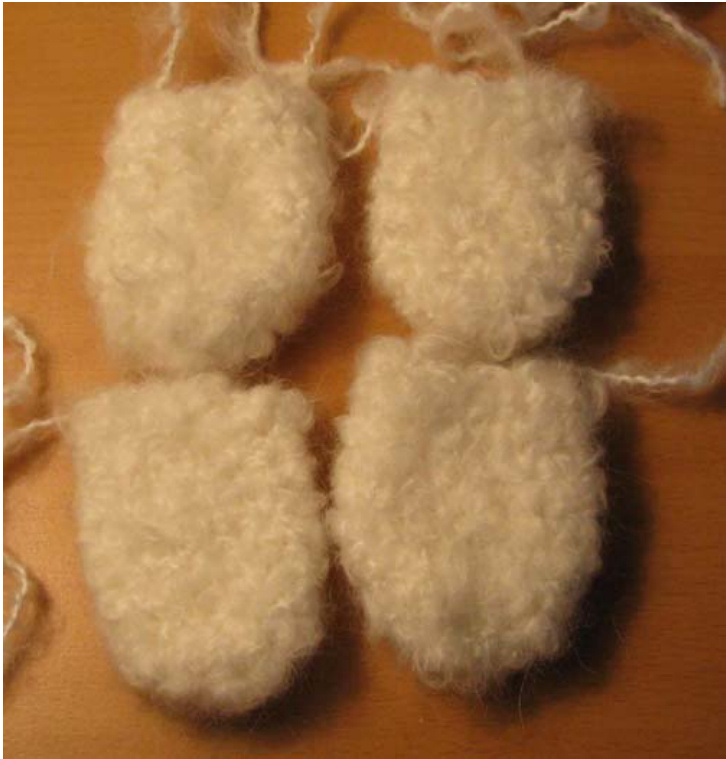
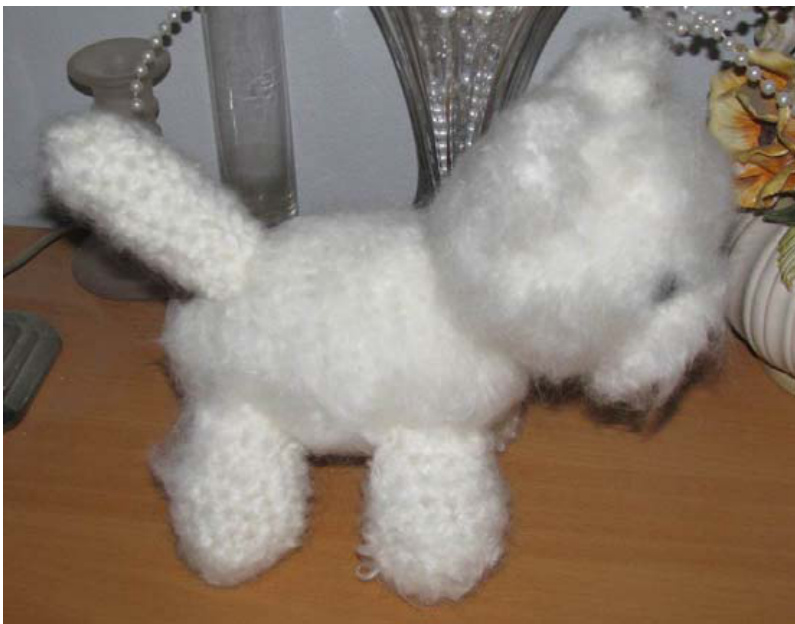
This is the body attached to the head and brushed (first brushing). You will brush several more times. Remember - always brush going in one direction first, then the opposite direction. For this piece, I started to brush from the head to the neck to the body, then going back and brushing again from the body to the neck, then to the back of the head. Continue the brushing until the entire head and body is brushed and your stitch marks are concealed. Now the legs - You will brush the legs using the same technique - brushing up and down first, then side to side. You will brush again once you attach the legs to the body. Crocheted legs not brushed. Stuff the legs and attach to the body. Crochet and stuff the tail and attach the tail to the body. Brush the legs starting at the bottom going up toward the body, then going down from the body to the bottom of the legs. Brush all sides of the legs (inside and out). For the tail, start at the tip going toward the body, then from the body to the tip. Brush all sides of the tail. Again, you can use the small wire brush to brush where you attached and stitched the pieces. TIP: Do not sew the openings closed.

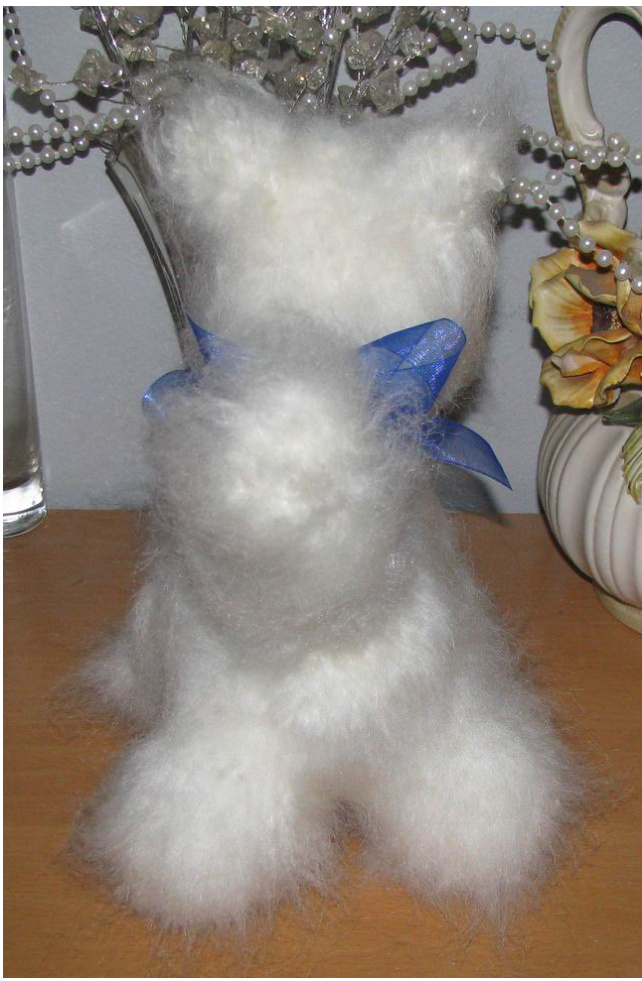
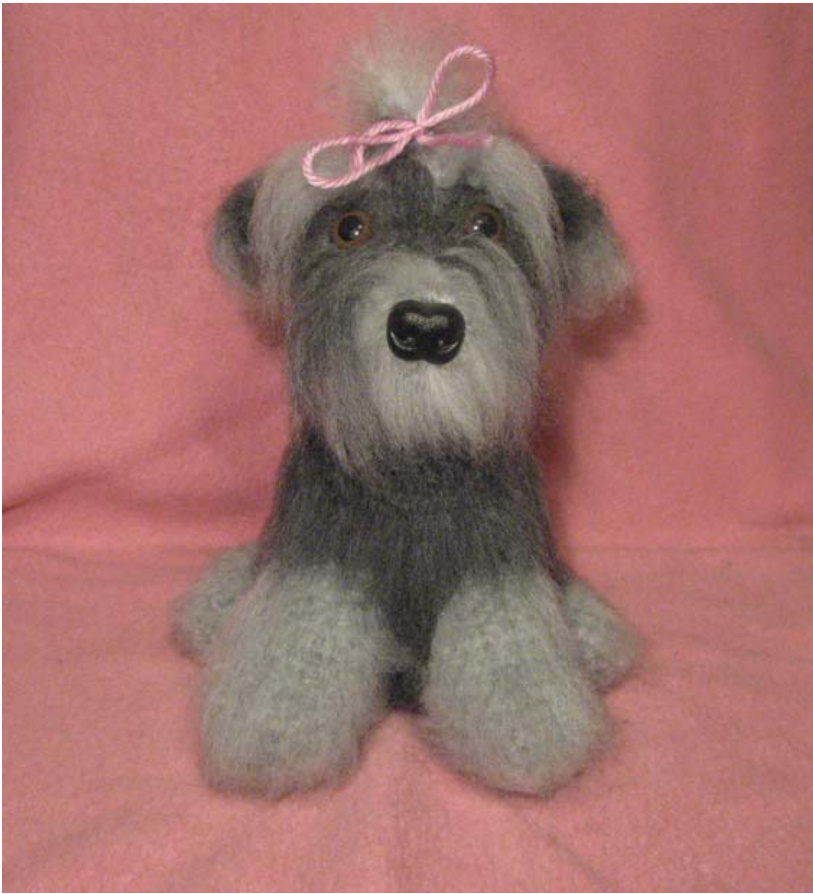
When finished, groom your dog with the toothbrush. This is the end result! A fluffy beautiful toy that will surely become an heirloom. All the time and effort is well worth it when people see you completed project and stare in awe. Experiment with your yarns and see what results you can achieve with this technique. For more information about this tutorial or any of my patterns, you can contact me at: arminas.aminals@gmail.com
Here are some photos of my crocheted dogs utilizing this brushing technique:
Crocheted Tiny Terrier Crocheted Yorkshire Terrier Suppliers I use:
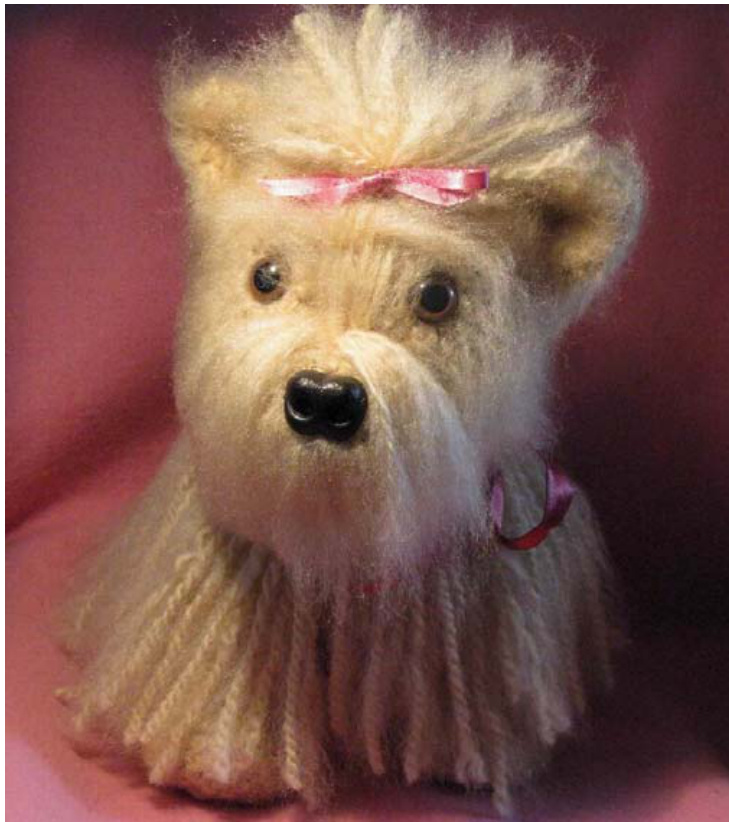
Crocheted Belle The Yorkie
The dog nose is purchased at: http://www.crscrafts.com/ The dog brush is purchased at my local Target store, pet department. The fine wire brushes came in a 3-pack, purchased at my local 99 Cent store. You can find similar brushes at any hardware store. I also purchased my cutting board (my brushing work surface) at the 99 Cent store. Happy Crocheting!


