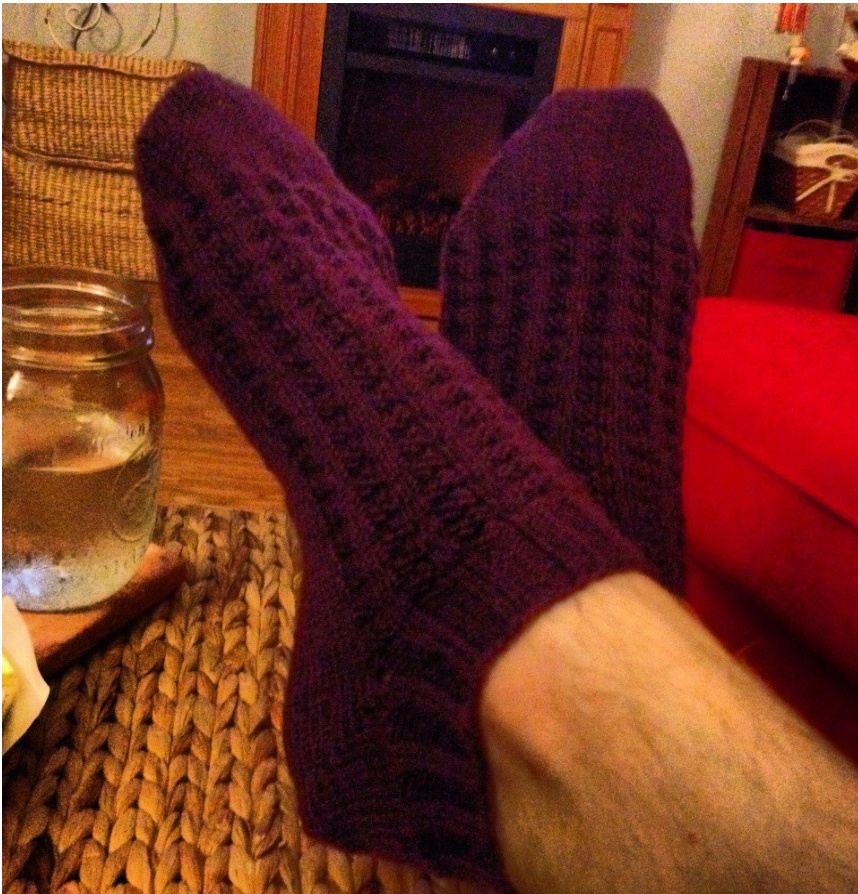
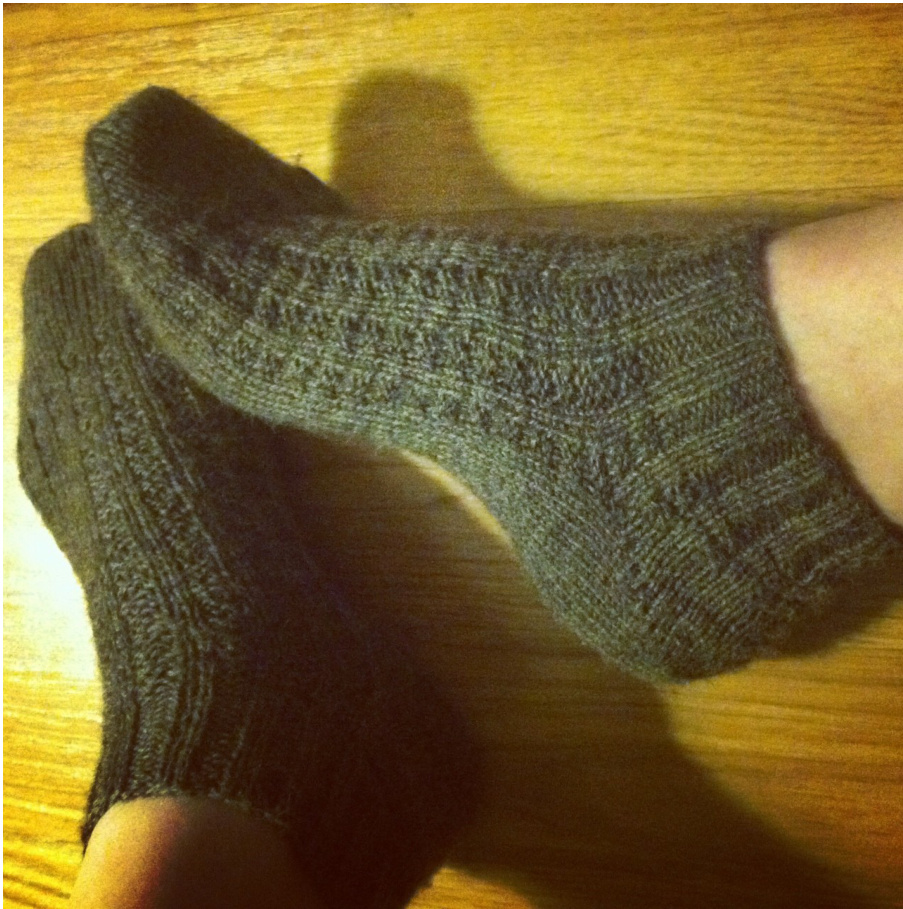
Otis
When I first began knitting, I was very excited to make things for other people. All the women in my family and social circle began getting pretty hats and lacy scarves, but I soon realized that the guys were totally missing out! These socks became my answer, and my dad received the first pair for Christmas several years ago. My grandpa, whom I didn't get to meet until I was 27, received a pair as well - it was the first gift I'd ever given him. Both of them are named Otis and this sock is named after them.
Size
The pattern can easily be adjusted for smaller sizes. For a larger woman's size, go down a needle size. For a smaller woman's size, CO 60 and knit a 30 stitch heel
Materials
Approximately 200 yards (50g) any fingering weight yarn, I don't like to tell you what to do!
Gauge
32 stitches and 40 rows = 4 inches in stockinette stitch
Pattern Notes
Instructions for a short row heel can be found here: http://www.cometosilver.com/socks/2mlsocks_heel.htm
Cuff
CO 64 stitches and divide evenly among 3 needles Work K2 P2 rib for 1.25 in Begin Waffle Pattern: Round 1&2: Knit Round 3&4: \*K2 P2 around Knit rounds 1-4 of waffle pattern 2 times
Divide for heel
I like the basic short row heel - nothing fancy - but feel free to mix it up if you like a different technique! First set up Row: Knit 15. Place remaining stitches on needle 2, and hold for front. The front of the sock should start with a purl stitch. Turn work so wrong side is facing you Second Set up Row: Purl 32 You now have 32 stitches on needle 1 for the heel. On needles 2&3, divide stitches for the front of sock and keep on hold. Arrange stitches so that the front of the foot is divided evenly on two needles and the heel is worked back and forth on one needle. Row 1: Knit to last stitch, wrap and turn Row 2: Purl to last stitch, wrap and turn Knit to one stitch before wrapped stitch, wrap and turn Purl to one stitch before wrapped stitch, wrap and turn Repeat these steps until you have 9 wrapped stitches on both sides of your heel Knit to first wrapped stitch, pick up wrap, knit together with stitch, wrap next stitch and turn Purl to first wrapped stitch, pick up wrap, knit together with stitch, wrap next stitch and turn Repeat this process until all wrapped stitches have been picked up and kni Typically, there are little holes where your short row heel joins the rest of your sock to continue on to the foot. Here's how I deal with this: When you've knit the last stitch of the heel (and picked up its wrap, of course!), move the first stitch on the next needle to your working needle. Wrap that stitch and return it to the left needle. Do the same with the other side. When you knit these stitches on your first round of the foot, pick up the wraps. This greatly minimizes that annoying hole!
Foot
Arrange stitches as follows: Needle 1: 16 stitches of heel Needle 2: 32 stitches of top of foot Needle 3: 16 stitches of heel Your round begins in the middle of the heel. Continue in pattern as set, working stockinette on needles 1&3 for the heel and the Waffle Pattern on needle 2 for the foot, until work measures approx. 1.5 inches less than desired length, ending with Row 4 of Waffle Pattern.
Toe
Round 1: knit Round 2: Knit to last 2 stitches of needle 1, K2tog. SSK first two stitches of needle 2, Knit to last two stitches of needle 2, K2tog SSK first two stitches of needle 3, knit to end. Repeat these two rounds until 24 total stitches remain. If your fellow has freakishly long toes, you may want to make the toe a little longer. If so, continue rounds 1&2until 18stitchesremain. Knit one last round, At the end of the round, knit the stitches on needle 1 onto needle t3 so that you have two needles with an equal number of stitches on each. Kitchener together and weave in your ends!


