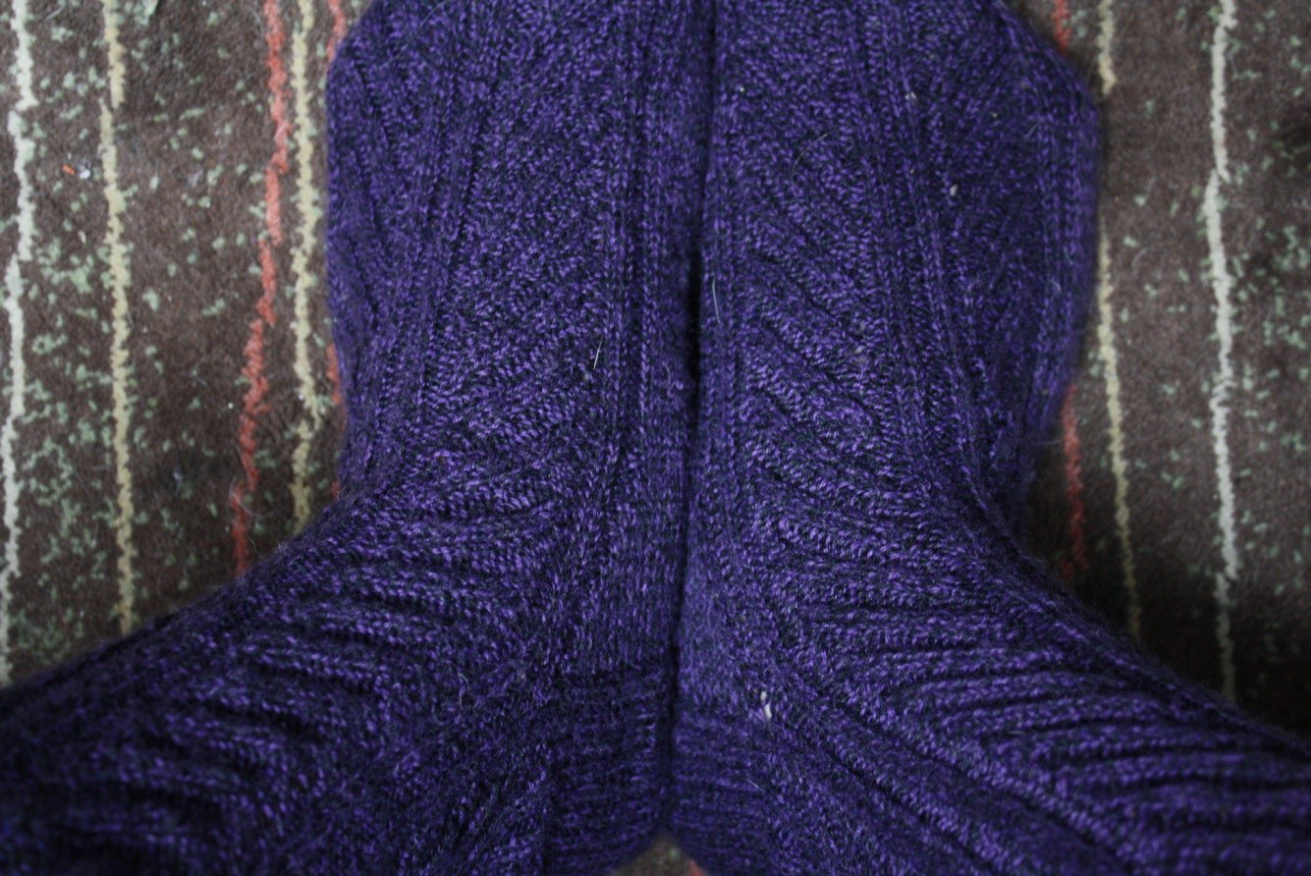

Steam Pipes was designed for my husband. I have made him plain stockinette stitch socks and ribbed socks. I wanted something different, something with movement. I did not want something overly complicated. This is the result; it is ribby but enough movement to make me happy. I have written the directions using Melissa Morgan-Oake's 2-at-a-Time socks system. If you are not familiar with her book, you can do one of two things: check out her great book and learn a new technique, or work it traditionally and divide the stitches across the 3 needles. And if you are familiar, then enjoy. I am not promoting one style over another; I just do it this way and prefer it. One also could certainly change any component of the sock to fit their personal taste! A quick note about the size: The nature of the stitch pattern does not easily adjust for different sizes; my suggestion is to change the gauge, use smaller or larger needles to get a smaller or bigger sock. I used size US 3 needles for my hubby's size 13s. I will say that the leg of the sock is very stretchy. Many sizes could use it, then to size down for the foot; reduce the number of stitches on the sole of the sock. OK, now after all that, on with the instructions!
Steam Pipes
Yarn 2 skeins JaWoll superwash Lang, 75% New Wool, 18% Nylon, 7% acrylic. Fingering weight. 45g/190 m Gauge 6 stitches and 8 rows = 1" Needle US 3 40" circular Notions Stitch markers, tape measure, and darning needle Size Men's Large Finished Foot circumference 6 %" (slightly stretched) to 11" (fully stretched) Pattern Stitches row 1 -row 8 1: K2, P1, P2tog, K1, P2, K2, P2, K1 K into the front and back of next stitch (F/B), P2, K2, P2, K2, P1, P F/B, K2, P2, K2, P2, K1, P2tog, P1, K2, P2 (This works one side of one sock repeat on both sides of both socks, this statement is true for all rows) 2: K2, P2,K1, P2, K2, P2, K2, P3, K2 P2, K2, P3, K2, P2, K2, P2, K1, P2, K2, P2 3:K2, P1, P2tOg, P2, K2, P2, K 1, K F/B, P3, K2, P2, K2, P2, P F/B, K2, P2, K2, P2,P2tog, P1, K2, P2
Knitting the Legs
Set up For each sock, cast on 80 and divide. If you wish, attach a locking marker or scrap of contrasting color yarn to your work one stitch over from join on sock A to mark the beginning. Cuff Work 2X2 Rib (K2, P2) starting with K2, For 1 inch or desired length Leg Work rows 1-8 of Steam Pipes until leg measurement from cast-on edge is 8 inches or desired length. End ready to begin sock B heel, remove any markers, and hold for later.
Working the Heel Flaps
Work the heel flaps for both socks in rows at the same time on 40 sts. Row 1: \*Slip 1 stitch with yarn held in back, K1. Repeat from \* to end of row Row2: Slip 1 stitch; purl to the end of row (Note that the first heel flap row for sock B is row 2. Repeat rows 1 and 2, 17 more times. Ending on a row 2, the heel flap should measure about 3 inches (this may be increased or decreased according to your fit. This will alter the number of stitches picked up for the gussets and its decreases).
Turning the Heels
Turn the heel on each sock separately, beginning with sock B. Row 1: Knit across 22 Sts, ssk, K1, Turn. Row2: Slip 1 st, P5, P2tog, P1, Turn. Row3: Slip 1 st, Knit to one stitch before gap, Ssk to close gap, K1, Turn. Row4: Slip 1 st, Purl to one stitch before gap, P2tog to close gap, P1, Turn. Next rows: Work row 3 and 4 until all Sts have been worked. Sock B heel now has 22 Stitches. Follow directions the turn sock A heel.
Picking Up Stitches for Gussets
Pick-up round Knit across sock B heel. Place a marker at the center of sock B heel. This is the new beginning of rounds. With right side facing along the left side of sock B heel, pick up and knit 19 stitches. Move to sock A, And Knit across the heel stitches. Along left side of sock A heel, Pick up and knit 19 stitches Work established pattern across sock A and B instep stitches. Along right side of sock B heel, pick up and knit 19 stitches. Knit across sock B heel stitches to marker, slip marker, work left side of sock B heel. Along right side of sock A, pick up and knit 19 stitches. Continue as established to the marker at the center of sock B heel.
Working the Gusset Decreases
Round 1 On sock B heel work to last 3 stitches, P2tog, P1 One sock A heel, K1, Ssk, Knit to last 3 stitches, P2tog, P1 Work instep stitches in established pattern on both socks On sock B heel, K1, Ssk, Knit to marker. Round 2 Work even on all stitches. Next Rounds repeat rounds 1 and 2 until each sock has a total of 80 stitches (This is where, if needed, one could keep working rounds 1 and 2 until the sole has the number of
Working the Sock Feet
Continue the stitches as established, working no further decreases, until the desired measurement from the heel (about 1 % inches short of actual length to work toe)
Decreasing for the Toes
Set Up Work one more round, ending at the beginning of Sock B sole. Move the marker from the center of sock B sole to the beginning of the sock B sole, to mark the new begging of rounds. Round 1 On sock B sole, K1, K2tog, Knit to last 5 Stitches, Ssk, K1, P2. Work same for Sock Asole. On sock A instep, K1, K2tog, Knit (or work the pattern in any way that is pleasing to you) to last 5 stitches, Ssk, K1, P2. Work the same for Sock B instep. Round 2 Knit the knit stitches, Purl the purl stitches. Next Rounds Work rounds 1 and 2, 8 more times Next Rounds Work round 1, 7 more Times Each sock now has a total of 16 stitches, 8 instep and 8 sole stitches. Kitchener stitch the toe seam. Enjoy your socks!


