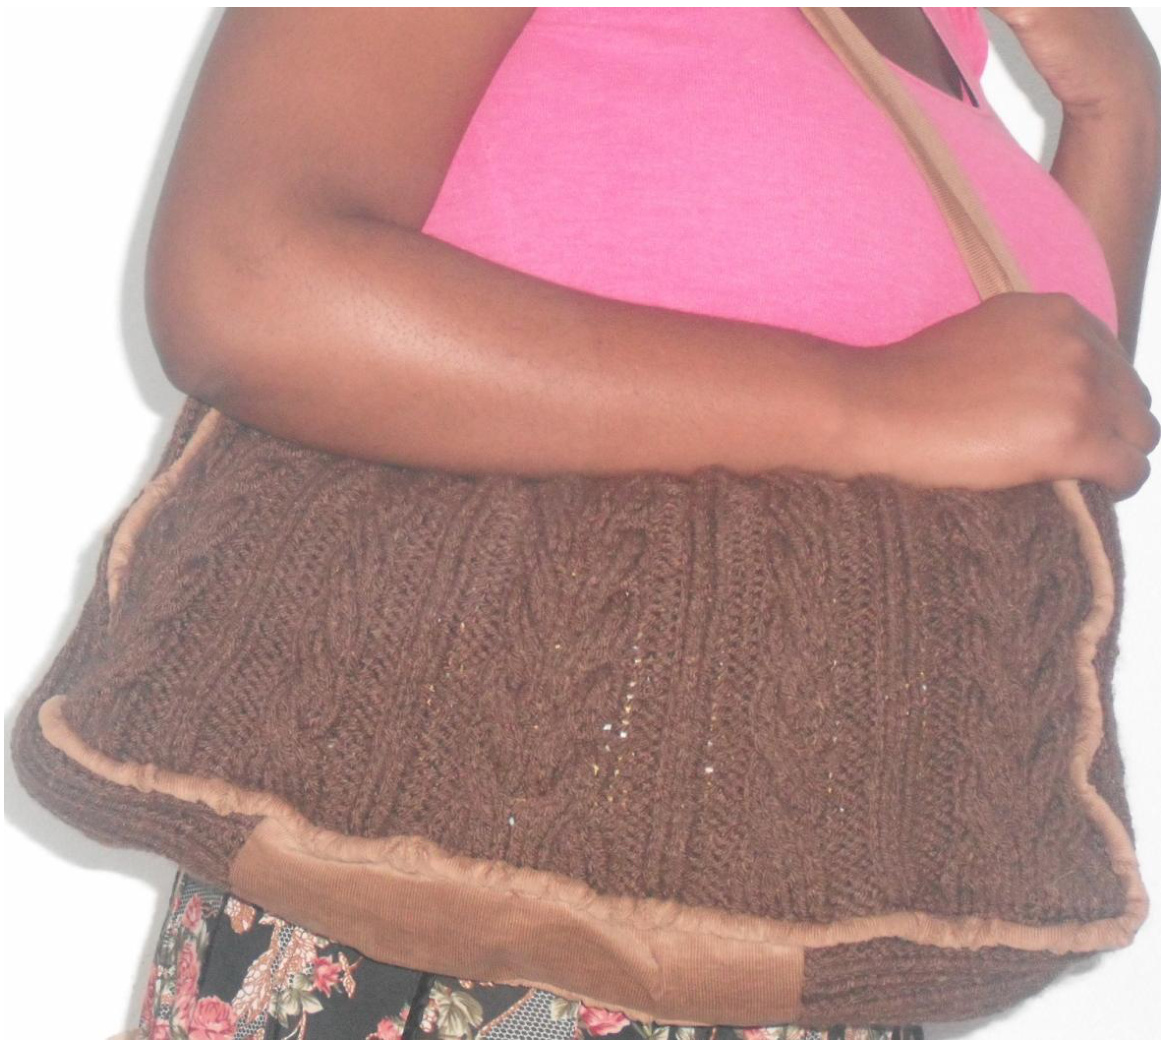
CABLE BAG WITH CORDUROY TRIM
340 yards worsted weight yarn 2 yards % inch piping cord 1 yard contrasting corduroy 1/8 yard Interfacing 1 yard lining fabric % inch magnetic snap
Knitting
Make 2 Cast on 16 US 8 - 5.0 mm Work 2 x2 ribbing for 14 inches and cast off Make2 Cast on 88 on US 8 - 5.0 mm Row 1: p3, k12, p3,k2, p3, k6, p3, k2, p3, k12, p3, k2, p3, k6, p3, k2, p3, k12, p3 Row 2: k3, p12, k3, p2, k3, p6, k3, p2, k3, k12, k3, p2, k3, p6, k3, p2, k3, p12, k3 Row3:Row1 Row4:Row2 Row5:Row1 Row 6: p3, c6b, c6f, p3, k2, p3, c6f, p3, k2, p3, c6b, c6f, p3, k2, p3, c6f, p3, k2, p3, c6b, c6f, p3 Repeat row 1 -6 for 10 inches and cast off
Bag construction
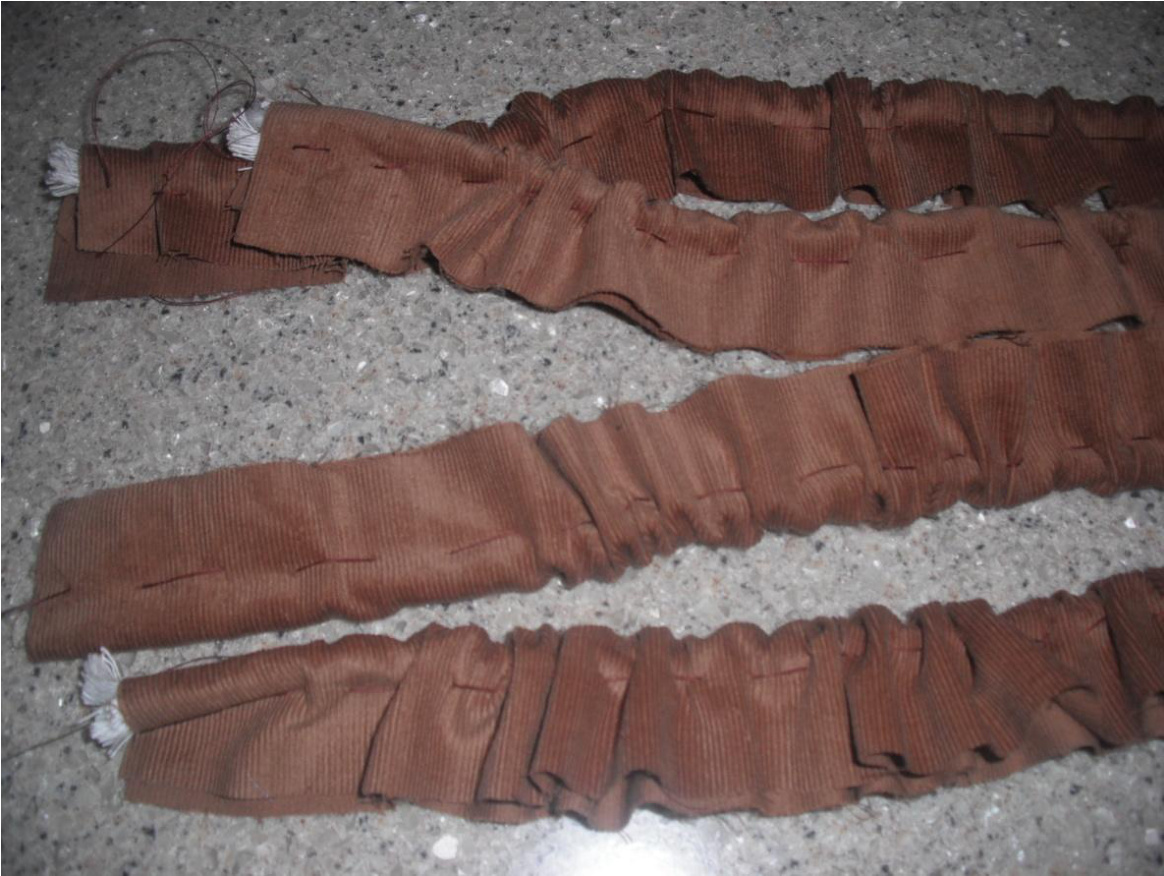
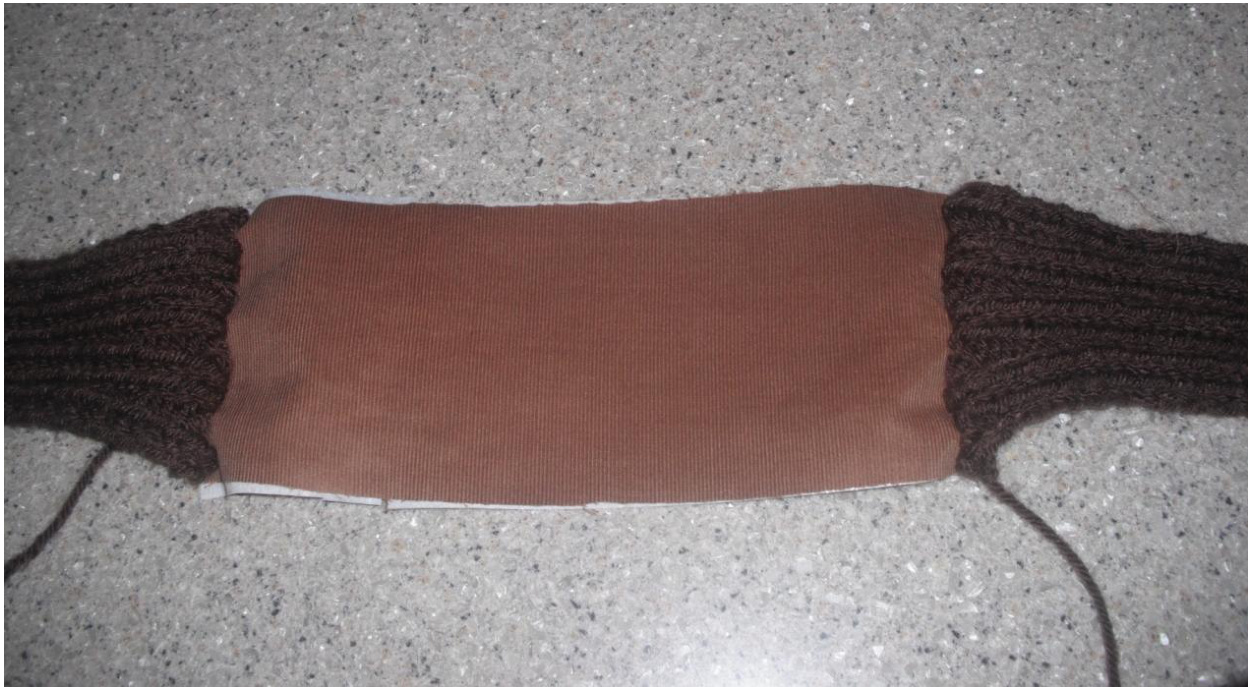
1. Cut the piping cord into two 40 inches long strips. 2. Cut two rectangle pieces of the corduroy measuring 3 inches by 58 inches 3. Baste in the piping, I followed these instructions http://sew4home.com/tips resources/sewing-tips-tricks/324-how-to-make-and-attach-your-own-piping. 4. Pull the basting threads and gather your piping. 5. Cut a 4 inches x 8 inches rectangle of corduroy. 6. Cut a 4 inches x 8 inches rectangle of interfacing. 7. Iron the interfacing to the rectangle. 8. Baste and stitch the interfaced corduroy to the ribbed pieces as shown below.
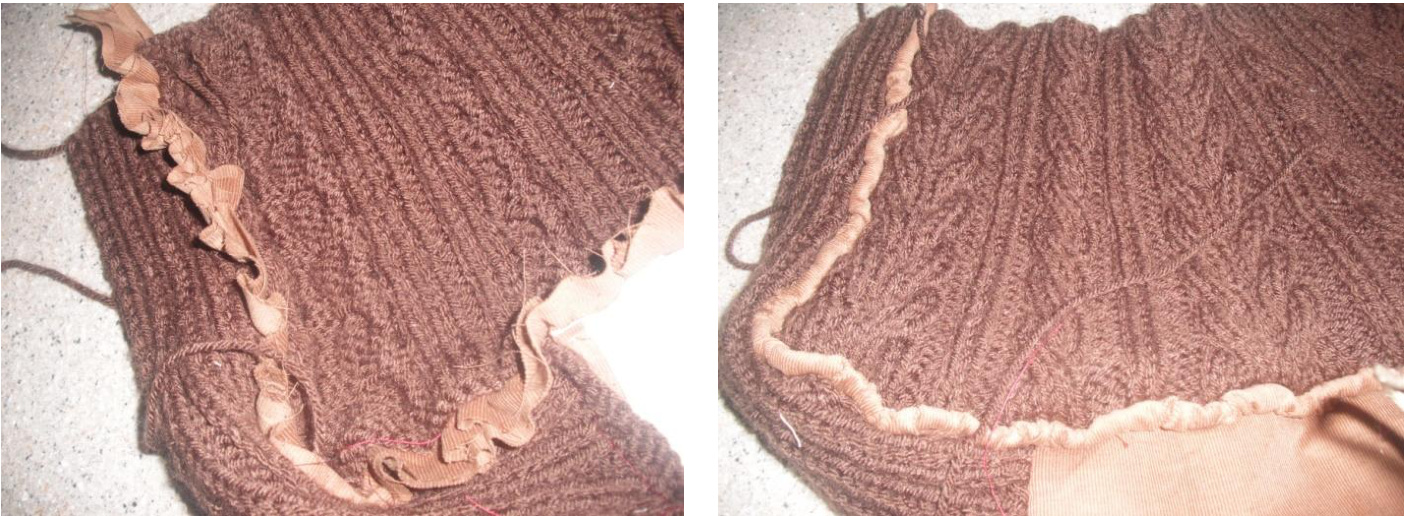
9. Pin the main knitted piece, the gusset and piping together on the wrong side and stitch around on both sides.
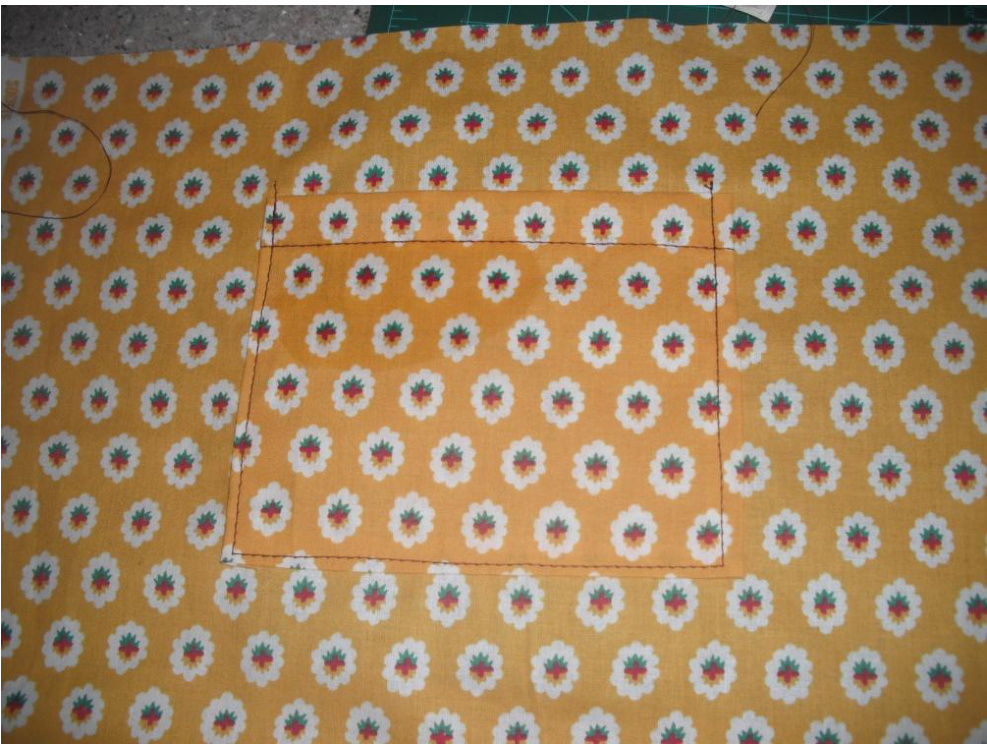
Prepare lining 10. Cut 2, 10 inches x 14 inches rectangles of lining fabric. 11. Cut 1, 6 inches x 5 inches rectangle of lining fabric. 12. Cut 4 inches x 38 inches lining fabric on the bias. 13. Prepare slip pocket, on the top fold and press 1 inch and fold and press % inch on the three sides.

14. Top stitch the 1 inch fold. 15. Stitch the pocket to the lining.
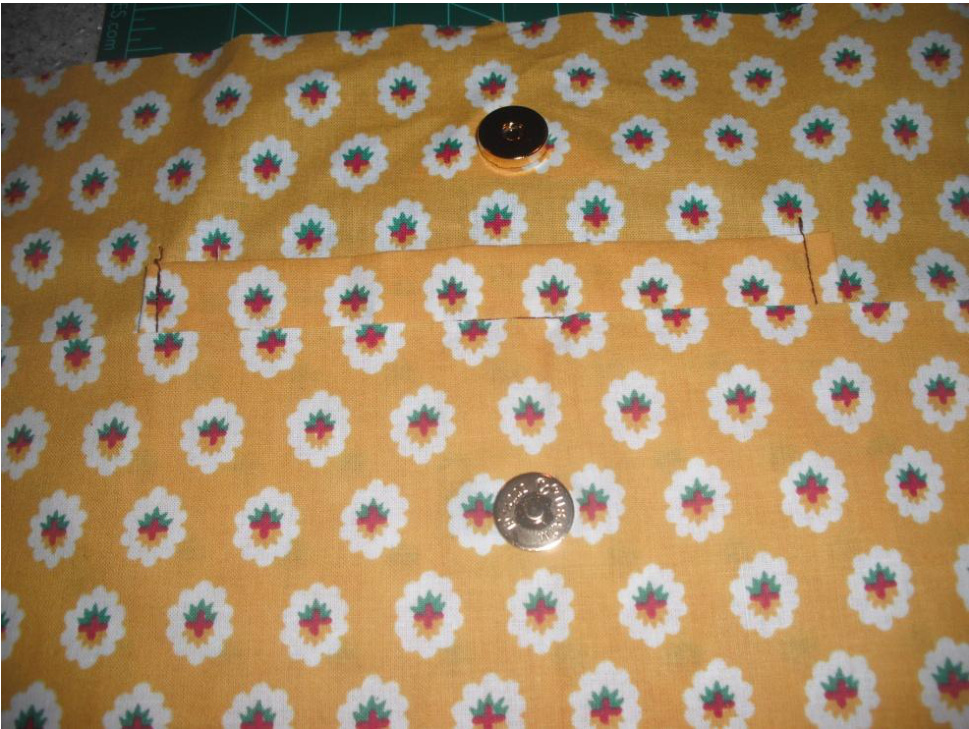
16. Attach the magnetic snap to the lining according to the instructions on the packaging.
17. Stitch gusset to main lining, right sides facing, on both sides.
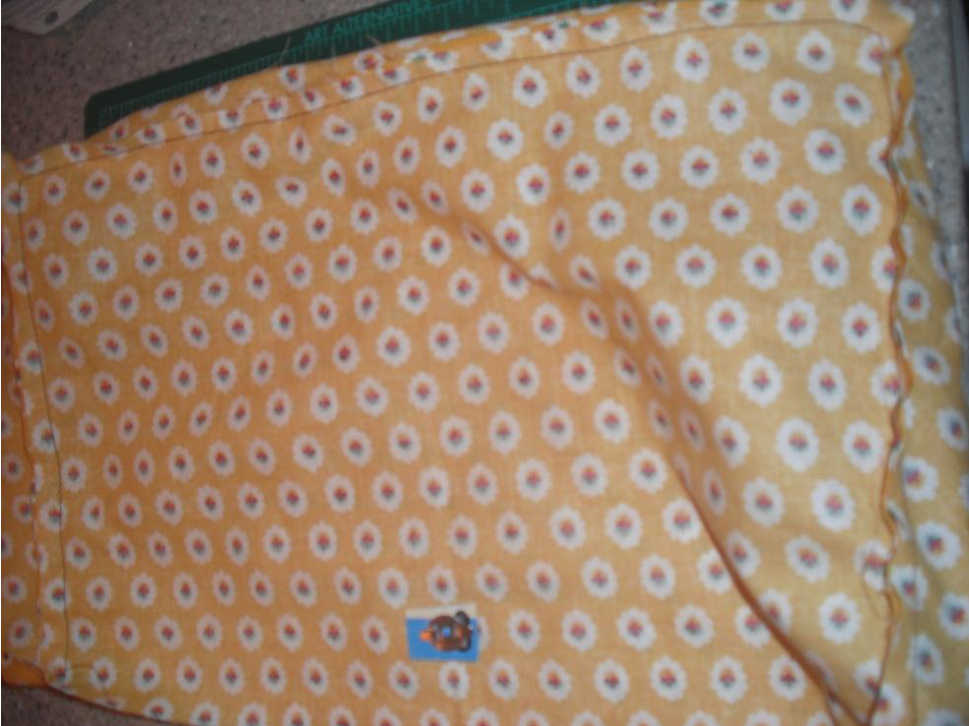
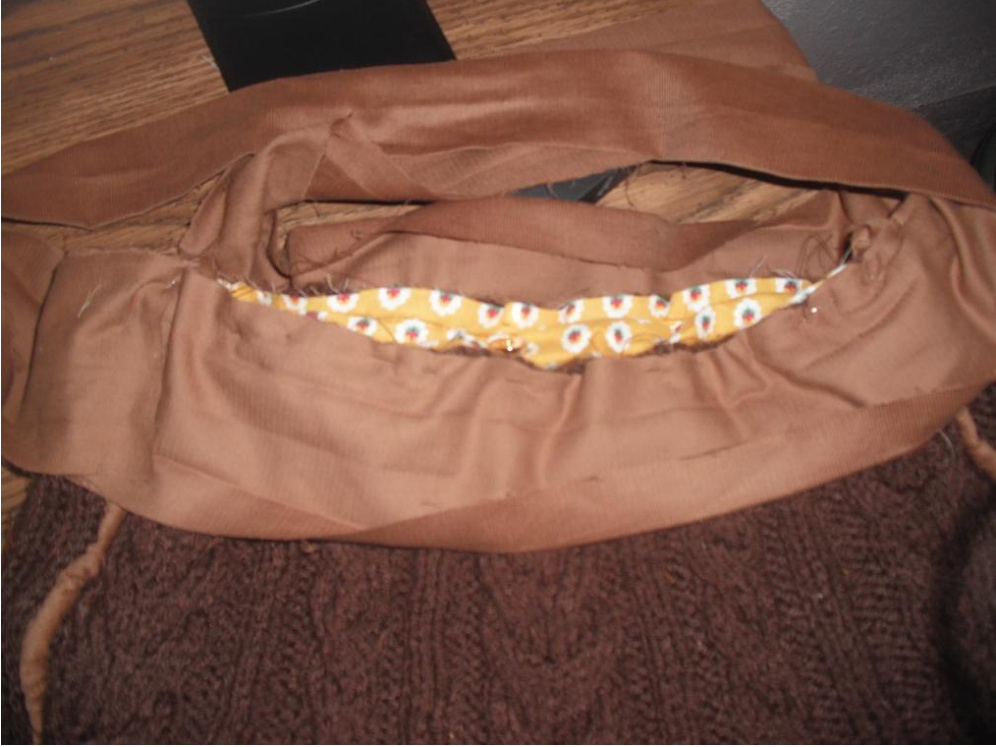
18. Drop in the lining in the bag wrong sides facing and pin and baste top, trim the top make sure not to cut into the knitted pieces.
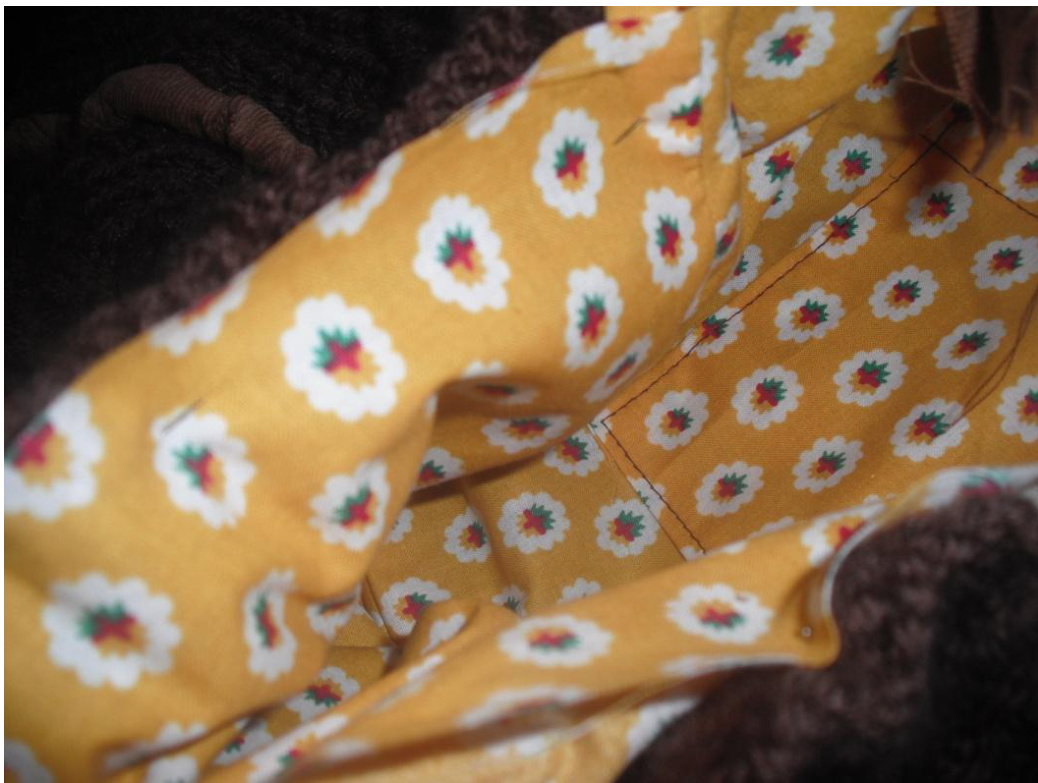
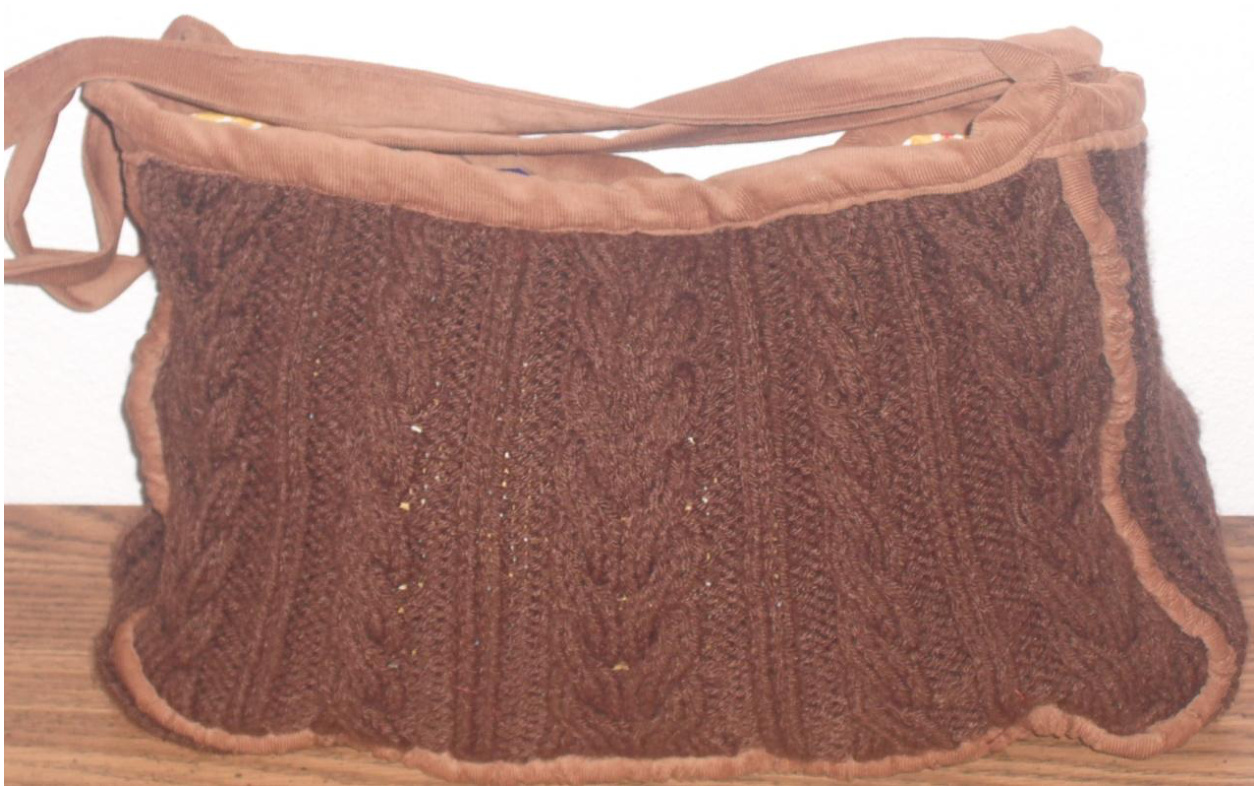
19. Make bias binding, two are 4 inches by 5 inches and the other two are 4 inches by 30 inches. You can find a tutorial here. 20. With right sides facing, open the prepared 5 inch tape and stitch to the side of the bag (forgot to take picture here). Fold over the binding and top stitch on the right side of the bag. 21. With right sides facing, open the prepared 38 inch tape and pin and stitch to the front and back panels of the bag as shown below. Make sure the ends overlap. Fold over the binding and top stitch on the right side of the bag.
Weave in all ends. This pattern is for non-commercial use only. For any questions or comments please contact me at info@princesstafadzwa.com. PrincessTafadzwa 2012


