2014? Jane Thornley. Though free for your personal use, this pattern is not to be copied or reproduced without permission from the author for teaching purposes, sale, or any other kind of distribution.
ROGUE WAVE WRAP
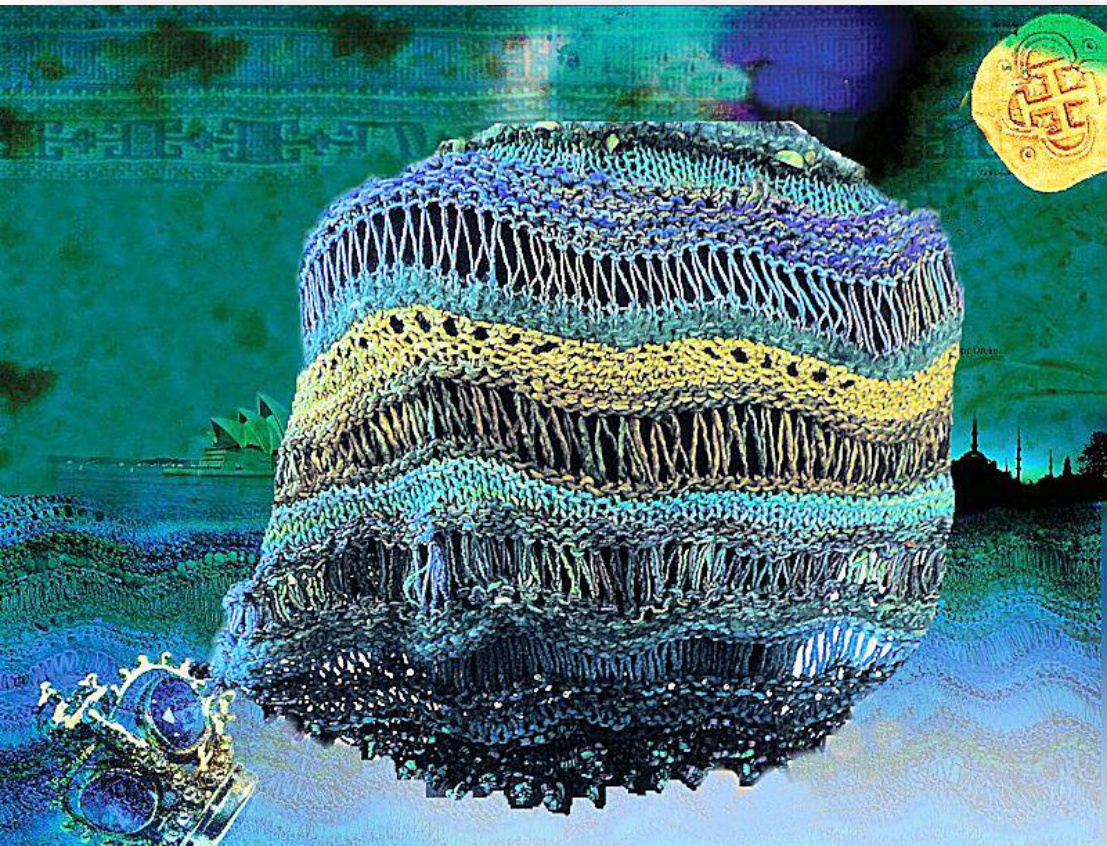
2014@ Jane Thornley. Though free for your personal use, this pattern is not to be copied or reproduced without permission from the author for teaching purposes, sale, or any other kind of distribution. Here's a wrap to knit while reading my novel, Rogue Wave, or just to evoke the free-flow spirit of the ocean, if you'd rather not read a mystery. You may even be able to knit and read at the same time, though I've yet to manage that. In any case, I hope you dive into this project in the spirit in which it's offered: as an exploration of free-range knitting where no rules exist. Allow yourself to flow with the yarn, creating drop stitch waves amid garter stitch however you wish until you reach your desired length. This design can be made to any size as either a wrap or a light scarf. The Rogue Wave wrap is all about flow. Stitches form undulating waves cross the piece like the roll of the deep Atlantic. Here's an adventure with no fixed address, no shorelines of do this or do that. Just launch and see where it takes you. Though I've used predominantly garter and drop stitch, feel free to add rifts of feather & fan, or other favorite stitches used according to whim. The idea is to keep this wrap moving with motion and spirit.
2014? Jane Thornley. Though free for your personal use, this pattern is not to be copied or reproduced without permission from the author for teaching purposes, sale, or any other kind of distribution.
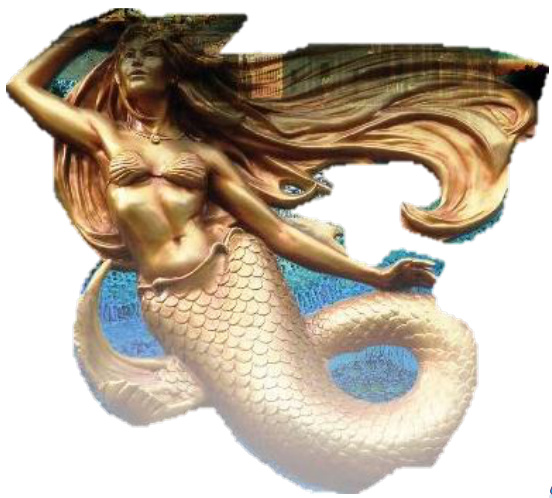
MERMAID'S STASH
I used primarily Handmaiden yarns in a mix of silks and silk blends, including Swiss Spun Mulberry Tussah and Double Sea Silk, with small amounts of Blue Heron Rayon Metallic for sparkle. If stash-diving, aim primarily for double knitting yarns, worsted or sock yarns doubled, though with this kind of design, virtually any yarn will work. I used size 5mm/8 US needles and went up to 6mm/10 US needles midway through. Medium-weight yarns in all textures work beautifully in this design. Ribbons, chenille and high-textured diva yarns also work. Either straight needles or circulars work but most prefer circulars if they plan on extending the length. The picot edging is worked with variegated hand-dyed yarn for an overall effect that invites a closer look, a bit of a stroking, and the simple enjoyment of extended gazing. Deploy your stash or nab one of my free-range kits for a feast of color and texture. 2014? Jane Thornley. Though free for your personal use, this pattern is not to be copied or reproduced without permission from the author for teaching purposes, sale, or any other kind of distribution.
MEASUREMENTS
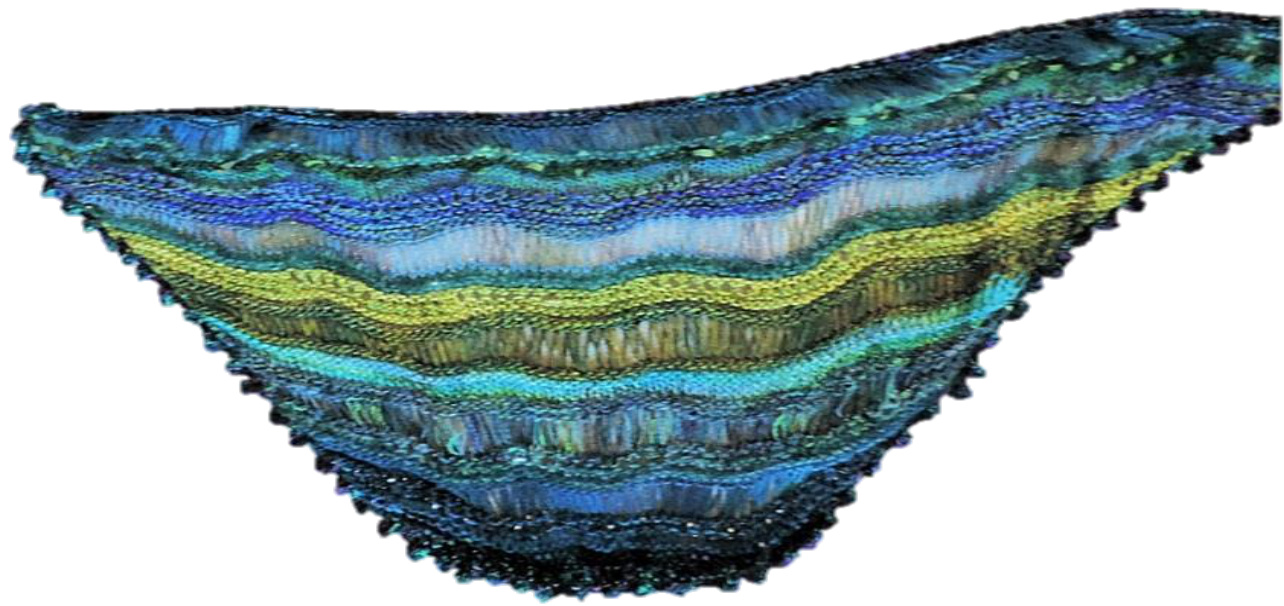
These wraps are as wide and deep as you make them. Free-range knitting comes with no set address. You are the captain; I only provide a little directional aid. I create mine long enough to drape down over my shoulders in the front and deep enough to create a pleasing wave of color on the back (see photo) but, otherwise, you decide. Besides, it's always good to assess your preferences while knitting rather than wait for instructions to say STOPNOW.
INSTRUCTIONS
TIPS:
Try to knit yarns tails in as you go to avoid being faced with hangerson that must be sewn in during finishing. To learn how to knit yarns in using the stranding method, just Google Knitting in Ends for YouTube 2014? Jane Thornley. Though free for your personal use, this pattern is not to be copied or reproduced without permission from the author for teaching purposes, sale, or any other kind of distribution. demos. However, many free-range knitters are avid adopters of the 'dangle where you will' method and tie on beads to the end of yarn tails to add extra texture. Consider adding shells, beads, and fringe to your wrap rather than the picot edging. Who says you have to be tidy? The number of yarn changes you make throughout this project is a matter of preference but aim for bands of color separated by garter stitch currents. The garter stitch acts as a foil for the drop stitch waves that flow throughout the piece. I describe my changes initially to serve as a guide. Begin every row with a cast-on or another increase method like making 1 stitch by picking up a loop from the row beneath and placing it on your needle. Which method you use is really one of preference. I prefer casting on. If reading Rogue Wave while you knit, you may be tempted to stir in doses of Bourbon with your knitting, as does Phoebe. The author does not advise this. She has tried at least once to blend alcohol with knitting, only to discover that she couldn't tell which stitch was a long drop stitch or simply a dropped stitch. What's worse, after a glass or two, she didn't care. These days, I find it best to become the designated knitter, at least part of the time. And think of this as a voyage. Your stitches will flow: your rows will work back upon themselves in undulating waves but you will never know exactly how the finished wrap will look. It's like life. To begin: With your chosen needles, begin by casting on 30 stitches with yarn of choice. This is an arbitrary number which can easily be 35 or 72. The idea here is only to create a base from which to work. I generally choose the darkest hue to evoke the sea bottom. Knit six rows of garter increasing 3 stitches at the beginning of every row (or at each end). \*It's important to increase at the beginning of every row throughout this adventure or you will create a gnarly bump 2014? Jane Thornley. Though free for your personal use, this pattern is not to be copied or reproduced without permission from the author for teaching purposes, sale, or any other kind of distribution.
at the edge of your knitting and spoil the flow.
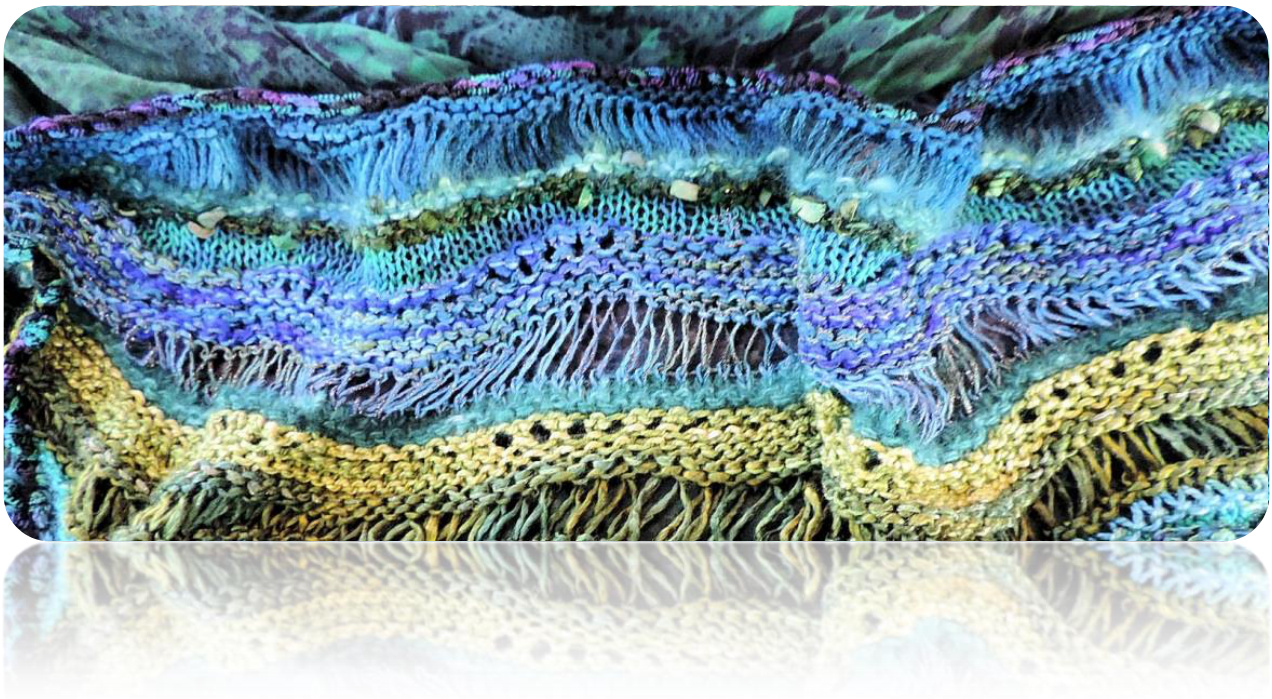
On next row, change yarn to a hue lighter than your first and continue working garter stitch for another 10 or so rows. On next right-side row, change yarns and form your first drop stitch wavelikeso: The Long Drop Wave stitch: the wave stitch is a version of the drop stitch with sequentially decreasing/increasing wraps in the yarnovers. This means a cluster of one-wrap yarnovers are followed by a cluster of two-wrap yarnovers, which are, in turn, followed by a cluster of three-wrap yarnovers followed again by more two-wrap yarnovers (k1, \*yo1, k1 x 3, yo2, k1 x 4, yo3, k1 x 4, yo2, k1 x 3, yo3, k1 x 4. Repeat from \* to end). Think wave. The number of repeats per stitch cluster is not important and I prefer a more random, organic appearance. The length increases and then recedes, ebb and flow, across the row. Work this ebb and flow of stitches to the end of the row. On the reverse, drop the wraps from the needle and knit the stitches in between. I rarely do mine symmetrically, preferring a random, organic, look but a symmetrical look is also very effective. Comb your dropped stitches with your fingers to let them settle into their glory position. On next row, cast on by 3 stitches (or another form of increase) and knit back. Work several rows of garter stitch. Time to fly. These basic rows form the entire wrap. By making rows of long drop wave stitches amid banks of garter stitches and changing yarns according to whim, the Rogue Wave wrap unfurls . From here, the adventure is yours. Experiment. Try adding ribbons or sparkly yarns to either the wave or the garter stitch rows. Always increase at the beginning of every row. Try adding rows of stockinet or even seed stitch amid your drops, with unifying currents of garter stitch in between. Periodically, work complete rows with one high-impact yarn or color (lime was my 'pop') to further keep the colors fluid and the eye moving. Be bold. 2014? Jane Thornley. Though free for your personal use, this pattern is not to be copied or reproduced without permission from the author for teaching purposes, sale, or any other kind of distribution. When the preferred width is achieved, bind off. Keep your eye on the width and length as the piece widens and expands. It may be challenging to assess length when the piece is on the needles, but should you bind off and find it too short, you can always pick up on either top or bottom (or both) and knit further until the desired measurements are reached. I love doing this with smaller needles to create an almost intricate, jewel-like effect with the contrasting textures.
FINISHING
First weave in any loose scraggly ends if you have them. They can look like seaweed on a Rogue Wave. After grooming is complete, I always live with my finished piece awhile before deciding the finale. Perhaps a little beading is in order or even long, yarny fringes. If you decide on a neater effect, go for the picot edging. Bottom edge: Using a variegated yarn, pick up stitch-for-stitch along the bottom (curved) edge and work garter for 4 rows. On the next row, work a picot edging like so: o bind off the first 2 stitches k, p, k, p, k into the next stitch as if making a bobble O pass each stitch over the next sequentially until only one stitch remains bind off the next 2 stitches and repeat along the row. Bind off. Top Edge: · Pick up stitch for stitch along the long, straight, upper edge using 2014@ Jane Thornley. Though free for your personal use, this pattern is not to be copied or reproduced without permission from the author for teaching purposes, sale, or any other kind of distribution. any coordinating yarn Work two rows garter On next right-side row, work k1, \* yo, k1. Work from \* to end. Finish with a knit stitch. On reverse, knit. Knit one more row and bind off. Blocking A light steaming will even out any wayward bumps and make your piece drape.


