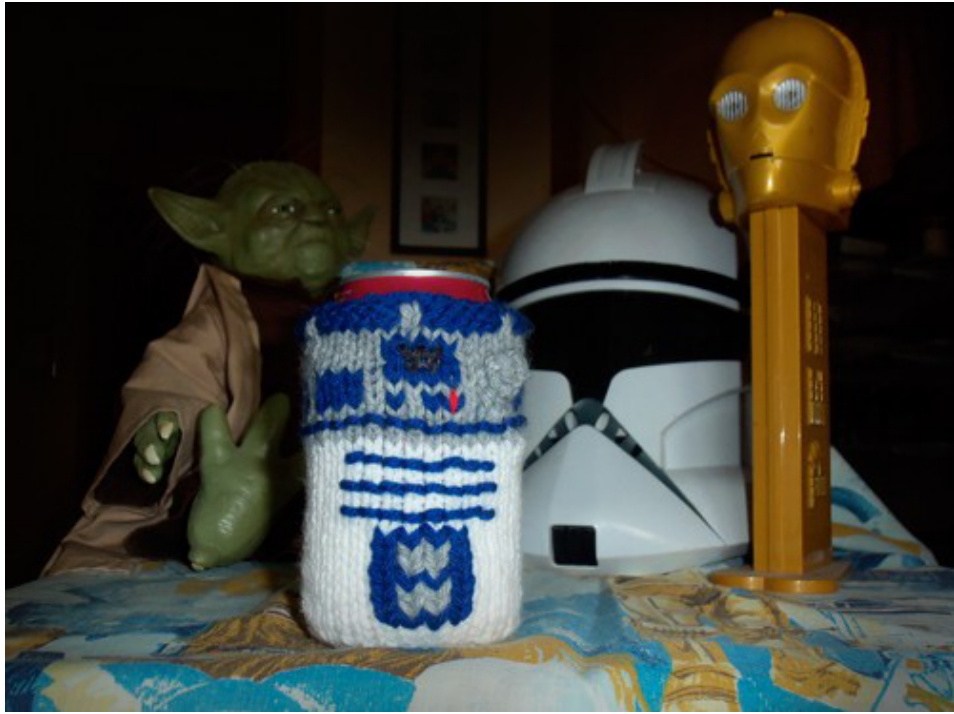
R2D2 CAN COZY
BY ROBIN BARNHILL
PATTERN NOTES:
This cozy takes about 2.5 hours. This pattern is not difficult for anyone who has already knitted in the round and has had experience with duplicate stitch/fair isle. I'm not sure it's difficult for those who do not have that experience, youtube is great for catching one up on knitting
skills not yet acquired! When increasing, you can use any increase method you like, I used the knit in the front and back of the loop, it's my preferred, but you can just simply wrap a stitch or pick up the ladder that is in between the stitches. It is important to obtain a gauge as close to the pattern gauge as possible so you can achieve the 6 sections of blue at the top. These 6 sections of blue at the top are optional, you could just knit 2-3 rows of ribbing in grey insteadandBo. You can knit the blue stripe in the second row instead of adding it in backstitch later, I just have a hard time getting the jogless stripes when there is only one row of a stripe. I don't know the general way everyone binds off, when I get to a knit stitch, I knit it and then pull the previous stitch over it, and when I get to a purl stitch, I purl the stitch and pull the previous stitch over it. The BO for this cozy is not necessarily knitwise or purlwise because of the corrugated ribbing row.
MATERIALS:
US 6/4.0 mm, DPN or appropriate length cable needle for magic loop, instructions are given per DPN, OR for the magic loop method. This can also be knitted flat, and seamed up the side, I just think a seamless cozy is nicer :) Small amounts of Grey, White, and Blue in worsted weight for the body, I used Red Heart Super Saver (White), Lion Brand Wool Ease (Grey), and Loops & Threads Impeccable Solids (Blue) Red and Black are also needed for embellishing. Tapestry needle, stitch marker, size G/4.0 mm crochet hook \*Note I didn't use black yarn, I took a permanent marker and colored in the black area on the chart, I basically didn't want to fair isle the black when I was knitting the cozy and then I didn't want to add it by duplicate stitch. You can definitely chose to knit that area in black instead. :)
GAUGE:
9 sts + 13 rows = 2" in stockinette stitch
SKILLS NEEDED:
Knitting in the round, duplicate stitch, backstitch, corrugated ribbing, increasing, fair isle
DPN INSTRUCTIONS:
CO 12, divide evenly on 3 needles, join in round, place marker to indicate first stitch or needle, however you want to keep track of your rows - Your cozy will have a small hole in the bottom row 1: K row 2: \*K1, K1fb, K1fb, K1\* Repeat this per needle (18 stitches) row 3: K row 4: \*K1, K1fb, K to last 2 stitches, K1fb, K1 \* repeat this per needle (24 stitches) row 5: K row 6: repeat row 4 (30 stitches) row 7: K row 8: repeat row 4 (36 stitches)
MAGIC LOOP INSTRUCTIONS:
CO 12, join in the round, placing a marker to indicate first stitch, however you want to keep track of your rows - Your cozy will have a small hole in the bottom row 1: K row 2: K1, K1fb, K1fb, K1, repeat this two times more (18 stitches) row3:K row 4: K1, K1fb, K2, K1fb, K1, repeat this two times more (24 stitches) row5:K row 6: K1, K1fb, K4, K1fb, K1, repeat this two times more (30 stitches) row7: K row 8: K1, K1fb, K6, K1fb, K1, repeat this two times more (36 stitches) row 9 will be row 1 in the chart, continue knitting in stockinette stitch and in white for the next 16 rows (16 counting row 9) row 25: (17 in chart) Switch to grey, knit 10 rows in stockinette stitch, you can fair isle the grey section of the chart if you like, I did this on mine \*Note! You can knit the blue stripe in the second row now instead of adding it in backstitch later, I just have a hard time getting the jogless stripes when there is only one row of a stripe. begin corrugated ribbing as follows (after chart/last 10 rows of grey complete) row 34: \*K1 grey, K5 blue\* repeat 5 times more in row row 35: \*K1 grey, P5 blue\* repeat 5 times more in row BOloosely inblue Weave in all ends Now that you have completed the basic of the cozy, it's the fun part - the embellishing! I started with a backstitch during row 2 of the grey.
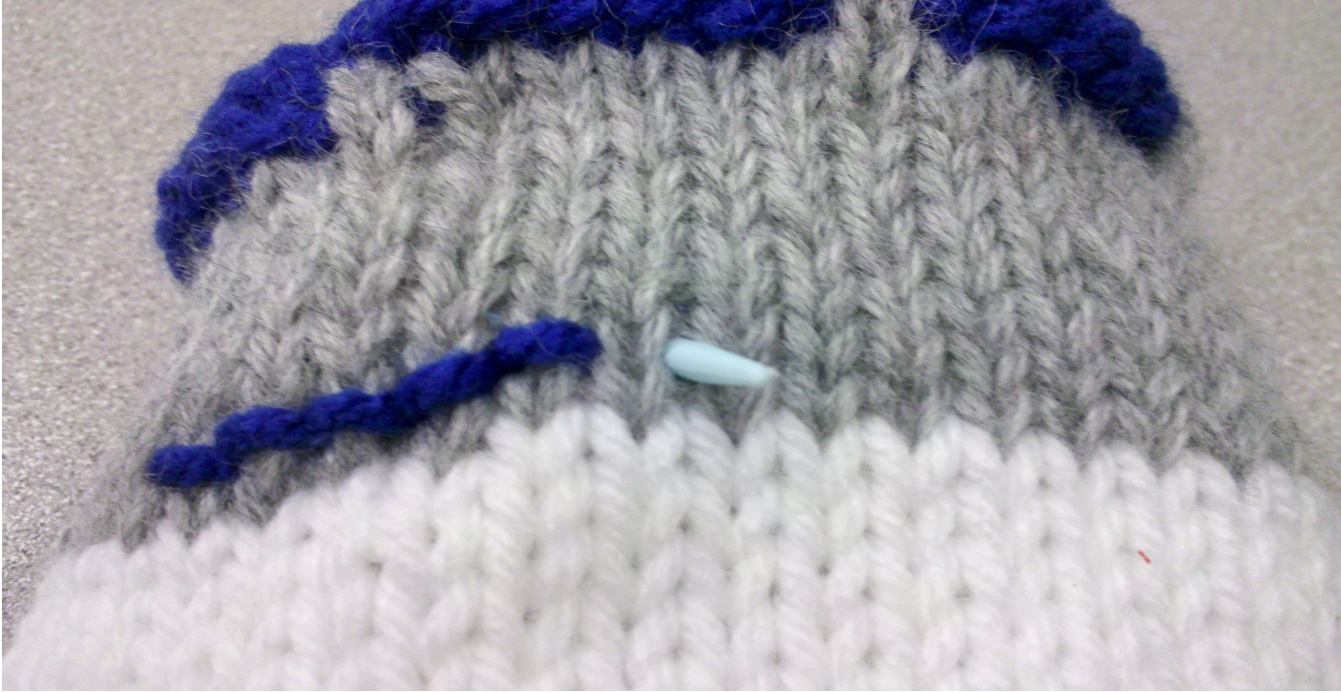
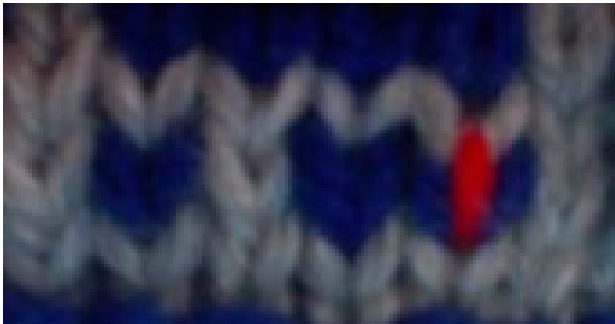
I would stitch between the two ladders of the stitch. Sorry the picture is blurry but the ladders that I'm referring too are those horizontal lines that form when knitting in stockinette stitch.
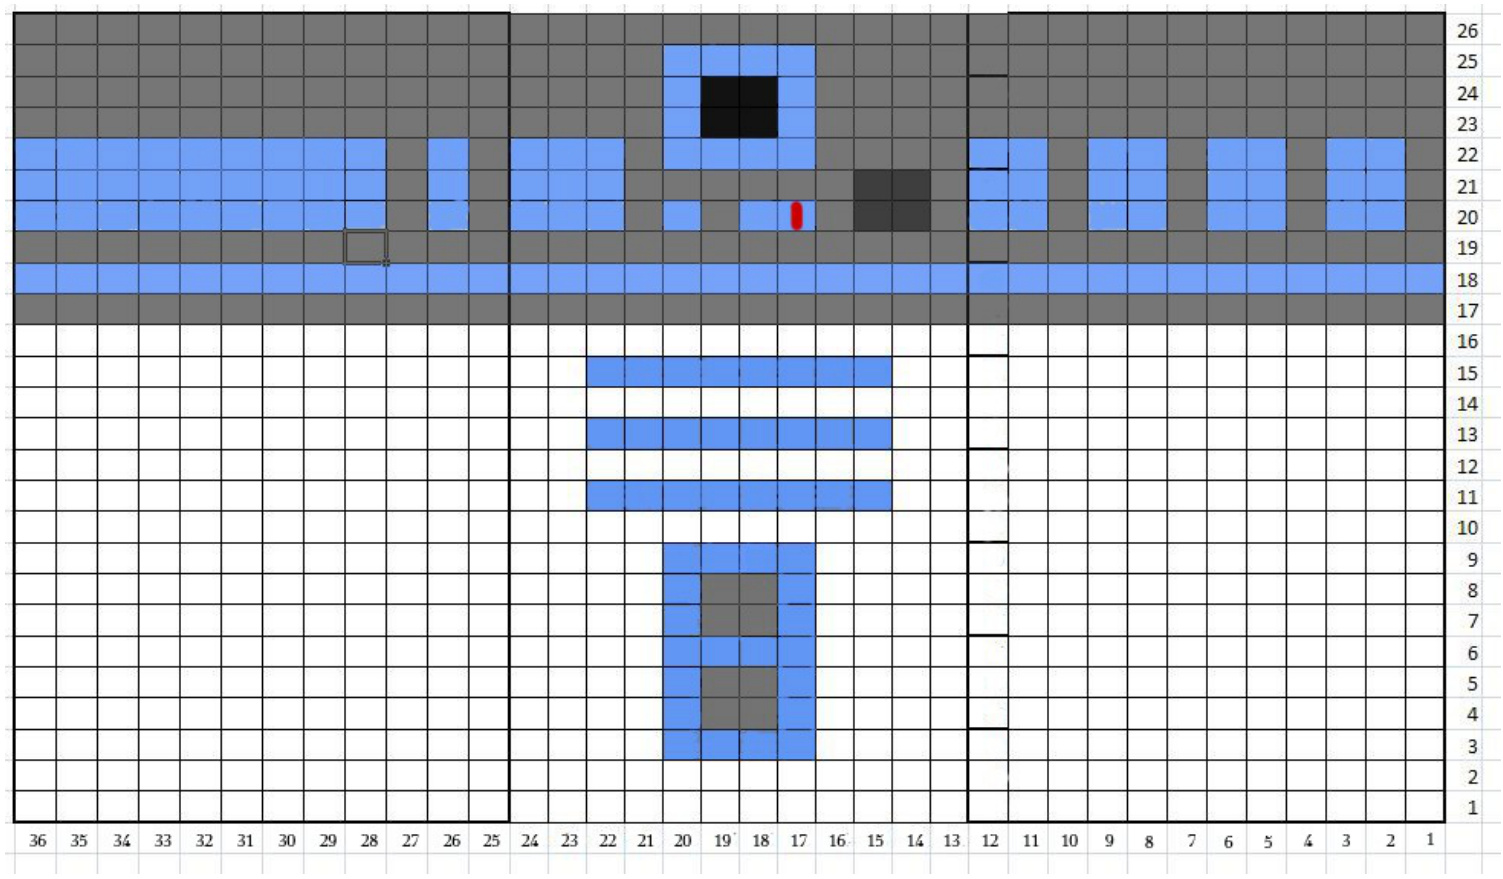
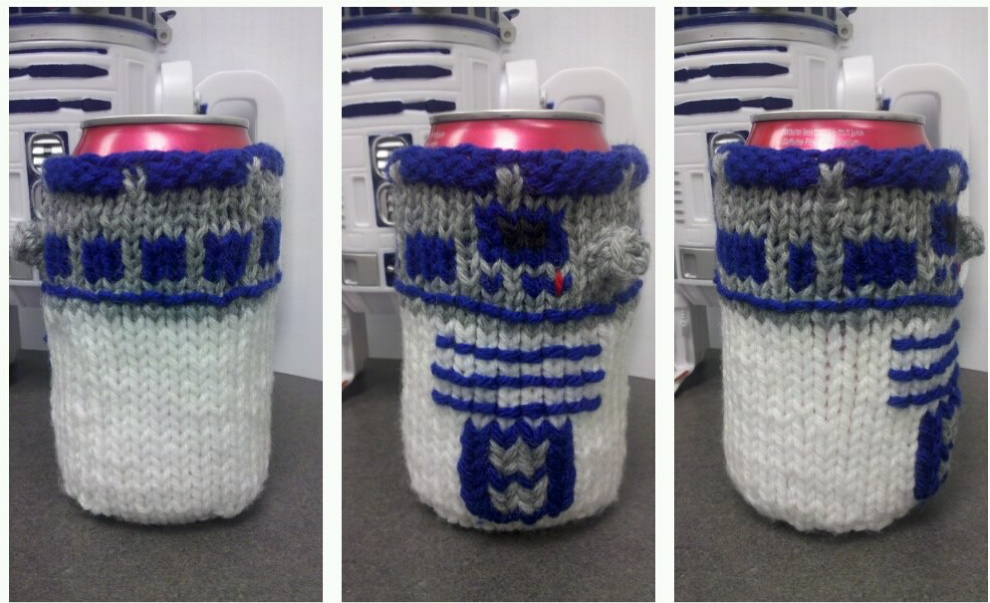
After some trial and errors I did do the top section of the chart in fair isle, then I backstitched the three blue horizontal lines on R2D2's “chest" and I duplicate stitched the rectangle below. Then I took about 3 inches of red yarn and made the tiny red dot for the top.
I will try my best to explain how I made the grey circle that sticks out. I also think just stitching a circle in black would be effective, or adding a black or grey button, that'd be cute!

First pick up a loop near the dark grey section of the chart. Then, loop your yarn on your hook and pull through the stitch that was picked up.
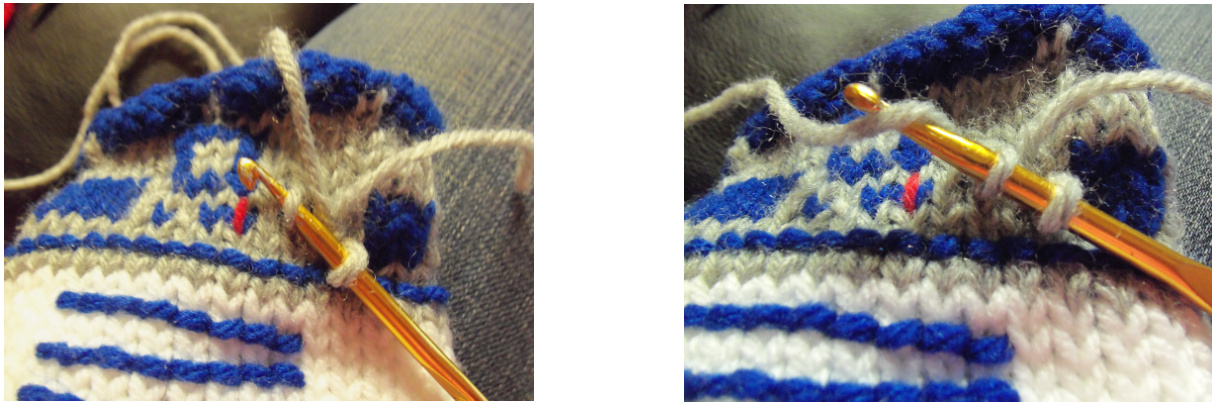
Then, pick up another stitch, a little diagonal from your first one, remember you're attempting a circle. Wrap your yarn around the hook and pull through first loop. Then wrap yarn around hook again and pull through both loops. Repeat these steps another 3 times, making sure to pick up stitches in a circle pattern. You will have 5 stitches. Then single crochet around once, cut thread and pull through remaining stitch that was on the hook. Then you will insert the hook through the cylinder you just created to pull your yarn leftovers through to the inside of the cozy.

This last part is admittedly tricky as the hook is going to want to grab the yarn that has been stranded in the back if you did fair isle, but it isn't impossible! Now you're finished! Hooray! Pop open a pop/soda or beer and enjoy your new R2D2 can cozy! Please pm me if you find any errors or have any questions! And I know I can't stop anyone from using this pattern and making sales from their finished projects but I encourage those who do, to make some for friends for free or donate some profits to any awesome charity out there. I provide this pattern for free so I hope you provide the finished objects for free! :D