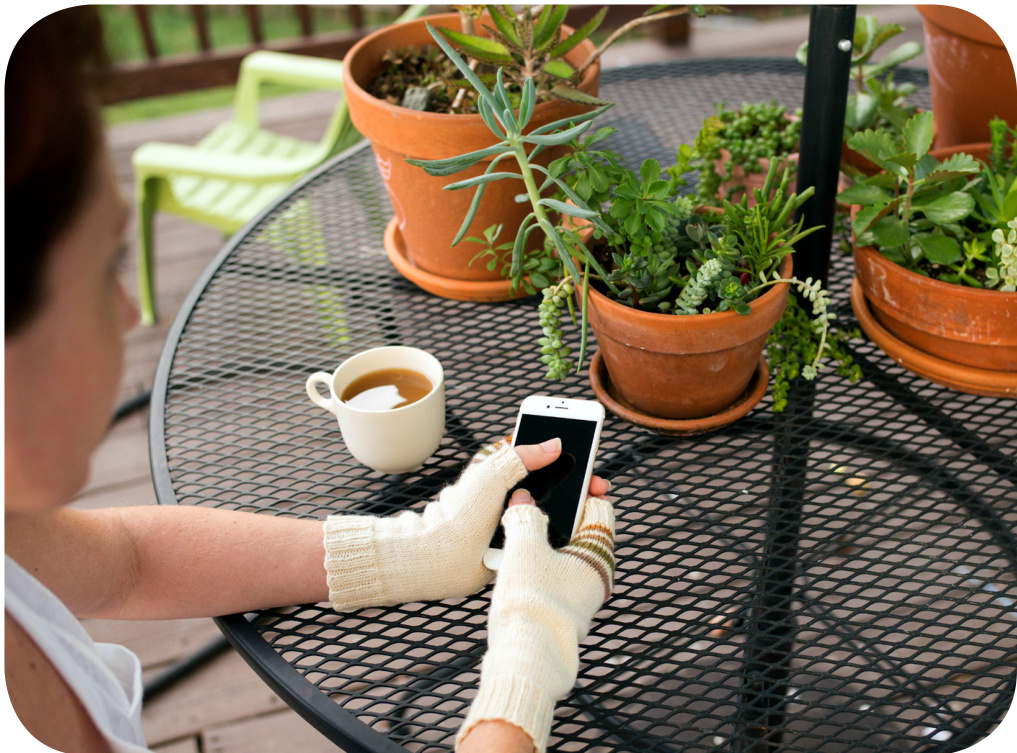
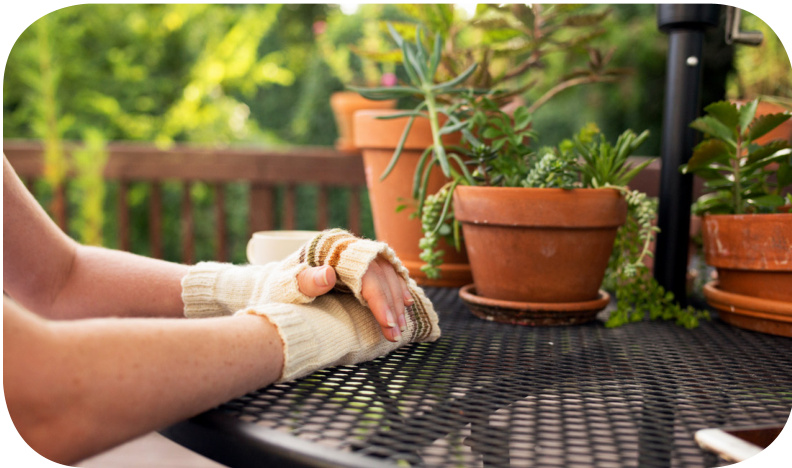
Y Herbarium Mitts
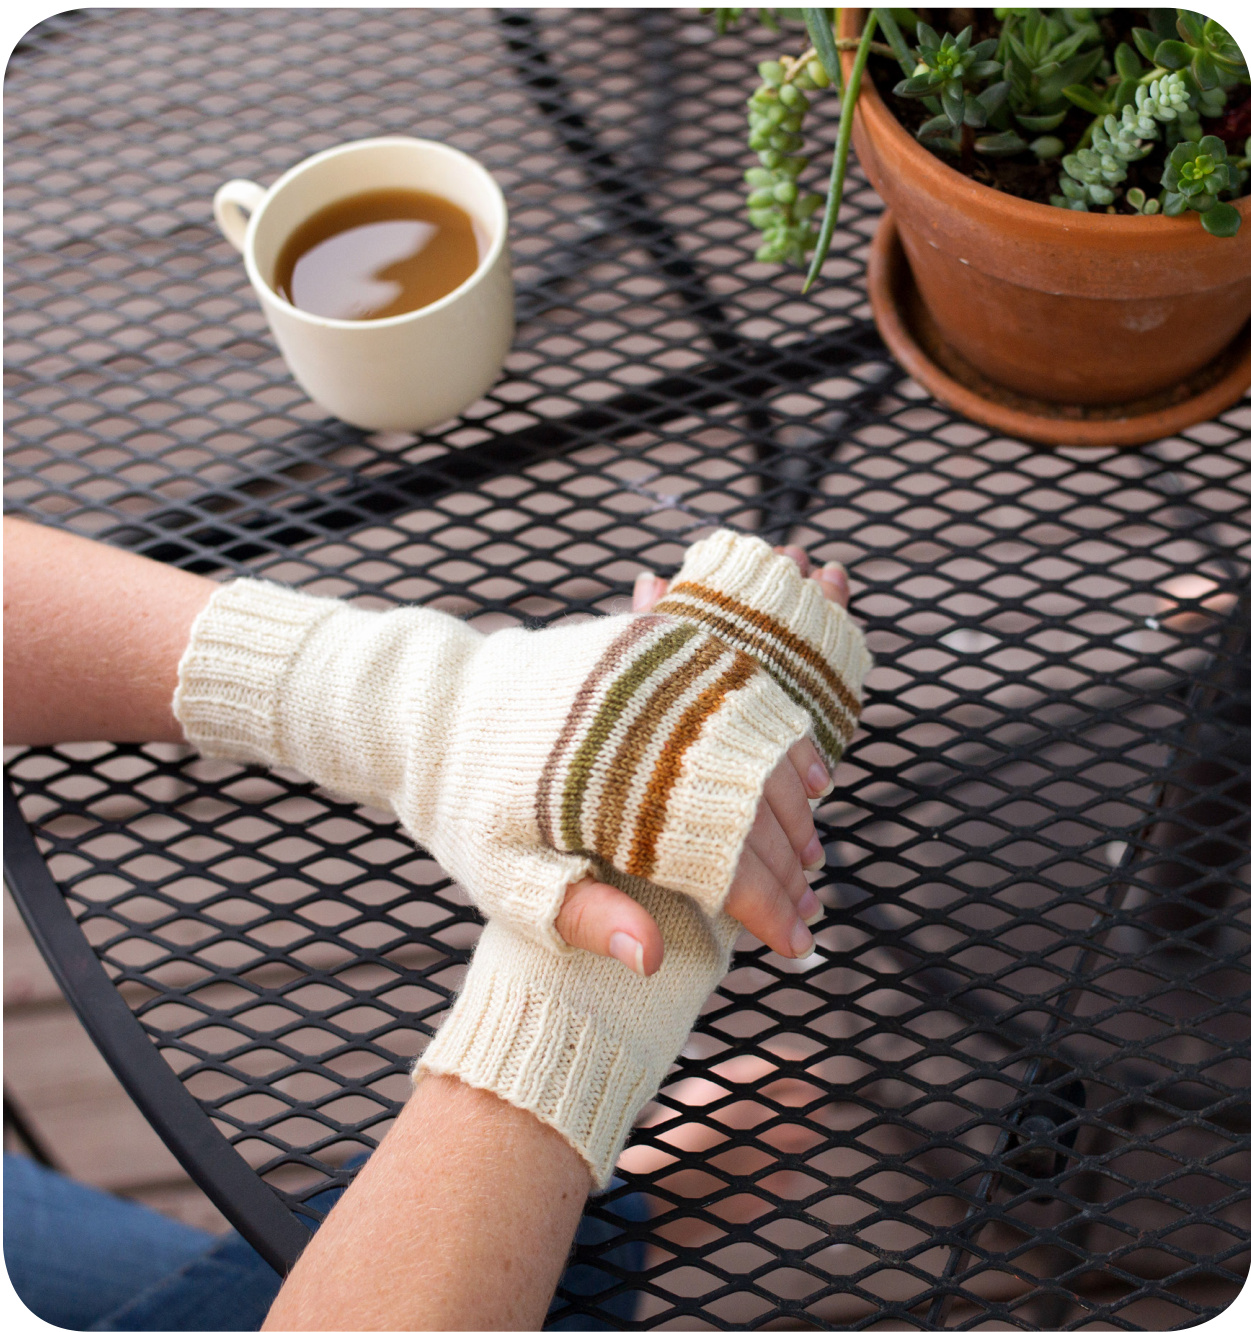
A pattern designed by Michelle Wright Olith the chillof autumn in the air, I wanted to create something to keep my hands toasty but my fingers free to knit and text as needed. These fingerless mitts use basic design and small bits of color from scrap yarn to create simple yet classic mitts, perfect for any fall outing! OeSi: Fis an verag sizewen had 155 yards of Spud & Chloe Fine Sock or any other fingering weight yarn. The sample was knit in color 7800 -Popcorn. 4 mini skeins or leftovers of Madelinetosh Sock (at least 5 yards each) or any other fingering weight yarn. The sample shown uses Rosewood, Grove, Hickory, and Ginger which have been discontinued. NMeedles: 2.5 mm / US size 1.5 DPNs, or size needed to obtain gauge
Other Netions:
Stitch Markers, Tapestry Needle, and a Piece of Yarn for a Stitch Holder

8 stitches per inch on 2.5 mm/US size 1.5 in Stockinette Stitch, worked in the round

Knit Front Back Front: https://youtu.be/IHxXhITZD-M Jogless Stripes Technique: https://youtu.be/ PjA0IROMOU Jeny's Surprisingly Stretchy Bind-Off: https://youtu.be/ abBhe-JYmgI
Gibbreviations:
CO - cast on PM - place marker K - knit P-purl K2TOG - knit two together M1R- make one right M1L -make one left KFBF - knit front back front MC - main color CC - contrast color JSSBO - Jeny's Surprisingly Stretchy Bind-Off
In MC, cO 56 stitches using your favorite stretchy cast on and join in the round, careful not to twist your stitches. PM, K2, P2 for 15 rounds (approx 1.5 inches). Next round, knit until 1 stitch before the end of the round, K2tog. (55 stitches) t 15 rounds in stockinette stitch until piece measures 3 inches from cast-on ed Set up your needles as follows to begin the thumb gusset: Needle 1: 25 stitches Needle 2: 10 stitches Needle 3: 20 stitches

Part One - Needle 1: Knit Needle 2: K4, PM, M1R, K2, M1L (2 stitch increased) Needle 3: Knit
Part Two -
Knit 3 rounds in stockinette stitch, slipping the markers as you come to them Continue Parts One and Two of the gusset increase sequence until 18 stitches are between the markers on needle 2, ending on an increase row. (8 increases) Knit 1 round, then repeat Part One of the gusset increase sequence once more for a total of 20 stitches between the markers (9 increases total), knit to end of round. Knit 1 round. Next round, knit to 1 stitch before the first marker on Needle 2 and KFBF, remove marker. Using a tapestry needle and a piece of scrap yarn, place the next 20 stitches onto a holder. Remove the second gusset marker and KFBF into the next stitch, knit to the end of the round. (57 stitches) Knit 1 more round in MC. You can rearrange your stitches on your needles at this point if you'd like.
\* Cidding Stripes:
Note - You will be using the jogless stripe technique for this portion of the mitt. Make sure that you carry your MC up the inside of your mitt as you Work the CC stripes. Join Color A and knit 3 rounds. Cut Color A. Knit 2 rounds of the MC. Join Color B and knit 3 rounds. Cut Color B. Knit 2 rounds of MC. Join Color C and knit 3 rounds. Cut Color C. Knit 2 rounds of MC. Join Color D and knit 3 rounds. Cut Color D. Knit 1 round. Next round, knit until 1 stitch before the end of the round, remove marker and K2tog with the first stitch of the next round. Replace marker as the beginning of the round and start ribbing. K2, P2 for 8 rounds (approx .75 inch). Bind off using JSSBO.
Thunb:
Join MC and knit the stitches from your holder, setting up your needles as follows: Needle 1: 8 stitches Needle 2: 8 stitches Needle 3: 4 stitches Pick up and knit 4 stitches in the gap between needle 3 and needle 1. (24 stitches) Knit 5 rounds of stockinette stitch. K2, P2 for 6 rounds (approx .5 inch). BO using JSSBO) Weave in all of the ends, using any tails to seam up holes around the pick up edge at the thumb gusset. Repeat the pattern for a second mitt. These mitts are reversible, so there is no need to alter the instructions for a left or right mitt. Gently block and enjoy!
Cicknowledgments:
Thank you to Cathy, Rosemarie, Ashley, and all of the ladies at Knitting Sisters in Williamsburg that inspire me to become a better knitter. Also a special thank you to my lovely model Emily and her husband Jeff for the wonderful photos.

This pattern is intended for personal use only. All photos and design Work is copyright of Michelle Wright. Please respect the designer and do not distribute. Thank you. Questions? Please contact me via my ravelry ID: cchellezz