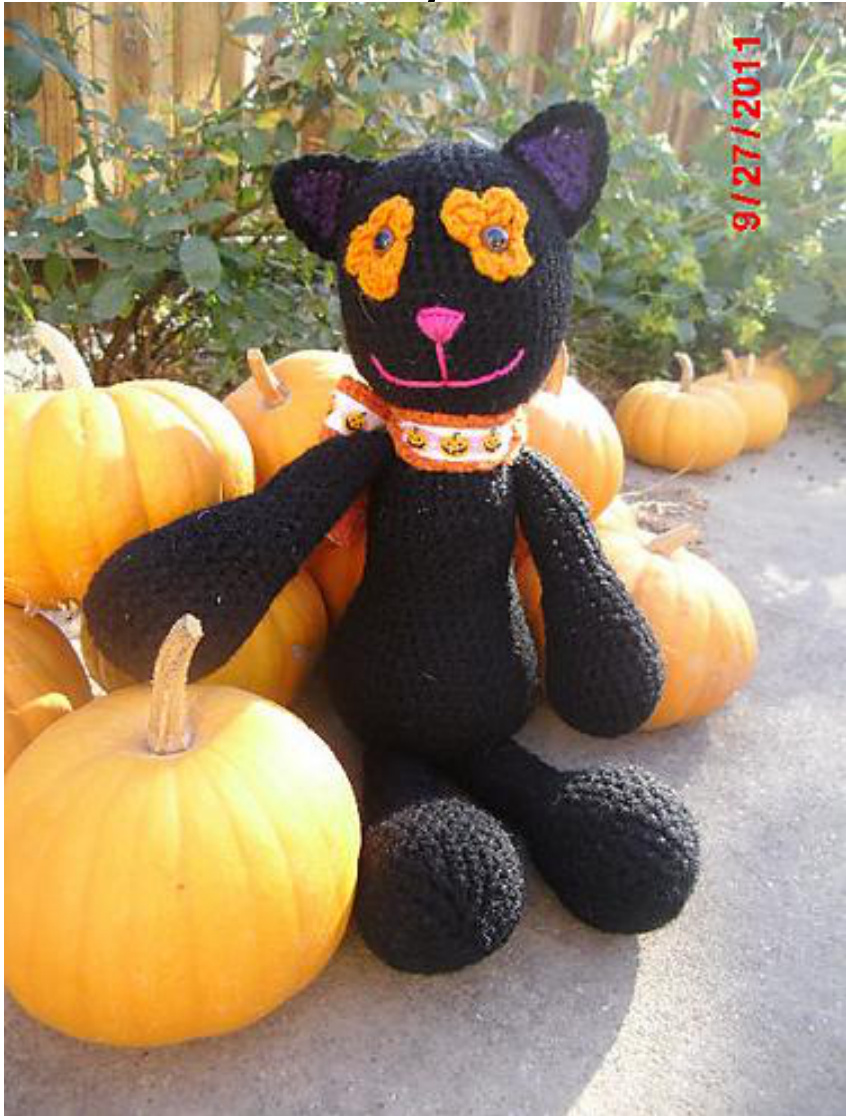
Midnight the Halloween Cat Crochet Pattern by Melissa Trenado
You will need...
1 skein of black yarn (A) 1/2 skein of orange yarn (B) small amount of purple yarn (C) small amount of green yarn (D) small amount of pink yarn (E) Safety eyes Yarn needle Stuffing Halloween ribbon (optional) Fabric glue (If you have a ribbon) size F crochet hook stitch marker(s) in (B) ch 3 join to make a ring making sure its not twisted. ch 3, dc in ring, ch 3, sc in ring / repeat 2 mores fasten off leaving enough yarn to sew onto cat.
Nose & Mouth
With (E) using your sewing needle embroider nose and mouth as desired. Head & Body In (A) ch 2 1 \~ 6 sc in the second ch from the hook (6) 2 \~ 2 sc in each st around (12) 3 \~ 2 sc in next st, sc in next / repeat (18) 4 \~ 2 sc in next st, sc in next 2 sts / repeat (24) 5 \~ 2 sc in next st, sc in next 3 sts / repeat (30) 6 \~ 2 sc in next st, sc in next 4 sts / repeat (36) 7 \~ 2 sc in next st, sc in next 5 sts / repeat (42) 8 \~ 2 sc in next st, sc in next 6 sts / repeat (48) 9-21 sc around (48) 22 \~ sc2tog, sc in next 6 sts / repeat (42) 23 \~ sc2tog, sc in next 5 sts / repeat (36) 24 \~ sc2tog, sc in next 4 sts / repeat (30) 25 \~ sc2tog, sc in next 3 sts / repeat (24) 26 \~ sc2tog, sc in next 2 sts / repeat (18) 27 \~ sc2tog, sc in next / repeat (12) with safety eyes first put through eyes piece then through the cats head then place the back piece on) stuff head (do not fasten off) 28-30 \~ sc around (12) 31 \~ 2 sc in each st around (24) 32-34 \~ sc around (24) 35 \~ 2 sc, sc in next 3 (30) 36-44 \~ sc around (30) 45 \~ 2 sc, sc in next 4 (36) 46 \~ sc around (36) 47 \~ 2 sc, sc in next 5 (42) 48 \~ sc around (42) 49 \~ 2sc, sc in next 6 (48) 50 \~ 2 sc, sc in next 7 (54) 51 \~ 2 sc, sc in next 8 (60) 52 \~ sc around 53 \~ sc2tog, sc in next 8 (54) 54 \~ sc2tog, sc in next 7 (48) 55 \~ sc2tog, sc in next 6 (42) 56 \~ sc2tog, sc in next 5 (36) 57 \~ sc2tog, sc in next 4 (30) 58 \~ sc2tog, sc in next 3 (24) 59 \~ sc2tog, sc in next 2 (18) stuff body (do not fasten off) 60 \~ sc2tog, sc in next (12) 61 \~ sc2tog around (6) 62 sl in every other st to close. fasten off. Ears make 2 ( front of ear ) in (C) ch 8 1 \~ sc in second ch from hook and in each st across (7 sc) ch1 turn (this is the bottom of the ear) 2 \~ sc2tog, sc in next 3, sc2tog (5 sc) ch1 turn 3 \~ sc2tog, sc, sc2tog (3 sc) ch1 turn 4 \~ sc across (3 sc) ch 1 turn 5 \~ sc3tog (1) fasten off. (this is the top of the ear) In (A) sc up sides of ear, 3 hdc in the point of the ear, sc down the sides, sl along the bottom. Fasten off.
make 2 (back of ear)
in (A) ch 8 1 sc in second ch from hook and in each st across (7 sc) ch1 turn (this is the bottom of the ear) 2 \~ sc2tog, sc in next 3, sc2tog (5 sc) ch1 turn 3 \~ sc2tog, Sc, sc2tog (3 sc) ch1 turn 4 \~ sc across (3 sc) ch 1 turn 5 \~ sc3tog (1) fasten off. (this is the top of the ear) In (A) sc up sides of ear, 3 hdc in the point of the ear, sc down the sides, sl along the bottom. Fasten off. Sew the front and back piece of ear together and stuff VERY lightly.
Arms
In (A) ch 2 1 \~ 6 sc in the second ch from the hook (6) 2 \~ 2 sc in each st around (12) 3 \~ 2 sc in next st, sc in next / repeat (18) 4 \~ 2 sc in next st, sc in next 2 sts / repeat (24) 5-8 \~ sc around (24) 9 \~ sc2tog, sc in next 2 / repeat (18) 10-11 \~ sc around (18) 12 \~ sc2tog, sc in next / repeat (12) 13-23 \~ sc around (12) fasten off leaving a long tail for sewing depending how you want you cat's arms to look you may want to sew across the opening before sewing onto the cat. Legs In (A) ch 2 1 \~ 6 sc in the second ch from the hook (6) 2 \~ 2 sc in each st around (12) 3 \~ 2 sc in next st, sc in next / repeat (18) 4 \~ 2 sc in next st, sc in next 2 sts / repeat (24) 5 \~ 2 sc in next st, sc in next 3 sts / repeat (30) 6-9 \~ sc around (30) 10 \~ sc2tog, sc in next 3/ repeat (24) 11 sc2tog, sc in next 2/ repeat (18) 12-13 \~ sc around (18) 14 \~ sc2tog, sc in next / repeat (12) 12-25 \~ sc around (12) fasten off leaving a long tail for sewing If you would like you cat to be sitting you might want to sew across the opening before sewing onto the cat.
Tail
in (C) ch 2 1 \~ 6 sc in second ch from hook (6) 2 \~ 2 sc in each st around (12) 3-9 \~ sc around switch to (A) 10-29 sc around fasten off leaving a long tail to sew. If you want a crooked tail sew through the tail fold tail where desired and sew in place.
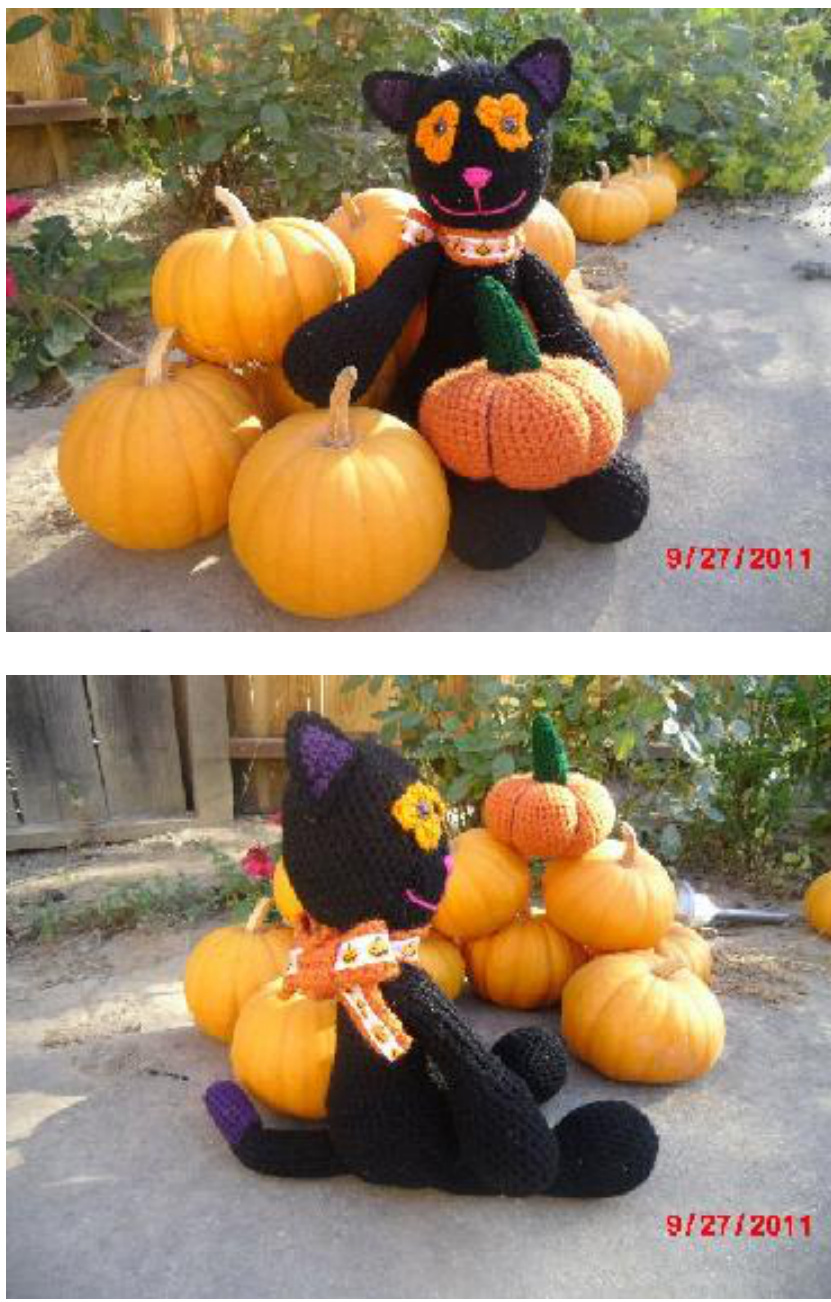
Pumpkin
In (A) ch 2 1 \~ 6 sc in the second ch from the hook (6) 2 \~ 2 sc in each st around (12) 3 \~ 2 sc in next st, sc in next / repeat (18) 4 \~ 2 sc in next st, sc in next 2 sts / repeat (24) 5 \~ 2 sc in next st, sc in next 3 sts / repeat (30) 6 \~ 2 sc in next st, sc in next 4 sts / repeat (36) 7 \~ 2 sc in next st, sc in next 5 sts / repeat (42) 8 \~ 2 sc in next st, sc in next 6 sts / repeat (48) 9 \~ 2 sc in ext st, sc in next 7 sts / repeat (54) 10-17 \~ sc around 18 \~ sc2tog, sc in next 7 (48) 19 \~ sc2tog, sc in next 6 (42) 20 \~ sc2tog, sc in next 5 (36) 21 \~ sc2tog, sc in next 4 (30) 22 \~ sc2tog, sc in next 3 (24) 23 \~ sc2tog, sc in next 2 (18) stuff pumpkin 24 \~ sc2tog, sc in next (12) 25 \~ sc2tog around (6) 26 \~ sl in every other st to close. fasten off. With a lot of (C) on your needle.. sew through the middle of the pumpkin and then around the pumpkin to give the pumpkin ribs. be sure to do this VERY tightly to be more defined. I repeated this 5 times but you can do however many you wish.
Stem
in (D) Leaving a long tail for sewing onto your pumpkin... ch 15 then join to make a circle being careful not to twist. 1-2 \~ sc around (15) 3 \~ 7 sc, sc2tog, 6 sc (14) 4 \~ 6 sc, sc2tog, 6 sc (13) 5 \~ 5 sc, sc2tog, 6 sc (12) 6 \~ sc around (12) 7 \~ 5 sc, sc2tog, 5 sc (11) 8 \~ 4 sc, sc2tog, 5 sc (10) 9 \~ 4 sc, sc2tog, 4 sc (9) 10 \~ 2 sc, sc2tog, 2sc, sc2tog, Sc (7) 11 \~ sc2tog to close. fasten off.
Bow
If you have a ribbon you will want to make the crochet slightly thicker then the ribbon. First measure the ribbon for how long you want it nine (in B) I chained 6 then sc 5 in every row until the desired length. Using fabric glue, glue the ribbon onto the crochet. Be sure to let it dry before tying thebow.
I hope you enjoyed this crochet pattern! If I have made any errors or if you have any questions feel free to contact me at any time! LionQueenMelissa@gmail.com Ravelry LionQueenMelissa


