aizari αarmers
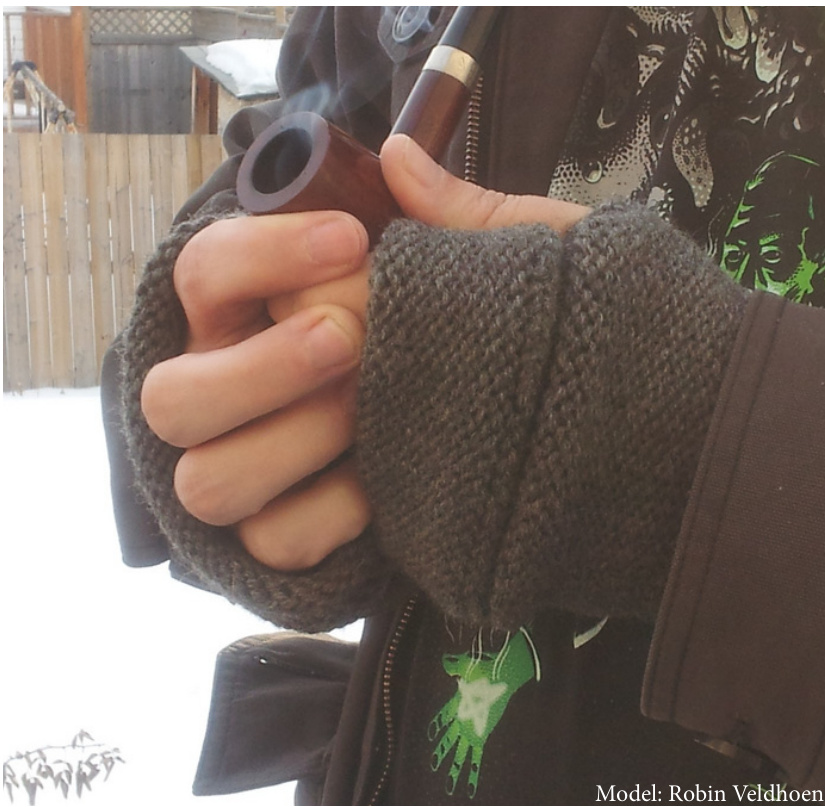
One of the things the husbeast and I noticed while watching “The Hobbit: An Unexpected Journey" was Gandalf's fingerless mittens. They appeared and disappeared and seemed to change every so often... they were truly magic mitts! The husbeast started to remind me that he would really love a pair of fingerless gloves for when he's out smoking his own pipe, and after seeing the movie for a second time and looking at a bunch of pictures, I came up with these! This is more a recipe than an actual pattern. The fact is, these are much more than just fingerless mitts. They can be left long in case you need to keep your fingers warm while holding a staff(or steering wheel), rolled back to give your fingers more dexterity, and can be pulled up the arms into armwarmers if you're suddenly caught in a freak cold spell.
#1: Know your gauge
I made these from a ball of Cascade 220 knit at 22st / 4 inches on size 5 Chiaogoo needles. Once you know the recipe, you can make these out of any gauge yarn, as long as you know your stitch gauge.
#2: Do your math.
Measure your forearm-to-wrist, the circumference of your hand at the knuckles (4 fingers, excluding the thumb), and the length from the thumb socket to approximately the last knuckle of your middle finger. I used 1 inch for the thumb opening, but you could safely go a bit bigger, depending on how deep your thumb is. Add the finger length and the depth of your thumb and subtract that from your forearm length. This gives you the length of your cuff plus hand length. Here are the measurements I used for my Husbeastsized mitts: Circumference at knuckles: 8.25 inches Forearm length: 10 inches (A)Cuff-to-base of thumb: 5 inches (B)Thumb opening: 1 inch (C)Fingers: 4 inches
#3: Cast on.
Cast on enough stitches to get around the circumference of the knuckles plus a tiny bit extra. I cast on 48 sts.
4: Create a cuff
We don't see Gandalf's cuff, so I just did 10 rounds of K2, P2 ribbing. You could also create a garter cuff for an inch or two (knit one round, purl one round). Once you have a suitable cuff, just knit plain around in stockinette until you have completed (A) inches.
5: Create thumb opening
Slip the first stitch, knit one round. Turn. Slip the first stitch, purl back to the beginning of the round. Turn. Repeat this pattern until (B) inch(es) are complete. (for me, this was 4 repeats total).
6: Turn your work inside out.
I've just saved you a ton of purling. Yay!
7: Join and knit the fingers.
Just that. Join in the round and start knitting in stockinette. until you are about 1/4 inch away from completing (C) inches. You can create another K2P2 or garter edge. I did a garter edge, purling one row, knitting one row, and binding off purlwise. Weave in your ends, taking particular care to hide the end at the tips of your fingers. Fold over the finger \*cuff" so that there is no stockinette showing.
Voila! Mitts! Unfold the finger cuff for added finger warmth while shovelling the drive. Pull up your arms if some idiot decided you needed to march over the Misty Mountains in the middle of the night. Here are the directions that I would use for the same hand, with sock yarn. Remember, if you know the gauge, you can make these mitts from any yarn! Gauge: 8 sts/inch on size 2.5 needles Cast on 64 to 72 sts. Create 1 to 2 inch cuff then knit in stockinette until 5 inches. Knit/purl back & forth for about an inch, then turn inside out. Join in the round again. Continue to knit stockinette for 3.75 inches. Knit 1/4 inch “cuff". Fold over! This pattern is for your personal, non-commercial use only. You are not allowed to make or mass produce this pattern or garments from this pattern for sale anywhere.?2013 MaireMartinAll rightsreserved.http://inkyblack.net http://stringchronicity.net


