Picot and Pointelle Boot Cuffs By L.Daniels
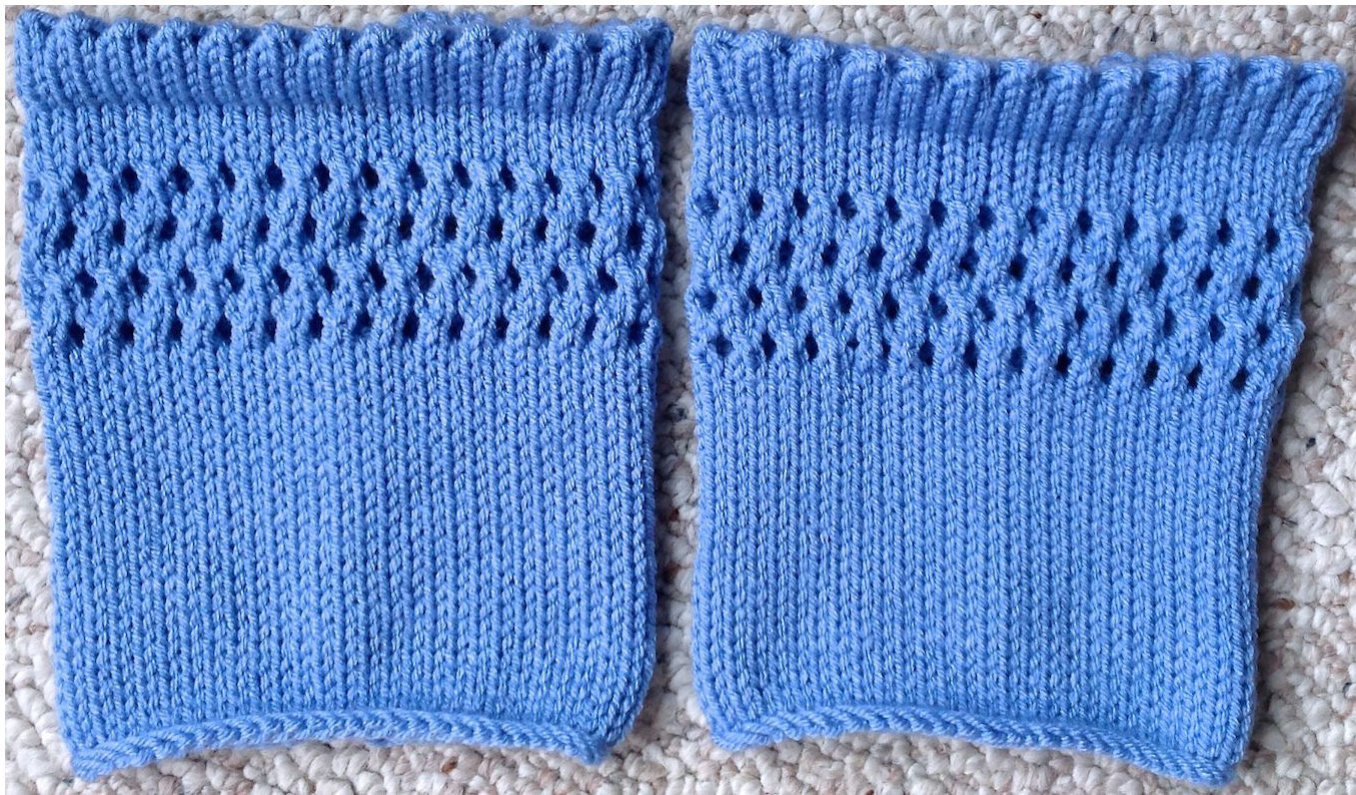
Details about the example shown: Made on the LK-150 / Mid-Gauge knitting machine Hobby Lobby I Love this Yarn (Worsted) - Medium Blue Mast Tension 9 - Carriage Tension 8
Stitches Used:
LACE RoW Left: (Refer back here when pattern calls for lace row left) Starting with the 2nd needle on the left of the bed, transfer every other needle over to the left by one stitch. (You will have a doubled up stitch followed by an empty needle and so forth across the bed).
LACE RoW Right (Refer back here when pattern calls for lace row right
Starting with the 2nd needle on the right of the bed, transfer every other needle over to the right by one stitch. (You will have a doubled up stitch followed by an empty needle and so forth across the bed).
Picot Hem
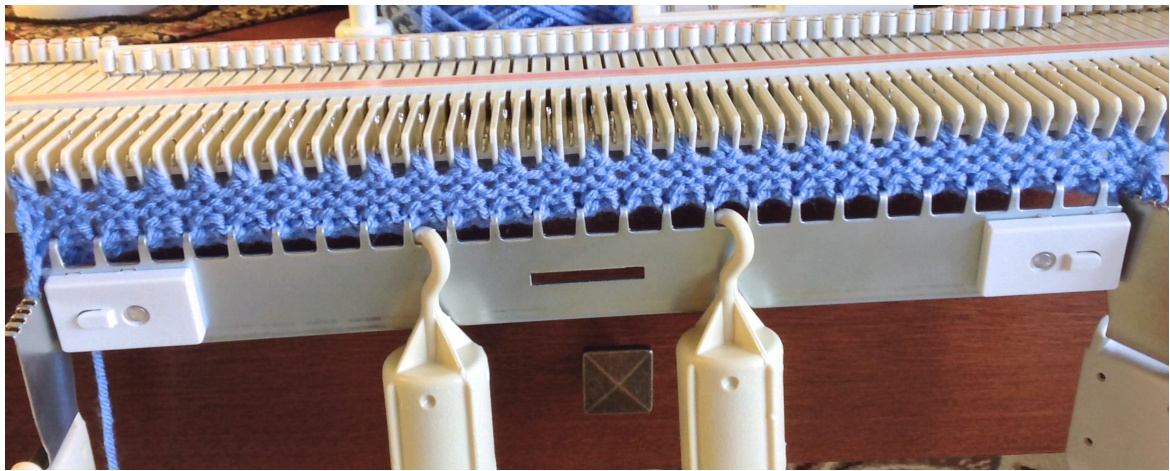
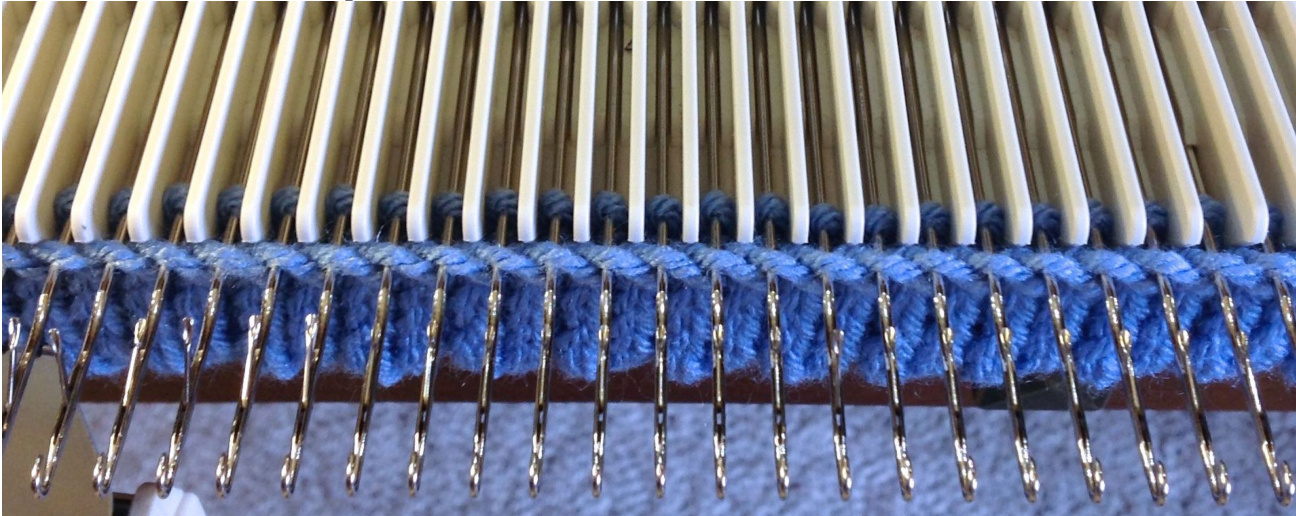
E-wrap cast on 27 L to 26 R (this makes plus size. If you want smaller, cast on less stitches, but make sure you have an odd number of needles (example: 25L to 24R) You could also make this on a standard gauge or bulky machine by adjusting the number of stitches that will allow you to obtain the size you need. Knit 1 row and hang weights under end stitches. Knit 5 more rows, hanging weights evenly. (Or use your cast on comb as shown above) Your counter should say row 6 Complete a LACE ROW Left Knit 6 more rows in stockinette Now remove your weights and hang the hem like the below picture. Change carriage tension to highest setting and knit 1 row. Change carriage tension back to 8 Your Picot hem is complete. Body: Knit 5 rows in stockinette. Complete a LACE ROW Left Knit 3 rows Complete a LACE ROW Right Knit 3 rows Complete a LACEROW Left Knit 3 rows Complete a LACE ROW Right Now Knit in plain stockinette stitch for the rest of the rows until you get to row 40.
Loosely cast off (I used the tapestry needle bind off as it closely matches an e-wrap and is stretchy). stitch the selvedge edges to make a tube and weave in yarn ends to finish
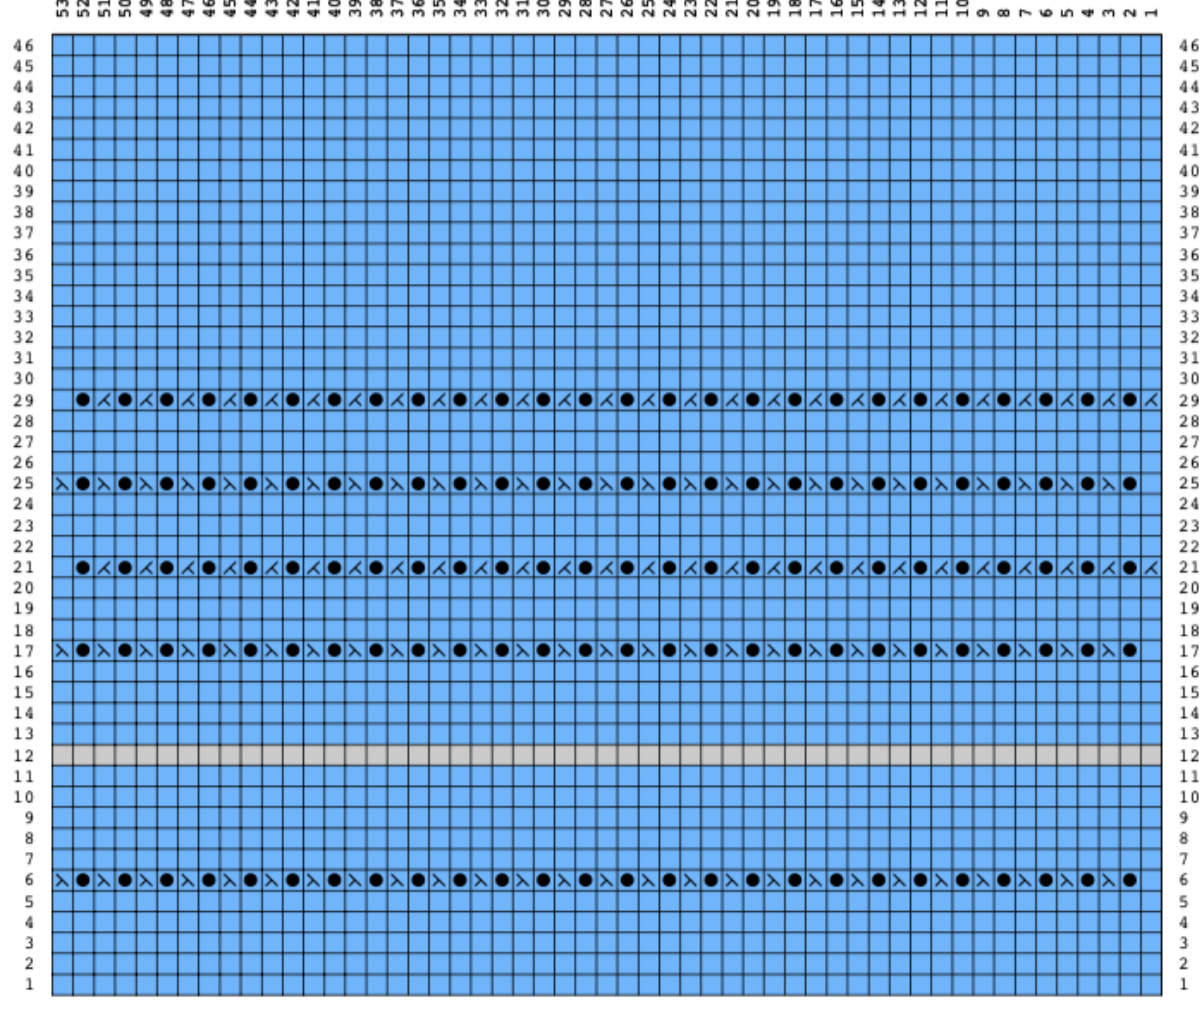
Chart:
Below is a chart of this pattern. The gray row is where you hang the hem for your picot hem. · The left leaning stitches are your "Lace Row Left" The right leaning stitches are your “Lace Row Right'
3 525 5049 8 7 46 5 43 2 440 9 8 7 6 5 4 3 232 3 30 29 28 2 26 25 24 2 2 54321


