Free Cecily Hat
by Emma Welford www.emmawelford.com
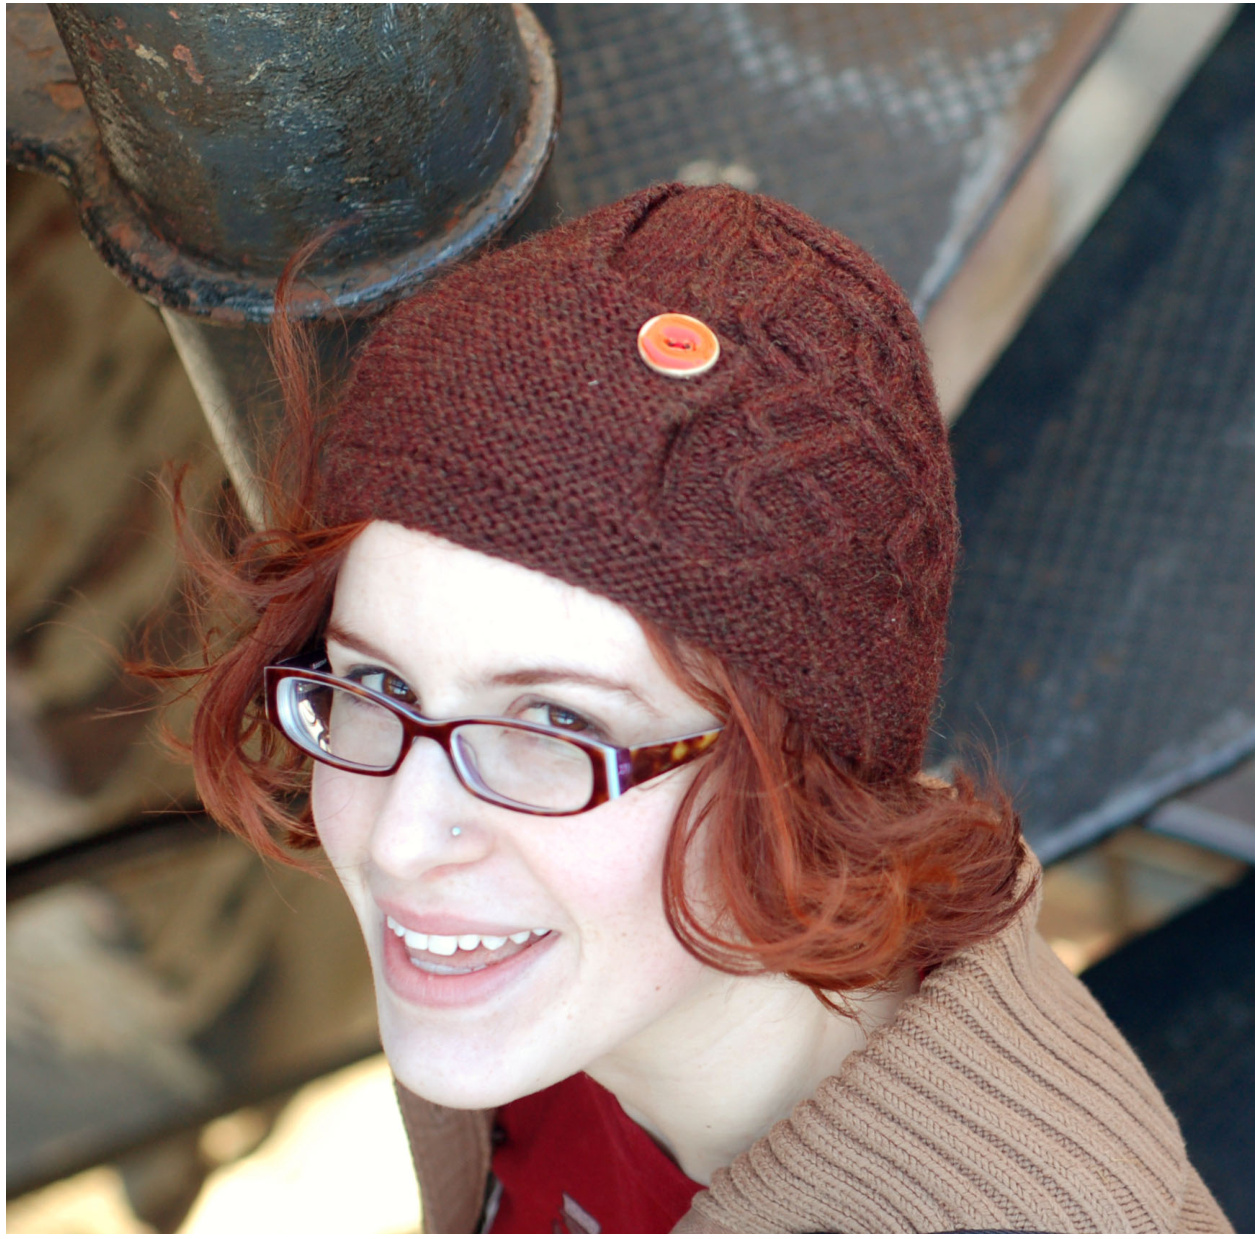
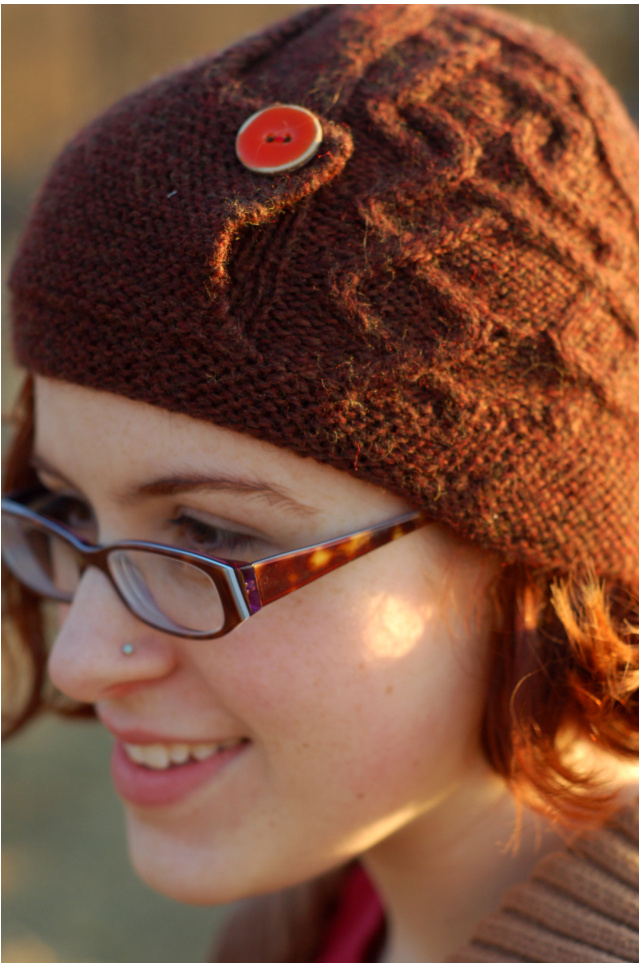
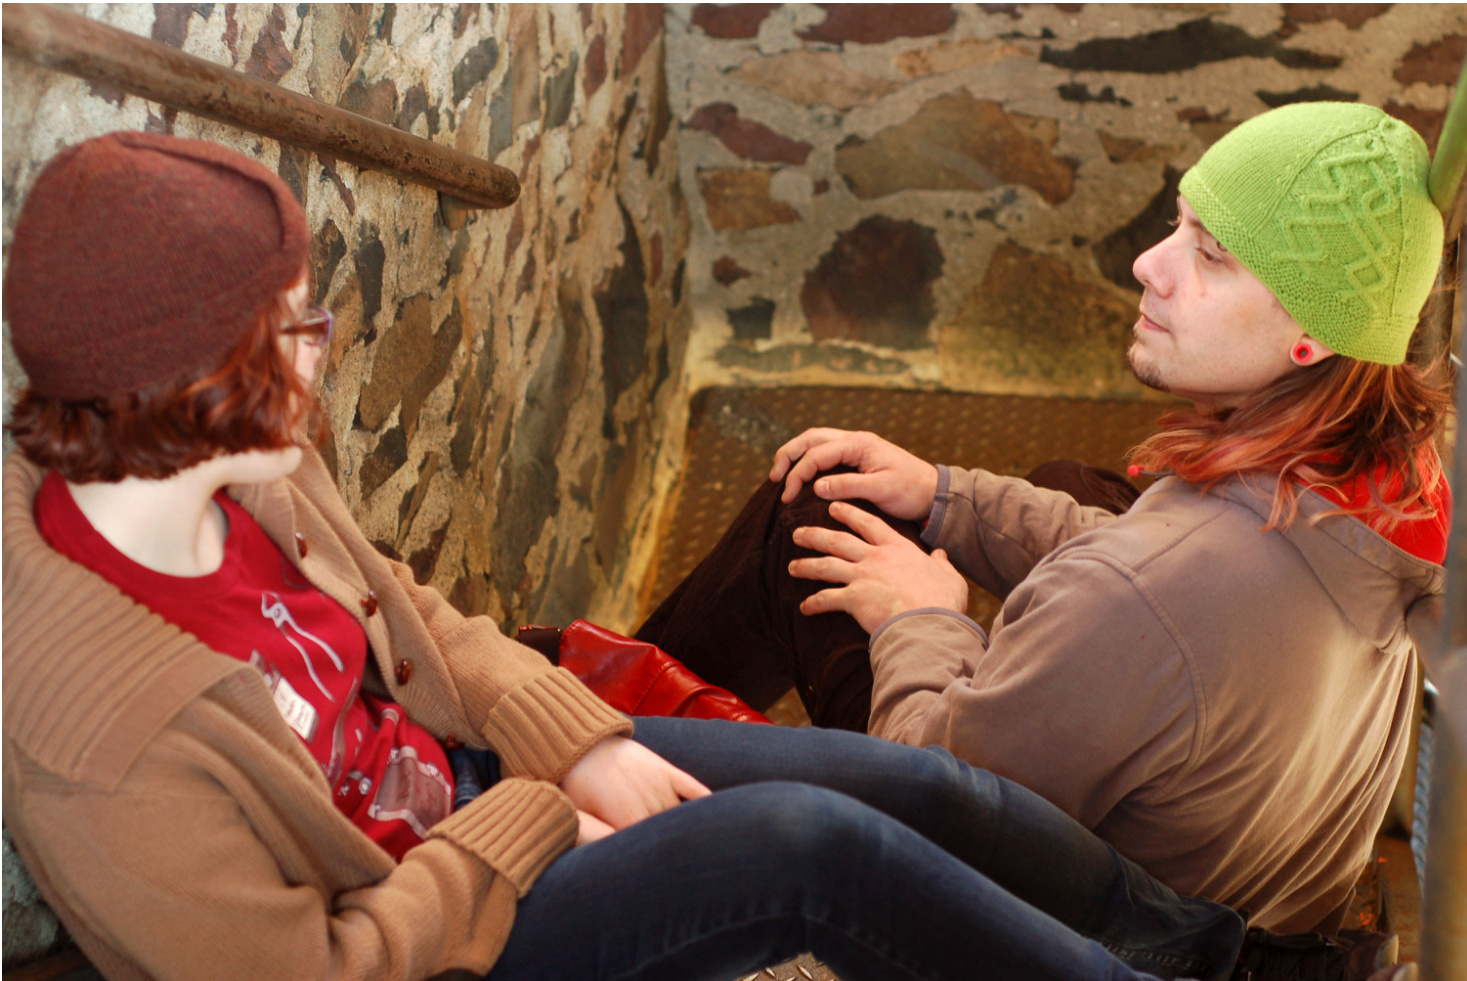
Designed to be unisex, the Free Cecily Hat features a short row brim to help cover up chilled ears and a slowly curving cable panel. An asymmetrical garter stitch flap is optional for a touch of whimsy or to showcase a favorite button. Photographs by Elisabeth F. Parker. Sizes Womens [Mens] Finished Measuements Circumference: 21[24] inches Length: 6.5[7.5] inches at front
Materials
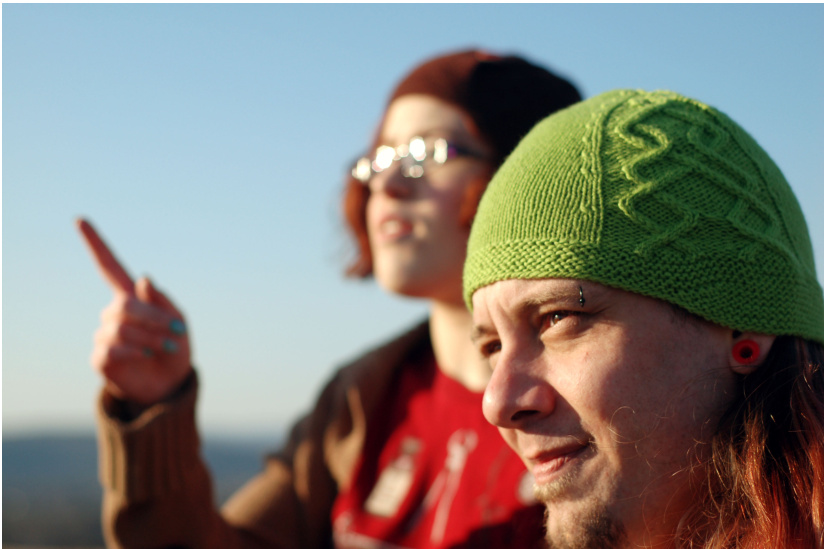
Women's Without Flap[With Flap] Cascade 220 Sport [100% Peruvian Highland Wool; 164 yd per 50g skein]; color: #9408 Cordovan; 1[1] skein Men's Without Flap[With Flap] Cascade 220 Sport [100% Peruvian Highland Wool; 164 yd per 50g skein]; color: #8903 Primavera; 1[2] skeins (Note: The men's size with flap only uses a small portion of the 2nd skein.) 1 set(s) US #5/3.75mm double-point needles 1 16" US #5/3.75mm circular needle Cable Needle Stitch Markers Yarn Needle 1 three-quarter inch button (if adding flap) Gauge 24 sts/36 rows = 4 inches in stockinette stitch
Pattern Notes
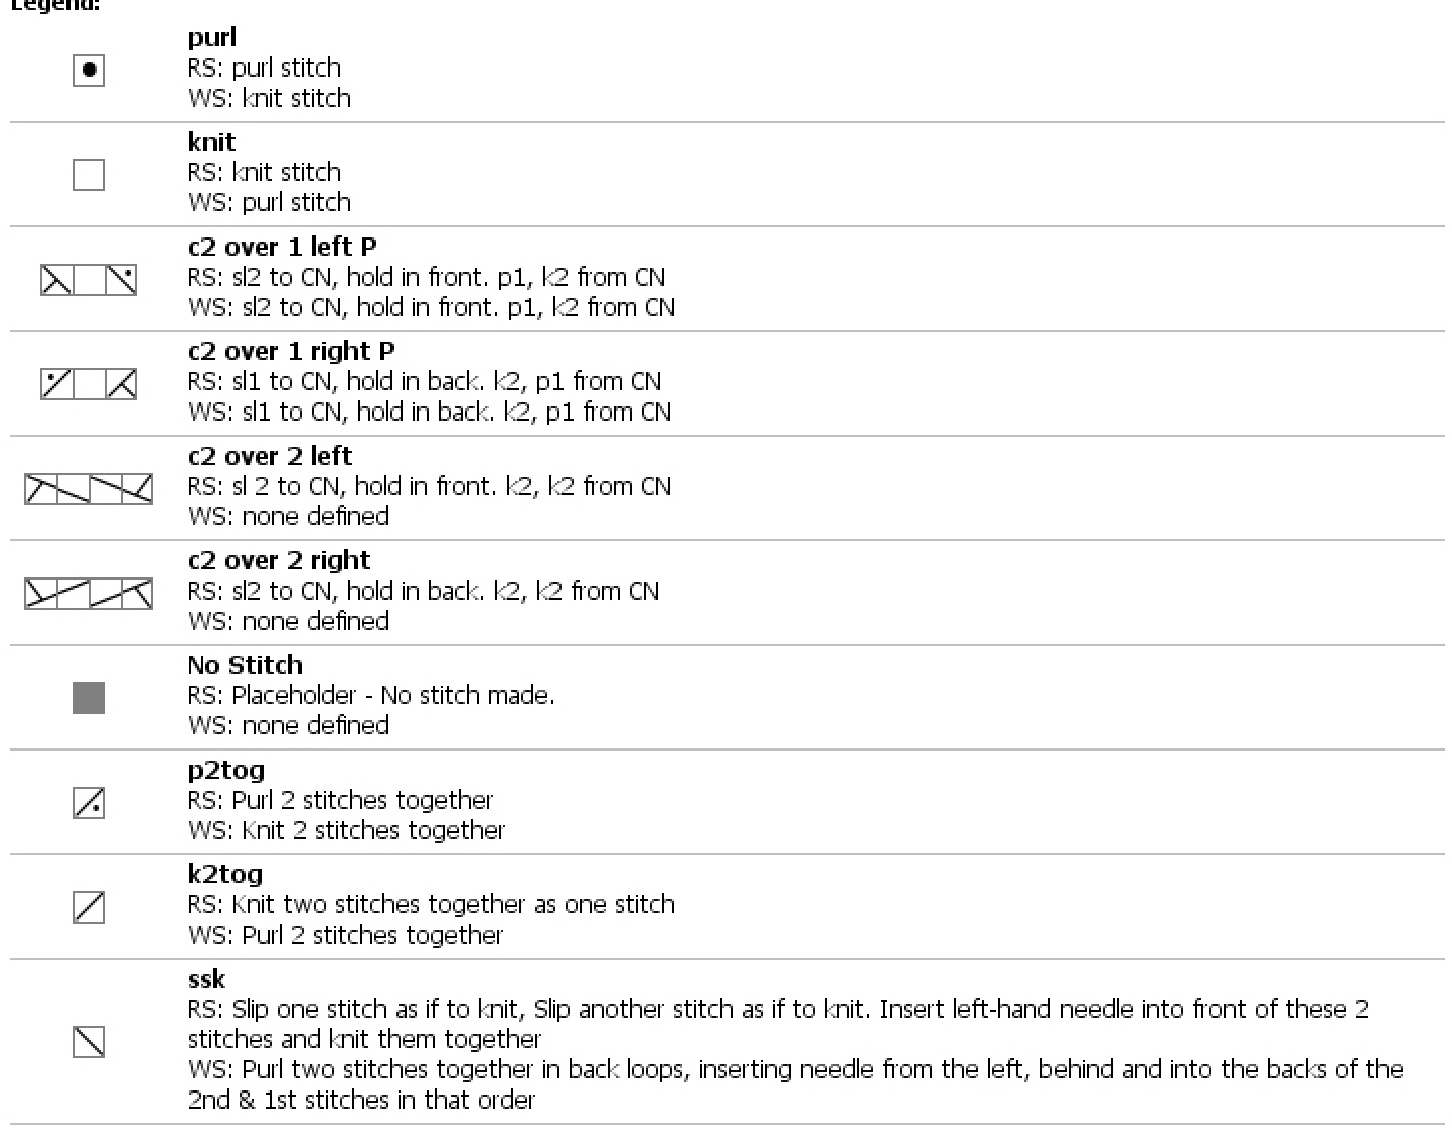
Garter stitch in the round Row 1: Knit. Row 2: Purl. Short rows/Wrap and turn (w&t): Knit the stated number of stitches. Slip the next stitch from the left needle to the right, keeping the yarn in back. Bring the yarn forward between the needles as if to purl, then slip the stitch from the right needle back to the left needle. Turn work. Do not pick up wraps when knitting across short rows. e panel to gently curve, an increase/ decrease round is worked outside the
Pattern
Using circular needle, CO 105[115] sts. Place marker and join to work in the round. Work 2 rows garter stitch. Begin short row shaping to create curved brim. Row 3: K 65[75], w&t. Row 4: K 64[74], w&t. Row 5: K63[73], w&t. Row 6: K62[72], w&t. Row 7: K61[71], w&t. Row 8: K60[70], w&t. Row 9: K59[69], w&t. Row 10: K58[68], w&t. Row 11: K57[67], w&t. Row 12: K56[66], w&t. On next row, place marker to indicate new beginning of round and work in garter stitch as set, knitting around the whole circumference of the hat. The new beginning of round will be 5 sts to the left of the original beginning.
Work in garter stitch until the front brim of the hat (the part exempt from short row shaping) measures 1 inch from beginning of work. K40[50] sts, pm, work Row 1 of cable chart, pm, k to end of rnd. Continue as set, working cable chart inside markers and stockinette on the rest of the hat body.
Increase/Decrease Round
On Row 10 of cable panel, work the following: Knit to 3 sts before m, m1L, k1, sm, work cable chart, sm, k1, ssk, k to end of rnd. Work this every 10 rows 1[1] times more, then work every 5 rows 6[7] times more.
Crown Decreases
Women's On Row 36 of chart, \*k12, k2tog, pm; rep til 3 sts before cable chart\*, k3, sm, work cable chart, sm, k3, \*k12, k2tog, pm; rep til end of rnd.\* Row 37: Knit. Row 38: \*Knit to 2 sts before m, k2tog, sm; rep around\*, working cable chart as usual. Row 39: Knit. Repeat the last 2 rows through Row 55 of chart - 24 sts remain. Break yarn and draw through remaining stitches to pull closed. Men's On Row 40 of chart, k2, k2tog, pm \*k14, k2tog, pm; rep til 3 sts before cable chart\*, k2, mlL, kl, sm, work cable chart, sm, kl, ssk, k14, k2tog, pm, k12. Row 41: Knit. Row 42: \*Knit to 2 sts before m, k2tog, sm; rep around\*, working cable chart as usual. Row 43: Knit. Repeat the last 2 rows through Row 55 of chart. Continue these 2 rows while purling the remaining stitch in between the markers for the next 5 rows. Row 61: \*K1, k2tog; rep around\*-22 sts remain. Break yarn and draw through remainin; stitches to pull closed.
Finishing
For optional garter flap, pick up and knit 26[28]sts from the last row of the garter stitch brim, centered on the front of the hat. Work in garter stitch for 2.75[3] inches. On next RS row, K4[4] sts, BO 3[3] sts, k to end. On next row, CO 3[3] sts across the buttonhole gap. Knit 4 rows. At beginning of next row, BO 10[12] sts purlwise, k to end. Knit next row. At beginning of next row, BO 2[2] sts, k to end. Knit next row. WS: Knit. Repeat these two rows until 3 sts remain. Sl1st, k2tog, plsso. Break yarn and draw through last stitch. Use tail to tack flap to the crown of the hat. Weave in ends and block, sew on button if applicable.

Created in KnitVisualizer (www.knitfoundry.com)
Questions? Email me at welforddesigns@gmail.com.