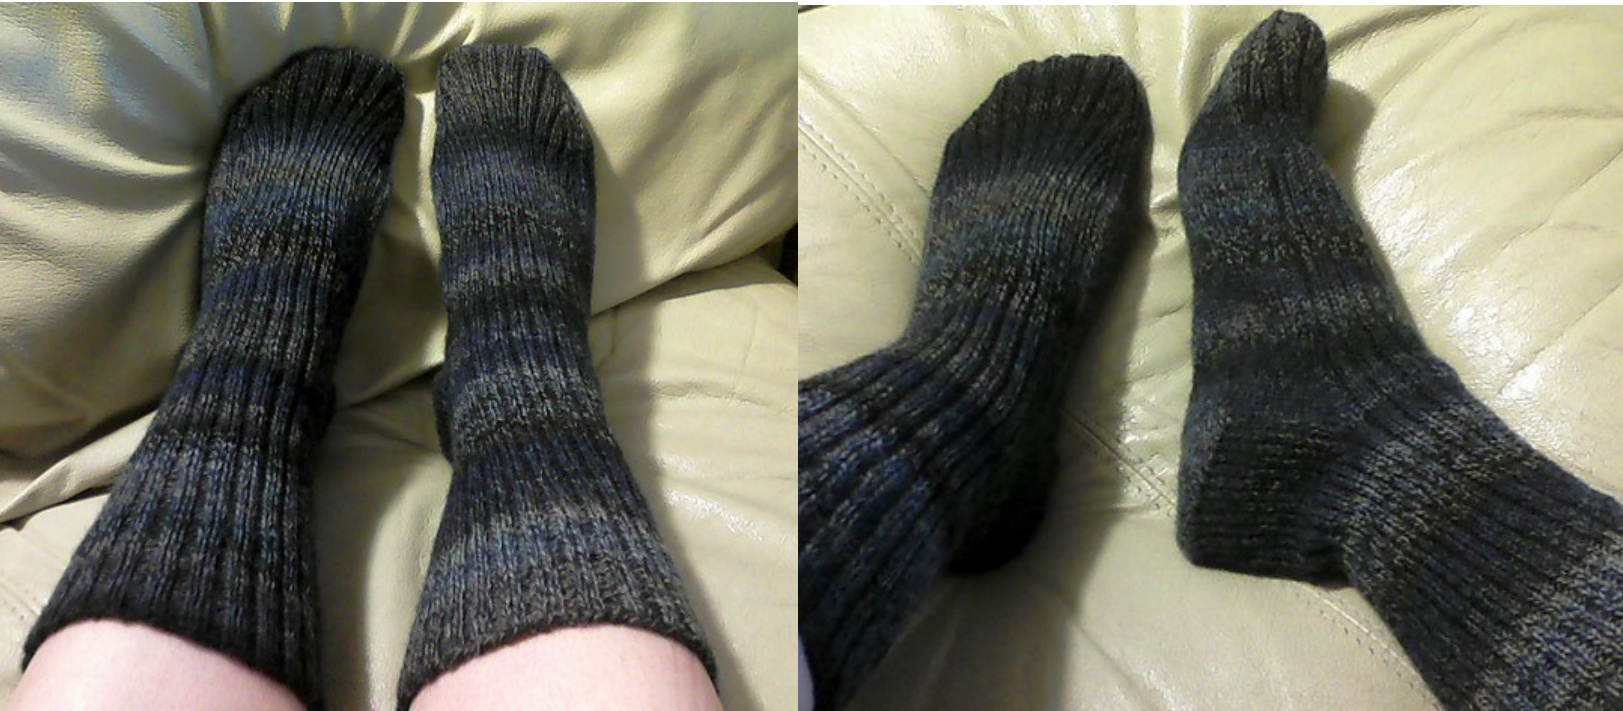
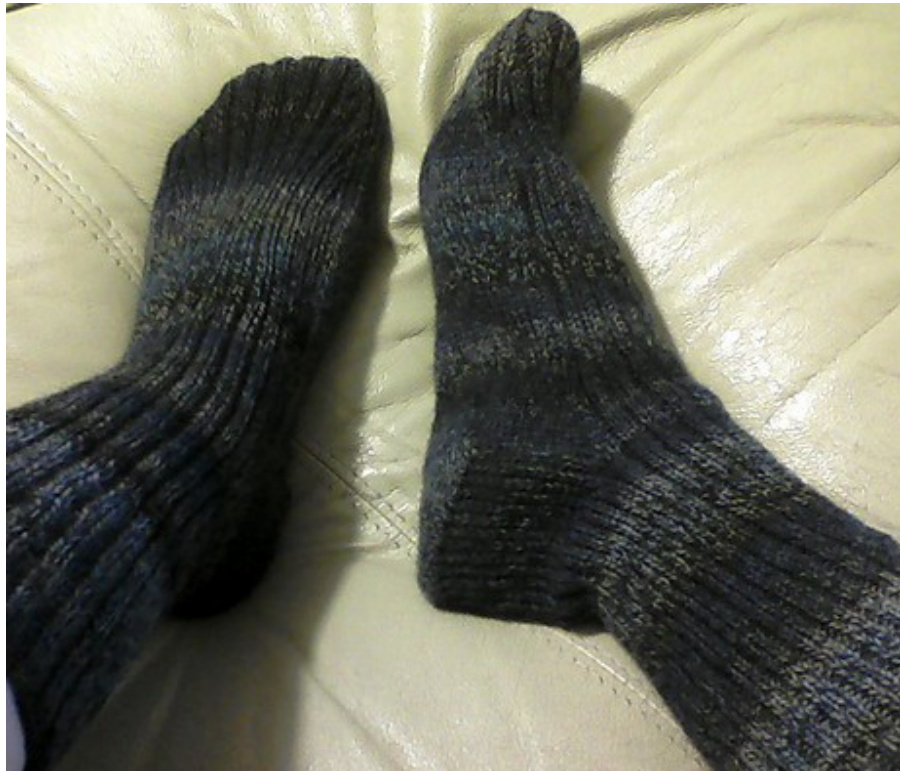
Extra Large Socks for Swollen Feet by spaceystacie
This pattern is a combination of a basic knitted sock coupled with the need to make socks for my uncle who has very swollen feet and legs. Using a lot of ribbing, 1 1/2 times the amount of yarn, and a needle size larger than I usually use for socks, these seemed to come out just right for him. You may need to tweak the pattern a bit to fit your needs. This pattern is worked from the cuff down on 4 double pointed needles. You can use the type of needle works best for you. Yarn—fingering weight, 600 yards (l used 3 skeins of Patons Kroy Socks FX in cadet) Needles—set of 4 size 2 double pointed needles Gauge—I was bad and never bothered to check! Yikes! Bad knitter!
DEFINITIONS
K2tog—Knit 2 stitches together P2tog—Purl 2 stitches together SSK—Slip 2 stitches as if to knit, put them both back on the left hand needle and knit them together Turn—when working short rows you will be told to turn your sock before you have worked all the stitches for that entire row. Work 1—This is used when I don't know where you are in your rib pattern—a knit or purl stitch—so I just want you to work 1 stitch following how your ribbing is established ue to the page 5 if you want less commentary and vital info onl)
CUFF Cast on 72 stitches and join to work in the round. If you need to alter this pattern to have more or less stitches around just change the number cast on in multiples of 4 so the ribbing comes out right. I use the long tail method to cast on for socks. You may use another way as long as it is stretchyenough. LEG Work in Knit 2 Purl 2 ribbing for about 7 inches, or however long you want the leg to be. HEEL The heel flap is worked on 36 stitches. The remaining 36 are held for the instep. Row 1—(right side) (Slip 1, Knit 1) across Row 2—(wrong side) Slip 1, Purl across Repeat Rows 1 and 2 until the heel flap measures 2 1/2 inches long. End by working a right side row so that the next row you will be working is a wrong side row. If you are doing your socks one at a time you may want to count how many rows you do here so that you can repeat exactly the same number on the second sock. There is also room to alter the pattern here. If the person you are making the socks for has a very high instep, you may want to make the heel flap a little longer to allow for more room. If you do this, it means you will be picking up more stitches later along the side of the gusset. Do keep in mind that this pattern is already pretty big and only add more length here if the person's instep is exceptionally large.
TURN HEEL
are going to begin working the short rows to finish up the heel Row 1—(wrong side) Slip 1, Purl 21, turn Row 2—(right side) Slip 1, Knit 5, K2tog, Knit 1, turn Row 3—Slip 1, Purl 6, P2tog, Purl 1,turn Repeat as established until all heel stitches have been worked and you have 2l stitches again.
GUSSET
Here is where you will begin to work in the round again. Instructions are given with 3 double pointed needles holding the stitches and the 4th as the working needle. Keep this in mind if you are using different needles. Needle 1—Pick up and knit 16-18 stitches along the side of the heel flap. I give a range of stitches here because I don't know your gauge or if you increased the length of the heel flap, so I don't know how many rows you will actually have. I usually play this by ear and try not to get too stressed out about the exact number I am "supposed" to pick up. The important thing is to make sure to pick up each of the slipped stitches down the side so that the gusset will be nice and even and without holes. Also you may want to pick up the stitch that is one row down from the last slipped stitch just before the instep begins. Sometimes a little hole forms in this spot and if you grab that stitch for the gusset it prevents thisfrom happening. —Work in Knit 2 Purl 2 ribbing across the instep (top of the foot Needle 3—Pick up and Knit 16-18 stitches along the side of the heel flap. It's best if you pick up the same number as you did on Needle 1, but sometimes it comes out 1 different. Don't panic. It's not a big deal if this happens. And sometimes the heel stitches you worked earlier in short rows come out in an odd number. Here's where you can even that out if you also ended up with different numbers of gusset stitches on each side. Having one stitch more doesn't really matter though. Just keep track of the numbers as you work your decreasing rounds and you will be fine. No panicking allowed. Knitting is supposed to be fun and relaxing. Then to finish the set up for working in the round again, on Needles 3 and 1 you will need to divide the remaining heel stitches in half. So your needles should be as follows: Needle 1—Half the heel stitches and the gusset stitches from one side Needle 2—All of the instep stitches (the 36 stitches you abandoned earlier) Needle 3—The gusset stitches from one side and half the heel stitches Work one round without any decreases: Needle 1—Knit all stitches for the heel and gusset Needle 2—Continue the established Knit 2 Purl 2 ribbing (this applies to the remainder of the pattern) Needle 3—Knit all stitches for the gusset and heel Begin your decrease rounds: Round 1— Needle 1—Knit to the last 3 stitches, K2tog, Knit 1 Needle 2—Continue in established Knit 2 Purl 2 ribbing Needle 3—Knit 1, SSK, Knit to end Round 2— Needle 1—Knit across Needle 2—Continue in established Knit 2 Purl 2 ribbing Needle 3-Knit across ntil you have 72 stitches total. Your needles should look like this Needle 1— (heel & gusset) 16 stitches, all knitted Needle 2— (instep) 36 stitches, Knit 2 Purl 2 ribbing Needle 3— (gusset & heel) 16 stitches, all knitted FOOT Continue as established until the foot is 2 inches less than the desired length. TOE Now you are ready to decrease for the toe. Round 1— Needle 1— Knit to the last 3 stitches, K2tog, Knit 1 Needle 2— Work 1, SSK, Continue in established Knit 2 Purl 2 ribbing to the last 3 stitches, K2tog, Work 1 Needle 3— Knit 1, SSK, Knit to end Round 2— Needle 1— Knit across Needle 2— Continue in established Knit 2, Purl 2 ribbing Needle 3- Knit across Repeat Rounds 1 and 2 until you have 15 stitches total. Your needles should look like this: Needle 1— (heel & gusset) 5 stitches, all knitted Needle 2— (instep) 10 stitches, Knit 2 Purl 2 ribbing Needle 3— (heel & gusset) 5 stitches, all knitted
FINISHING
Use Kitchener stitch to seal up the toe. Tie off the yarn and weave in all ends. You may use this pattern to produce socks for yourself or gifts. You may also sell items you make from this pattern in single quantities. Please do not mass produce items from this pattern. Please let me know if you find any mistakes in the pattern or if you have any questions. spaceystacie
Extra Large Socks for Swollen Feet (just the facts version) byspaceystacie
Yarn—fingering weight, 600 yards (l used 3 skeins of Patons Kroy Socks FX in cadet) Needles—size 2 double pointed needles Cast on 72 stitches and join to work in the round. Work in Knit 2 Purl 2 ribbing for about 7 inches, or however long you want the leg to be. The heel flap is worked on 36 stitches. The remaining 36 are held for the instep.
Row 1—(right side) (Slip 1, Knit 1) across Row 2—(wrong side) Slip 1, Purl across Repeat Rows 1 and 2 until the heel flap measures 2 1/2 inches long. End by working a right side row. Now you are going to begin working the short rows to finish up the heel. Row 1—(wrong side) Slip 1, Purl 21, turn Row 2—(right side) Slip 1, Knit 5, K2tog, Knit 1, turn Row 3—Slip 1, Purl 6, P2tog, Purl 1, turn Repeat as established until all heel stitches have been worked and you have 2l stitches. Here is where you will begin to work in the round again. Needle 1—Pick up and knit 16-18 stitches along the side of the heel flap. Needle 2—Work in Knit 2 Purl 2 ribbing across the instep Needle 3—Pick up and Knit 16-18 stitches along the side of the heel flap. Then to finish the set up for working in the round again, on Needles 3 and 1 you will need to divide the remaining heel stitches in half. So your needles should be as follows: Needle 1—Half the heel stitches and the gusset stitches from one side Needle 2—All of the instep stitches Needle 3—The gusset stitches from one side and half the heel stitches Work one round without any decreases: Needle 1—-Knit all stitches for the heel and gusset Needle 2—Continue the established Knit 2 Purl 2 ribbing (this applies to the remainder of thepattern) Needle 3—Knit all stitches for the gusset and heel Begin your decrease rounds: Round 1— Needle 1—Knit to the last 3 stitches, K2tog, Knit 1 Needle 2—Continue in established Knit 2 Purl 2 ribbing Needle 3—Knit 1, SSK, Knit to end Round 2— Needle 1—Knit across Needle 2—Continue in established Knit 2 Purl 2 ribbing Needle 3—Knit across Repeat Rounds 1 and 2 until you have 72 stitches total. Your needles should look like this: Needle 1— (heel & gusset) 16 stitches, all knitted Needle 2— (instep) 36 stitches, Knit 2 Purl 2 ribbing Needle 3— (gusset & heel) 16 stitches, all knitted established until the foot is 2 inches less than the desired lengtl Now you are ready to decrease for the toe. Round 1— Needle 1— Knit to the last 3 stitches, K2tog, Knit 1 Needle 2— Work 1, SSK, Continue in established Knit 2 Purl 2 ribbing to the last 3 stitches, K2tog, Work 1 Needle 3— Knit 1, SSK, Knit to end Round 2— Needle 1— Knit across Needle 2— Continue in established Knit 2, Purl 2 ribbing Needle 3— Knit across Repeat Rounds 1 and 2 until you have 15 stitches total. Your needles should look like this: Needle 1— (heel & gusset) 5 stitches, all knitted Needle 2— (instep) 10 stitches, Knit 2 Purl 2 ribbing Needle 3— (heel & gusset) 5 stitches, all knitted Use Kitchener stitch to seal up the toe. Tie off the yarn and weave in all ends. You may use this pattern to produce socks for yourself or gifts. You may also sell items you make from this pattern in single quantities. Please do not mass produce items from this pattern. Please let me know if you find any mistakes in the pattern or if you have any questions. spaceystacie


