Woodland ushroom
Malerials:
Yarn for the mushroom:
Stylecraft Special aran in Parchment Stylecraft Special aran with wool in Oatmeal Stylecraft special aran in Brown
For the embroidery:
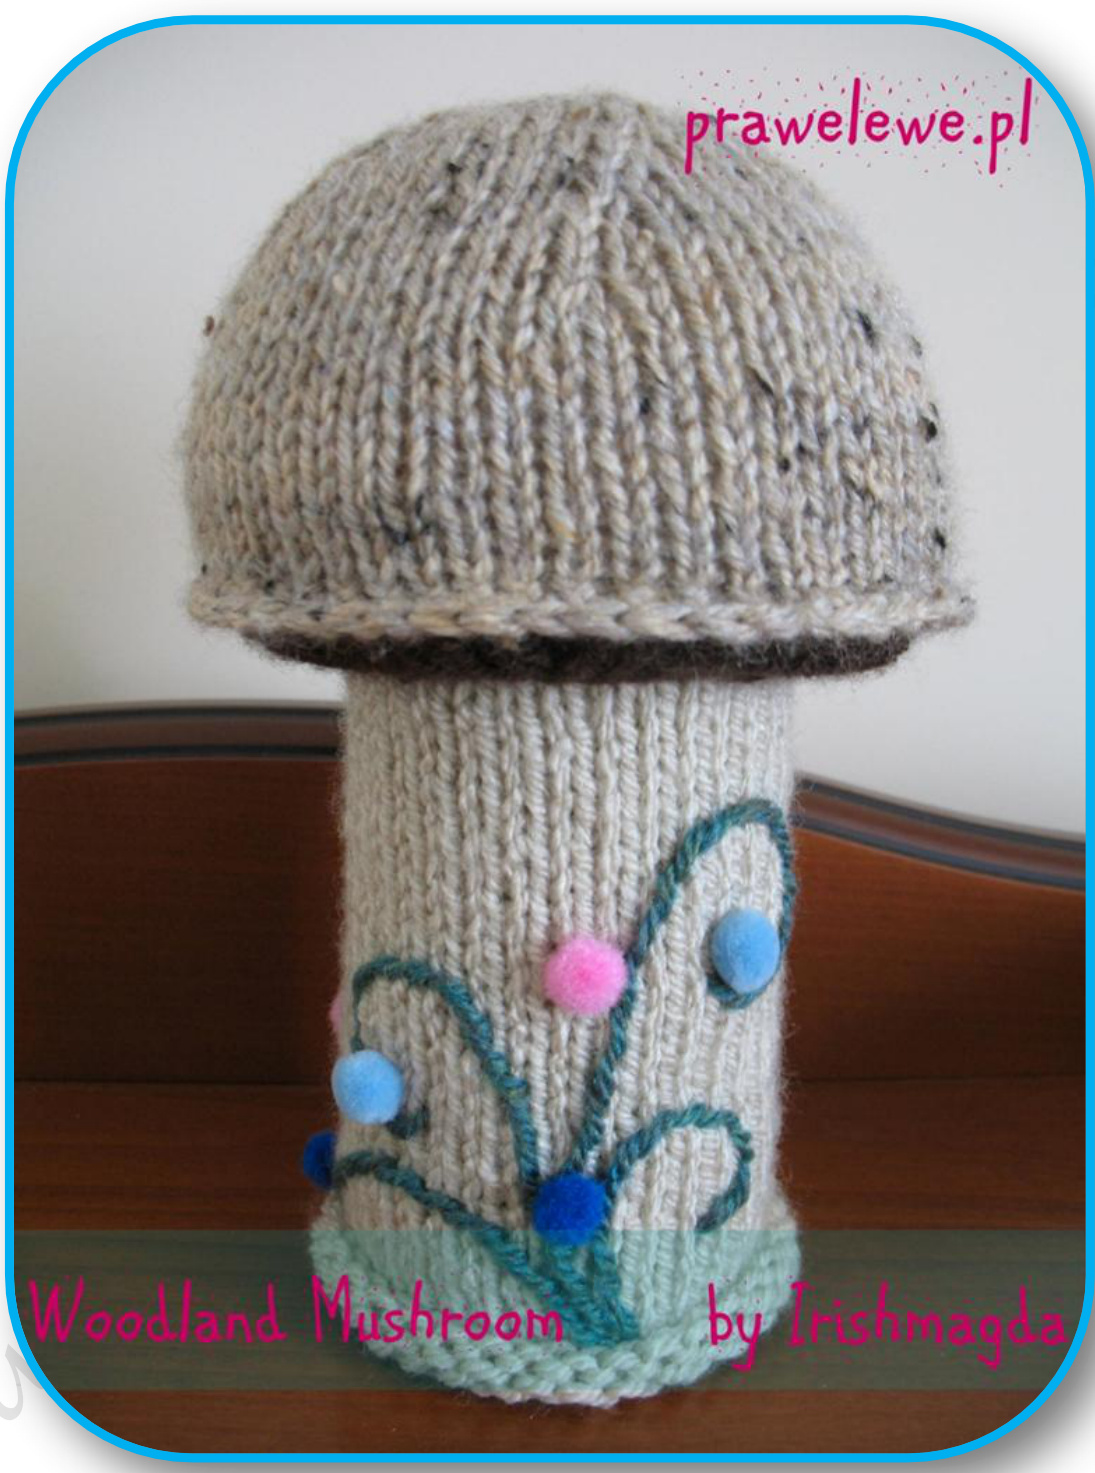
any dk yarn in green Size of the finished mushroom: tall:19cm/7.5 cap diameter: about 12cm/4.75' All parts are knitted flat.
Other:
needles: 4mm(UK8/US6); crochet hook: 4mm(UK8/US G-6); tapestry needle; toy stuffing or any ordinary pillow washable filling; (optional) 5o0ml can after a soft drink or any drink really, its measurements should be: (optional) some sand or dry beans some small arts&craft pompoms in the colours of your choosing; fabric glue;
PBbrevialions used:
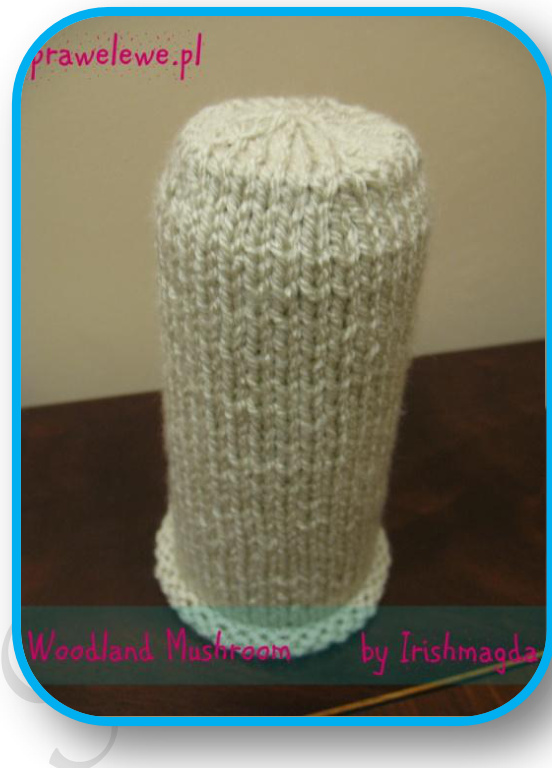
K - knit K2tg - knit 2 stitches together Ssk - slip first 2 stitches as if to knit and knit 2 together through the back loop P -purl P2tg - purl 2 stitches together CO - cast on BO -bind off tg - together St-st - stockinet stitch psso - pass the slipped stitch over [] - repeat instructions in these brackets Sl - slip the stitch To make the mushroom you will need an empty 500ml can. Its measurements are: tall: 16.5cm/6.5" diameter: 6.5cm/2.5'
Fill it up with sand or dry beans, secure the opening and then knit the cover to make up the woodland mushroom(-: If you prefer you may not use a can at all, just stuff the stem of the mushroom with the pillow filling, however, your mushroom won't be as secure and steady, that's if you want to sit anything against it. The mushroom stem Worked from the bottom - up. Needles: 4mm In Parchment CO 35 sts Work in st-st starting with P row until piece measures 19cm/7.5" [K5, K2tg]x5 30sts P all [K4, K2tg]x5 25sts P all [K3, K2tg]x5 20sts P all K2tg till end 10sts Break yarn leaving along end and pull through the remaining sts. Use this end to sew the seam The mushroom cap Worked from the bottom - up. Needles: 4mm In Oatmeal C0 55 sts Work 11 rows in st-st starting with P row [K9, K2tg]x5 50sts P all K all P all [K8, K2tg]x5 45sts P all [K7, K2tg]x5 40sts P all [K6, K2tg]x5 35sts P all [K5, K2tg]x5 30sts . P all K all
[P2tg] till end 15sts [K2tg] till 1 st left, K1 8sts Break yarn leaving along end and pull through the remaining sts. Use this end to sew the seam. Mushroom gills Needles: 4mm In Brown CO 55 sts P1 row[K9, K2tg]x5 50stsP all[K8, K2tg]x5 45stsP all? [K7, K2tg]x5 40sts[P3, P2tg, P3]x5 35stsBO
Making up
1. To put the mushroom together start with placing the stem over the can and roll the bottom part up a bit.
2. Then, fill in the cap with stuffing, place it over the can and mark with pins how far down it goes - should be about 6cm down.
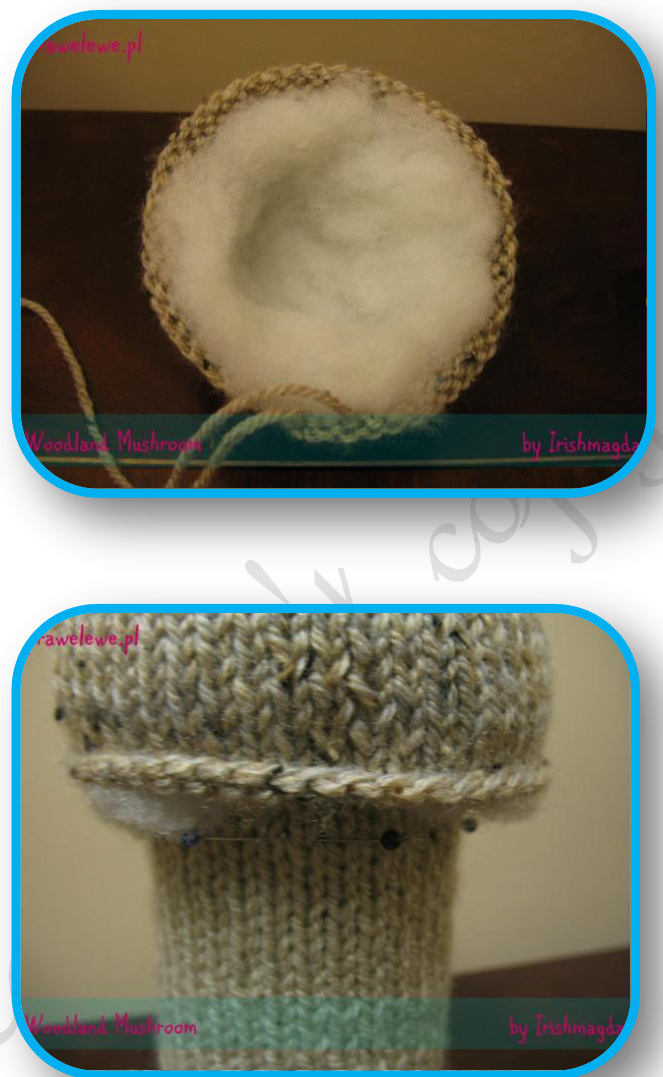
3. Attach the gills (K sts facing the K sts of the stem) all around the stem with pins and then sew it to the stem.
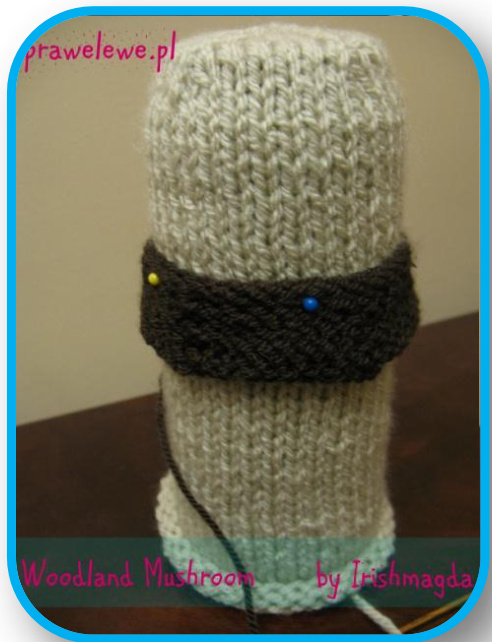
4. Place the cap back on, add more filling if needed and join the edge of the gills with the edge of the cap with the pins.
5. Take 4mm hook and Oatmeal and join the two edges with a double crochet edging.
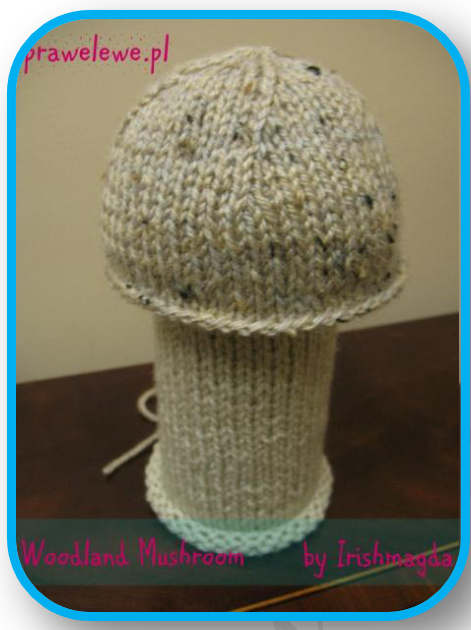
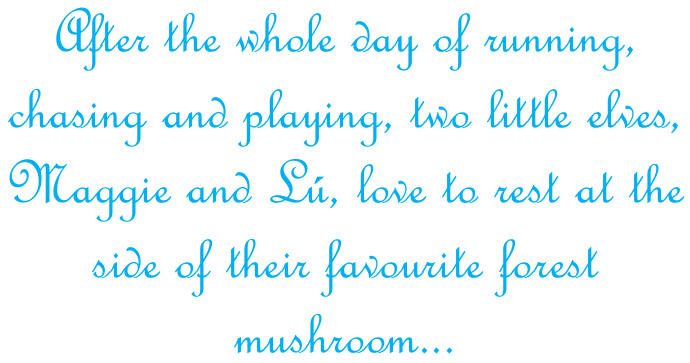
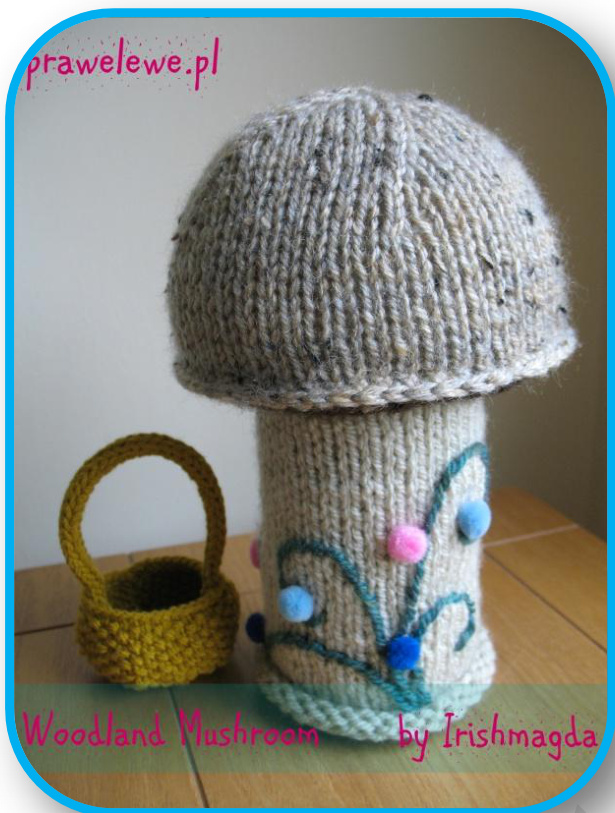
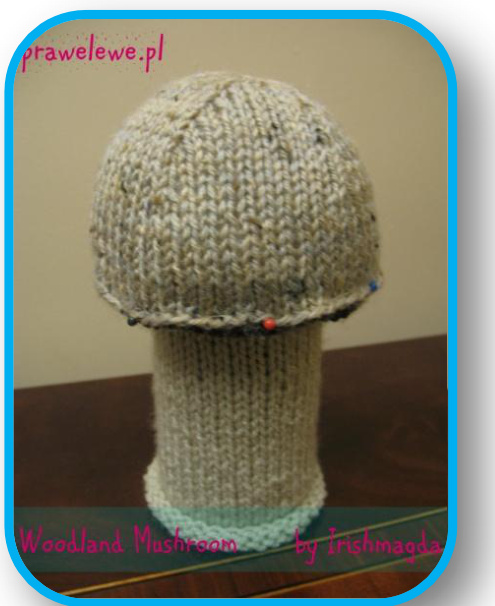
Your mushroom is ready now(-: Now take some green yarn and embroider 4 curvy lines on your mushroom and glue on a few little pompoms. Use the photos as your guide. Or, make up your own decorations, like maybe a fairy door or windows(-:
Copyright note:
This pattern is available for personal and non-profit use only. It may not be used neither in whole nor in part to produce items for sale. By downloading/printing this pattern you agree with these terms. Thank you.


