Bracket Fungus Socks
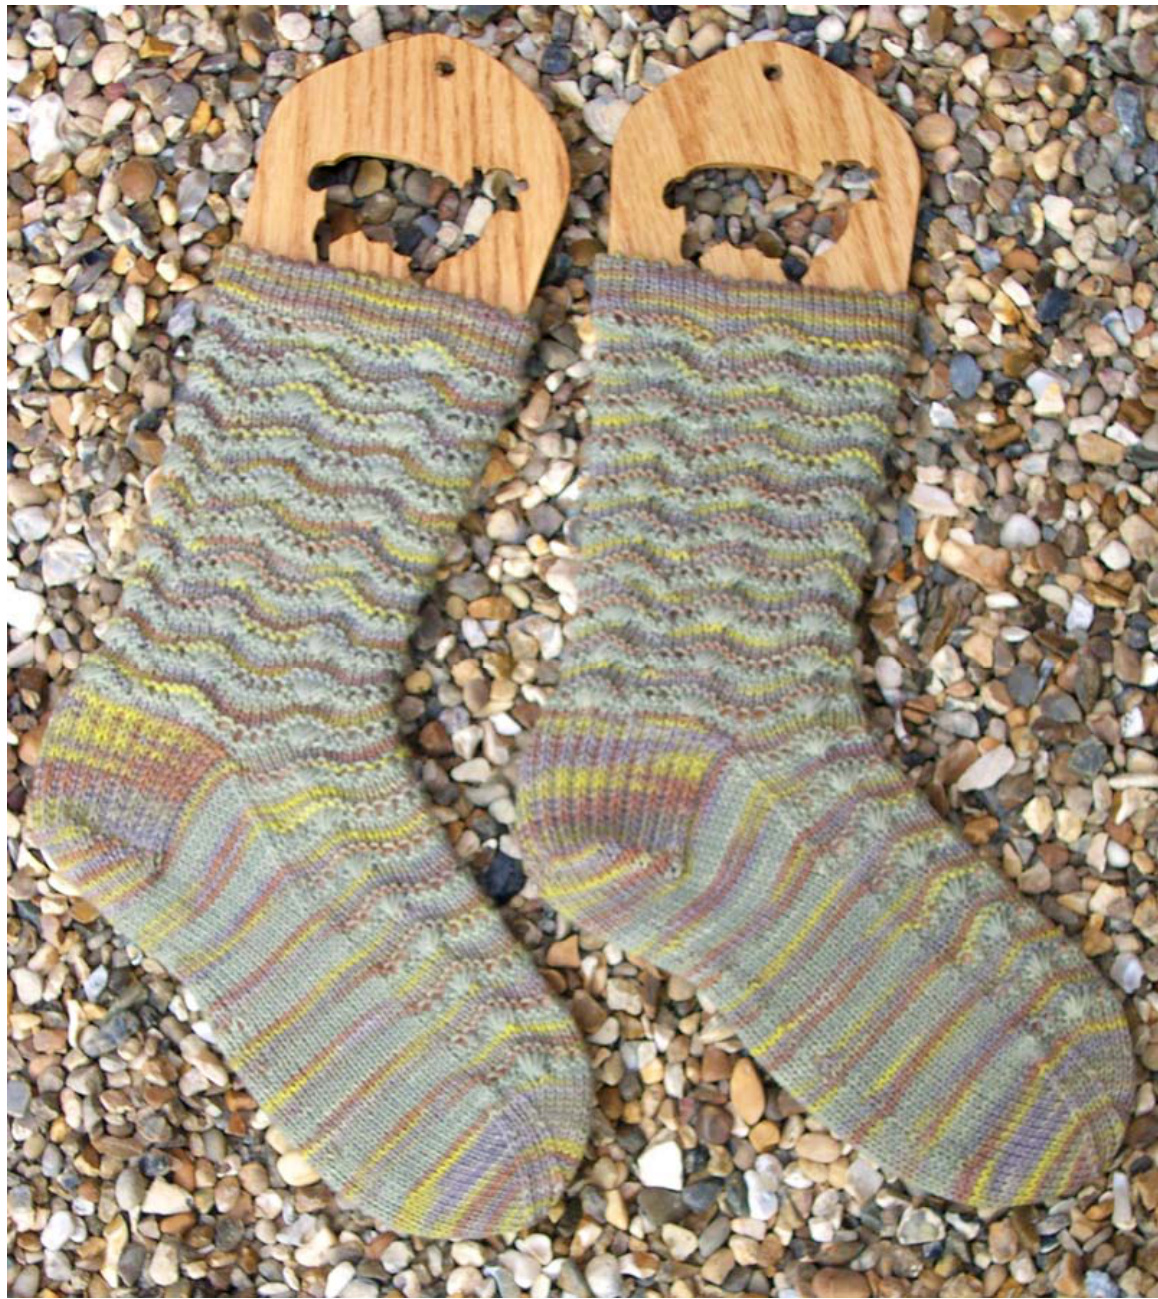
These socks were inspired by the colours of a Scottish woodland with the simultaneous scents of new life and decay. The pattern represents the strange, bracket shaped fungi that grow on the trunks of birch trees.
Pattern Notes
These socks will fit an average sized woman's foot. One of the features of the pattern is that on several of the rows you will have up to twice the total number of stitches on the needle so those who heroically work on ultra short needles might want to join us mere mortals in using something a little longer. I also found that I needed to go down a needle size from my usual for plain stocking stitch socks to get the correct gauge. The pattern is adapted from the Scalloped Shell pattern in Vogue Knitting Stitchionary Volume 1, but I think they look much more like the underside of a fungus - don't you?
Materials
50g main and 30g contrast sock yarn Set of 2mm double pointed needles (or size to get gauge) Blunt tapestry/darning needle
Abbreviations
MC - main colour CC - contrast colour CO - cast on St - stitch(es) K - knit P -purl YO - yarn over Double YO - Insert RH needle into next stitch wrapping yarn around needle twice, complete knit stitch. WYAB - with yarn at the back Sl1 - slip 1st from left to right needle Sl5 - slip 5 st from left to right needle Kitbl - k 1 st through back of loop K2tog - knit 2 st together P2tog - purl 2 st together K5tog - knit 5 st together SSK - slip, slip, knit (slip 2 st from left needle to right needle and knit through both stitches)
Gauge
Approximately 7 st - 1 in (2.5 cm) using stocking stitch
Pattern
With MC CO 6o st very loosely (over 2 needles) divide evenly onto 3 needles and start working in the round. Cuff K 10 rows Next row (K2tog YO) repeat to end K 10 rows Start leg pattern as follows: Change to CC Row 1 P to end Row 2 \*K1, (yo, K1) twice, (double YO - see abbreviations) 5 times, (K1 yo) twice, repeat from \*to end. Row 3 \*P5, WYAB Sl5 purlwise, dropping extra yo, P4, repeat from \* to end Row 4 \*K5, WYAB Sl5 purlwise, K4, repeat from \* to end. Change to MC Row 5 \*K5, K5tog, K4 repeat from \* to end. Rows 6, 7 and 8 Kto end. Continue in pattern until work is 7 inches, or desired length ending with Row 5.
Heel Flap
K10, turn work P30, turn work. You will be working back and forth on these stitches Rearrange stitches so that there are 15 stitches on the two ‘fallow' needles and 30 on the working needle. Proceed as follows: Row 1 (Sl1 K1) Repeat to end Row 2 Sl1, p to end Repeat these 2 rows 14 times (15 times in total). Turn the heel Starting on right side: Sl1, K16, SSK, k1, turn Sl1, p5, p2tog, p1, turn Sl1, k to 1 st before gap, ssk, k1, turn Sl1, p to I st before gap, p2tog p1, turn Continue working like this until all st are worked and you have 18 st left on this needle. Gusset (start on Rs ) Needle 1 - Transfer half the st from heel flap to new needle, then pick up and k 15 st from one side of heel flap Needle 2 - work in pattern commencing with Row 6. Inc 1 stitch at end of needle (31 sts on needle). Needle 3 - Pick up and k 15 st from other side of heel flap, then k remaining st from heel flap. Knit until last 3 st on needle 1, k2tog, k1. Knit needle 2 according to instep pattern. K1 st on needle 3, then ssk, and knit the rest of the stitches. Knit 1 round. Repeat these two rounds until you have 15 st left on each of needle 1 & 3. Then continue to work until you reach desired foot length allowing 5 cm/2 1/2 in for toe shaping. K I round, dec 1 st at end of needle 2. 60 stitches remain as follows: Needles 1 and 3, 15 stitches Needle 2, 30 stitches
Toe Shaping
Needle 1 -- k until last 3 st. k2tog, k1. Needle 2 - k1, ssk, k until last 3 st, k2tog, k1. Needle 3 - k1, ssk, k to end Knit one round. Repeat these two rounds until you have 16st on needle 2 and 8st on each of needles 1 & 3. Repeat Row 1 until 4 st remain on needle 2 and 2 st on each of needles 1 and 3. Graft toe using kitchener stitch & weave in any loose ends. Sew cast on edge to the inside of the lower set of purl bumps to form the folded cuff.

Copyright Jane Lithgow September 2007 Please do not distribute this pattern without my prior permission. Jane can be contacted at: jane@lithgow1438.freeserve.co.uk Follow her knitting and spinning adventures here: http://janesprobablyknitting.blogspot.com/


