Befitting Wollmeise
A men’s sock pattern for Wollmeise yarn by Knitting Dude Designer'snote:- $I$ was fortunate enough to find a skein of this incredible sock yarn from Germany, and thought that it deserved a special pattern. I thought it called for a men's pattern ‘cause men need Wollmeise too! Hope you enjoy it. For all of you who can't get their own Wollmeise, I'm sorry to say that it's just as wonderful as everyone says!
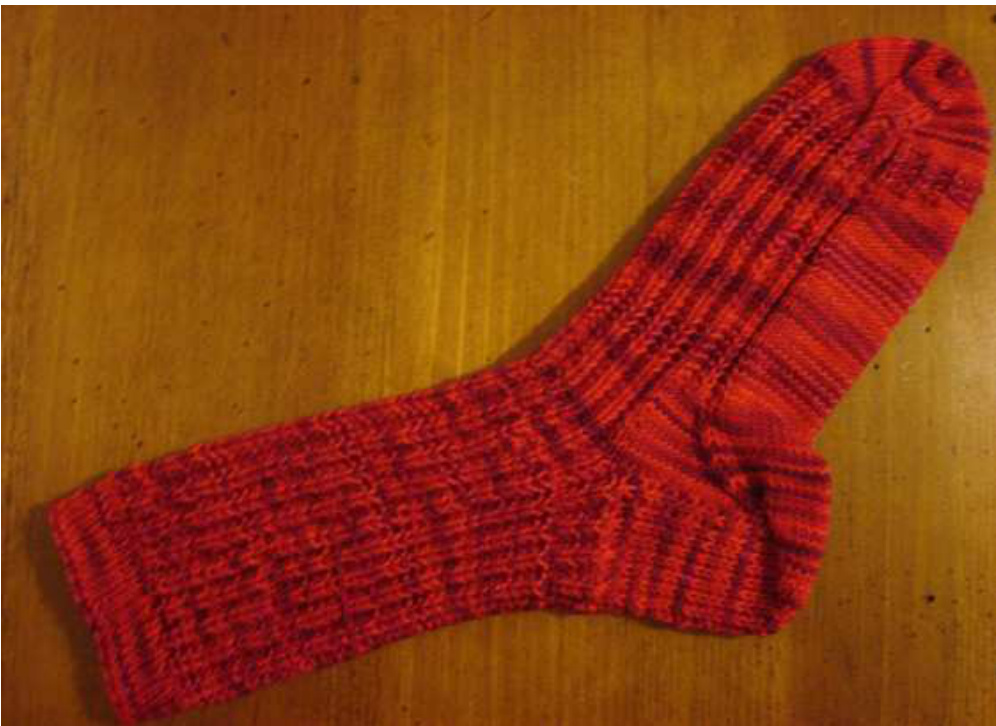
Yarn: Rohrspatz & Wollmeise Twin 80/20 (any color you can get your hands on!) - This sock was knit in “Wilder Mohn" (red) Equivalent Yarn: Fingering weight merino wool (WPI 20 stitches. per inch) on size 1-3 US and 2.25 to $3.25\;\mathrm{mm}$ needles. Needles: Circular needles: size 3 for ribbing, size 2 for pattern Notions: crochet hook, tapestry needle, stitch markers Gauge: 9.5 sts. per inch in pattern, 11 sts. per inch in straight stitch. The body of the sock will be $\mathcal{@}\ 3.25^{\circ}$ wide unstretched. Size: - men's large (size 9 to 11 shoe) Pattern stitch - Hills & Valleys $1\cdot\mathrm{K}1^{*}\,\mathrm{P}3\,\mathrm{K}1^{*}$ (repeat from \*) Row $2-\mathrm{~K}2*\mathrm{P1~K}3^{*}$ (repeat from \*) Terms: SL1 (Slide one stitch to the right hand needle without knitting it) P2TOG (Purl 2 stitches together) K2TOGLeft (Knit 2 stitches together from the left stitch) K2TOGRight (Knit 2 stitches together from the right stitch)
Getting started:
Cast on 76 stitches with your #2 needles doubled over, or with a #4 needle - this prevents the ribbing from being too tight. Ribbing: Use K2, P1 ribbing for 1.5 inches (or desired length). You will decrease a total of 4 stitches evenly on the last ribbing row and work the body of the sock on 72 stitches. This pattern calls for knitting with 2 circular needles - you should have 36 stitches on each needle. Consider knitting in the back of your knit stitches on the ribbing - this will give a nice depth to the rib. Begin Body of the sock - using the Hills & Valleys stitch, work for 8 inches (or desired length) to the beginning of the heel flap. One-Half of your stitches (36 stitches) on one needle will be used to make the heel flap. Let the other half rest - we'll get back to them later!
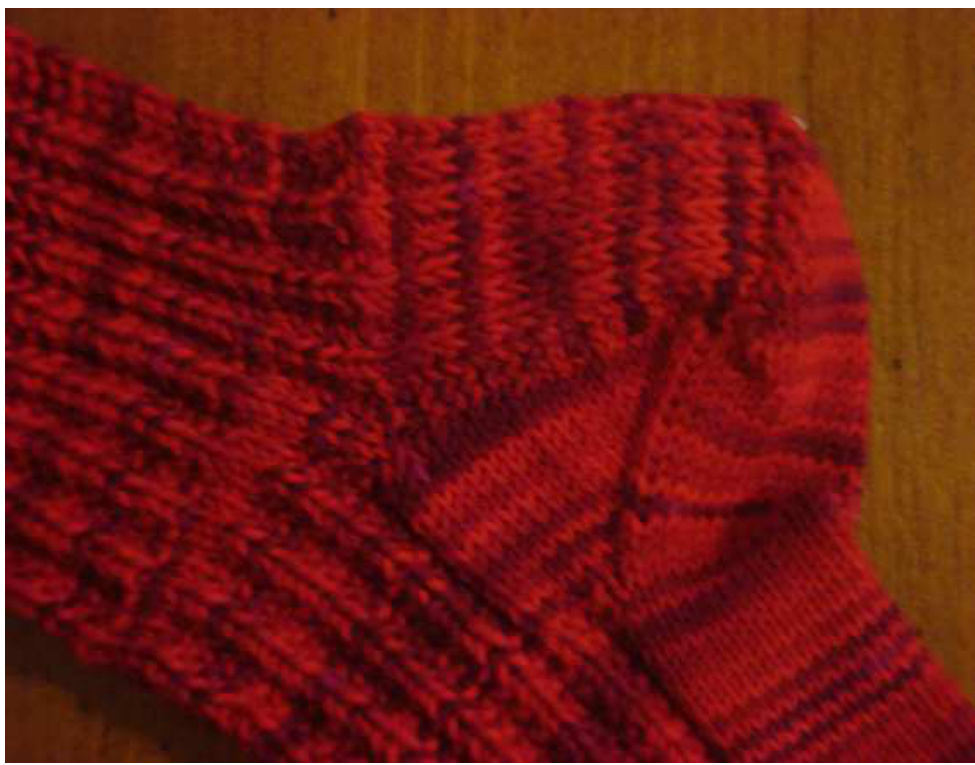
Heel Flap
Knit across the stitches designated for the heel - this will be called the ‘“right side' (RS) row. You will be knitting back & forth on this row - the back or “wrong side" will be called the (WS). After you knit to the end of the RS row, turn your needles and work on the WS (back & forth) to make the heel. (note: consider using a reinforcing thread in the heel to extend sock life - I've had good results with Schoeller & Stahl. If you decide to use it, jump up one needle size to compensate for gauge changes. $1^{\mathrm{st}}\,\mathrm{WS\row}-\mathrm{K}3-\mathrm{purl}$ toend $2^{\mathrm{nd}}$ RS row - P3. \*sl 1, rep from \* to last 3 sts., K3 Repeat rows 1 and 2 until 32 rows have been completed. End with a RS row so that a WS row will be next. This forms the part of the socks that fits on the back of your heel. We'll now work on the bottom of the heel, called the “heel turn". Don't worry about the other stitches left on the needle-we haven't forgotten them ! Heel Turn (after you have 32 rows in the heel flap) 1st WS row - SL1, P18, P2TOG, P1, turn (to the RS) $1^{\mathrm{st}}$ RS row - SL1, K3, K2TOGLeft, K1, turn (to the WS) you'll see a gap develop after you knit or purl stitches together - don't worry - this is crucial for the heel turn. $2^{\mathrm{nd}}$ WS row - Sl1, Purl to within 1 st. of gap, P2TOG, P1, turn $2^{\mathrm{nd}}$ RS row - Sl1, Knit to within 1 st. of gap, K2TOGLeft, K1, turn. Continue with the $2^{\mathrm{nd}}$ WS & RS rows, decreasing until you have 18 stitches left on the needle. You should be at the end of a RS row (you will not work on any more WS rows from here on) Gusset - Don't let this part scare you ! - this is the part of the sock that ties together the instep (top of the sock) and the sole (the bottom). You will be adding stitches to each side of the sock through the SL1 stitches that you added along the side of the heel. Once the sole is rejoined with the heel, you'll begin decreasing until you are back to 36 stitches (each) on both the instep and sole. Once completed, your gusset will resemble a triangle. Using the circular needle with the sole and heel stitches on it, lay the needle on the side edge of the heel. Using your crochet hook, pick up 20 stitches (one at a time, from the bottom to the top of the heel) using the stitches that you slide over without knitting. It's best to add a few stitches at the bottom and top of the heel (especially where you transition back to the instep or top of the sock) to avoid a hole or gap in that area
. Don't worry about knitting these stitches - just get them on there! - we'll knit them next time around.
You should now be at your instep needle, ready to start knitting in circles again. Knit the 36 stitches on your instep needle in the pattern already established. Once you finish this row, you will be at the top of the heel on the other side of the sock. Use the same procedure with the instep needle (as you did with the heel & sole needle) to pick up 20 stitches along the other side of the heel. If everything has gone right, you will have two needles with these stitch numbers Bottom needle (contains the 18 heel stitches and 20 gusset stitches) Top or Instep needle (contains 36 stitches with the Hills and Valleys pattern and 20 stitches from the gusset on the other side of the heel. - this gives a total of 94 stitches. What you will be doing now is decreasing the gusset stitches (along the side of each heel) until you are back to 36 stitches on each needle (the number you started with). Once you have knit around this circle of 94 (and have all of your gusset stitches established), some knitters like to divide the stitches up again (e.g. put all of the 36 instep stitches on one needle, and the rest on the bottom) - others just leave them alone and keep moving - your choice! Whatever you decide, make sure you keep track of the stitches you need to decrease on each side so that the sock will be balanced. You will be decreasing 11 stitches on each side of the heel in order to get back to the magic number of 36 on the instep and 36 on the sole or bottom needle. The stitches on the bottom needle are the sole of the sock, and are usually knitted in straight stitch (K all rounds) Gusset Decreases - on your way around the sock, put a stitch marker on each end of the 18 heel stitches. This will alert you where you need to make your gusset decreases as you knit around the sock. On the side of the sock knitting up toward the instep, you will knit 2 stitches after the marker, then K2TOGRight. This will decrease one stitch on one side. On the side of the sock knitting down toward the heel, K2TOGLeft 4 stitches before the marker. I know this sounds strange, but it will shape the decreased in a balanced direction (left or right) and make for a more symmetrical appearance. You will decrease one gusset stitch on each side (a total of two each trip around the sock) until you have 9 gusset stitches left on each side. This will bring your sole or bottom needle total back to 36. REMEMBER that your sole stitches are in stockingnet stitch only, and the top (or instep) needle remains in Hills and Valley stitch. Keep working in this matter until it's time to decrease for the toe. Toe Shaping - for a size 9 shoe, you will knit the sock for about 8.5 inches before shaping the toe. The toe decrease takes about 2 inches so judge according to your foot size. Don't be afraid to try on your sock (put all of the stitches on the wire loops of your circular needles) and judge where you need to begin shaping. For a large shoe size (10 or 11) you could safely knit for 9 or 9.5 inches before starting the shaping process. You will now be decreasing one stitch at each end of both needles (for a total of four stitches each time around both needles. As in your gusset decreases, knit 2 stitches, then K2TOGRight for decreases at the beginning of a row, then K2TOGLeft 4 stitches before the end of the row. This will make for a symmetrical decrease on both the instep and sole of the sock. Finishing - once you have decreased to 8 stitches on each needle, put all four ends of both needles carefully into the small hole left for the toe. Reach into the sock and pull all four needle points out, turning the sock inside out. Your 16 stitches (8 on each needle) should be running parallel to each other. Take a #2 straight needle (any size will work) and put these 16 stitches carefully on one needle, alternating one stitch from the top, one stitch from the bottom, etc., until all 16 are on one needle. It is vital to alternate these stitches ! Make sure that the stitch with the working end of the yarn is available at the beginning of these 16 stitches so that you can bind off all of the stitches in the next step. Bind Off- knit the $1^{\mathrm{st}}$ stitch, then the $2^{\mathrm{nd}}$ .Take the $1^{\mathrm{st}}$ stitch and pass it over the $2^{\mathrm{nd}}$ binding off (locking in) the $2^{\mathrm{nd}}$ Continue on down the row, decreasing as you go. You will be left with one stitch. Take a tapestry needle and pass the yarn through this stitch, then weave the end of the yarn (leave yourself about 3 inches) into the “inside out? toe of the sock. Don't forget to carefully weave in the yarn at the beginning of the sock (where you cast on for the ribbing). I prefer to use my crochet hook to draw the yarn through the gapbetween the $1^{\mathrm{st}}$ and last stitch of the ribbing. Don't pull too tightly - you need lots of “give'" in the ribbing. Hope You enjoy it!