Yarn Fairy and the Pixies present A Color Changing Workshop Class Handout
When: Saturday, September-1-2012 at 12 noon PST Where: On Ravelry in the Yarn Fairy Group where we will have access to chat and for those with web cameras, video conferencing so you can see everything I'm going to be explaining up close. http://www.ravelry.com/discuss/yarn-fairy-mystery-kals/2249247/1-25 Come to class now so that we can work on this hand out as there are questions throughout we need to talk about and get your answers for. Now that you are totally familiar with hue, tint and shade as well as where colors lay on the color wheel we can move forward into actually working up your choices. There are a few tricks I can teach you but what you have already learned about what color you choose is half the battle. We all love these yarns.
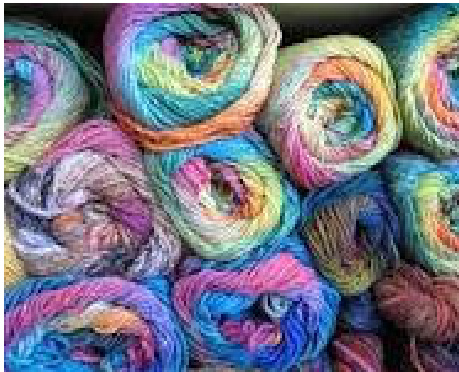
We love that these long color strand yarns do all the work so that we don't have to - but at some times in our lives we can't always afford their hefty price tag. Hopefully this next hour will help you to see that you can have these effects for an entire afghan or sweater without spending a years wages on them. You can use this technique to make everything from small hats to large afghans. Instead of making a striped shawl you can now make one that transitions to the next color instead. This can also be used when you have odd dye lots from the purchase of yarn, when you get home you find you have a odd ball or two in the mix. I'm sure you have already classified the photo on the left as being in the “lights" on top and going into “medium" on the bottom right. Perhaps you didn't actually think it but in your subconscious it was there - after all your homework was done. As we move to the photo on the right you can see that we have the color wheel as well as lights and dark's in play. So Color Changing Work Shop long as you stick within those parameters taught in Part1 and Part 2 your good to go. Many of my color choices meshed wellfor my next project, some didn't of purpose so we can talk about what works and what doesn't work. I decided awhile back that all my swatches need to be made into usable items. You can make your swatches tall and skinny for bookmarks, bracelets and headbands or wide and long, seam them up with a drawstring and you have a bag. Swatching is inevitable - so make those swatches count. For today's class I made a headband to show you what happens when you have colors that work together and then I stretched further afield with a medium and a dark but I'm getting ahead of myself. Lets start at the top.
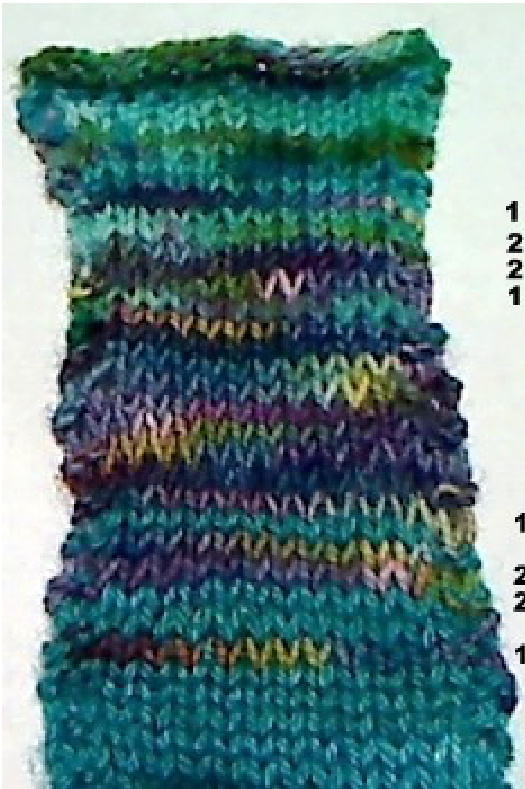
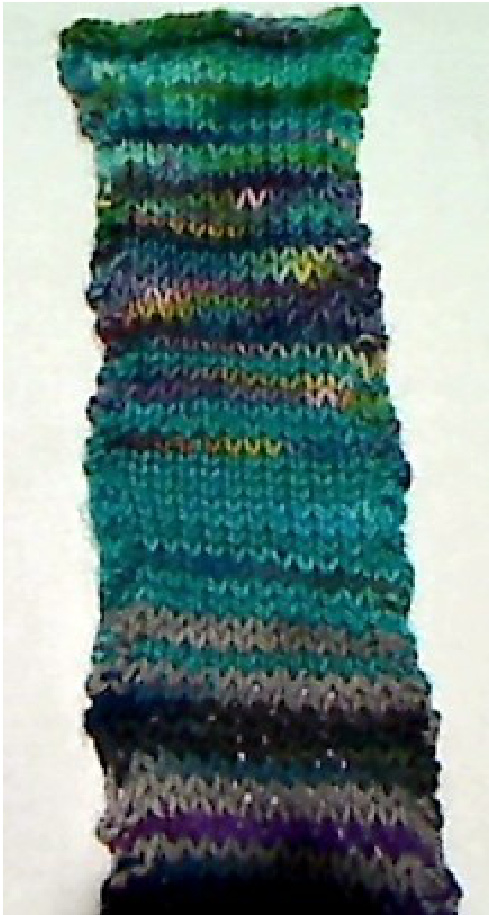
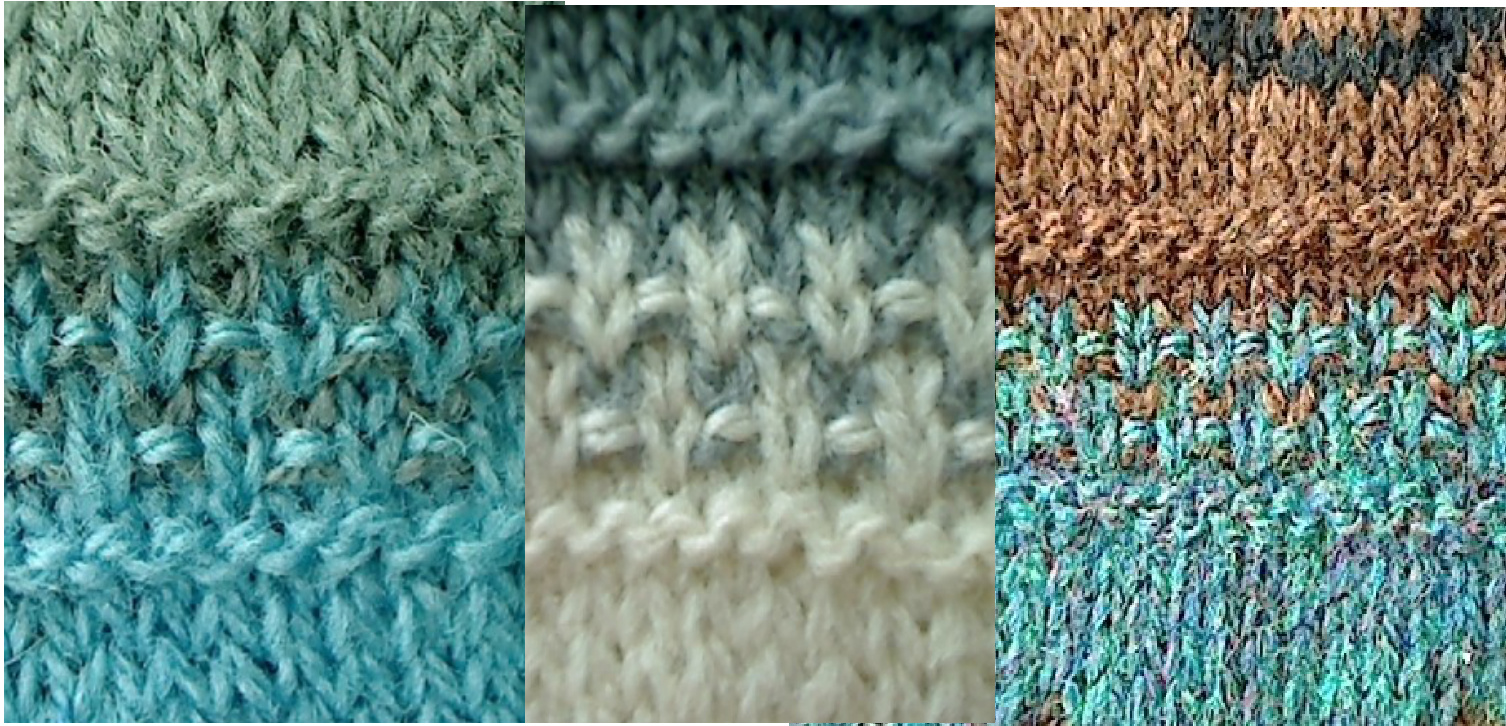
another transition. 1 row of solid 2 rows of blue 2 rows of solid 1 row of blue and dropped blue Thus 1, 2, 2, 1 again as before. Here we have my turquoise and lime then a blue with purple through to solid turquoise. Yes they are three different balls of yarn. You can hardly tell that due to the technique I'm going to share with you. The top has about one inch of plain knitting. Then we have some numbers, these correlate to how many rows of each color I did. Lets call the first (top) color lime, the second (middle) color blue and the last (bottom) solid After working 1 inch, I worked: 1 row of blue, 2 rows of lime 2 rows of blue 1 row of lime and dropped lime Thus 1, 2, 2, 1 is how I worked this transition. Then I worked for one inch of plain knitting and worked You can vary these numbers as many times as you like and go as long as you like adding even longer transitions if you feel it's needed and make them: 1, 2, 3, 3, 2, 1 so long as you start and stop with 1 and 2 you will do well. Go higher if you have a need for an even longer transition or just the desire for more. 1, 2, 3, 4, 4, 3, 2, 1-this one can be used in lace and a short one for worsted. So long as you follow this patterning the colors willflow from one to the next gradually. Color Changing Work Shop
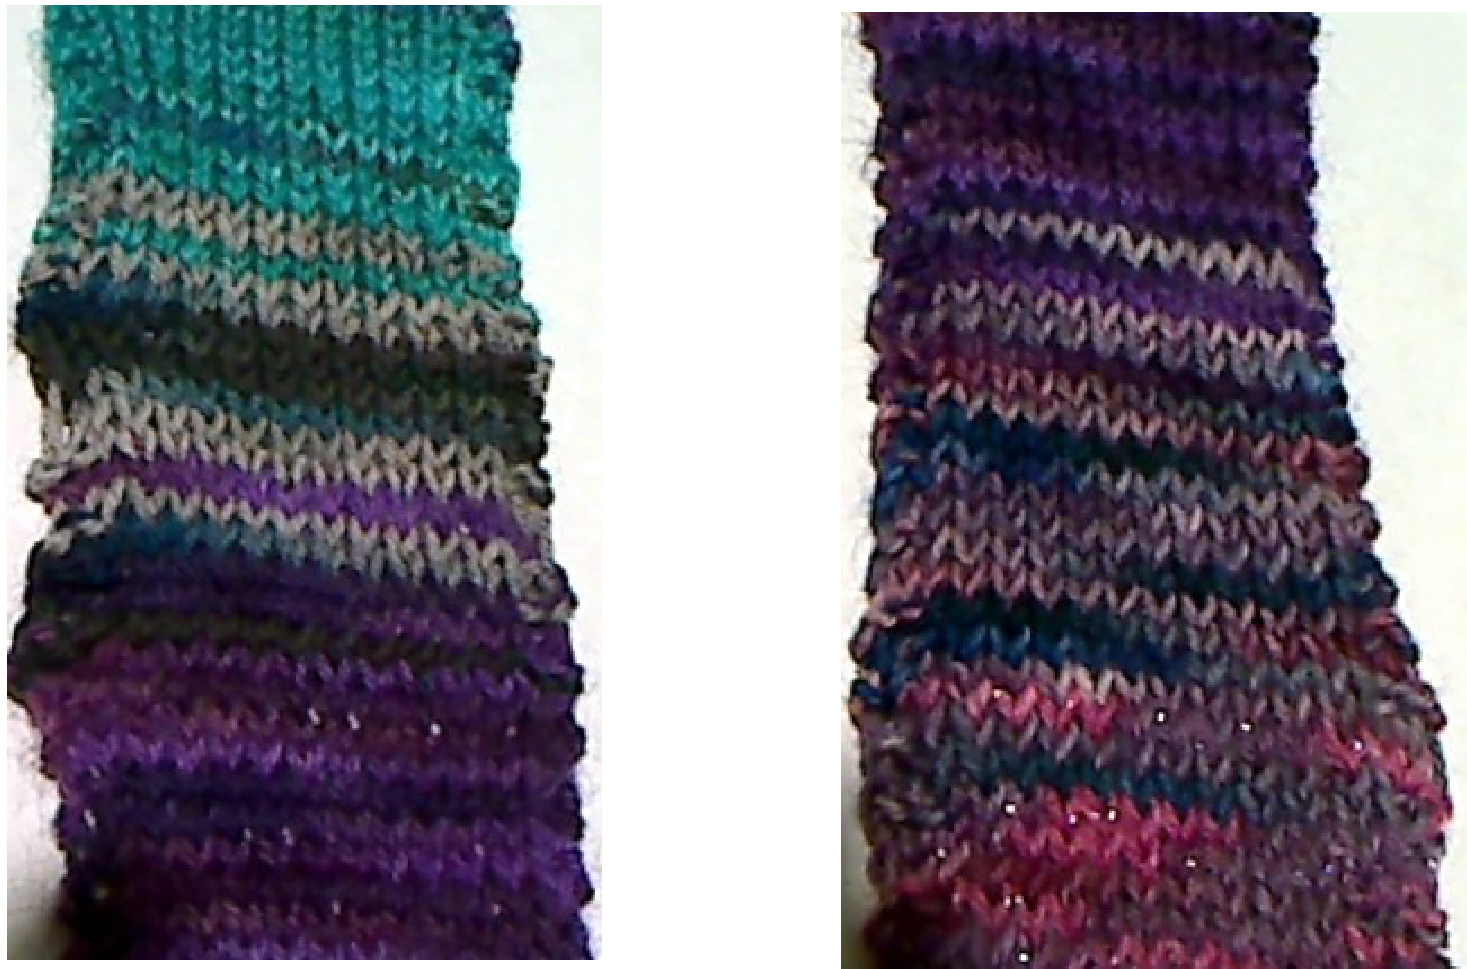
Using the above technique throughout, on the left I took the solid turquoise through a teal and gray which then made a transition into a purple. On the right (top) the purple then went into a medium blue/purple which then went into a medium pink shot with silver. What do you think about these? There is one more technique I want to share with you. When you have a color that you just know wont work you can work texture into the mix.
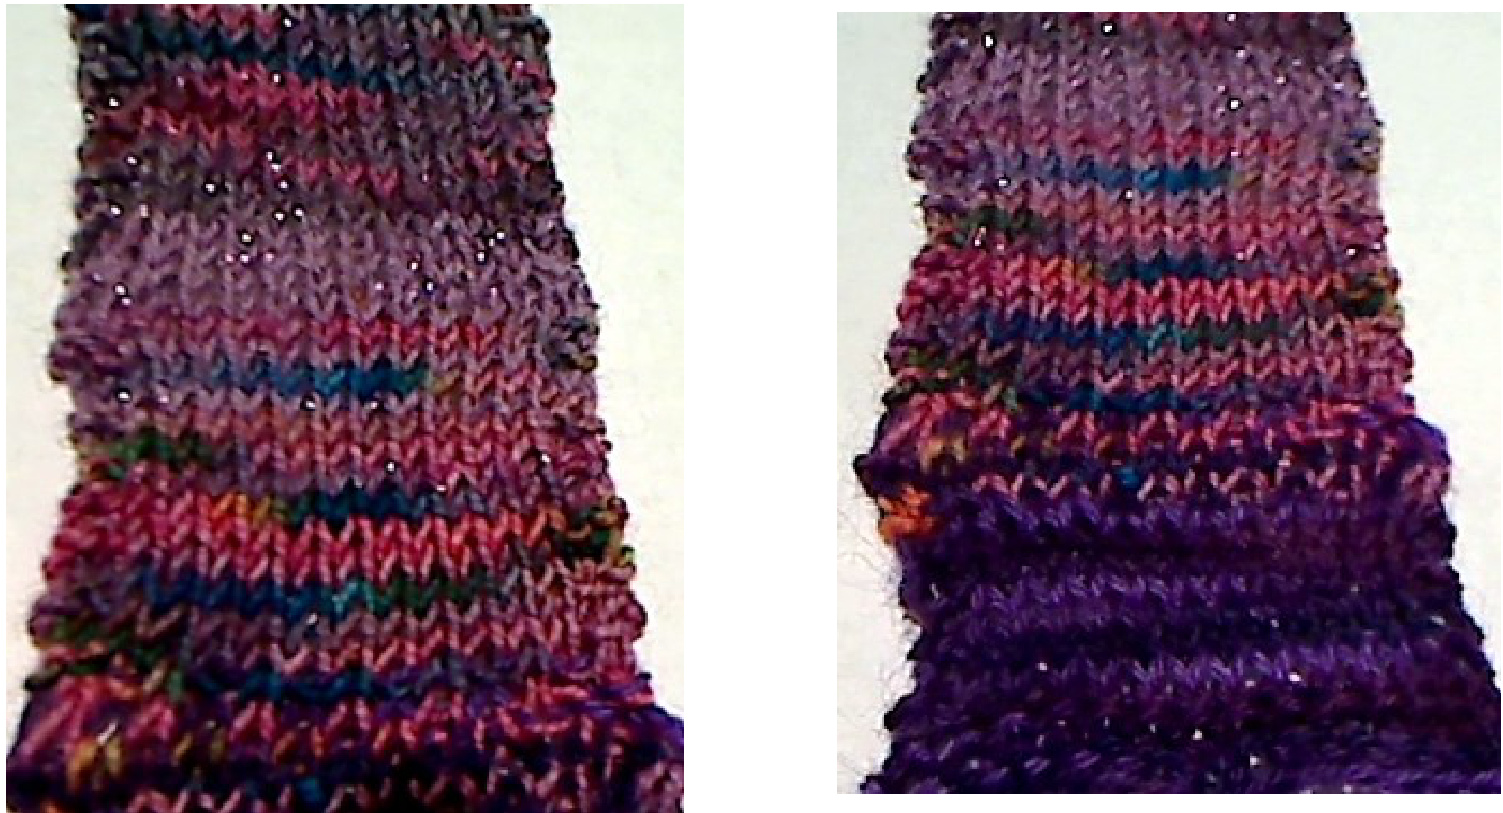
After the silver shot pink I went into a pink with a blue, purple in it which helped me to want to go back into the purple. I can hear you already. "But wait, you said we can't do that, not only are you going from a medium to a dark but you are going from PINK to PURPLE!" On the right photo you can see where I did a row of p1 k1 and I also took both of the colors across the rows as you can see at the bottom of the photo on the right. What's missing? What would you do different?
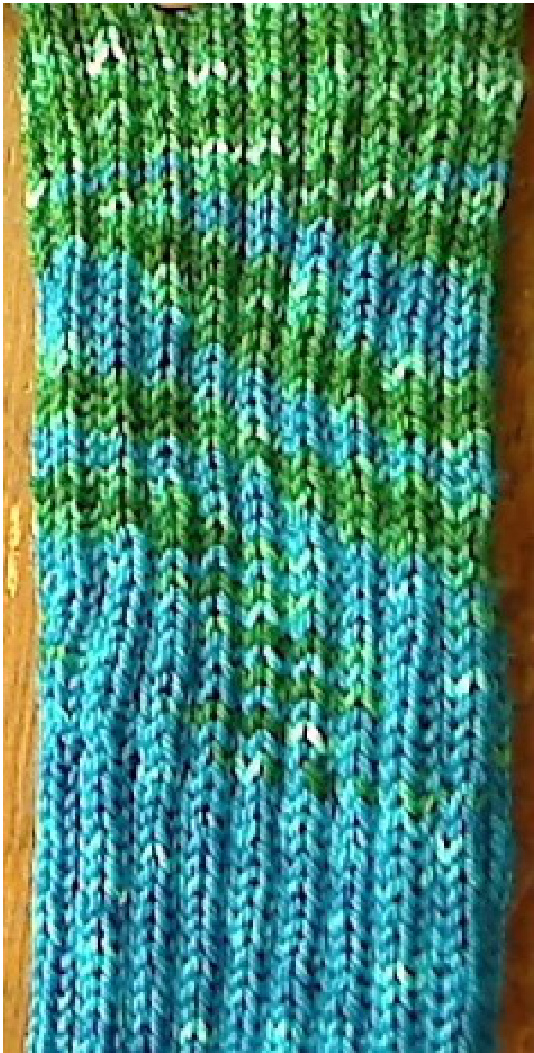
Here you have the overall look of the headband. See how the colors just blend one into the next? Yes you can tell that they are different balls at some places. What would you do differently? Would the last one have worked better if it were longer? How would you transition from the pink/purple yarn into the dark purple? I could tell you the answers to these questions but I would much rather you told me. @ Yarn Fairy Color Changing Headband Pithy Pattern instructions: The headband is 2 inches wide by about 20+/- inches long, negative ease-2 inches. Cast on 14 sts, always knit the first and last two sts. Knit on the RS, Purl on the WS. Work garter st for 2 rows, work color changes and end with 2 rows of garter st. To finish, weave in all the ends, block, do a three needle bind off or sew it together with faux buttons for a cute side effect. se side up you can match your turquoise, lime or blue outfits with it. P Color Changing Work Shop it on the other way up and you can wear it with pink or purple so it's also multi function! Or you could wear it with both sides showing and really make a fashion statement for your friends. What about making it into a purse handle? Shorter for a book mark, you are only limited by your imagination.
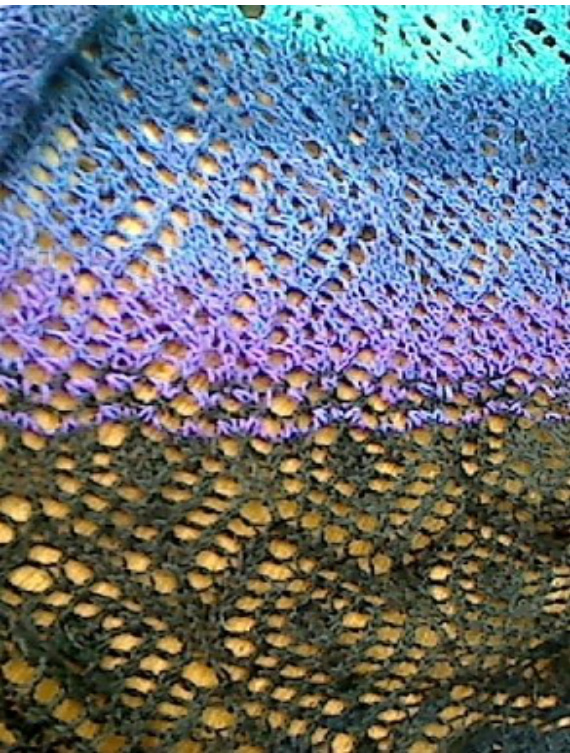
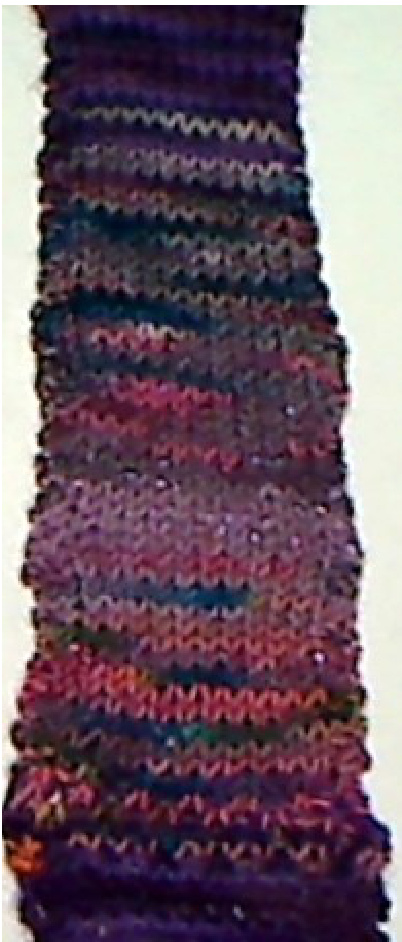
Here is my Sands of Time shawl I ran out of the purple with this one as the transition should have been done over a much longer area. What really should have happened lis a transition from the violet to a darker purple to an almost black. But as usual, I was in a hurry and wanted to Iget it done. What I really should have done was spun imore yarn but that's another tale. Just a few more photos for you, texture swatches below with knits and purls doing most of the work.
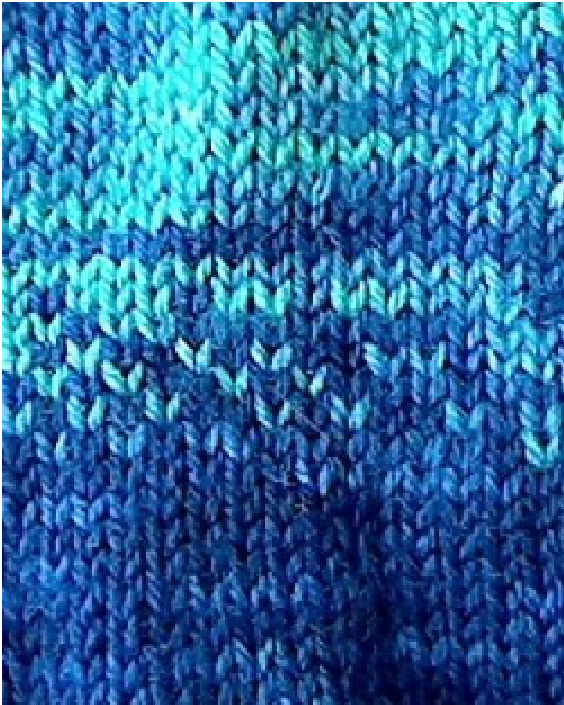
Here are my rainbow stockings, on the left the yarn is doing all the work from a solid turquoise, to a turquoise with green and then a solid green. On the right, the k1 in the new color, k1 in old color worked the transition from the solid royal to the royal with the turquoise. What will you make? Do you have doors opening on the horizon? Can you see this technique in your next project? Would you like to plan a KAL using this technique?


