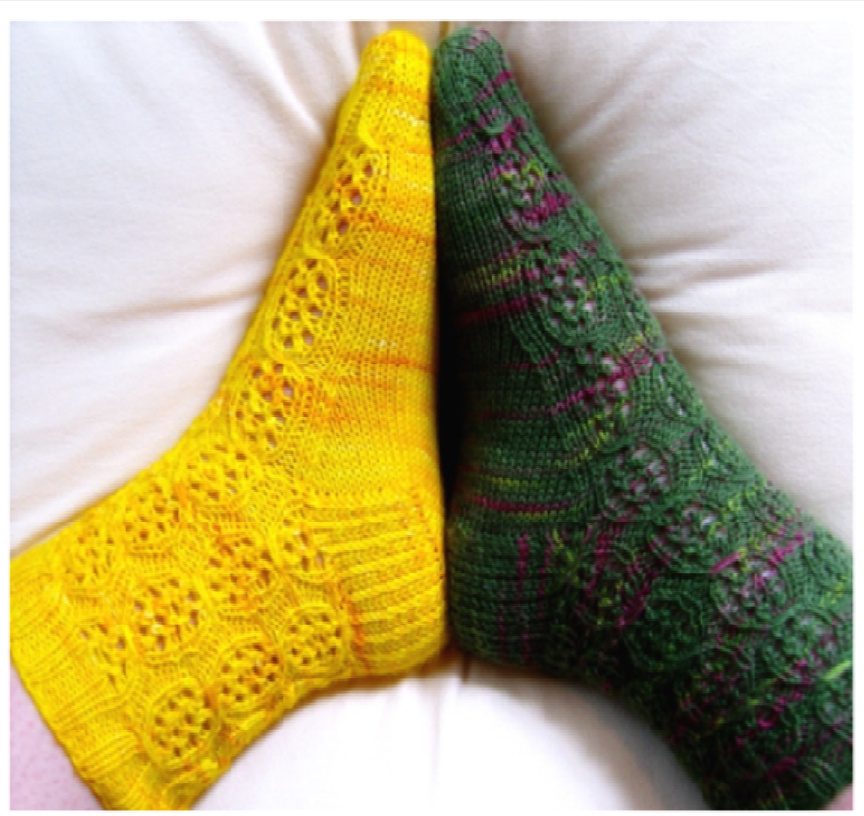
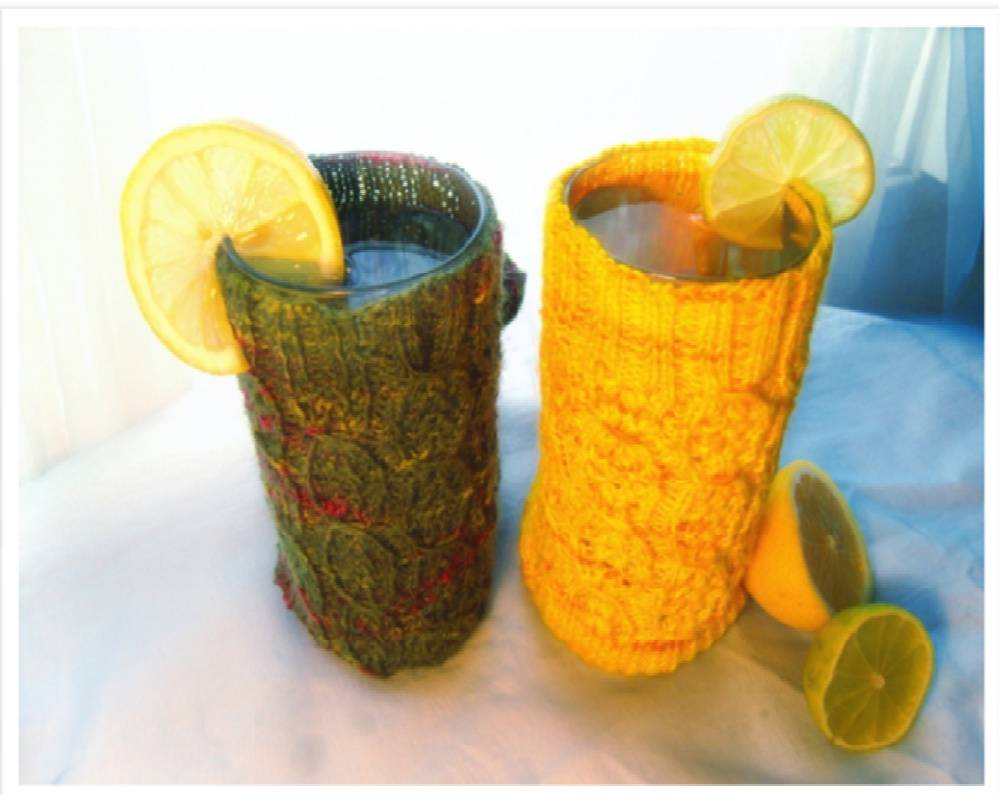
Gin & Tonic Socks
by RedScot There's nothing quite like a gin and tonic on a warm Summer's evening. With a slice of lime, or lemon, according to preference! This stitch pattern reminds me just of that - slices of something citrusy in a tall glass of iced Blue Sapphire gin and Schweppes tonic! (Sponsorship/endorsements deals welcomed with open arms!)
Needles: Set of 5 dpns size 2.75mm (Us 2), set of 5 dpns, size 3mm (US 2 V2) 2 cable needles of appropriate size Yarn: Zitron Trekking (XXL) or any similar fingering weight yarn. Gauge: 28 sts / 32 Rounds (st st) = 4 inches Size: Woman's large. (Roughly ankle 9/10".) To make a medium size use size 2.5mm (Us 1.5) for the cuff and 2.75mm (Us 2) for the main sock; for a small size use 2.25mm (Us 1)for the cuff and 2.5mm (US 1.5) for the main sock.
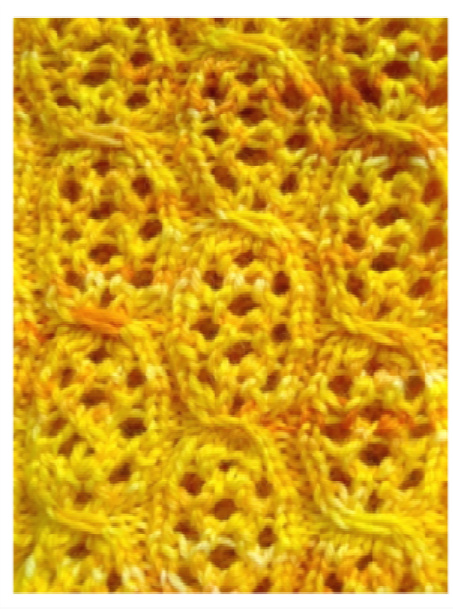
Gin & Tonic Stitch Pattern:
Round 1: \*p1, C6FR, p2, k1, yo, k2tog, skp, yo, k1, p1, repeat from \* to end Round 2: \*p1, k6, p1, repeat from \* to end Round 3: \*p1, k1, k2tog, [yo] twice, skp, k1, p1, repeat from \* to end. Round 4: \*p1, k2, [k1, k1tbl] into the double [yo] of previous row, k2, p1, repeat from \* to end. Round 5: \*p1, k1, yo, k2tog, skp, yo, k1, p1, repeat from \* to end. Round 6: Same as round 2 Rounds 7 & 8: Same as rounds 3 & 4. Round 9: \*p1, k1, yo, k2tog, skp, yo, k1, p2, C6FR, p1, repeat from \* to end. Round 10: Same as round 2. Rounds 11, 12, 13 & 14: Same as rounds 3, 4, 5 & 6. Rounds 15 & 16: Same as rounds 3 & 4. Repeat these 16 rounds.
Cuff:
Using size 2.75mm dpns (or the smallest size of dpns you have chosen for the right size), cast-on 64 stitches onto 1 dpn then spread them evenly over 4 dpns - 16 stitches for each needle. Join in round, being careful not to twist the stitches and work P2, k2 rib for 1 to 112 inches. After the last Round of the cuff, shift one stitch onwards to the next needle, so you have each needle beginning and ending with a purl stitch. This centres the pattern.
Leg:
Changing to size 3mm dpns (or the larger size of dpns you have chosen for the right size), work the Gin & Tonic pattern for 6 inches, or to the leg length you prefer, ending after working round 1 or 9, depending on where you are in the pattern.
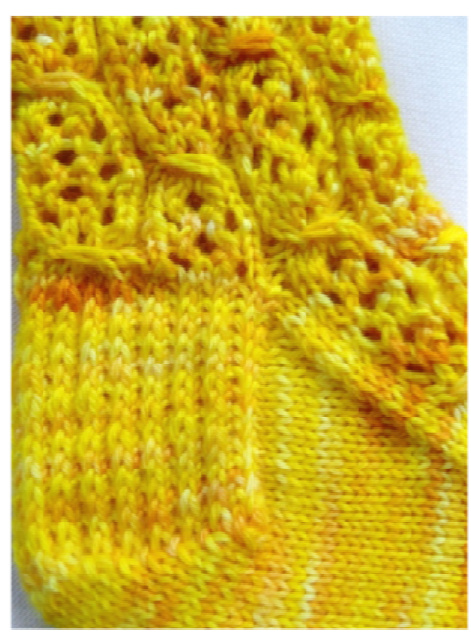
Heel Flap:
K16 sts on ndl no.1, turn. Sl1, p31, turn. Then, work the following 2 rows back and forth, turning after every row. Row 1: Sl1, k1tbl \* repeat to end of row, ending in a k1tbl. Row 2: Sl1, purl to end of row. Repeat these 2 rows 15 more times.
Turn heel
Row 1: Sl1, k17, skp, k1, turn. Row 2: Sl1, p5, p2tog, p1, turn. Row 3: Sl1, k6, skp, k1, turn. Row 4: Sl1, p7, p2tog, p1, turn. Row 5: Sl1, k8, skp, k1, turn. Row 6: Sl1, p9, p2tog, p1, turn.
king one more stitch per row until all stitches have been worked and there are 18 sts left.
Gusset
Sl1 then knit across half the heel sts with ndl no.4. Knit remaining heel stitches with needle no.1, then with the same needle pick up 16 stitches along the edge of the heel-flap, plus an extra stitch or two at the corners to prevent holes. Continue with round 2 or 10 of the Gin & Tonic stitch pattern with ndl nos.2 & 3 depending on which round you finished on before the heel flap. Pick up the remaining heel flap stitches and the first half of the heel with ndl no.4. The centre of the heel marks the beginning of the round. Continue with the following rounds: Round 1: Knit all sts on ndl 1, continue with Gin & Tonic pattern on ndls 2 & 3, knit all sts on ndl 4. Round 2: (Decrease row.) Using ndl no.1, work to 3 sts from the end of the ndl, k2tog, k1. Work the instep sts in the established Gin & Tonic pattern on ndl nos.2 & 3 and at the beginning of ndl no.4, k1, ssk, knit to end. Repeat these 2 rounds until there are 14 sts each on ndl nos. 1 & 4.
Foot
Continue in the established pattern until the foot measures 2 inches less than the desired length.
Toe
I'll give you 2 methods of creating the toe - one that continues the ribbing pattern from the cuff, and a traditional ststone. Rnd 1: ndl 1 - k to last 3 sts, k2tog, k1 ndl 2 - k1, skp, [p2, k2] to last st, p1 ndl 3 - p1, [k2, p2] to last 3 sts, k2tog, k1 ndl 4 - k1, skp, k to end Rnd 2: ndl 1 -k ndl 2 - [k2, p2] to last 3 sts, k2, p1 ndl 3 - p1, [k2, p2]to last 2 sts, k2 ndl 4 - k Rnd 3: ndl 1 - k to last 3 sts, k2tog, k1 ndl 2 - k1, skp, p1, [k2, p2] to last 3 sts, k2, p: ndl 3 - p1, [k2, p2] to last 5 sts, k2, k2tog, k1 ndl 4 - k1, skp, k to end Rnd 4: ndl 1 -k ndl 2 - k2, p1, [k2, p2] top last 3 sts, k1, p1 ndl 3 - p1, [k2, p2] to last 5 sts, k2, p1, k2 ndl 4 -k Rnd 5: ndl 1 - kto last 3 sts, k2tog, k1 ndl 2 - k1, skp, [k2, p2] to last 3 sts, k2, p1 ndl 3 - p1, [k2, p2] to last 5 sts, k2, k2tog, k1 ndl 4 - k1, skp, k to end Rnd 6: ndl 1 -k ndl 2 - k4, [p2, k2] to last st, p1 ndl 3 - p1, [k2, p2] to last 4 sts, k4 ndl 4 - k Rnd 7: ndl 1 - k to last 3 sts, k2tog, k1 ndl 2 - k1, skp, k1, [p2, k2] to last st, p1 ndl 3 - p1, [k2, p2] to last 4 sts, k1, k2tog, k1 ndl 4 - k1, skp, k to end Rnd 8: ndl 1 -k ndl 2 - k3, [p2, k2] to last st, p1 ndl 3 - p1, [k2, p2] to last 3 sts, k3 ndl 4 - k
3lGin and Tonic Socks RedScot Zooq Rnd 9: ndl 1 - k to last 3 sts, k2tog, k1 ndl 2 - k1, skp, [p2, k2] to last st, p1 ndl 3 - p1, [k2, p2] to last 3 sts, k2tog, k1 ndl 4 - k1, skp, k to end Rnd 10:ndl 1 -knd 2 - [k2, p2] to last 3 sts, k2, p1 ndl 3 - p1, [k2, p2] to last 2 sts, k2 ndl 4 -k Rnd 11:ndl 1 - k to last 3 sts, k2tog, k1 ndl 2 -k1, skp, k2, p2, k2, p1 nd 3 - p1, k2, p2, k2, p1, k2tog, k1 ndl 4 - k1, skp, k to end You now have 10 sts per ndl. From now on each rnd will be a decrease rnd. Rnd 12:ndl 1 - k to last 3 sts, k2tog, k1 ndl 2 - k1, skp, k2, p2, k2, p1, then continue knitting from ndl 3 onto ndl 2, p1, k2, p2, k2, k2tog, k1 ndl 4 -k1, skp, k to end Rnd 13:ndl 1 - k to last 3 sts, k2tog, k1 ndl 2 -k1, skp, k1, [p2, k2] to last 6 sts, p2, k1, k2tog, k1 ndl 4 - k1, skp, k to end Rnd 14:ndl 1 - k to last 3 sts, k2tog, k1 ndl 2 -k1, skp, [p2, k2] to last 5 sts, p2, k2tog, k1 ndl 4 - k1, skp, k to end Rnd 15:ndl 1 - k to last 3 sts, k2tog, k1 ndl 2 -k1, skp, p1, k2, p2, k2, p1, k2tog, k1 ndl 4 - k1, skp, k to end Rnd 16:ndl 1 - k to last 3 sts, k2tog, k1 ndl 2 - k1, skp, k2, p2, k2, k2tog, k1, then continue knitting the sts from ndi 4 onto ndl 2. You will now have 10 sts each on 2 ndls. Now you're ready to graft the sts from the 2 ndls together with kitchener stitch. Weave in ends. Notes:The lemon Gin and Tonic sock was knit withBeyond Basic Knits Superwash Sock yarn in the just call me happy colourway, using size 2.75mm dpns for the cuff, and 3mm dpns for the sock itself. The lime Gin and Tonic sock was knit with Zitron Trekking (XXL) yarn in colourway 175 (greens) using 2.75mm dpns for the wholesock. With thanks to all the intrepid test knitters, esp Jesh and Sharispinz!
Method 2 (st st)
Round 1: Knit all sts. Round 2: (Decrease round.) Work to 3 sts from the end of ndl no.1, k2tog, k1. K1 skp at the beginning of ndl no.2, knit to end. Work ndl no.3 in the same manner as no.1 and work ndl no.4 in the same manner as no.3. Repeat these 2 rounds until there are 10 sts on each ndl. Then work the decrease round only until there are 5 sts oneachndl. Slip sts from ndl no.2 to ndl no.1 and from ndl no.3 to ndl no.4 Graft (Kitchener st) the sts from ndl no.1 to the sts on ndl no.4. Weave in ends. VOILA! U can haz sok.
| 16 | ||||||||||||||||
| 7 | 0 | 7 | 0 | 0 | 15 | |||||||||||
| . | 14 | |||||||||||||||
| 0 | 7 | 0 | . | 0 | 7 | 0 | 。 | 13 | ||||||||
| f | 。 | 12 | ||||||||||||||
| 7 | 0 | 0 | 7 | 0 | 0 | 11 | ||||||||||
| 10 | ||||||||||||||||
| K | 0 | 7 | 0 | 9 | ||||||||||||
| f | I1 | 8 | ||||||||||||||
| 7 | 0 | 0 | 7 | 0 | 0 | 7 | ||||||||||
| 6 | ||||||||||||||||
| 0 | 7 | 0 | 0 | 7 | 0 | 。 | 5 | |||||||||
| + | + | 4 | ||||||||||||||
| 7 | 0 | 0 | 7 | 0 | 0 | . | 3 | |||||||||
| . | . | 2 | ||||||||||||||
| 0 | 7 | 0 | 1 |
| purl | |
| Righ half of cable | |
| kstin cable | |
| lefthalfofcable | |
| 0 | yo |
| 4 | k2tog |
| 7 | skp |
| knit | |
| k1tbl |
(For the cable directions, please refer to the abbreviations, below left.)
Abbreviations:
k = knit p= purl skp = slip st, k st, pass slipped stitch over k st k2tog = knit s sts together k1tbl = knit one st through back loop yo =yarn over [yo] twice = 2 loops made sl1 =slip 1 st = stitch st st = stocking stitch ndl = needle rnd =round dpn = double-pointed needle C6FR = Cross 6 Front Right = slip next st onto 1st cable ndl and hold at front of work, slip the next 4 sts onto 2nd cable ndl and hold at back, knit next st from left-hand ndl, knit sts from 2nd cable ndl then knit st from 1st cable ndl.