
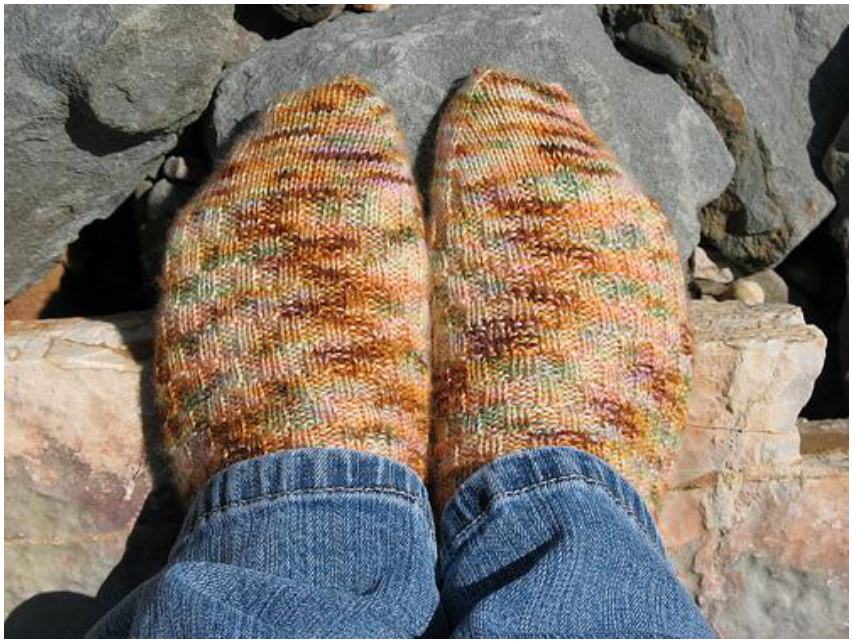
The Weasley's Homestead
By Erica Lueder
Materials
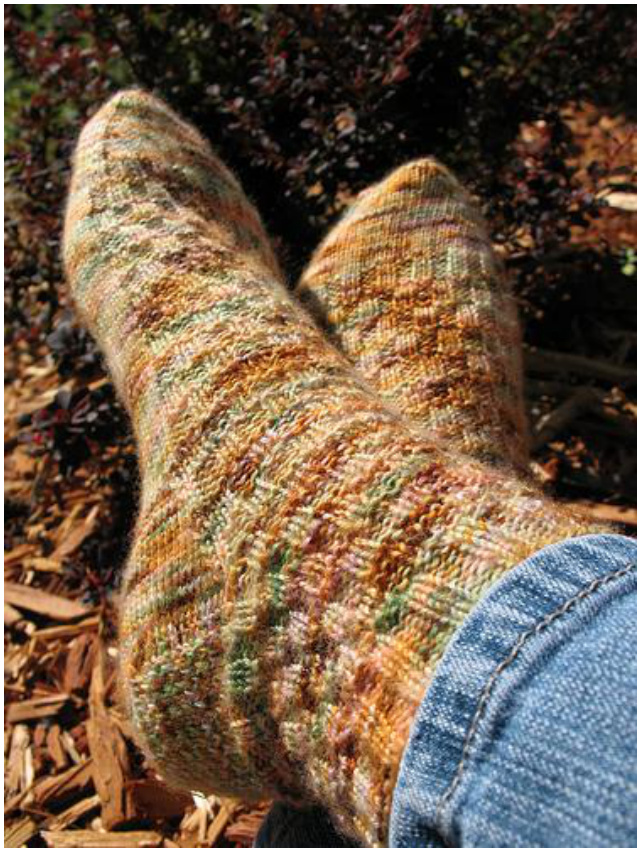
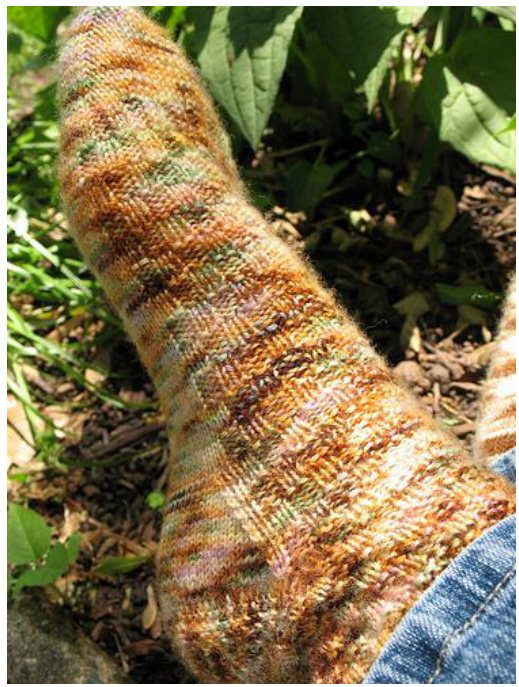
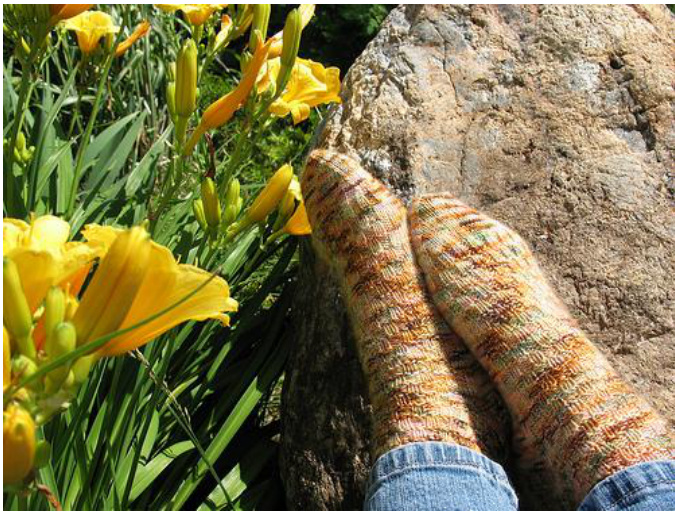
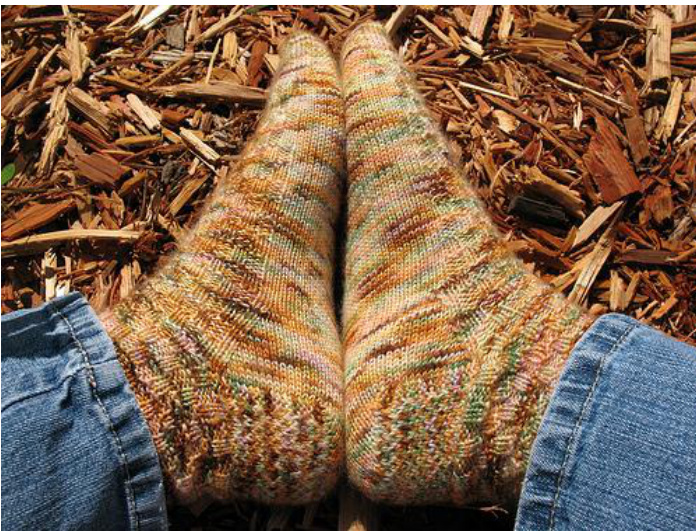
Yarn: Fingering Weight - approx 350- 400yds Sample sock knit with Fresh From the Cauldron's Superwash Sock Yarn in the Burrow Colorway. Needles: Us 2 (2.75mm) - set of 2 Circular Needles, or size needed to obtain gauge. Gauge: 36 sts per 4 inches (10cm) Elongated Rib Stitch Leg Pattern (Repeat from \* to \*) Rows 1-6: \*p2, k2\* Rows 7-12: \*k2, $\mathsf{P}2^{*}$
Slightly Modified Garter-Stitch Edged Eye of Parridge Heel
Row 1: k3, p to end Row 2: p3, \*kl, sl 1\* to last 3 sts, k3 Row 3: k3, p to end Row 4: p3, \*sl 1, K1\* to last 3 sts, k3
INSTRUCTIONS:
Cuff CO 64 sts, divide evenly over 2 circular needles (32 sts each needle). Join for knitting in the round. Work 12 rows of ribbing: \*k2, p2\*
Begin Elongated Rib Sstitch Leg Pattern for a total of 3 pattern repeats or until you have reached your desired length ending with row 12 of pattern.
Heel Flap Heel Turn The heel flap is worked using ndl 2; ndl 1 is holding the instep sts. Knit the Slightly Modified Garter-Stitch Edged Eye of Partridge Heel Pattern for a total of 8 pattern repeats (32 total rows) ending with Row 4 of the pattern. This leaves 16 edge sts for pick up after the heel is turned. With ws facing you, Sl 1, p 16, p2tog, pl, turn Next row: sl 1, k3, ssk, kl, turn Next row: sl 1, p4, p2tog, p1, turn Next row: sl 1, k5, ssk, ki, turn Next row: sl 1, p6, p2tog, p1, turn Next row: sl 1, k7, ssk, kl, turn
\*\*ontinueinthismanneruntlls arehavebeen knit - there should be 18 heel sts left on the needle at this point.\* Pick up (pu) the heel flap sts. Using the ndl holding the heel sts (now referred to as ndl 1): pu 16 sts along the heel flap, pu I extra st between the heel flap and the instep (to close the gap), pm, k across half of the instep sts (16 sts) in pattern. Switch to the other needle (now referred to as ndl 2).
Using ndl 2: continue across second half of the instep sts (16 sts) in pattern, pm, pu 1 extra st between instep and heel flap (to close gap), pu 16 heel flap sts, continue to knit across half of the heel sts (9 sts) \*\*at this point there should be 42 sts on each needle\*\* Gusset Set up row: Ndl 1: k across the heel and heel flap sts until you reach 2 sts before the marker, ssk, sm, continue to knit across the instep sts in pattern. Ndl 2: k across the instep sts in pattern, sm, k2tog, k to end Now we're ready to get going on the gusset $\circledcirc$ Row 1: Ndl 1: kto 3 sts before marker, k2tog, kl, sm, knit instep sts in pattern Ndl 2: k across instep sts in pattern, sm, k1, ssk, k to end Row 2: Ndl 1: K to marker, sm, continue across instep sts in pattern Ndl 2: k across instep sts in pattern, sm, k to end \*Repeat these 2 rows until there are 32sts leff on each needle (17 gusset rows total, not including the set-up row)\*\* Redistribute the sts so ndl 1 carries the instep sts and ndl 2 carries the sole sts. Instep Continue knitting in pattern (ndl 1: the Elongated Rib Stitch Leg Pattern, ndl 2: St st) until you have reached your desired length ending with row 14 of the Brick
Stitch Leg Pattern. Decrease rounds are knit as follows: \*k1, ssk, kto last 3 sts, k2tog, k1\* Row 1: decrease (30 sts per ndl) Row 2: knit Row 3: decrease (28 sts per ndl) Row 4: knit Row 5: decrease (26 sts per ndl) Row 6: knit Row 7: decrease (24 sts per ndl) Row 8: knit Row 9: decrease (22 sts per ndl) Row 10: knit Row 1l: decrease (20 sts per ndl) Row 12: knit Row 13: decrease (18 sts per ndl) Row 14: knit Row 15: decrease (16 sts per ndl) Row 16: knit Row 17: decrease (14 sts per ndl) Row 18: knit Row 19: decrease (12 sts per ndl) Row 20: decrease (10 sts per ndl) Finishing Cut yarn leaving a 10 inch tail and weave through remaining sts using the Kitchener technique. Weave in all ends and congratulate yourself on knitting a beautiful sock $\circledcirc$ Now knit the other one if you haven't already.
ws: wrong side wyib: with yarn in back wyif: with yarn in front Abbreviations: CO: cast on k: knit k2tog: knit 2 stitches together ndl: needle p: purl p2tog: purl 2 stitches together pm: place marker pu: pick up sl 1: slip one stitch as if to purl ssk: slip, slip, knit St st: Stockinette Stitch sts: stitches
Inspiration:
The Weasley Family is one of my favorite "characters" in J.K. Rowling's Harry. Potter Series. When I think about the individual Weasley Family members all together the words strength, foundation, love, warmth, unity, and character all come to mind. I decided to pair this colorway with the Elongated Rib Stitch Pattern because the colorway provided the family's "warmth" and the stitch pattern provided the family's "foundation". I want to note, the Elongated Rib Stitch Pattern is not my own, I have seen it used in several different projects and have changed no part of it for this “"pattern". This "pattern" (or non-pattern) is simply how I constructed this particular pair of socks. @


