knitFABulous by: Keturak Ariel Malinconico
& crochetSAVVY
INTERMEDIATE
MATERIALS:
Hook Size: Jumbo size (N/15) 1 Skein bulky (Patrons Melody “Quick & Cozy") in various multi-colors (l used 3 different skeins in various rows)
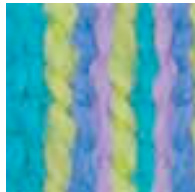
09741 Fun'n Games
19329 Electric 09713 Happy Blues Daze
Gauge: Suggested at lin=1.5 stitches in tunisian crochet/ Afghan stitch, however, gauge does not matter as much. My total number of stitches per row=10 stitches in tunisian crochet
instructions...
Foundation chain: chain 10.
We are using tunisian crochet method/Afghan stitch for this project, we work our rows backwards and never turn the work once we reach the end of the rows. ROW 1: Starting with the stitch already on the hook from the foundation chain and while keeping that stitch on the hook, we insert the hook into the 3rd chain stitch and draw up a stitch. You should now have 2 stitches on your hook.
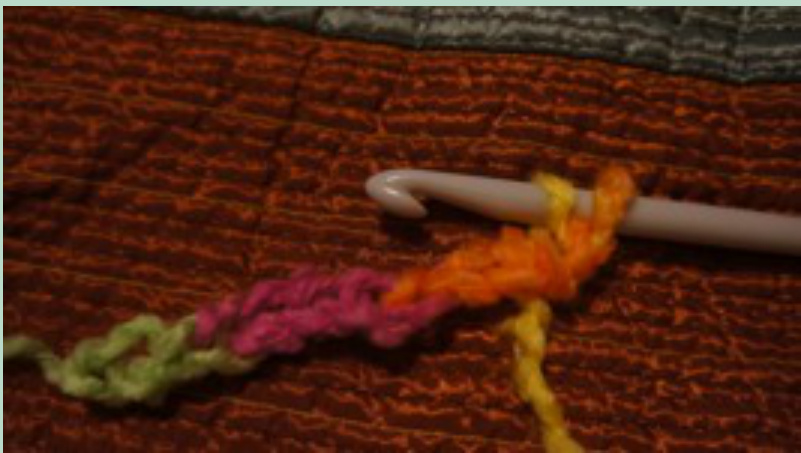
Next, continue to draw up stitches from your foundation row in the same manner until you reach the end of the foundation row.

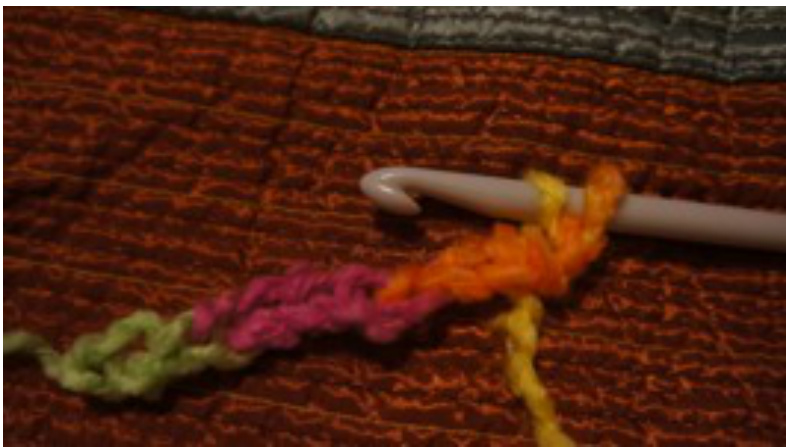
With all of the stitches on the hook, insert the hook into that last stitch and draw up 1 additional stitch, making your total stitches 11. Working 2 by 2 stitches at the same time, work forward by inserting the hook through the last 2 stitches creating 1 stitch and continue in this manner until you reach the beginning of the row and only have 1 stitch on the hook.
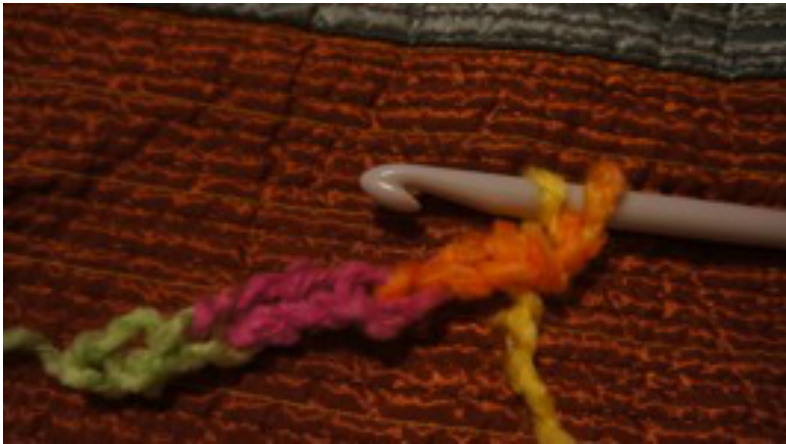
This is how to do the Afghan stitch for Tunisian crochet. Each row is made like knitting and when you work back to the first stitch, its like crochet again. You will always work forward 2 stitches at a time to reach that first stitch. And you will always end up with only 1 stitch.
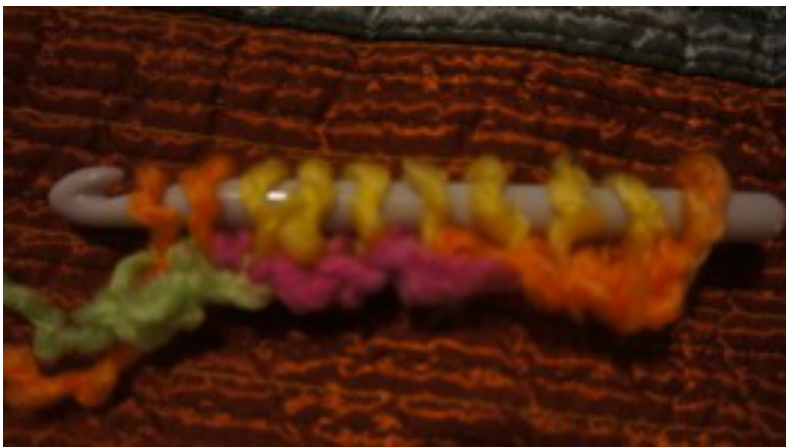
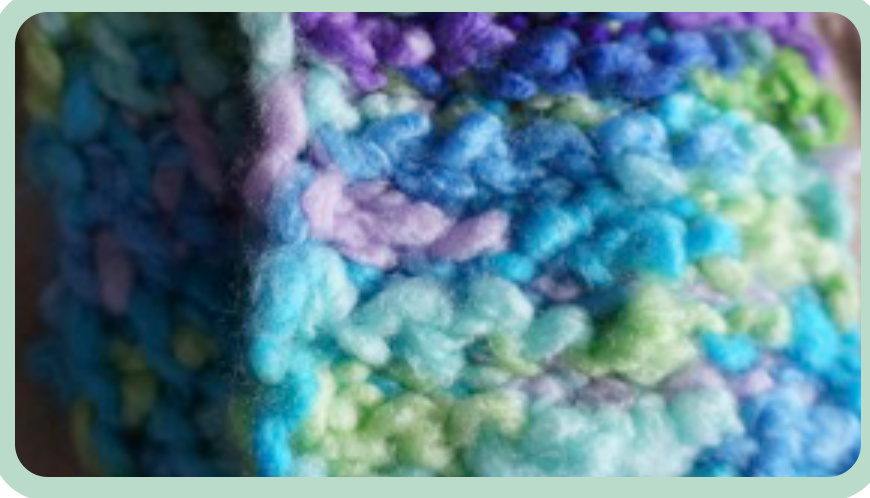
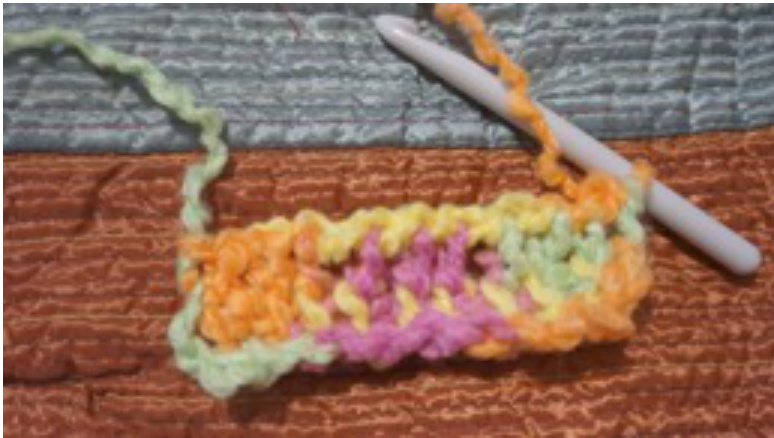
ROW 2: Repeat process, this time drawing up on the post of each stitch. This is the vertical line you see. (Yellow posts in example photo)
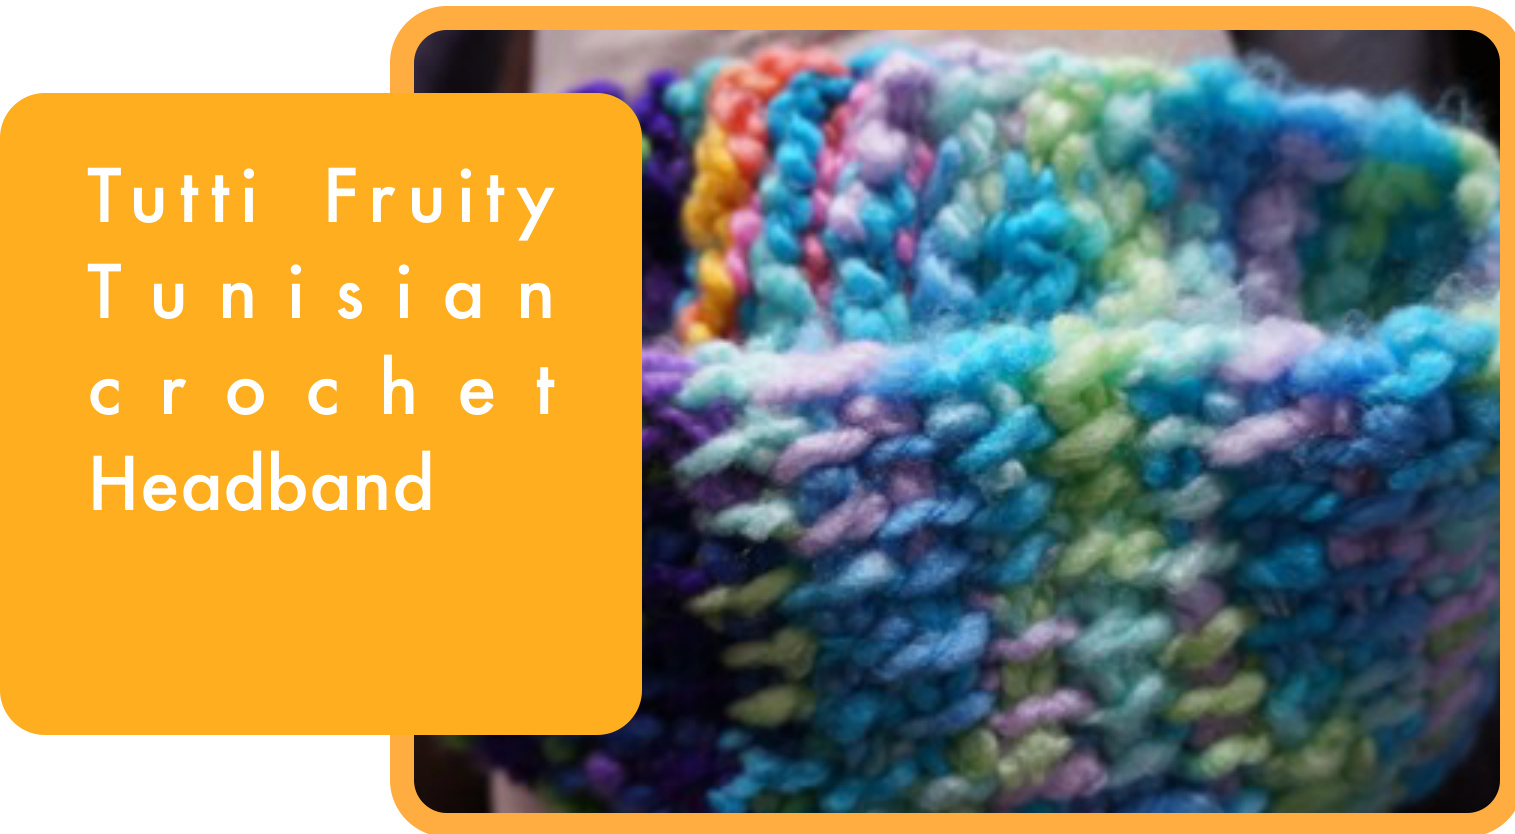
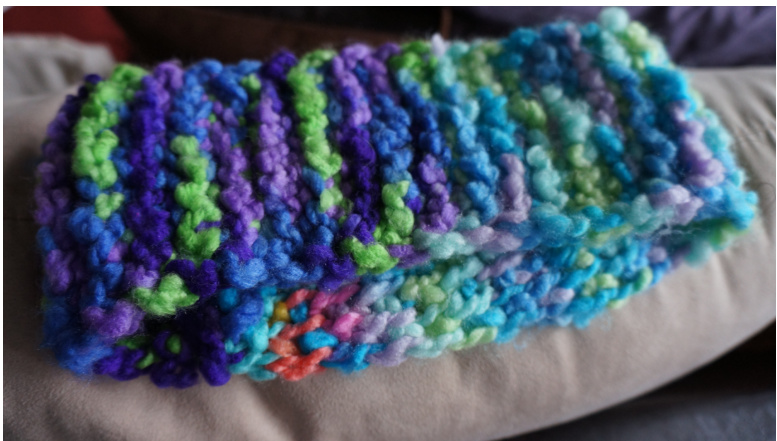
THEFINISHED HEADBAND
REPEAT THIS METHOD of drawing up stitches from the posts and then adding that additional stitch at the end of the row. (TIP: I twist up the tail of my yarn at the end of the row for a finished and weaved in look-note the green yarn tail working its way up) Then work forward 2 by 2 stitches FOR THE ENTIRE HEADBAND UNTIL IT MEASURES AND FITS AROUND YOUR HEAD.

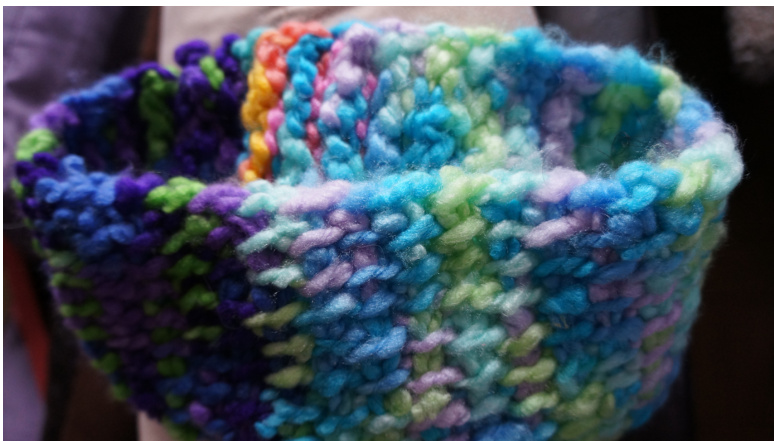
On the last stitch of your last row, fasten off and then join the two sides together and crochet it closed. The type of yarn that it used (Melody by Patrons) will allow you to have a reversible headband. One side will have the lines shown from the Afghan stitch while the reversible side will show a more puffed stitch. Wear it as you like. It's comfy and warm for those cold winters and great protection for your ears! Enjoy! For more in-depth tutorials for the Afghan stitch/ tunisian crochet method, check out my favorite teacher, Teresa Richardson of Crochet Geek on her blog or YouTube channel. Here is a link to her Youtube tutorial for this method... https://www.youtube.com/watch?v=iYBAhlxJAU4
Copyright 2013. Crochet Savvy & Knitfabulous, www.crochetsavvy.com Pattern may not be sold without my permission; however it can be used to make items that you can sell as long as proper credit and citation is shown that pattern was created by Keturah Ariel of Crochet Savvy & Knitfabulous. You may link to this pattern from other websites, email and electronic documents. Please ask permission first if you need or want to copy this pattern to your website. Please contact us at info@crochetsavvy.com if this is the case andyouwouldlikethispatterntobefeaturedonyourwebsite,etc.


