BANDWAGON BLANKET: THOUGHTS ON MAKING A TUNISIAN CROCHET SOCK YARN BLANKET
BETH GRAHAM
There's a great expression in English: "to jump on the bandwagon." It means to go along with a bunch of other people doing something popular. 've never been someone to follow the crowd. Because of this, I was a terrible Girl Scout: I refused to participate in getting badges with others in my troop; I didn't care how many boxes of cookies I sold each year. So I knew I wouldn't be jumping on the Shelly Kang “Sock Yarn Blanket” bandwagon. Even though I contributed some scraps to her original blanket way back in 2006. Even though many of my friends have been making beautiful blankets for years. And then I started accumulating - you guessed it - sock yarn scraps. Scads and scads of sock yarn scraps. What to do? I gave lots away. I used lots more to make a few granny square blankets. And then I happened to notice that - oh, the horror! - there didn't seem to be a Tunisian crochet equivalent of Shelly's knit blanket. Here, then, are a few notes on how to make a Tunisian crochet sock yarn blanket. Yes, I've jumped on thebandwagon.Will you? (P.S. You have much to answer for, Shelly Kang!) Skill Level: Easy Finished Dimensions: TBA Gauge: 5 Tss = 1" Supplies 3-5 g bits of sock yarn · H-8/5.0 mm Tunisian crochet hook, or size needed to obtain desired gauge · Vast quantities of fingering-weight yarn for edging · Tapestry needle to weave in zillions of ends ch chain, foll following, Ip(s) loop(s), rep repeat, prev previous, rem remaining, RS right side, sl st slip stitch, st(s) stitch(es), Tss Tunisian simple stitch, Tss3tog Tunisian simple stitch 3 together, vert strand vertical strand, yo yarn over Pattern uses U.S. crochet terminology and presents information in a right-handed orientation. BASE ROW MITERED SQUARE (MAKE AS MANY AS YOU NEED FOR DESIRED BLANKET WIDTH) Ch 31. Set-up Row: Forward pass: Pull up Ip in second ch from the hook and in each ch across. [31 Ips on hook] Return pass: Yo and pull through 1 Ip, \*yo and pull through 2 Ips; rep from \* across. [1 Ip rem on hook, which counts as first st of next row, now and throughout, after every return pass.] Row 1: 1 Tss in each of next 13 sts, 1 Tss3tog, 1 Tss in each of next 14 sts. [29 Ips on hook] Return. Row 2: 1 Tss in each stitch across to 1 st before decrease on prev row, 1 Tss3tog over next 3 sts, 1 Tss in each st across to edge st, 1 Tks in edge st. Return. Rep row 2 until 3 Ips remain at the end of a forward pass. To return, yo and draw through all 3 Ips on hook.Fasten off. Note: For square on far left edge of blanket, after drawing through final 3 Ips on hook, ch 15 and then fasten off. (Chains will be used to anchor left-edge square of next row.)
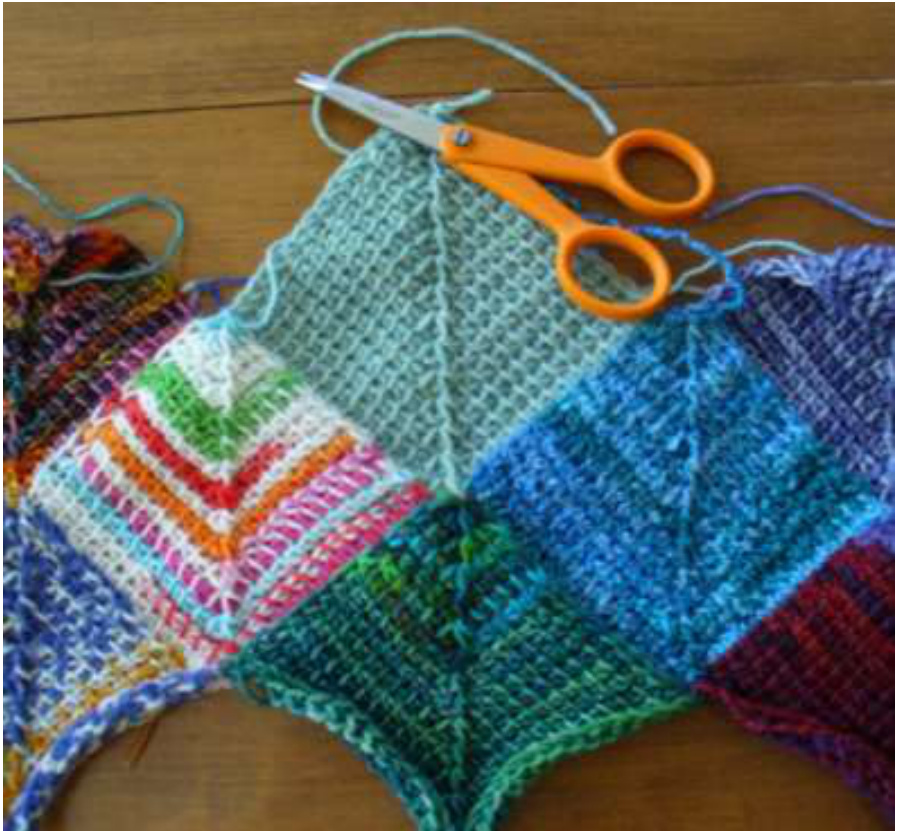
MAKING AND ATTACHING MITERED SQUARES TO BASE ROW
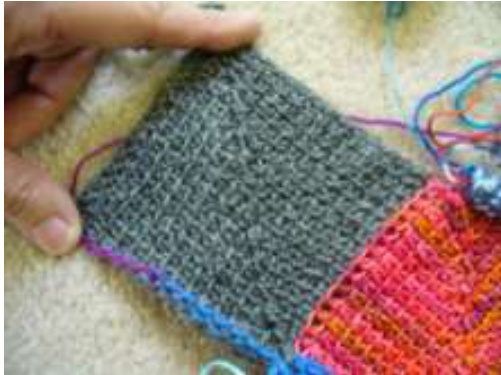
Notice that the edge stitches of your Tunisian crochet mitered squares look like "Vs." By working into the strands just behind these "Vs,"we can take advantage of this look and produce a visually interesting separationbetweensquares. With RS facing, insert hook into strand behind "V" on top left edge of first square and pull up Ip, pull up Ip in the same way for each of the next 14 edge sts. Then, insert hook near corner of square and then into adjacent corner of second square and pull up Ip. [16 Ips on hook] Insert hook into strand behind first "V" on lower edge of second square and pill up Ip, pull up Ip in the same way for each of the next 14 edge sts. [31 Ips on hook] Make return pass normally [set-up row complete]. Continue with instructions for “Base Row Mitered Square," above.
MAKING AND ATTACHING MITERED SQUARES TO ALL OTHER ROWS
Set-up Row: On right-hand square, pull up Ips as described above [15 Ips on hook], pull up Ip in top of square below [16 Ips on hook], pull up Ips as described above on left-hand square. [31 Ips on hook] Make return pass normally [set-up row complete]. Continue with instructions for “Base Row Mitered Square," above. 2014 Beth Graham For pattern support, please contact zagraham1@gmail.com
ADDING A MITERED SQUARE TO LEFT EDGE OF BLANKET
Pull up Ips as described above to edge of last square of row [15 Ips on hook], pull up Ip in top of square below [16 Ips on hook], pull up Ip in each of next 15 ch of square below. [31 Ips on hook] Make return pass normally [set-up row complete]. Continue with instructions for “Base Row Mitered Square," above
ADDING A MITERED SQUARE TO RIGHT EDGE OF BLANKET
Ch 15. Set-up Row: Forward pass: Pull up Ip in second ch from the hook and in each ch across [15 Ips on hook], pull up Ip in top of square below [16 Ips on hook], pull up Ip in each of next 15 ch of adjacent square. [31 Ips onhook] Make return pass normally [set-up row complete]. Continue with instructions for “Base Row Mitered Square," above.
FINISHING THE BLANKET
Once the blanket reaches the size I want, I plan to single crochet one row with black fingering-weight yarn all around the outer edges. This will stop the curl and create a finished edge.
MORE IDEAS
Here is a link to Shelly Kang's blog, with directions on how to make the original knit “Sock Yarn Blanket": http://www.shellykang.com/all-about-the-blankie For more information on Tunisian crochet, try the following resources: Books Kim Guzman. Ultimate Beginner's Guide to Tunisian Crochet. (Leisure Arts, 2012) Sheryl Thies. Get Hooked on Tunisian Crochet. (Martingale, 2011) Online Tutorials Stitch Diva Studios Tunisian Crochet Tutorials http://www.stitchdiva.com/tutorials/tunisian-crochet Kim GuzmanVideos http://kimguzman.com/blog/tunisian-crochet/videos/