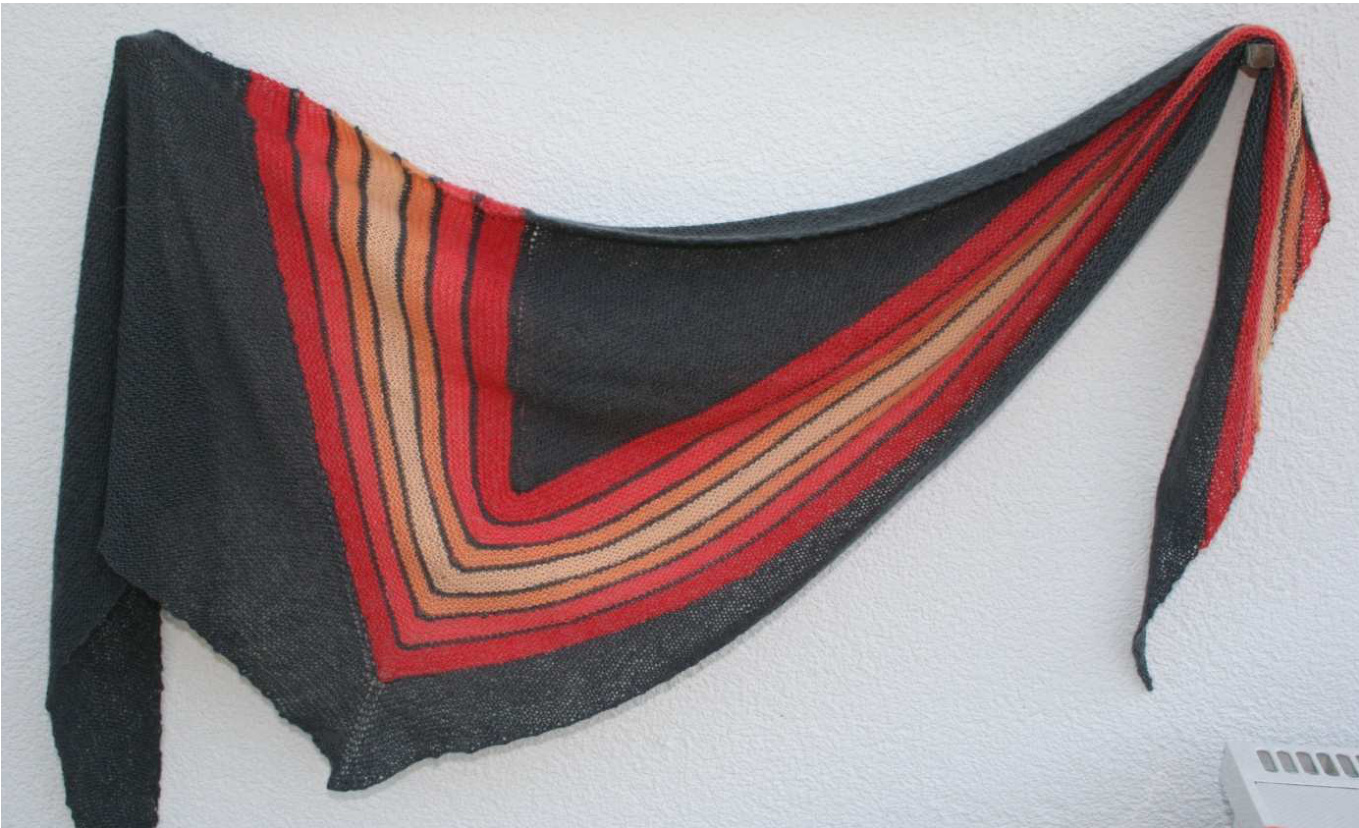
"Phoenix Shawl"
by Heidrun Liegmann (www.swing-knitting.com)
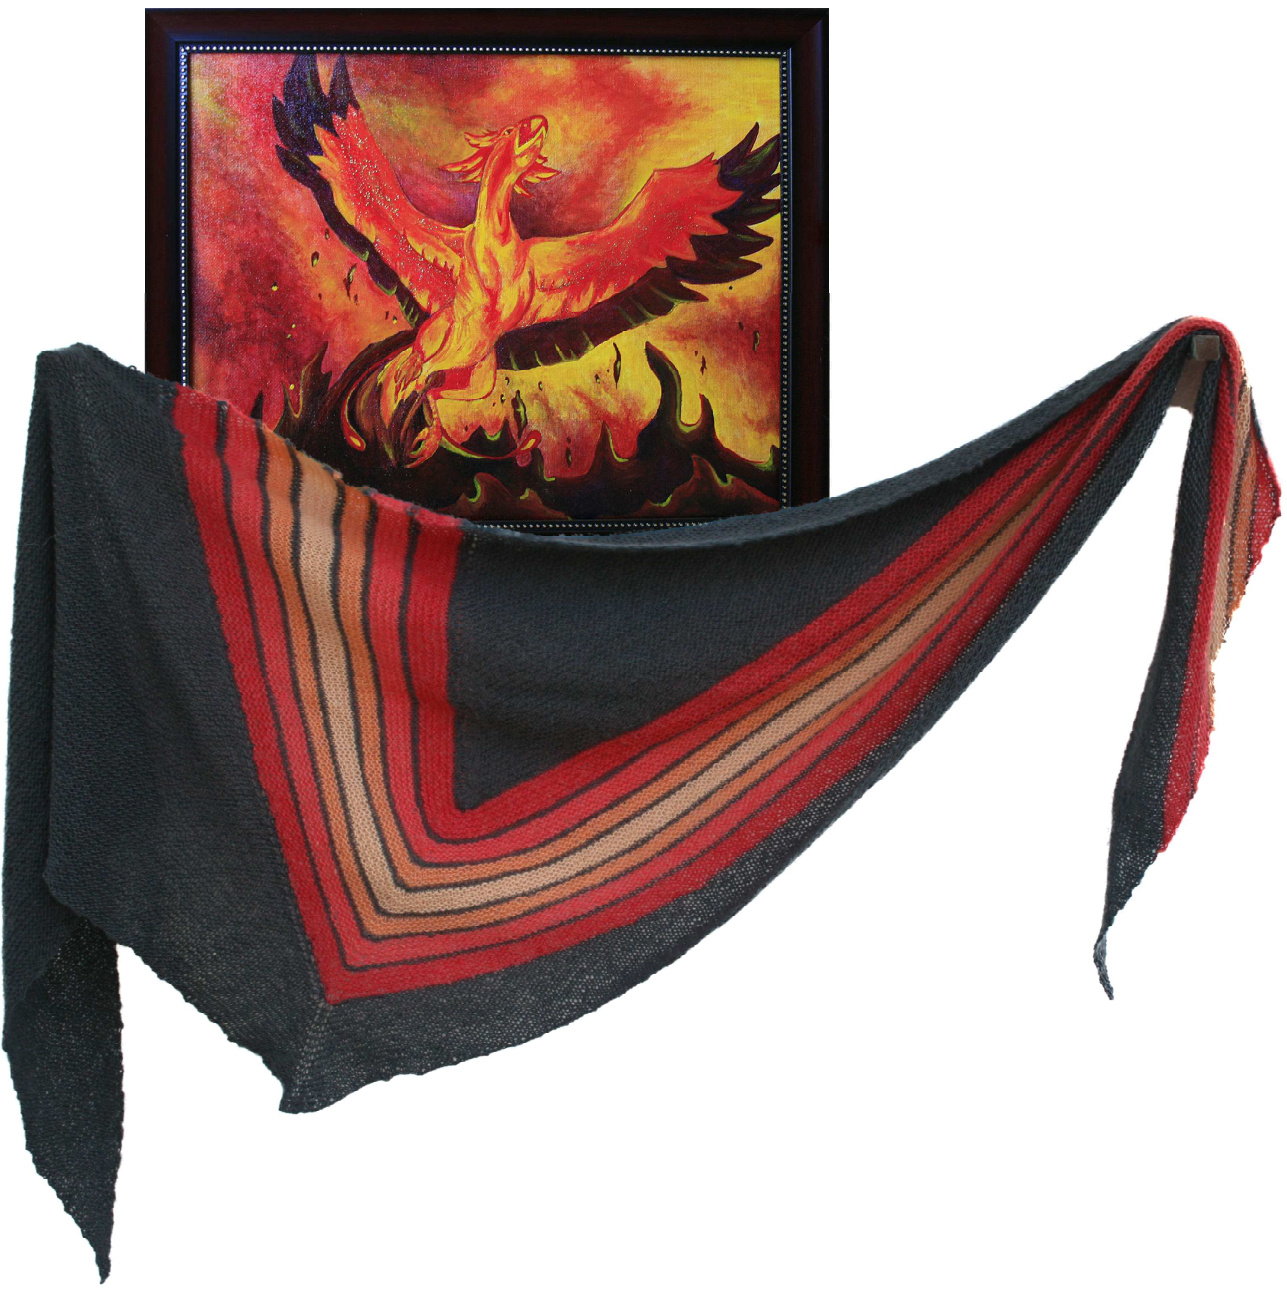
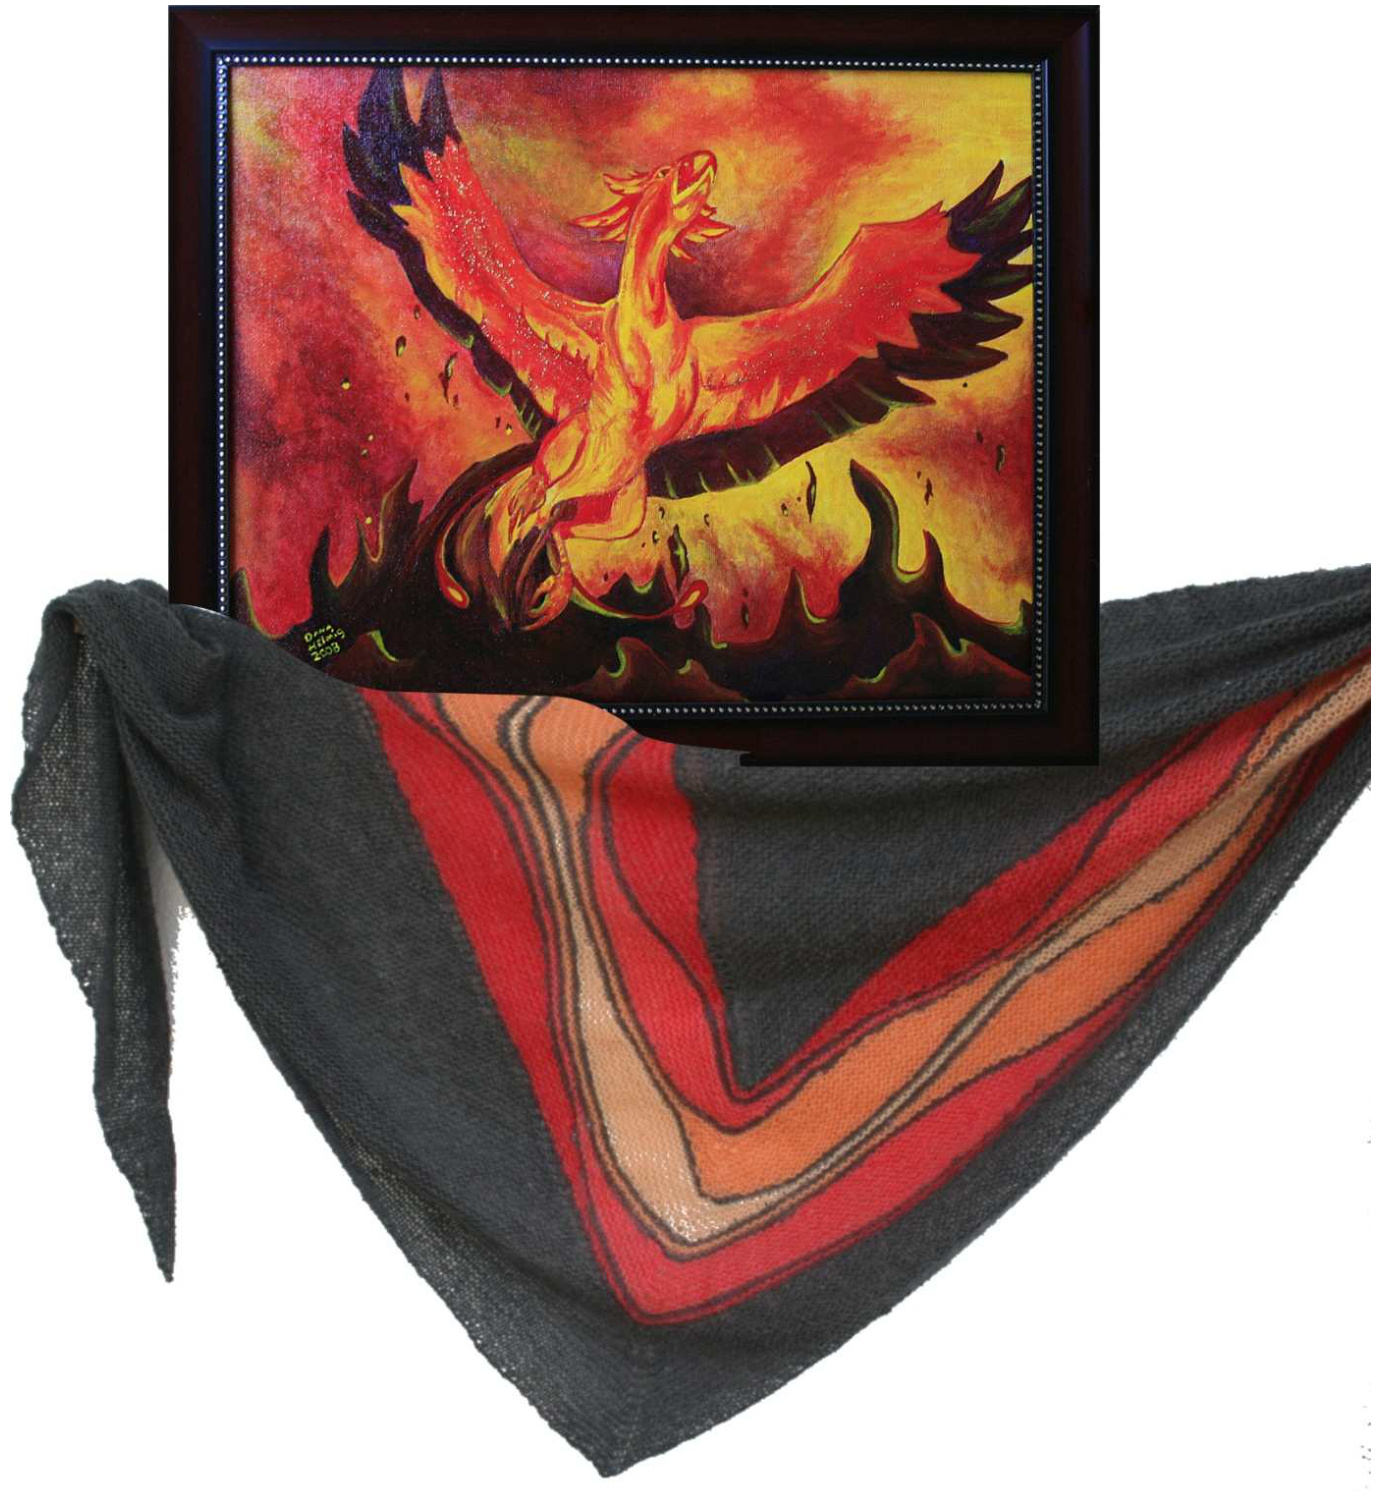
(The wonderful Phoenix painting was made by artist Dana Helmig (horizonsmoon1@aol.com, https://www.facebook.com/pages/Dana-Helmig/238533819526973), and is presented by her friendly courtesy.)
Material:
Zitron Filisilk (70% Merino Extrafine, 30 % Silk, 100 g = 600 m) color 3016 (anthracite), 3001 (apricot), 3002 (orange), 3003 (light red), 3004 (cherry red) - 100 g each 2 long circular knitting needles size 3,5 mm/ US 4 10 safety pins as markers 1 stitch marker 1 crochet hook size 3,5 mm / US E 4 for casting off
Composition of the Phoenix Shawl:
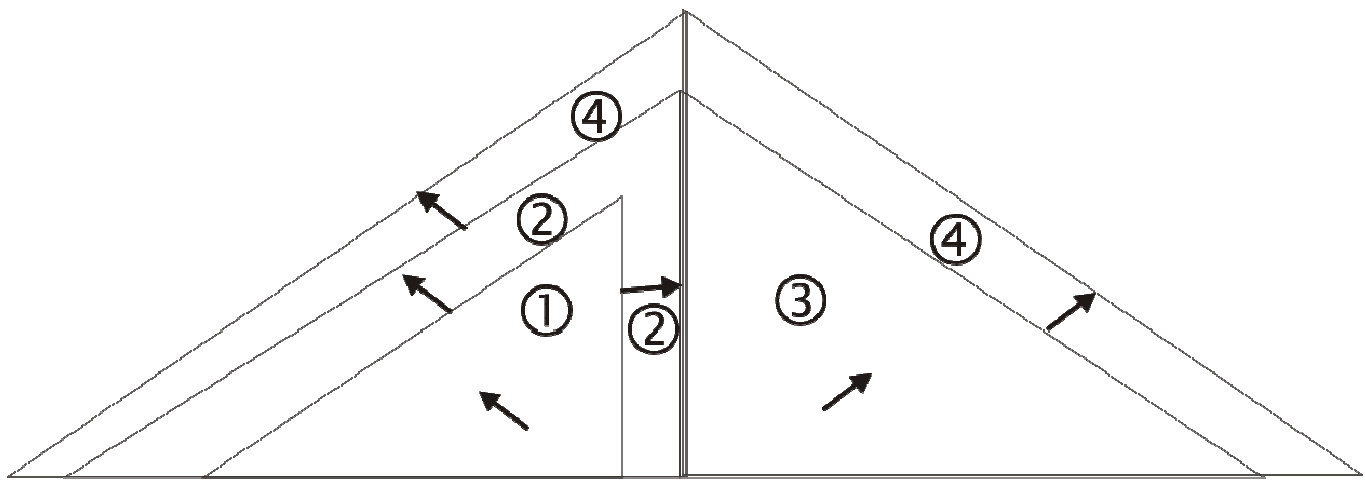
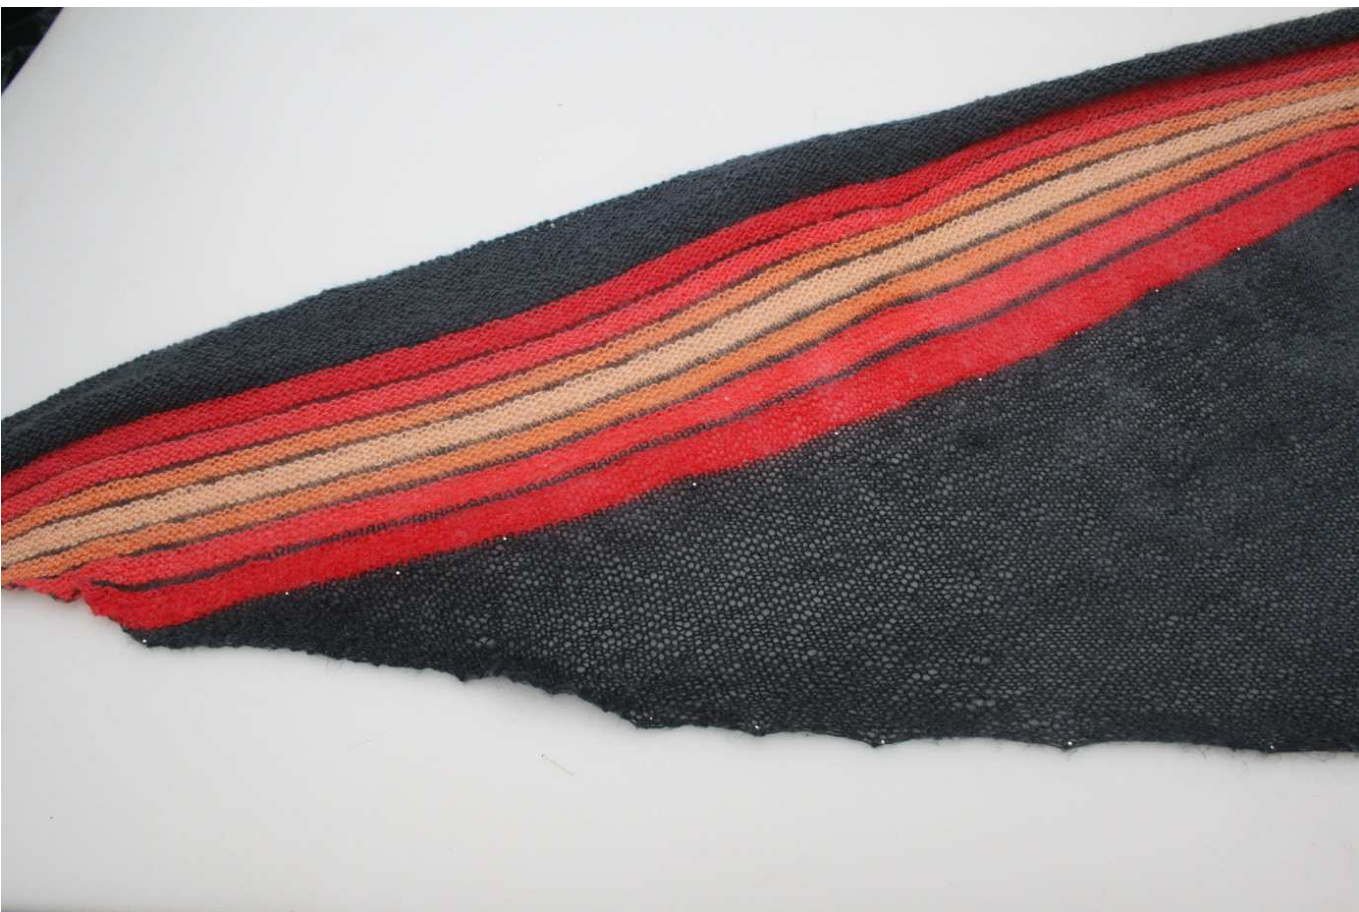
The Phoenix Shawl is worked in different knitting directions.
Knitting Instructions:
Step 1 -the left triangle
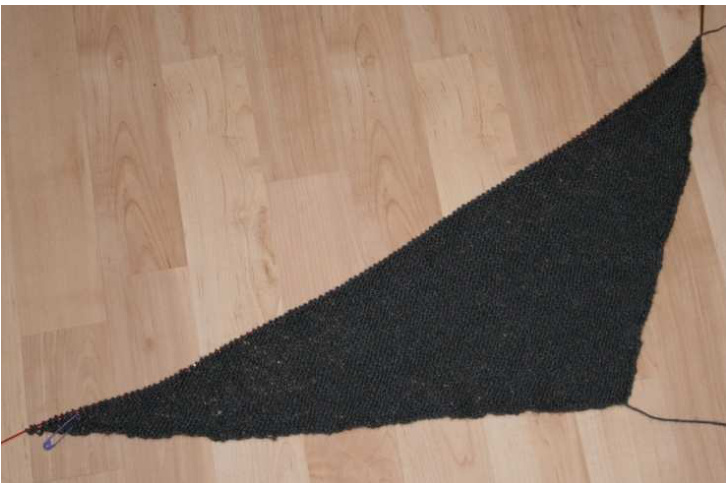
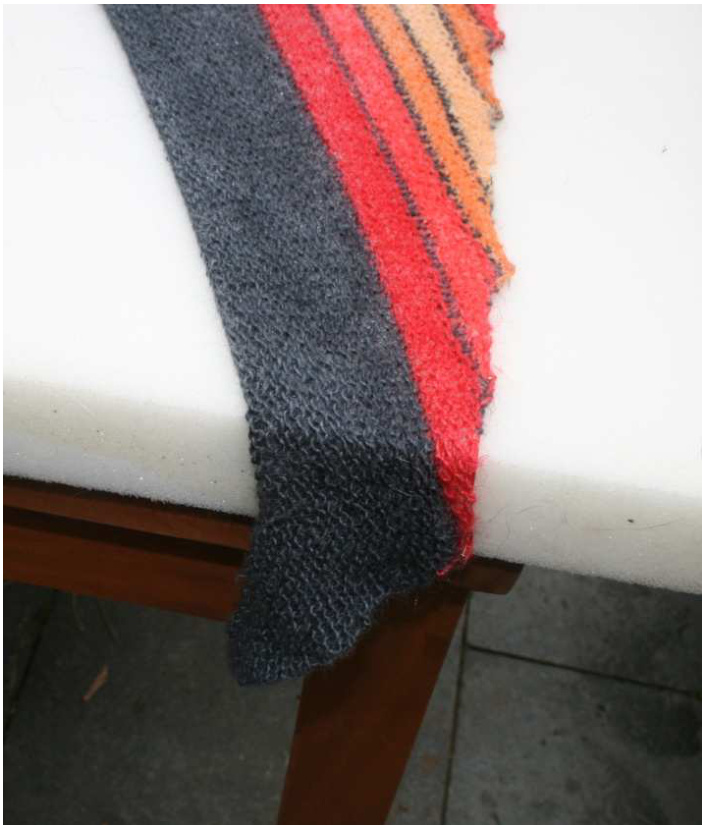
The left triangle is knitted in garter stitch with anthracite. On the inward (right) edge you increase 1 stitch every first row of the garter stitch double row by putting the yarn that's between the second and third stitch onto your knitting needle and knit into theback loop. On the outward (left) edge you increase 1 stitch every first row by knitting the last stitch twice, into the front and back of the stitch. Every second back row you increase another stitch by knitting the first stitch first into the front, then into the back loop. Tip: I mark the garter stitch double row with the 2 increases with a safety pin - so I can easily see which type of increase comes next. The right edge of the step 1 triangle is worked as an "add-on edge": In the first row you purl the first stitch, in the back row you knit the last stitch into the back loop. Cast on 3 stitches and knit the back row. The next row (=front side row) you start with the increases. After 55 double rows you have 138 stitches on your needle.
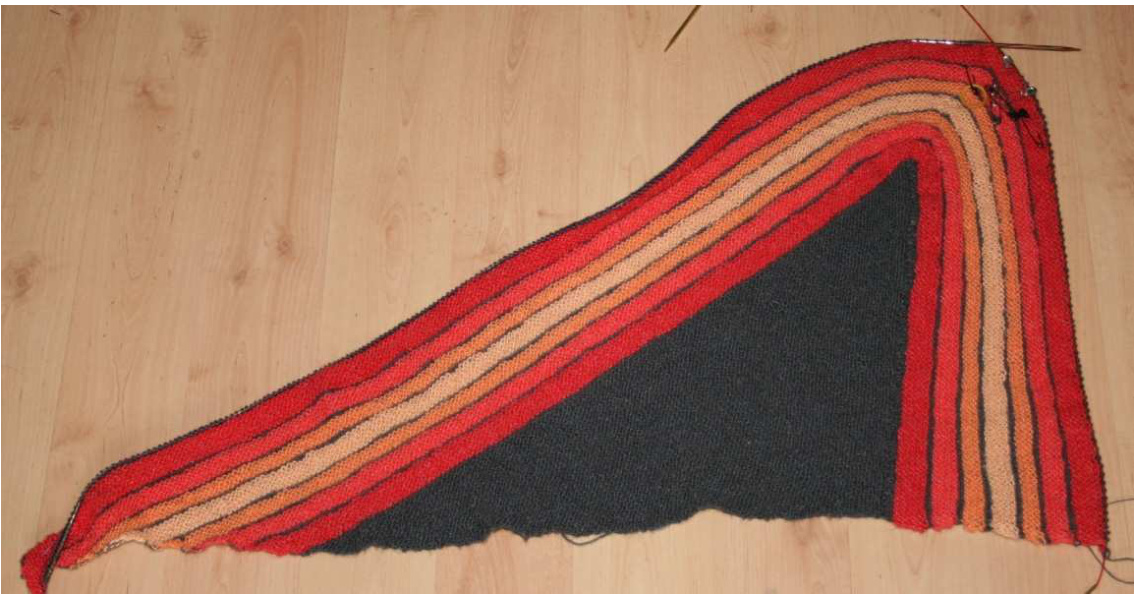
Step 2 - Color Blocks
With the second circular you pick up stitches out of the right edge of your triangle. Take anthracite and pick up 14 stitches every 10 garter stitch ridges (= 77 stitches), picking up an extra stitch alternating every 2 and 3 ridges. Put the stitch marker into the top corner. Now knit the stitches of the first circular. On the left edge, go on making alternating 1 and 2 increases. Purl the back row over all stitches - this is the optical border between the color blocks. The colour blocks are worked in garter stitch, the borders inbetween in stockinette stitch. Please remembertwotasks: On the left edge, increase 1 and 2 stitches alternating. In the top corner / middle make further increases - to the right and to the left of the marker in 3 double rows you increase 2 stitches each. Increase before / right to the marker:
Pick up the yarn between the next-to-last and the last stitch. Knit through the back loop. Increase after / left to the marker:
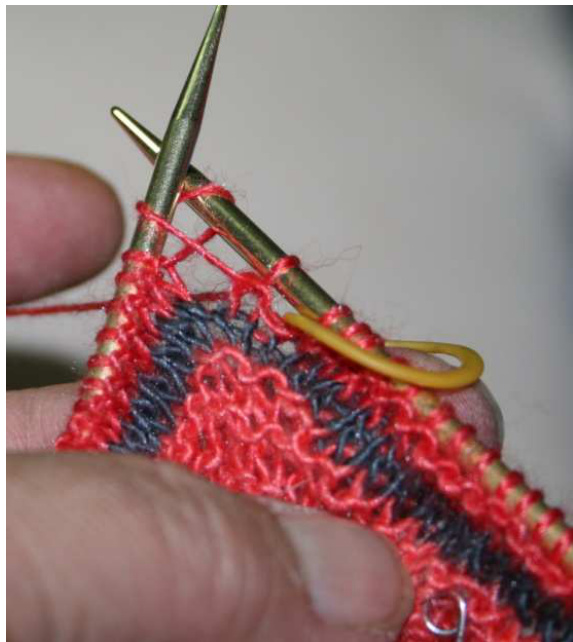
Pick up the yarn between the first and the second stitch and turn it half when putting it onto the knitting needle. Knit through the back loop. Tip: I remember the type of increases by fixing safety pins into the top corner: two silver safety pins for the increase rows, one black safety pin for the double row without increases. This way I can easily see what I'll have to do in the next row. Sequence of color blocks: 5 double rows garter stitch in cherry red 1 double row stockinette stitch in anthracite 4 double rows garter stitch in light red 1 double row stockinette stitch in anthracite 3 double rows garter stitch in orange 1 double row stockinette stitch in anthracite 4 double rows garter stitch in apricot 1 double row stockinette stitch in anthracite 3 double rows garter stitch in orange 1 double row stockinette stitch in anthracite 4 double rows garter stitch in light red 1 double row stockinette stitch in anthracite 5 double rows garter stitch in cherry red 1 double row stockinette stitch in anthracite - in the back row (purl) you decrease again: purl together alternating every 2"d /3'd and 3"d / 4th stitch. This way you make 10 out of 14 stitches and have the correct amount of stitches for the diagonal joining of step 3.
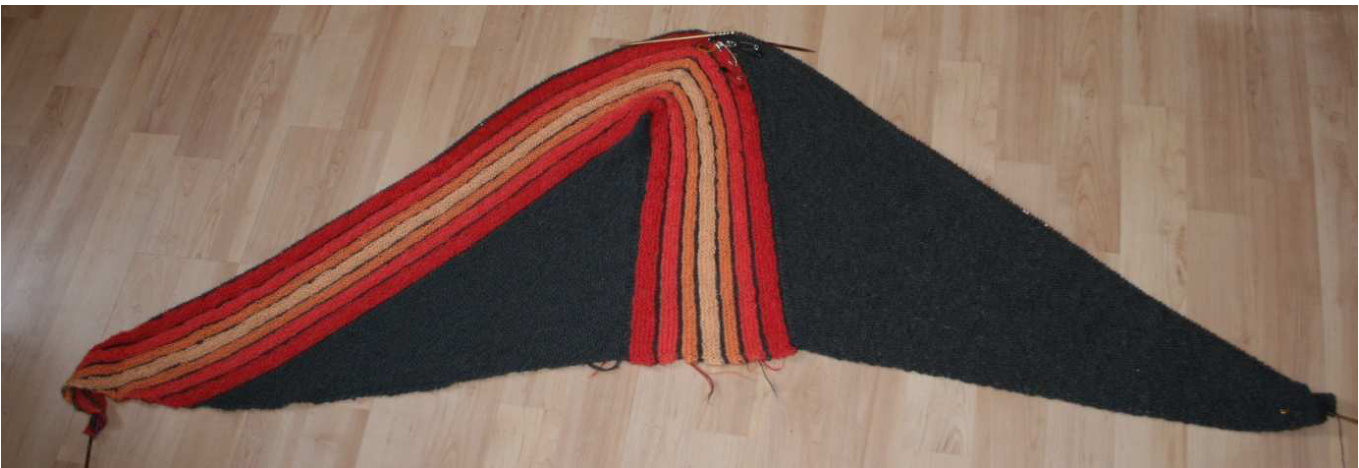
Step 3 - the right triangle
Now we add the right triangle in anthracite, directly joining it to the existing part. This triangle is like the first one but mirror-inverted. We now increase 1 stitch every front row on the inner (left) edge by picking up the yarn between the second-to-last and the last stitch and knit it through the back loop. On the outward (right) edge we alternatingly increase 1 and 2 stitches by knitting the first stitch first into the front and then into the back loop. In every second back row we make another stitch by knitting the last stitch first into the front then into the back loop. At the same time we join the new part to the already knitted triangle by knitting the last stitch of this new part together with the first stitch of the color blocks triangle. In the back row we knit the first stitch. Repeat until all stitches of the color blocks triangle are joined.
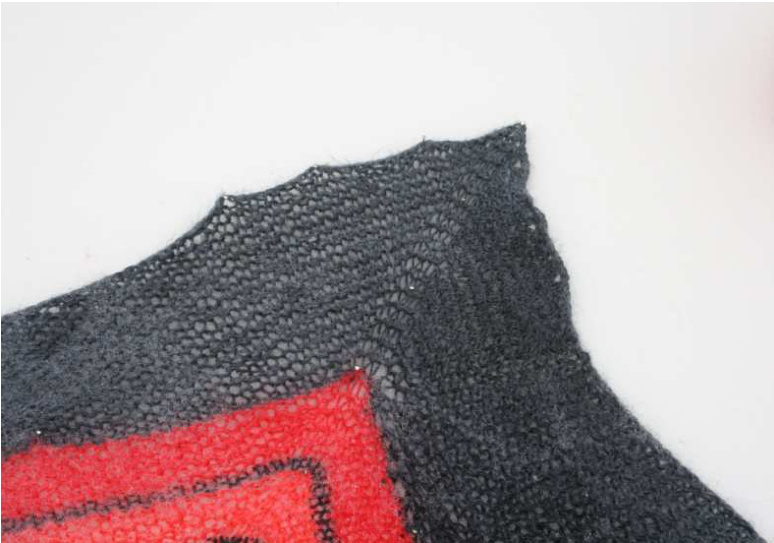
Step 4 - the last part
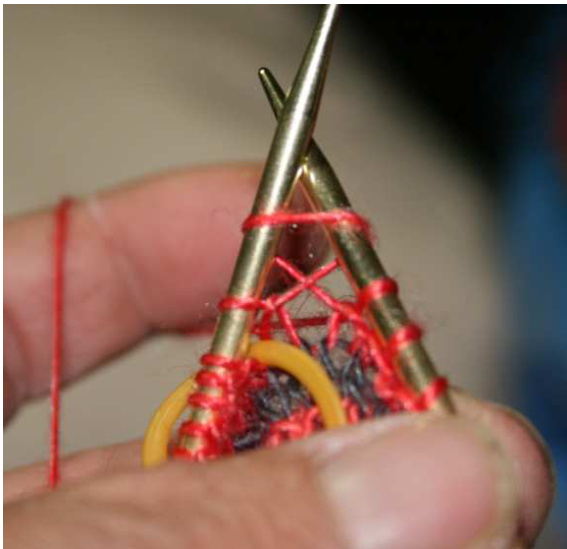
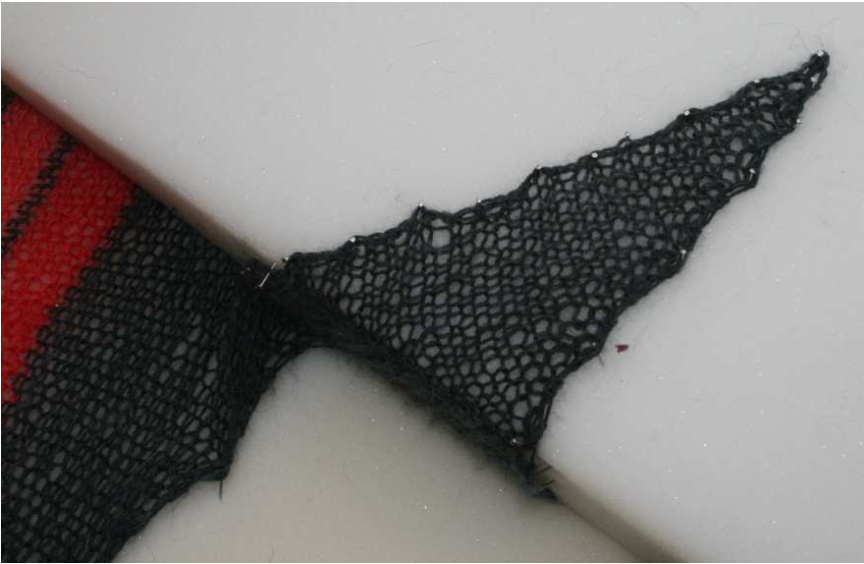
Now knit on with anthracite in garter stitch. At both ends alternatingly make 1 and 2 increases. At the top corner (stitch marker) you will do increases following a new rhythm: 3 times 1 increase to the right and to the left of the stitch marker, once a double increase to the right and to the left of the stitch marker. This double increase you make as follows: Pick up the yarn between the third and second stitch before the marker and knit it through the back loop, then knit one stitch, then pick up the yarn between the second-to-last and the last stitch before the marker and knit it through the back loop. Knit the last stitch, slip the stitch marker and knit the first stitch. Then pick up the yarn between the first and the second stitch und turn it halfways when putting it onto your knitting needle. Knit it through the back loop and knit the next stich. Now pick up the yarn between the second and the third stitch after the marker und turn it halfways when putting it onto your knitting needle, knit it through the back loop. Tip: I remember the type of increases by fixing safety pins into the top corner: three silver safety pins for the single increase rows, one golden safety pin for the double increase row. This way I can easily see what I'll have to do in the next row. After about 18 double rows the anthracite yarn is nearly used up - so we cast off with the next front row. When you work with lace yarn, it's better to cast off using a crochet hook and making loose slip stitches. Make an additional chain stitch alternatingly every 2 and 3 stitches. This way the edge wil get the necessary width and won't pucker.
Last but not least
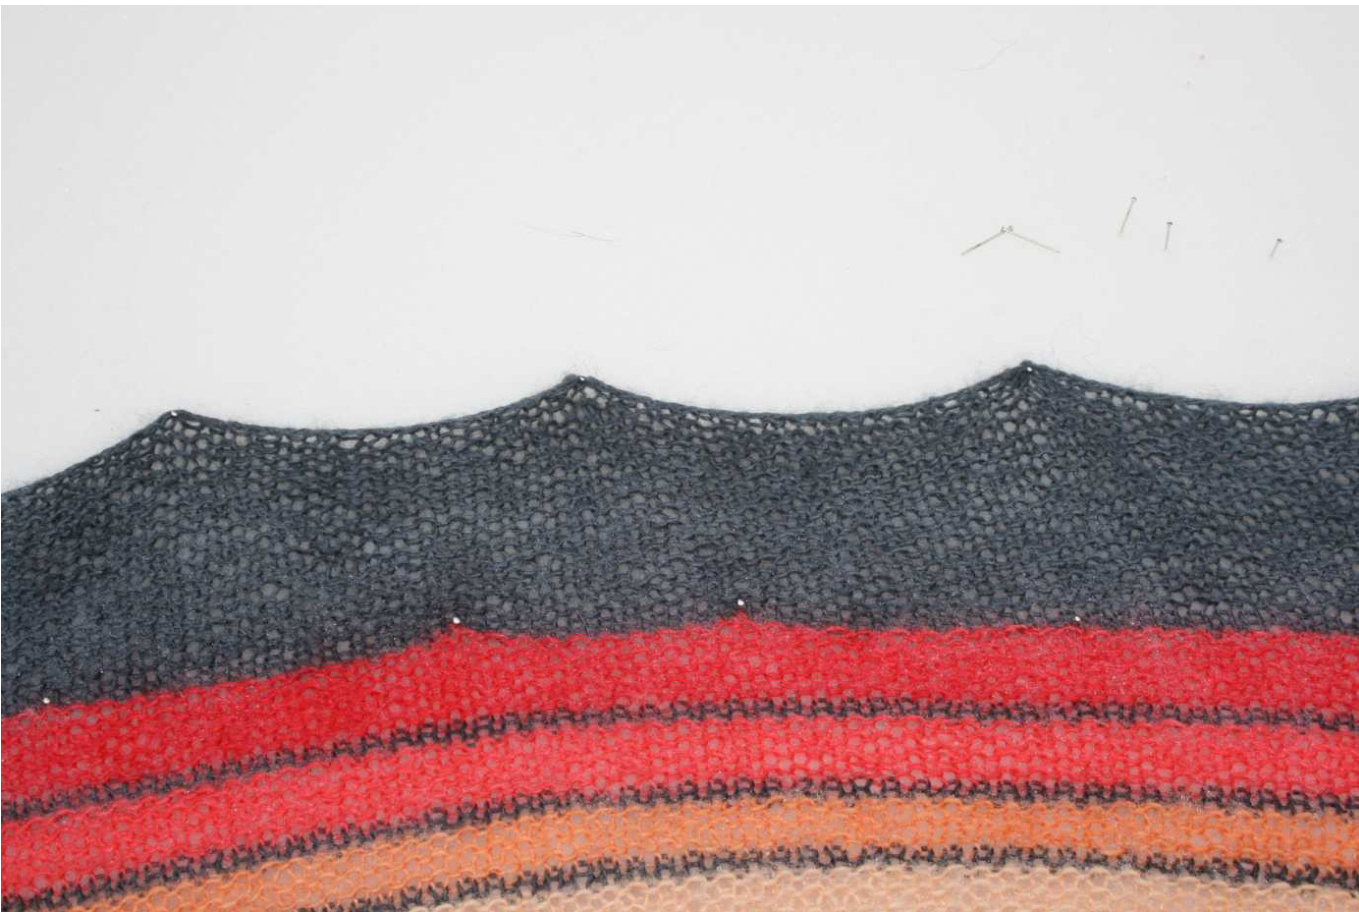
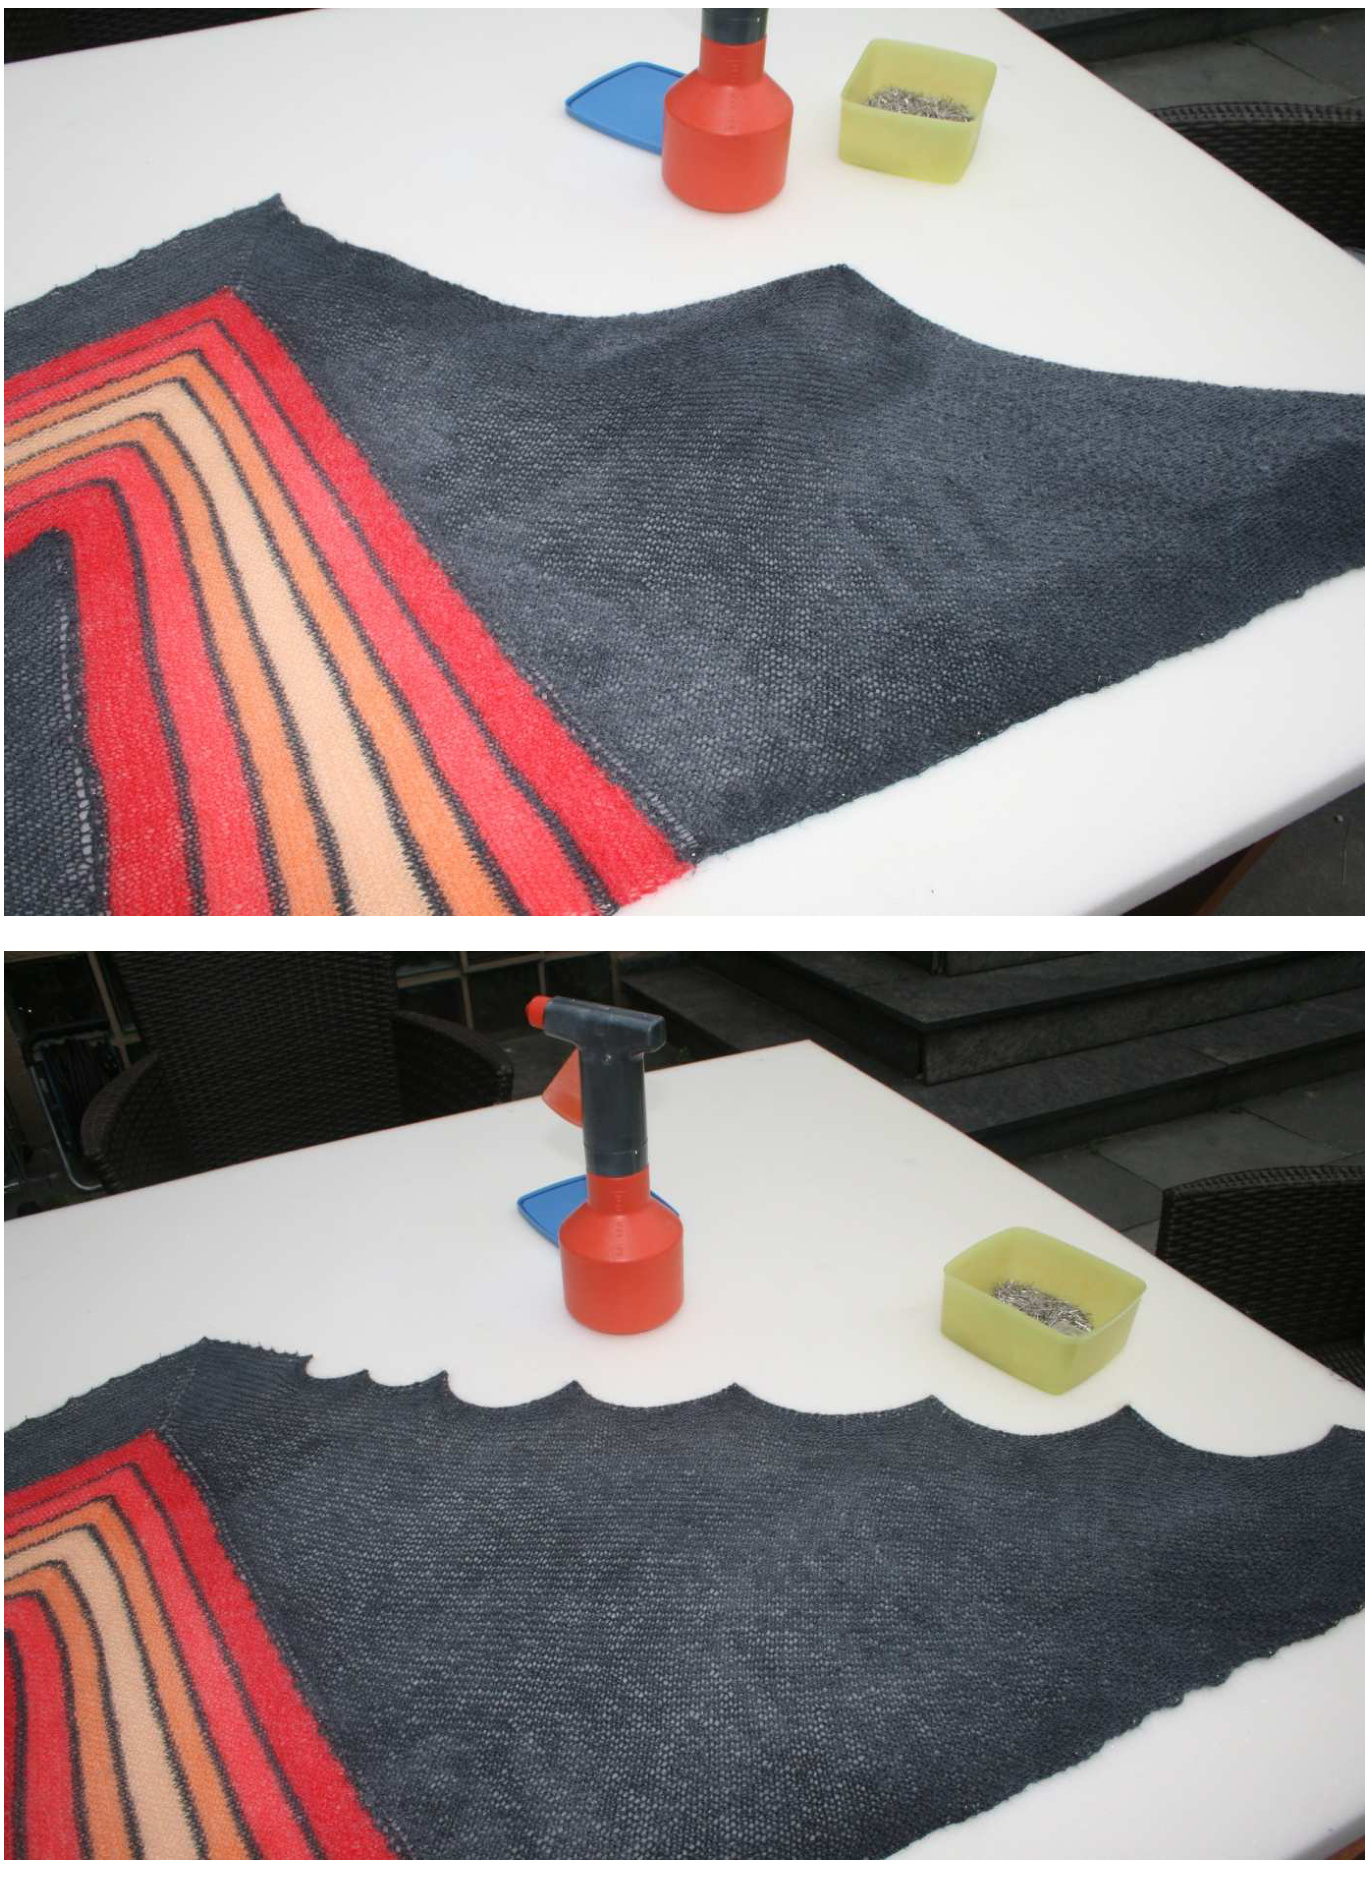
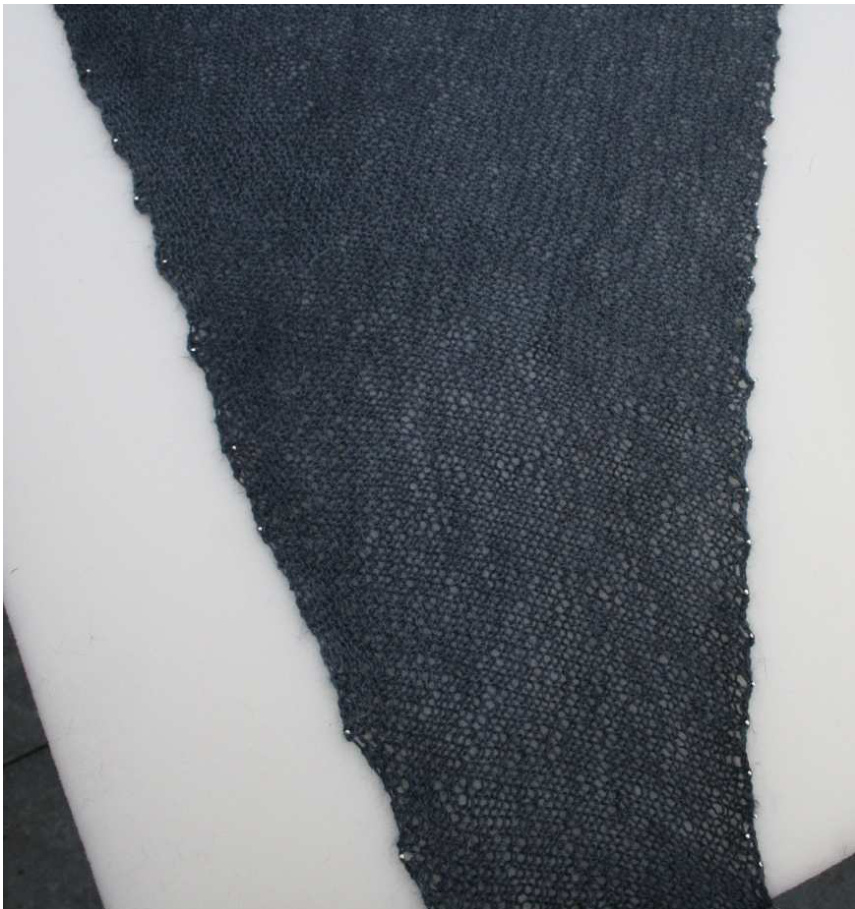
Now you can weave in the yarn ends if you didn't weave them in on the go. The shawl looks quite bumpy, so we'll have to block it. Blocking does not mean to stretch the wool until it's dead! Good blocking only stretches the yarn as far as it is needed to open the stitches, make them look even and smoothen bumps. The yarn will keep it's elasticity and living attributes. For blocking you need: A foamed material underlay A spraying device with fresh water Lots of fixing pins made of stainless steel First you spread the shawl onto the underlay, then spray the bottom edge, lay it straight and fix it with pins in mean distances.
Now spray the complete left triangle and fix it in mean distances.
Now spray the color blocks, flatten them into shape and fix them with pins.
If your underlay isn't wide enough (like my guest mattrass) you can block on around the corner and an the back side. ow spray the top corner and flatten it the way the increasing lines run straight, then fix it
Next spray the left edge, flatten it and fix it.
Please take care always to block a complete stitch so you won't pull out a single strand. Now you can fill in the distances pin by pin until you have a straight edge without any peaks. Spray again if the work gets too dry. Take care you get straight lines - some pins you'll have to move several times until it looks right. Then you can spray the left triangle, flatten it and fix it roughly.
Next you reduce the distances between the pins until you get a straight edge.
You may have to reposition some single pins or whole groups of pins to get the shape you want.
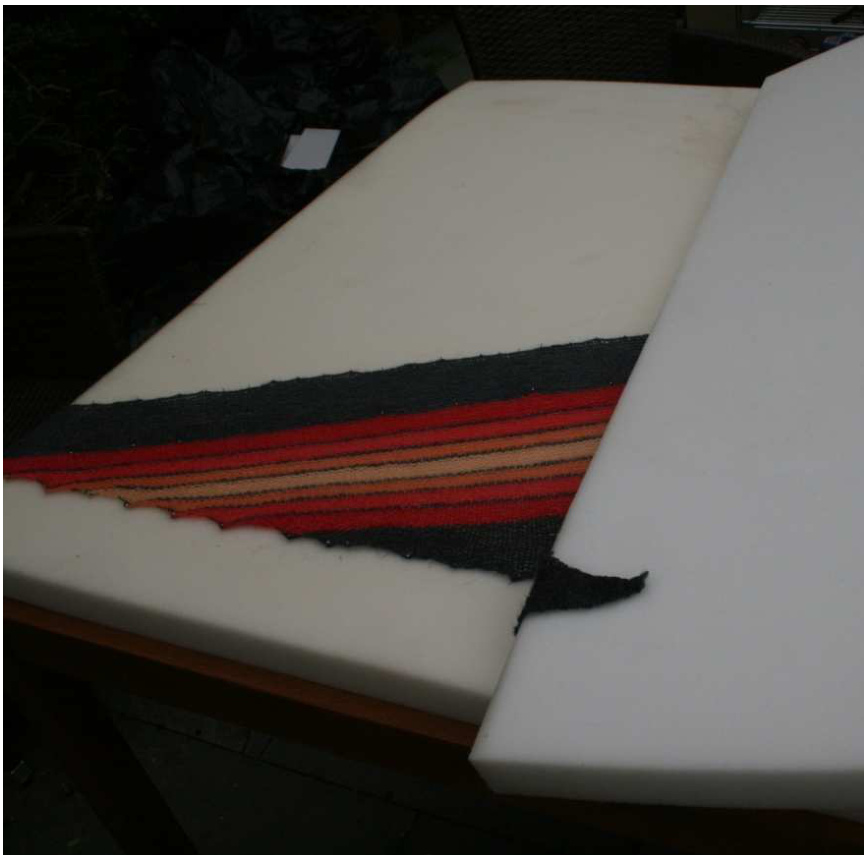
To block the side corners, you may have to turn part of the mattress. Please take care of the shape of your shawl's ends and pay attentionnot to remove orcatch already fixed pins.
At last, control the complete shape and correct it where needed. Reposition pins that stretch the fabric too much or too little. Fix more pins where the fabric shows peaks. Then spray the complete shawl again and let it dry completely.

Now you can remove the pins, I counted 381 pins @ - FINISHED !!! The shawl will keep its shape now - you'll only have to block it again should you wash it.
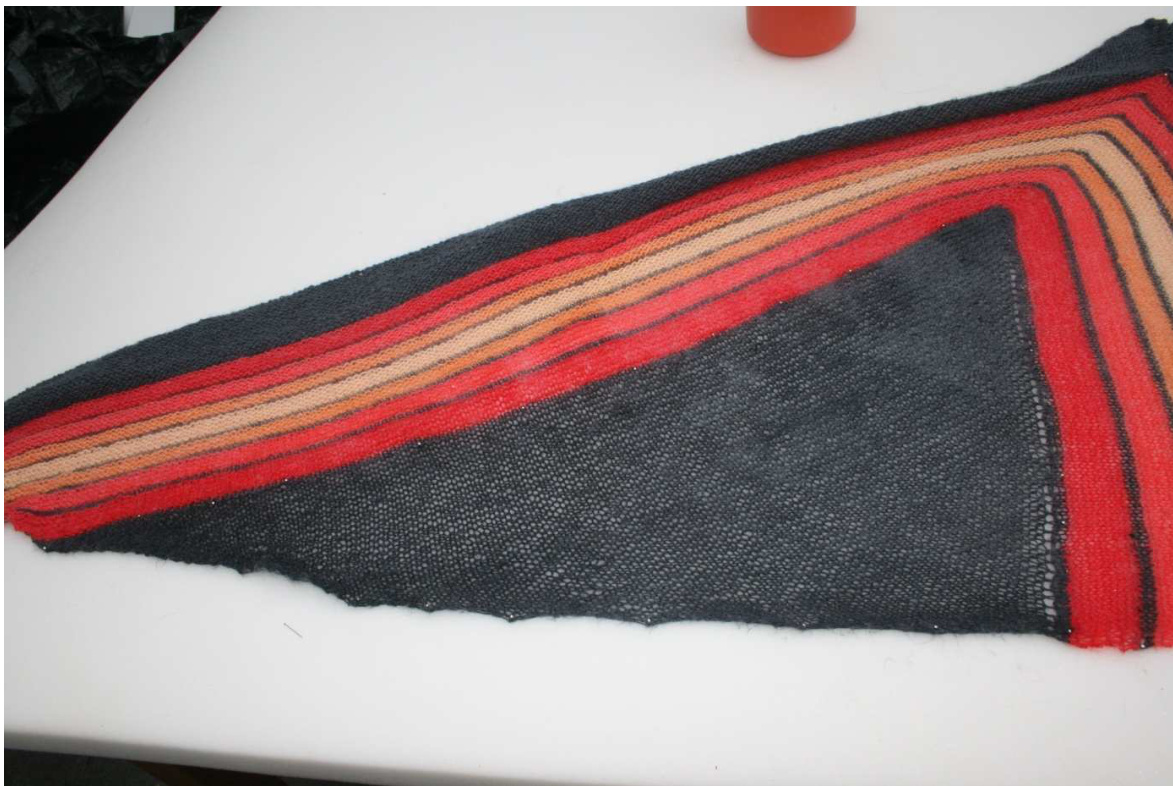
Phoenix Shawl
This is the Phoenix Shawl done in Swing-Knitting - instead of stripes you'll get harmoniously intertwining color fields .
The "Swingy Phoenix" pattern will be coming soon on Ravelry - look for MagischeMaschen designs. The basic knowledge of Swing-Knitting Workshops 1 to 3 is required to understand this Workshop. This design and pattern are only for private use. Pattern may not be reproduced or distributed in written or electronic form without written permission from the author. Questions, comments, other stuff? Contact me at Heidrun@magischemaschen.de @Heidrun Liegmann, 2011


