Police Box
Materials
Yarn: worsted weight yarn in blue, black, white Yarn used in sample: Red Heart Blue, Black, White Crochet Hooks: I, J Miscellaneous: yarn needle Gauge: 4" = 13hdc and 9 rows Sizes: Child Small, Child/Preteen, Teen/Adult
TIPS:
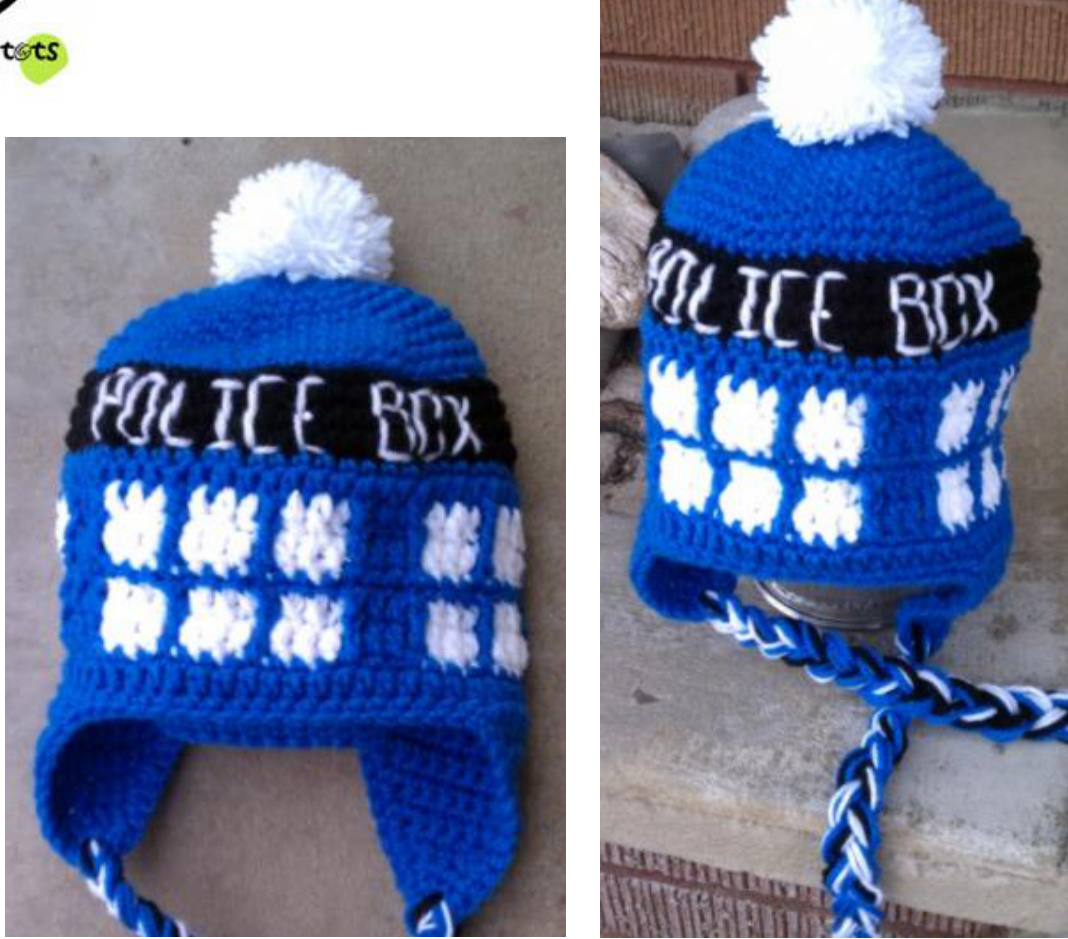
This pattern includes two different options for starting the top of the hat. Option A, as shown in photo, creates a snug fitting beanie and shorter blue section before the black stripe. Option B creates a slightly looser fitting beanie and a longer blue section before the black stripe. Do not join at the end of each round for increase rounds. Use a marker (such as a scrap piece of yarn) to keep track of the beginning of the round.
Hat Option A
Hook sizes: H for Child Small, I for Child/preteen, J for Teen/Adult With blue yarn and appropriate size hook for desired size, start with a magic loop of 6 sts (or preferred method for starting a circle of 6 sc sts), join, pull closed. Place marker to work in continuous rounds. 1. 2sc in each stitch around. (12sts) 2. \*sc, 2 sc in next st\*, repeat to end of round. (18sts) 3. \*sc 2, 2 sc in next st\*, repeat to end of round. (24sts) 4. \*sc 3, 2 sc in next st\*, repeat to end of round. (30sts) 5. \*sc 4, 2 sc in next st\*, repeat to end of round. (36sts) 6. \*sc 5, 2 sc in next st\*, repeat to end of round. (42sts) 7. \*sc 6, 2 sc in next st\*, repeat to end of round. (48sts) 8. \*sc 7, 2 sc in next st\*, repeat to end of round. (54sts) 9. \*sc 8, 2 sc in next st\*, repeat to end of round. (60sts) 10. Sc in each stitch to end of round, sl st, change to black, ch 1. 11. Work in FLO (front loops only), sc in each stitch to end of round, sl st to join. 12-14. Ch 1, sc in each stitch to end of round, sl st to join. 15. Change to blue yarn. Ch 1. Work in FLO, sc in each stitch to end of round, sl st to join. 16. Ch 2, hdc in each stitch to end of round, sl st to join. Change to white yarn. Do NOT cut blue yarn. It will be carried behind. 17-18. With white yarn, ch 3, \*dc 2, drop white yarn and with blue yarn, fpdc 1, (white) dc 3, (blue) fpdc 1, (white) dc 3, (blue) fpdc, dc 2, fpdc\*, (white) dc, repeat to end of round, sl st to join. 19. With blue yarn, ch 1, sc in each stitch to end of round, sl st to join. 20-22. Repeat rounds 17-19. 23. Ch 2, hdc in each stitch to end of round, sl st to join. 24. Ch 1, sc in each stitch to end of round, sl st to join. For earflap version do not finish off. Continue for desired size under “earflaps" below.
Hat Option B
Hook sizes: H for Child Small, I for Child/preteen, J for Teen/Adult With blue yarn and appropriate size hook for desired size, start with a magic circle of 8 sts (or preferred method for starting a circle of 8 sc sts). Place marker to keep track of beginning of round. 1. 2sc in each stitch to end of round. (16sts) 2. \*hdc, 2 hdc in next st\*, repeat to end of round. (24sts) 3. \*hdc 3, 2 hdc in next st\*, repeat to end of round. (30sts) 4. \*hdc 4, 2 hdc in next st\*, repeat to end of round. (36sts) 5. \*hdc 5, 2 hdc in next st\*, repeat to end of round. (42sts) 6. \*hdc 6, 2 hdc in next st\*, repeat to end of round. (48sts) 7. \*hdc 7, 2 hdc in next st\*, repeat to end of round. (54sts) 8. \*hdc 8, 2 hdc in next st\*, repeat to end of round. (60sts) 9. Sc in each stitch to end of round, sl st, change to black, ch 1. 10. Work in FLO (front loops only), sc in each stitch to end of round, sl st to join. 11-13. Ch 1, sc in each stitch to end of round, sl st to join. 14. Change to blue yarn. Ch 1. Work in FLO, sc in each stitch to end of round, sl st to join. 15. Ch 2, hdc in each stitch to end of round, sl st to join. Change to white yarn. Do NOT cut blue yarn. It will be carried behind. 16-17. With white yarn, ch 3, \*dc 2, drop white yarn and with blue yarn, fpdc 1, (white) dc 3, (blue) fpdc 1, (white) dc 3, (blue) fpdc, dc 2, fpdc\*, (white) dc, repeat to end of round, sl st to join. 18. With blue yarn, ch 1, sc in each stitch to end of round, sl st to join. 19-21. Repeat rounds 17-19. 22. Ch 2, hdc in each stitch to end of round, sl st to join. 23. Ch 1, sc in each stitch to end of round, sl st to join. For earflap version do not finish off. Continue for desired size below. Earflaps: Start where last round finished. With I hook and yarn color of choice, follow directions below according to size: Child/preteen: Ch 2, hdc 14. Ch 2, turn, hdc2tog, hdc in each st until 2sts remain, hdc2tog. Repeat previous row until 4 sts remain. Ch 2, turn, hdc2tog, hdc 2. Finish off and weave in end. Fold hat in half to find placement for 2nd earflap. It should start directly across from first flap. Starting on RS of hat, attach yarn and follow directions for earflap. Teen/adult: Ch 2, hdc 14. Ch 2, turn, hdc2tog, hdc in each st until 2sts remain, hdc2tog. Repeat previous row until 4 sts remain. Ch 2, turn, hdc2tog, hdc 2. Finish off and weave in end. Fold hat in half to find placement for 2nd earflap. It should start directly across from first flap. Starting on RS of hat, attach yarn and follow directions for earflap. Trim: Attach yarn to center back, ch 1, sc in each stitch around, working 2sc in tip of each ear flap. Finish off and weave in ends. Attach braids if desired. Braids: Cut 6, 20" strands of a variety of colors from the hat (sample: 2 of each blue, black, white). Pull ends through tip of earflap. Pull through until even with other end and braid. Repeat for other flap. Pompom top: Hold one strand of white yarn, and wrap 50 times around the palm of your hand. Carefully slide the yarn off your hand and wrap an 8" length of yarn around the center, pulling tight and knotting to hold in place. Do NOT cut this piece of yarn. Cut loops of pompom. Thread end of the yarn you tied around the pom through a yarn needle. Attach to center top of hat. Trim pompom as desired. A piece of cardboard or pompom maker may also be used. Lettering: With a yarn needle and white yarn, backstitch “police box" or desired words in black band on hat. Use the lines created by the rounds and stitches to evenly space and line up the letters.
| Common Crochet Abbreviations | |
| Ch-chain | Sc2tog-decrease,single crochet 2sts together |
| St-stitch | Dc2tog-decrease,double crochet 2sts together |
| Sp-space | Fp-frontpost |
| Sc-single crochet | Bp-back post |
| Hdc-half double crochet | Fpdc-frontpost doublecrochet |
| Dc-double crochet | Bpdc-backpost double crochet |
| Tr-treble crochet | BLO-backloop only |
| Sl st-slip stitch | FLO-frontlooponly |
| Yo-yam over | ** -repeat instructions between asmany times as indicated |
If you have any questions, comments or suggestions please email me at heidi @ snappy-tots.com. This pattern has been tested. It is very important to me that information is easy to understand and accurate. I would appreciate knowing any errors found so they could be fixed. Thank you in advance. This pattern is copyrighted to snappytots and may not be copied for resale in part or whole. Items created from this pattern MAY be sold. Please include a link to snappy-tots.com if selling online
| Brand new babies Head Circ:12”-13"Hat Circ: 11-12"Hat Height:5"-5.5" |
| Newborm Head Circ:13"-14"Hat Circ:11.5"-13"Hat Height:5.5"to 6” |
| Baby-3to6months Head Circ:14"-17"Hat Circ:13"-16"Hat Height:6.5" |
| Baby-6to12months |
| Head Circ:16"-19"Hat Circ:15”-18"Hat Height:7"” Toddler(1-3years) |
| Head Circ:18"-20"Hat Circ:17"-19"Hat Height:7.5" |
| Child(3-10years) Head Circ:19"-20.5"Hat Circ:18"-19.5"Hat Height:8” |
| Preteen/Teen Head Circ:20.5"-22"Hat Circ:19.5”-21"Hat Height:8.5" |
| Adult Woman |
| Head Circ:21.5"-22.5"Hat Circ:20.5"-21.5"Hat Height: 9" AdultMan |
| Snappy-tots.com |
HEADANDHATSIZECHART newbabiestoadultmen Iprefer tomake hats approximately 1”smaller than thehead circumference so theywill stretch and not be too big.Note:All measurements are approximate and based on“average”head sizes according to several online sources.Hat“height”is the measurement from top of crown to bottomedge.


